Looking to add extra storage without taking up floor space? Attaching a coat rack to your door is a simple and smart solution.
You might think it’s tricky, but with the right steps, you can do it yourself quickly and securely. Imagine walking into your room and having your coats, hats, and bags neatly organized right where you need them. Keep reading, and you’ll discover easy tips that make this small change bring big convenience to your daily routine.

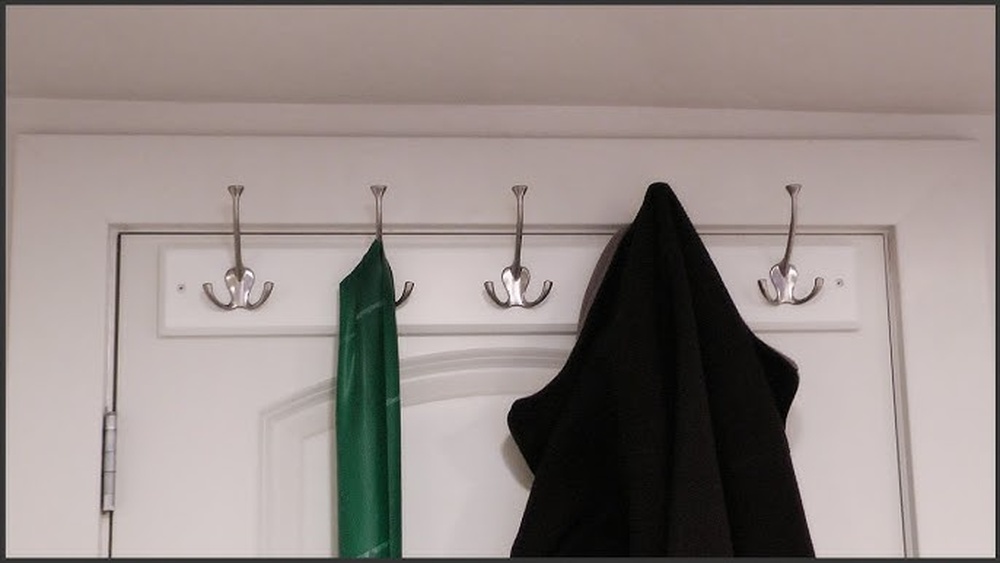
Credit: www.woodshopdiaries.com
Choosing The Right Coat Rack
Choosing the right coat rack for your door is important. It affects how well the rack fits and holds your items. The right choice makes your space neat and helps keep things organized.
Consider where you will place the rack and what you will hang on it. This helps pick a rack that suits your needs. Think about style, size, and strength before buying.
Types Of Coat Racks
There are many types of coat racks for doors. Over-the-door racks hang easily without tools. Hook racks have simple hooks for coats and hats. Some racks have shelves or baskets for extra storage. Pick a type that fits your door and what you want to store.
Size And Weight Considerations
Measure your door before buying a rack. The rack should not be too big or small. Check the weight limit of the rack. Heavy coats need strong racks. Light racks may bend or fall under weight. Choose a rack that balances size and strength well.
Materials And Design
Coat racks come in many materials like wood, metal, and plastic. Wood racks give a classic look but may be heavy. Metal racks are strong and last long. Plastic racks are light and cheap but less durable. Design matters for style and function. Simple designs suit most doors and rooms. Pick a design that matches your room’s look.
Preparing Your Door
Preparing your door is the first step to attach a coat rack securely. This step ensures the rack stays in place and holds your items safely. Proper preparation also protects your door from damage. Take time to prepare right. It makes installation easier and cleaner.
Door Material And Thickness
Check what your door is made of. Common materials include wood, metal, or hollow core. Each type needs different tools and hardware. Measure the door’s thickness with a tape measure. Standard doors are usually 1.375 to 1.75 inches thick. Knowing this helps choose the correct screws or hooks. Use the right materials to avoid damage or weak support.
Measuring And Marking
Measure where you want to place the coat rack. Use a pencil to mark spots for screws or hooks. Measure twice to avoid mistakes. Align the marks so the rack will be straight. Use a level tool if available. Accurate marking makes the rack look good and work well.
Cleaning The Surface
Clean the door surface before attaching the rack. Remove dust, dirt, and grease with a damp cloth. Let the door dry completely. A clean surface helps screws hold better. It also stops paint or finish from peeling. Proper cleaning ensures a strong and lasting hold.
Tools And Materials Needed
Attaching a coat rack to a door is a simple project. Having the right tools and materials makes the job easier and safer. This section lists what you need to complete the task smoothly.
Essential Tools
A screwdriver is a must-have for tightening screws. A drill helps make holes quickly and precisely. A tape measure ensures correct placement on the door. A pencil is useful to mark spots for screws. A level keeps the rack straight and balanced.
Hardware Options
Screws are the most common choice to attach the rack firmly. Over-the-door hooks work well if you want to avoid drilling. Wall anchors add strength if the door material is weak. Choose hardware that fits your coat rack’s design and weight.
Safety Equipment
Wear safety glasses to protect your eyes from dust and debris. Use gloves to avoid splinters and sharp edges. Keep your workspace clean to prevent trips and falls. Safety matters to finish the project without injury.

Credit: www.amazon.com
Mounting Methods
Mounting a coat rack on a door can be done in several ways. Each method offers different benefits depending on your tools, door type, and how permanent you want the rack to be. Choose a method that matches your needs and skills. Below are common ways to attach a coat rack securely and safely.
Using Screws And Anchors
Screws and anchors provide a strong, stable hold for coat racks. Start by marking where the rack will go on the door. Drill small pilot holes to avoid splitting the wood. Insert anchors if your door is hollow or made of thin material. Then, screw the rack into place. This method works best for heavy racks or when you want a permanent fixture.
Over-the-door Hooks
Over-the-door hooks are simple and require no tools. These hooks hang over the top edge of the door. Just place the rack’s hooks over the door and close it gently. This method avoids damage to the door and is easy to move or remove. It suits renters or those who want a quick setup.
Adhesive Solutions
Adhesive hooks or strips offer a damage-free option for attaching a coat rack. Clean the door surface before applying the adhesive. Press the rack firmly against the door and hold it for the recommended time. Adhesives work well for lightweight racks and smooth door surfaces. Avoid this method for heavy items or textured doors.
Step-by-step Installation
Attaching a coat rack to a door is a simple way to add storage space. This step-by-step guide makes the process clear and easy. Follow each step carefully to ensure your coat rack stays secure and looks great.
Marking Drill Points
Start by holding the coat rack against the door. Choose the height where you want the rack to hang. Use a pencil to mark the spots for the screws. Make sure the marks line up with the rack’s holes. Double-check the marks to avoid mistakes.
Drilling And Anchoring
Pick a drill bit that matches the size of your screws. Drill holes at the marked points gently. If the door is hollow, use wall anchors for extra support. Insert the anchors into the holes for better grip. This step keeps the rack stable over time.
Securing The Rack
Place the coat rack back onto the door. Align the holes with the drilled points. Use a screwdriver to tighten the screws firmly. Do not overtighten to avoid damaging the door. Check the rack by pulling it slightly to confirm it’s secure.

Credit: www.amazon.com
Tips For Stability And Durability
Attaching a coat rack to a door needs care to keep it stable and long-lasting. Small steps make a big difference in holding weight and avoiding damage. Follow these tips to make sure your coat rack stays secure and your door stays safe.
Weight Distribution
Balance the weight across all hooks evenly. Heavy items can pull the rack down or tilt it. Place lighter coats and bags on one side and heavier ones on the other. This helps the rack stay steady and stops strain on any single point.
Regular Maintenance
Check screws and hooks often. Tighten loose parts to prevent wobbling. Clean the rack to avoid dust buildup that can weaken materials. Fix small problems early to extend the life of your coat rack.
Avoiding Door Damage
Use soft pads or felt between the rack and door. This prevents scratches and dents. Choose a rack with smooth edges to protect the door’s surface. Avoid overloading to keep hinges and door frames safe from stress.
Troubleshooting Common Issues
Attaching a coat rack to a door can be simple, but some issues may occur. Knowing how to fix these common problems saves time and stress. This section covers easy ways to handle loose fixtures, door alignment troubles, and removing the rack without damage.
Loose Fixtures
Loose fixtures make the coat rack unstable. Check screws and hooks first. Tighten them with a screwdriver to secure the rack firmly. Use wall anchors if screws do not hold well. This adds extra support. Avoid overtightening, which can strip the holes. If the rack still feels loose, try using double-sided tape as extra hold.
Door Alignment Problems
Coat racks can affect door movement. If the door does not close properly, check the rack’s position. Adjust the rack higher or lower to avoid hitting the floor or frame. Make sure the rack is centered on the door. Sometimes, swapping to a thinner rack helps. Check hinges and tighten them if the door is crooked. Proper alignment keeps the door working smoothly.
Removing The Rack Without Damage
Removing the rack carefully prevents damage to the door. Unscrew fixtures slowly and keep the screws safe. If glue or tape was used, warm the area with a hairdryer to soften it. Peel off the rack gently to avoid paint peeling. Use a soft cloth and mild cleaner to remove any residue. This keeps the door looking neat for future use.
Frequently Asked Questions
How Do I Attach A Coat Rack To A Door Without Drilling?
You can use adhesive hooks or over-the-door hangers to attach a coat rack without drilling. These options prevent door damage and are easy to install and remove.
What Tools Are Needed To Mount A Coat Rack On A Door?
You’ll need a drill, screws, a screwdriver, a measuring tape, and a level. These tools ensure accurate and secure installation.
Can I Hang A Heavy Coat Rack On A Hollow Door?
Yes, but use anchors or toggle bolts for better support. These provide extra stability and prevent damage to hollow doors.
How High Should I Mount A Coat Rack On A Door?
Mount the coat rack about 5 to 6 feet from the floor. This height is convenient for most users to hang and retrieve items.
Conclusion
Attaching a coat rack to a door is simple and practical. You save space and keep things organized. Choose the right rack and tools before starting. Measure and mark carefully for a good fit. Tighten screws firmly to make the rack strong.
Now, hang your coats and bags with ease. This small step can make your room tidier. Enjoy the neat and easy access every day.


