Are you ready to give your bathroom a fresh, polished look? Attaching a vanity top to your cabinet might seem tricky, but with the right steps, you can do it yourself and save time and money.
Imagine the satisfaction of seeing a perfect, sturdy vanity that you installed on your own. In this guide, you’ll discover simple, clear instructions that anyone can follow. Whether you’re a beginner or just need a quick refresher, by the end, you’ll feel confident to tackle this project and transform your space.
Keep reading—your dream vanity is closer than you think!
Choosing The Right Vanity Top
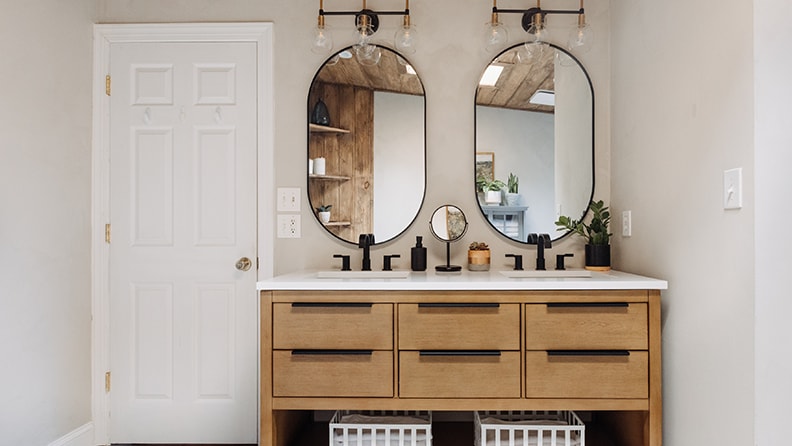
Choosing the right vanity top is key to a good bathroom look and function. The right top fits your cabinet perfectly and matches your style. It also should be durable and easy to clean. This section helps you pick the best vanity top for your needs.
Materials And Styles
Vanity tops come in many materials. Popular options include granite, marble, quartz, and laminate. Granite and quartz are strong and resist stains. Marble looks beautiful but needs careful care. Laminate is budget-friendly and easy to clean. Styles vary from modern to classic. Choose a style that matches your bathroom decor. Consider the color and finish too.
Measuring Your Cabinet
Measure your cabinet before buying a vanity top. Measure the width, depth, and height of the cabinet. Write down these numbers to avoid mistakes. Check if your cabinet has any overhang or handles. These can affect the size of the vanity top you need. Accurate measurements help the top fit well and look neat.
Preparing The Cabinet
Preparing the cabinet is the first step to attach a vanity top correctly. It ensures the top fits well and stays secure. Taking time to prepare can prevent problems later. This part focuses on cleaning and leveling the cabinet and checking for damage.
Cleaning And Leveling
Start by removing any dust, dirt, or old glue from the cabinet surface. Use a damp cloth and mild cleaner for this job. A clean surface helps the vanity top stick better.
Next, check if the cabinet is level. Use a spirit level tool across the top edges. If the cabinet is uneven, the vanity top won’t sit flat. Adjust the cabinet by adding shims or sanding rough spots. Leveling is key for a perfect fit and to avoid water pooling.
Checking For Damage
Look closely for cracks, warping, or water damage on the cabinet. Damaged areas can weaken the support for your vanity top. Fix minor damage with wood filler or replace parts if needed. Ensuring the cabinet is solid keeps the vanity top stable and safe over time.
Gathering Tools And Supplies
Before attaching a vanity top to a cabinet, gathering the right tools and supplies is important. Having everything ready saves time and avoids interruptions. Prepare all items in one place to work smoothly and safely. This step ensures a strong and secure installation.
Essential Tools
Start with a drill to make holes for screws. A screwdriver helps tighten screws firmly. Use a level to keep the vanity top even. A measuring tape measures distances accurately. Clamps hold the vanity top while securing it. Safety glasses protect your eyes during work.
Recommended Materials
Choose quality screws that fit the cabinet and vanity top. Use silicone sealant to prevent water damage. A bead of caulk seals gaps between surfaces. Painter’s tape helps make clean edges with sealant. Clean cloths wipe away excess sealant and dust. Sandpaper smooths any rough edges before installation.
Positioning The Vanity Top
Positioning the vanity top correctly is important for a neat finish. It makes sure the top fits well and looks balanced. Taking time to place it right helps avoid future problems.
Aligning Edges
Start by placing the vanity top gently on the cabinet. Check if the edges line up with the cabinet sides. The top should not hang over or sit inside the cabinet edges.
Use a level tool to see if the top is flat and even. Adjust the position until the edges match perfectly. A well-aligned edge gives a clean and professional look.
Ensuring Proper Fit
Measure the space between the vanity top and the wall. There should be a small gap for expansion but not too wide. The sink cutout must sit right above the cabinet opening.
Test the fit by pressing down lightly on the vanity top. It should feel stable and not move around. Check that the faucet holes line up with the cabinet plumbing.
Securing The Vanity Top
Securing the vanity top properly is important for durability and safety. A well-attached top stays stable during daily use. This section guides you through the best ways to secure your vanity top to the cabinet.
Applying Adhesive
Start by cleaning the cabinet surface. Remove dust and dirt to ensure strong bonding. Use a high-quality construction adhesive made for bathroom use. Apply a thin, even bead of adhesive along the cabinet edges. Avoid putting too much adhesive to prevent overflow. Place the vanity top carefully on the cabinet. Press down firmly to spread the adhesive evenly. Let the adhesive dry for the time recommended by the manufacturer. This step keeps the top firmly in place.
Using Clamps Or Fasteners
Clamps help hold the vanity top while the adhesive dries. Place clamps evenly around the edges. Tighten the clamps just enough to keep the top steady. Avoid overtightening to prevent damage. Some vanities use screws or brackets as extra fasteners. Check your vanity model for these options. Fasteners add extra security and stop any movement. Remove clamps only after the adhesive is fully cured. This ensures the vanity top is secure and stable.
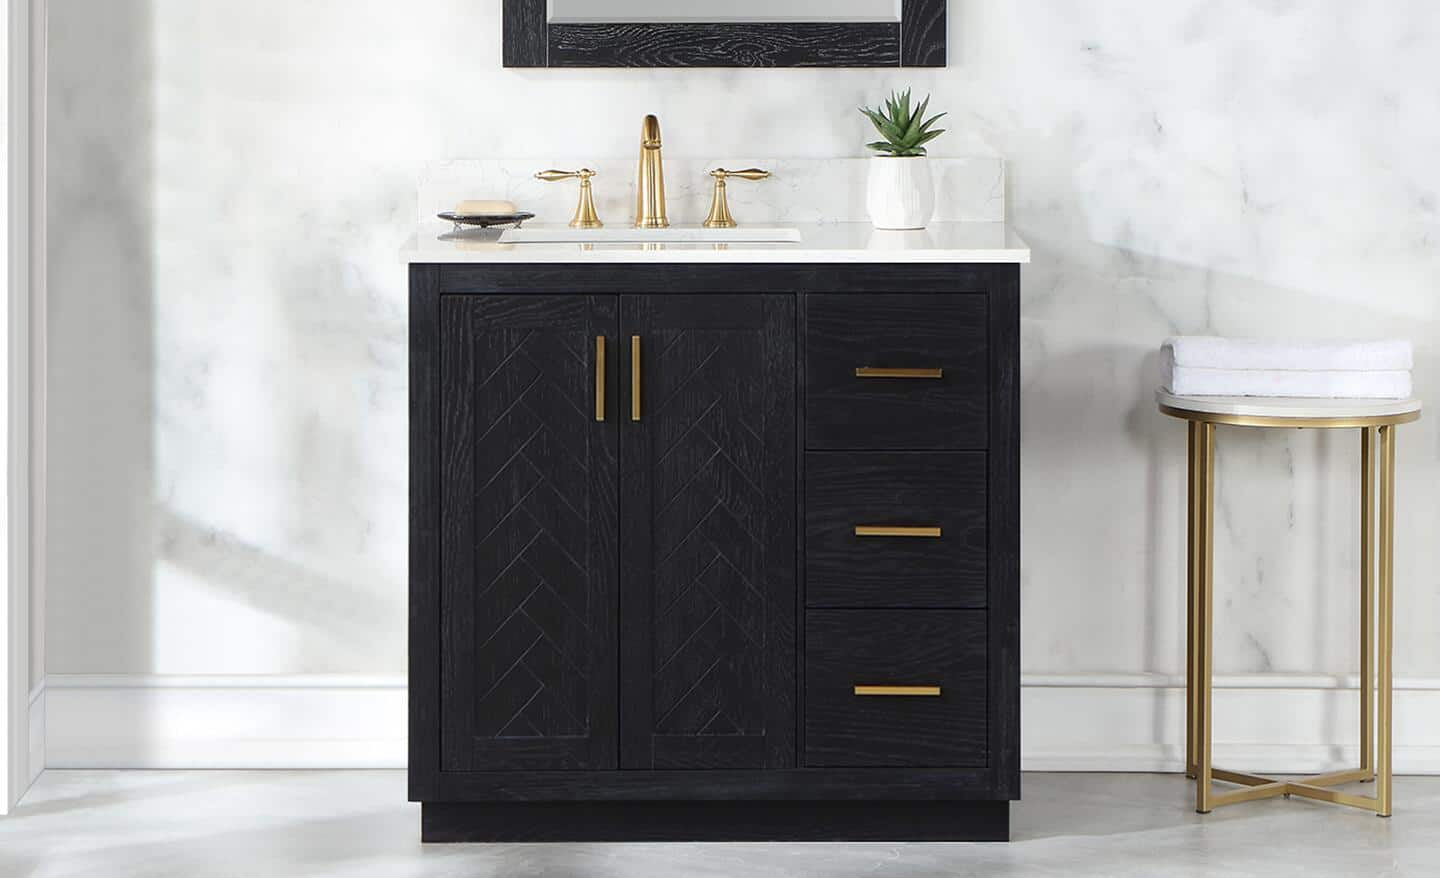
Credit: www.lowes.com
Sealing And Finishing
Sealing and finishing your vanity top ensures a neat look and protects against water damage. Proper sealing stops water from seeping into gaps. Finishing touches make the vanity durable and clean.
Caulking Edges
Apply a bead of silicone caulk along the edges where the vanity top meets the cabinet. Use a caulking gun for smooth and even application. Press the caulk gently into the gap to fill it completely. This seals out moisture and prevents mold growth. Smooth the caulk with a wet finger or a caulk tool for a clean finish.
Cleaning Excess Material
Wipe away any extra caulk before it dries. Use a damp cloth or a paper towel for this task. Removing excess material keeps the surface neat and tidy. Clean edges improve the overall look of the vanity. Allow the caulk to dry fully before using the vanity to ensure a strong seal.
Troubleshooting Common Issues
Attaching a vanity top to a cabinet is a common DIY task. Sometimes, small problems appear during installation. These issues can cause gaps, misalignments, or uneven surfaces. Fixing these troubles early keeps your vanity looking great and working well.
Fixing Gaps And Misalignments
Gaps between the vanity top and cabinet often happen because of small measurement errors. Check the edges carefully. Use a thin bead of silicone caulk to fill small gaps. For bigger gaps, use wood shims to adjust the fit.
Misalignment can cause the vanity top to sit unevenly. Loosen the screws slightly and shift the top until it lines up. Tighten screws slowly while checking the alignment often. This helps keep the vanity top straight and secure.
Dealing With Uneven Surfaces
Uneven cabinet surfaces make the vanity top unstable. Use a level to find high and low spots. Sand down high areas gently to smooth them out. For low spots, add thin wood strips or shims to raise the surface.
Check the surface again after adjustments. Repeat sanding or shimming as needed until the vanity top sits flat. A stable base prevents damage and ensures a clean finish.
Credit: www.homedepot.com
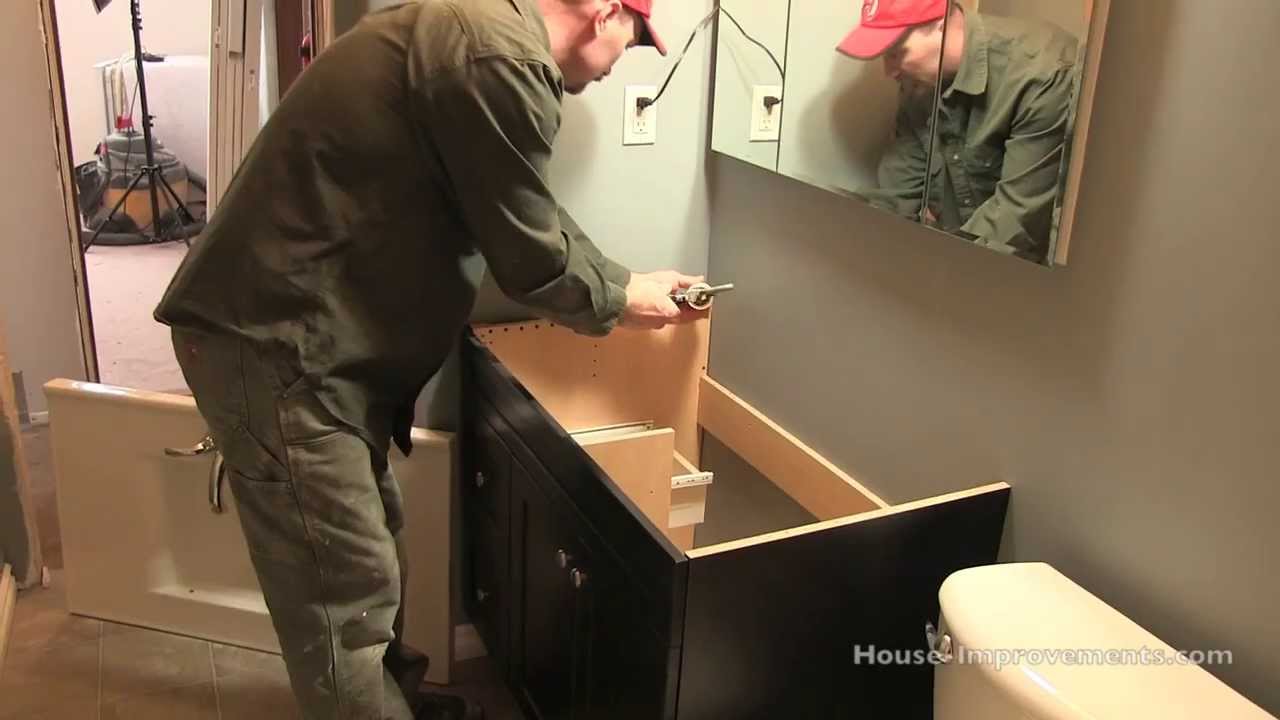
Credit: www.youtube.com
Frequently Asked Questions
How Do I Secure A Vanity Top To The Cabinet?
To secure a vanity top, apply a bead of silicone caulk on the cabinet edges. Carefully place the vanity top and press firmly. Use clamps if needed. Finally, tighten the mounting clips or screws underneath to hold it in place securely.
What Tools Are Needed To Attach A Vanity Top?
You will need silicone caulk, a caulking gun, clamps, a screwdriver, and mounting clips. A level and measuring tape help ensure alignment. These tools make installation easier and ensure a strong, stable attachment between the vanity top and cabinet.
Can I Install A Vanity Top Myself?
Yes, installing a vanity top is a manageable DIY project. With basic tools and careful preparation, you can align and secure the top properly. Follow instructions closely, use silicone for sealing, and ensure the top is level for a professional finish.
How Do I Prevent Water Damage When Attaching Vanity Tops?
Apply a waterproof silicone sealant around edges before attaching. This prevents water from seeping into the cabinet. Ensure all gaps are sealed tightly. Proper sealing protects the cabinet from moisture damage and increases the vanity’s lifespan.
Conclusion
Attaching a vanity top to a cabinet is simple with the right steps. Measure carefully and use the correct tools. Secure the top firmly to avoid movement or damage. Take your time and follow the instructions closely. A well-attached vanity top improves both function and look.
You can complete this project with patience and care. Enjoy your new vanity and the fresh look it brings.