Are you ready to create a sturdy, stylish bunk bed that fits perfectly in your space? Building a bunk bed out of wood might sound challenging, but with the right steps, you can make it happen yourself.
Imagine the satisfaction of sleeping in a bed you built with your own hands—strong, safe, and tailored just for you. This guide will walk you through every step, using simple language and clear instructions. By the end, you’ll have all the know-how to build a bunk bed that saves space and looks great.
Keep reading, and let’s get started on turning your woodworking skills into a beautiful, functional piece of furniture!
Choosing The Right Wood
Choosing the right wood is the first step in building a strong bunk bed. The wood type affects the bed’s strength and how long it lasts. Picking the right wood keeps the bed safe and sturdy for years.
Types Of Wood For Durability
Hardwoods like oak, maple, and birch are very strong and last long. These woods resist dents and scratches well. Pine is softer but easy to work with and affordable. Cedar is good if you want a natural smell and insect resistance. Choose wood that can hold weight without bending or breaking.
Wood Quality And Safety Tips
Use wood that is smooth and free from cracks or knots. Rough wood can cause splinters and weaken the bed. Avoid wood treated with harmful chemicals. Sand the wood well to remove sharp edges. Check for wood that is dry to prevent warping or shrinking later.
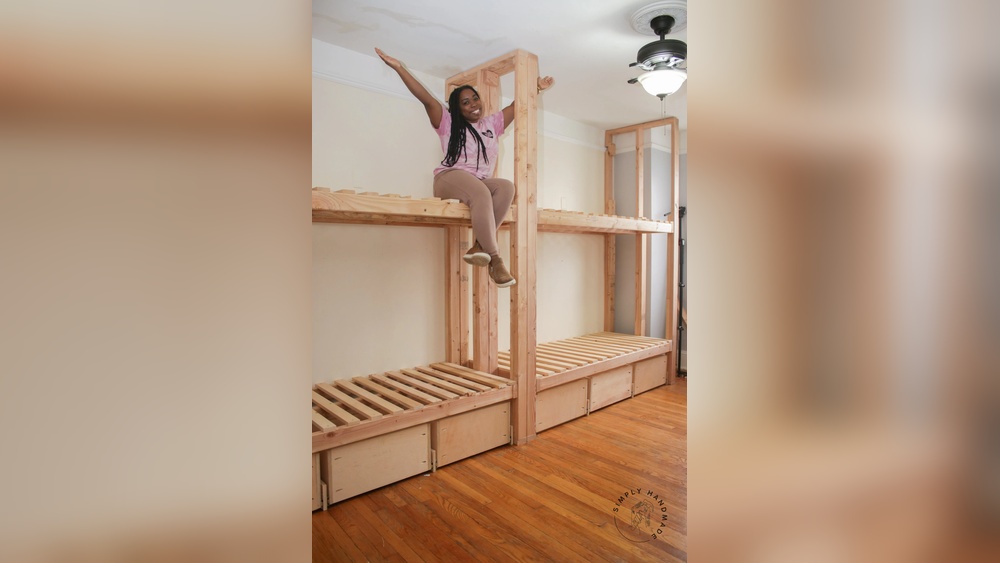
Credit: rogueengineer.com
Gathering Tools And Materials
Building a bunk bed out of wood starts with gathering the right tools and materials. Having everything ready makes the process smooth and safe. Proper tools help create strong joints and clean cuts. Quality materials ensure the bed is sturdy and lasts long. Preparing well saves time and frustration later.
Essential Tools List
Start with a saw for cutting wood. A circular saw or handsaw works well. Use a drill to make holes and drive screws. Screwdrivers help tighten fasteners securely. A measuring tape ensures exact dimensions. A carpenter’s square keeps angles precise. Sandpaper or a power sander smooths edges. Clamps hold pieces steady while assembling. A pencil marks measurements and cut lines.
Additional Supplies Needed
Wood screws or bolts fasten parts tightly. Wood glue adds extra strength. Safety gear protects eyes and hands. Wood boards or planks form the bed frame. Choose sturdy hardwood or quality plywood. Paint or wood finish protects and beautifies. Sanding blocks refine rough spots. Wood filler fixes small holes or cracks. Having these supplies ready keeps work easy and safe.
Designing Your Bunk Bed
Designing your bunk bed is the first step in building a safe and comfortable piece. A well-thought-out design helps ensure the bed fits your space and meets your needs. It also guides the building process, making it easier to follow and complete.
Think about who will use the bunk bed and how much space you have. Consider the room’s size, ceiling height, and the mattress dimensions. Planning ahead saves time and materials later.
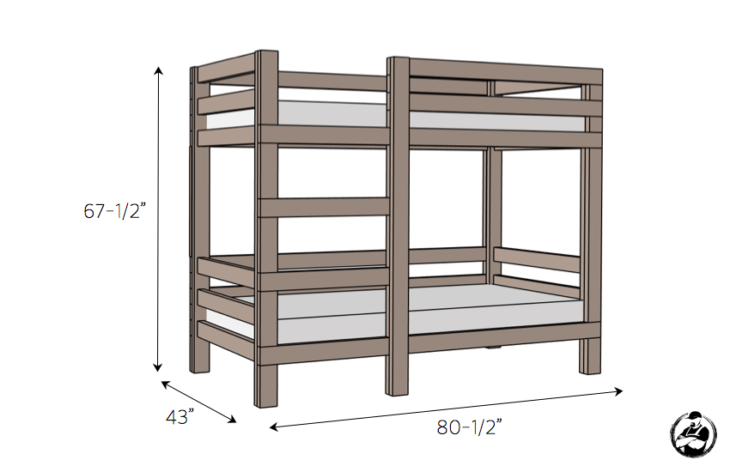
Basic Bunk Bed Dimensions
Standard bunk beds usually measure 80 inches long and 42 inches wide. This fits a typical twin mattress. The height from floor to the top bunk’s mattress is about 60 inches. This height gives enough headroom for the sleeper below.
The ladder width is usually 15 inches, with steps spaced about 10 inches apart. The guardrails should be at least 5 inches above the mattress to keep sleepers safe. These measurements help create a secure and comfortable bunk bed.
Customizing For Space And Style
Adjust the bunk bed size to fit your room perfectly. Use shorter lengths for smaller rooms or longer ones for extra comfort. You can also change the height to match your ceiling or add extra clearance below the bottom bunk.
Choose wood types and finishes that match your room’s style. Paint or stain can add color and protect the wood. Adding shelves or storage drawers makes the bed more functional. Custom touches create a bunk bed that fits your style and needs.
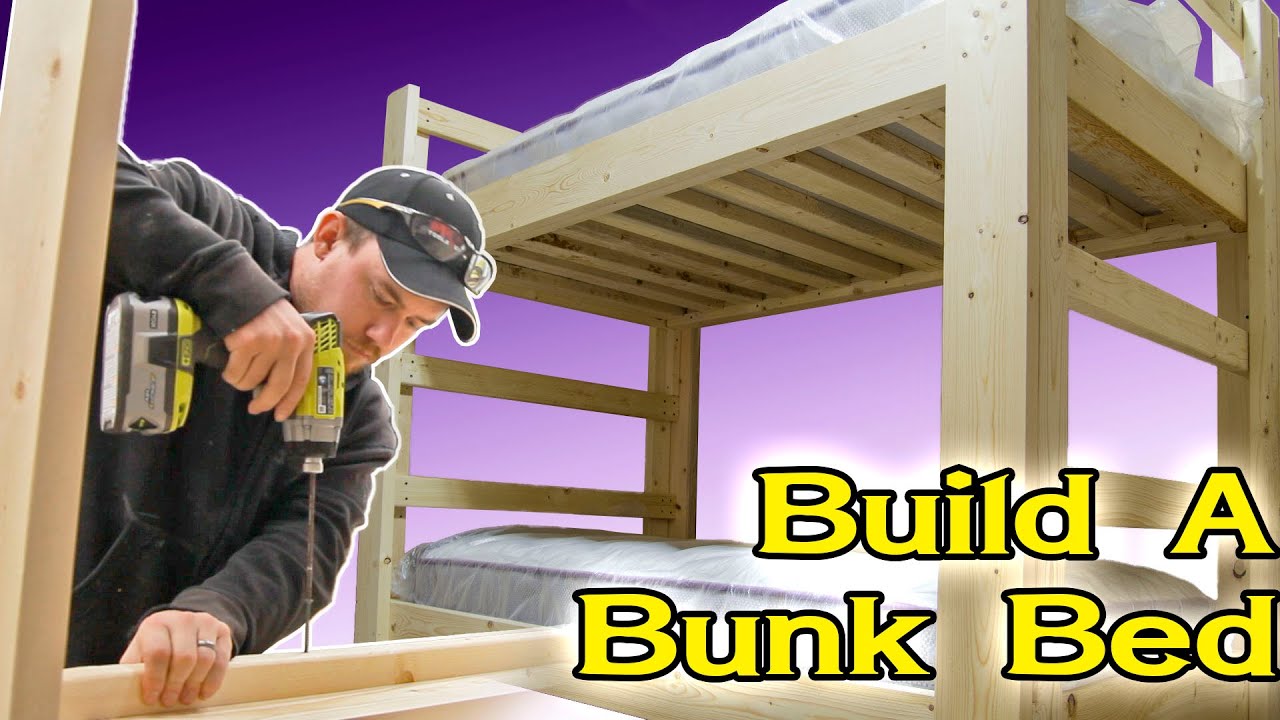
Credit: www.youtube.com
Cutting The Wood Pieces
Cutting the wood pieces is a crucial step in building a sturdy bunk bed. Accurate cuts ensure all parts fit well and the bed stays strong. Take your time measuring and cutting to avoid mistakes.
Measuring And Marking
Start by measuring each piece carefully. Use a tape measure to get exact lengths. Mark each cut line clearly with a pencil. Double-check your marks before cutting. Mark both sides of the wood for better accuracy.
Safe Cutting Techniques
Always wear safety goggles and gloves before cutting. Use a saw that suits the wood type and thickness. Keep your hands away from the blade at all times. Cut slowly and steadily to avoid splintering. Clamp the wood piece to keep it steady during cutting.
Assembling The Frame
Assembling the frame is a key step in building a sturdy bunk bed. The frame holds all parts together and supports weight safely. Focus on strong connections and precise measurements. Take time to check each piece fits well. This will make the bed safe and long-lasting.
Start with the bed rails and then move to the headboard and footboard. Use quality wood and strong screws. Keep tools ready for quick work and accurate assembly.
Building The Bed Rails
Bed rails connect the headboard and footboard. Cut two long side rails and two short end rails. Sand all edges smooth to avoid splinters. Drill pilot holes before screwing to prevent wood splitting. Attach the rails using wood screws and corner brackets. Make sure the rails form a perfect rectangle. Check for square corners with a carpenter’s square. Tighten all screws firmly for strong support.
Constructing The Headboard And Footboard
Headboard and footboard give the bunk bed its shape. Cut vertical posts and horizontal boards from sturdy wood. Sand all parts carefully. Assemble by attaching horizontal boards to vertical posts. Use wood glue and screws for added strength. Make sure boards are evenly spaced for a neat look. Check the height and width to match the bed rails. Secure all joints tightly to avoid wobbling. This frame section must hold the mattress and sleeper safely.
Adding The Ladder And Guardrails
Adding the ladder and guardrails to your wooden bunk bed is essential for safety and ease of use. These parts help children climb up and sleep safely on the top bunk. Proper placement and secure attachment keep the bed stable and protect against falls.
Ladder Placement And Attachment
Choose a ladder position that is easy to reach and does not block room space. Usually, the ladder goes on the bunk bed’s side or end. Measure carefully to ensure it fits well. Use strong screws and brackets to attach the ladder firmly to the frame. Check that the ladder steps are wide and spaced evenly. This makes climbing safe and comfortable.
Installing Secure Guardrails
Guardrails prevent falls while sleeping on the top bunk. Attach guardrails on all sides where a sleeper might roll off. Use thick, sturdy wood for strength. Fix the guardrails tightly to the bed frame with screws or bolts. The guardrail height should be at least five inches above the mattress top. Double-check all connections for stability before use.
Sanding And Finishing
Sanding and finishing are key steps in building a wooden bunk bed. They help make the bed safe and look great. Proper sanding removes rough spots and prepares the wood for paint or stain. Finishing protects the wood from damage and wear. These steps give the bunk bed a smooth, polished surface that feels nice to touch. Follow these tips to get the best results.
Smoothing Rough Edges
Start sanding with coarse sandpaper to remove large splinters. Move the sandpaper along the grain of the wood. This avoids scratches and keeps the surface smooth. Use finer sandpaper to smooth out all rough areas. Pay extra attention to corners and edges where splinters can form. Sand every surface that will be touched. Clean off dust with a dry cloth before moving to finishing.
Applying Paint Or Stain
Choose paint or stain designed for wood furniture. This protects the bunk bed and improves its look. Apply paint or stain with a brush or cloth in thin, even layers. Let the first coat dry fully before adding another. Lightly sand between coats for a smooth finish. Finish with a clear sealant for extra protection. This makes the bed last longer and easier to clean.

Credit: www.simplifiedbuilding.com
Ensuring Safety And Stability
Building a bunk bed from wood is a rewarding project. Safety and stability are key to a strong, long-lasting bunk bed. Careful attention to detail helps avoid accidents and injuries. Follow clear steps to make sure your bunk bed holds up well over time.
Checking Joints And Fasteners
Inspect all joints closely. Use wood glue with screws or bolts for extra strength. Tighten screws and bolts firmly but avoid splitting the wood. Use corner braces to support weak points. Recheck fasteners regularly to keep the bed steady.
Weight Limits And Usage Tips
Know the weight limit of your bunk bed. Use solid wood for heavier loads. Avoid jumping or rough play on the bed. Place the bed on a flat, hard floor. Teach children to climb carefully using the ladder only.
Maintaining Your Bunk Bed
Maintaining your wooden bunk bed keeps it safe and long-lasting. Regular care stops small problems from growing. It also keeps the bed sturdy and comfortable for years. Simple steps make a big difference.
Regular Inspections
Check the bed often for loose screws and bolts. Tighten them to keep the frame strong. Look for cracks or splits in the wood. Watch for any wobbling or unusual noises. Early checks help find problems early. Make this a monthly habit for safety.
Repairing Common Issues
Fix loose parts by tightening or replacing screws. Use wood glue for small cracks or splits. Sand rough or splintered areas to prevent injuries. Replace worn-out slats or supports right away. Repairing quickly keeps the bed safe. This stops small issues from turning into big repairs.
Frequently Asked Questions
What Materials Do I Need To Build A Wooden Bunk Bed?
You need quality wood like pine or oak, screws, nails, wood glue, sandpaper, and a protective finish. Safety gear and basic woodworking tools are essential too.
How Much Time Does Building A Bunk Bed Usually Take?
Building a bunk bed typically takes 1 to 3 days. Time varies based on skill level and design complexity.
Is It Safe To Build A Bunk Bed At Home?
Yes, if you follow safety guidelines and use sturdy materials. Ensure secure joints and guardrails to prevent falls.
What Is The Best Wood Type For Bunk Beds?
Hardwoods like oak and maple are best for durability. Pine is budget-friendly but less sturdy over time.
Conclusion
Building a wooden bunk bed is a fun and rewarding project. It saves space and adds style to any room. Careful planning and good tools make the job easier. Always measure twice and cut once to avoid mistakes. Take your time and follow safety steps closely.
Soon, you will enjoy a strong, cozy bunk bed made by your own hands. This simple guide helps you create a useful piece of furniture with confidence. Give it a try and see how satisfying DIY can be!