Are you ready to transform your space with a bunk house bed that’s both stylish and functional? Building your own bunk house bed might sound tricky, but with the right steps, you can create a cozy, sturdy sleeping spot that fits perfectly in your room.
Imagine saving space, adding charm, and giving your kids or guests a bed they’ll love—all without breaking the bank. Keep reading, and you’ll discover simple tips and clear instructions that make this project easier than you think. Your dream bunk house bed is closer than you realize!
Planning Your Bunk House Bed
Planning your bunk house bed is the first step to a successful build. Careful planning saves time and money. It also ensures the bed fits well and is safe. Start with clear ideas about design, materials, and space. These points guide your project from start to finish.
Choosing The Right Design
Pick a design that matches the room’s style and size. Think about how many people will use the bed. Simple designs are easier to build and maintain. Consider adding storage or a desk under the bed. Choose a design that fits your skills and tools.
Selecting Materials
Choose strong, durable wood like pine or oak. Avoid soft woods that may bend or break. Use screws and brackets for a sturdy frame. Sand the wood smooth to prevent splinters. Paint or seal the wood to protect it from wear.
Measuring Your Space
Measure the room carefully before buying materials. Note ceiling height and floor space. Leave enough space for walking and other furniture. Check doorways and stairs for moving parts. Accurate measurements help avoid costly mistakes.
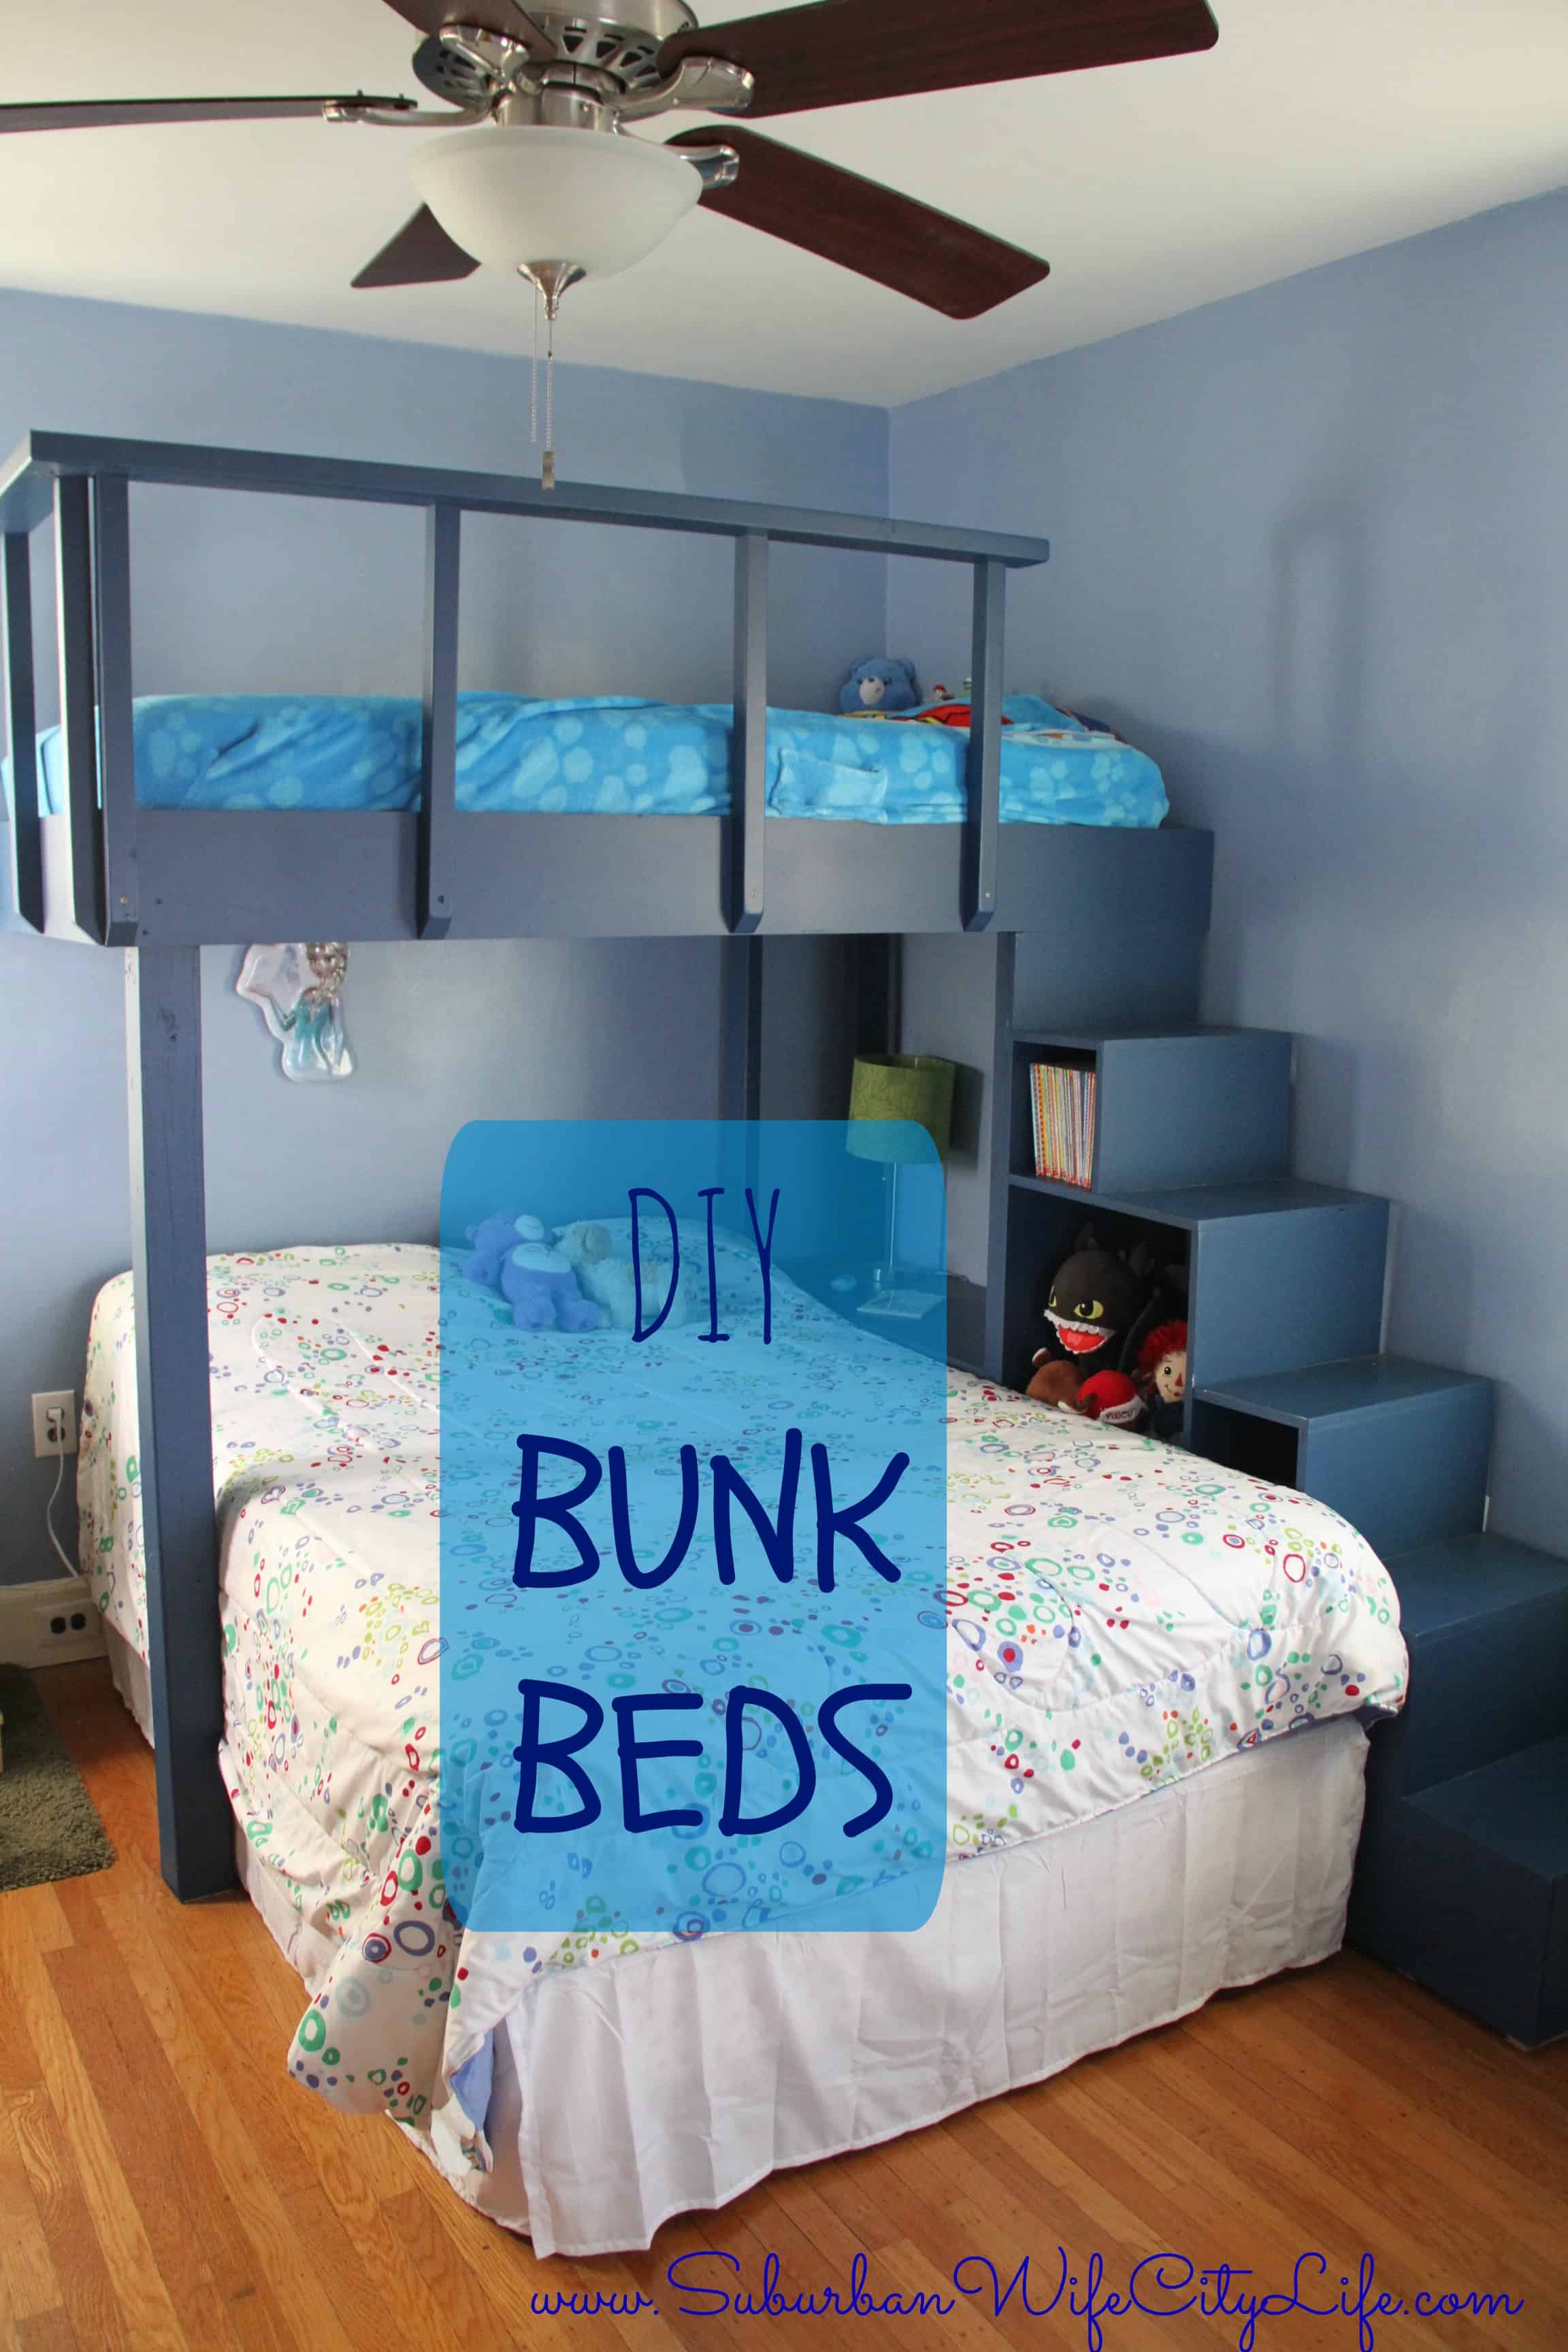
Credit: suburbanwifecitylife.com
Gathering Tools And Supplies
Before building a bunk house bed, gathering the right tools and supplies is key. The right items make the project easier and safer. Planning this step saves time and effort later. Prepare everything in one place to avoid interruptions. This section lists what you need to start confidently.
Essential Tools List
Get these tools ready to build your bunk house bed:
- Measuring tape for accurate cuts
- Power drill with drill bits
- Screwdriver set (both flathead and Phillips)
- Handsaw or circular saw for cutting wood
- Clamps to hold pieces firmly
- Hammer for nails and adjustments
- Level to ensure even surfaces
- Sandpaper or electric sander for smooth finishes
Recommended Materials
Choose these materials for a sturdy bed frame:
- High-quality pine or oak lumber
- Wood screws and nails
- Wood glue for extra strength
- Wood stain or paint for finishing
- Mattress support slats or plywood sheets
- Corner brackets for added stability
Safety Gear
Protect yourself with proper safety gear:
- Safety goggles to shield your eyes
- Work gloves to protect your hands
- Dust mask to avoid inhaling sawdust
- Ear protection if using loud tools
- Closed-toe shoes for foot safety
Preparing The Workspace
Preparing your workspace is the first step in building a bunk house bed. A clean and organized area helps you work faster and safer. It also keeps your tools and materials easy to find. This section guides you through clearing and organizing the space, then setting up workstations for smooth progress.
Clearing And Organizing
Remove all unnecessary items from the workspace. Clear enough room to move around comfortably. Sweep the floor to get rid of dust and debris. Organize your wood, screws, and nails in separate containers. Keep materials close to your working spot. A tidy space reduces mistakes and accidents.
Setting Up Workstations
Create different zones for cutting, assembling, and finishing. Place your saw and measuring tools on a sturdy table. Set up clamps and drills within easy reach. Have a separate area for sanding and painting. Good lighting helps you see details clearly. A well-planned workspace saves time and effort.
Cutting And Assembling The Frame
Building a bunk house bed starts with cutting and assembling the frame. This step sets the base for a strong and safe bed. Precise measuring and careful cutting ensure all parts fit well. The frame holds everything together, so follow each step with care.
Measuring And Cutting Wood
Measure each piece of wood twice before cutting. Use a tape measure and mark the wood clearly. Cut the wood with a saw, following the marks exactly. Smooth any rough edges with sandpaper. Accurate cuts make assembly easier and stronger.
Building The Bed Frame
Lay out all wood pieces on a flat surface. Arrange them in the shape of the bed frame. Check that all parts match the design measurements. Prepare to join the side rails, headboard, and footboard. The frame should look sturdy before joining parts.
Joining And Securing Parts
Use wood screws and brackets to join frame parts. Drill pilot holes to prevent wood from splitting. Tighten screws firmly, but do not over-tighten. Check each connection for stability and strength. The frame must hold weight without wobbling or shifting.
Adding Support And Safety Features
Adding support and safety features is key to making a bunk house bed strong and safe. These features keep the bed steady and protect anyone who sleeps on it. Focus on solid support and secure safety parts for a reliable bunk bed.
Installing Slats Or Platform
Start with slats or a platform to hold the mattress. Use strong wood slats spaced evenly. Space them about 2 to 3 inches apart. This stops the mattress from sagging. Screw the slats firmly to the bed frame. A wooden platform also works well for extra support. It spreads weight evenly across the bed.
Building Guardrails
Guardrails prevent falls during sleep. Build guardrails on all open sides of the top bunk. Use thick wood pieces about 5 to 7 inches tall. Attach them securely to the bed frame. Make sure no gaps are wide enough for a child to slip through. Rounded edges improve safety and comfort.
Adding A Ladder
A ladder gives safe access to the top bunk. Use wide, flat steps for better footing. Fix the ladder firmly to the bed frame. Angle it slightly for easy climbing. Check that the ladder does not wobble. Add hand grips if needed for extra support.

Credit: www.youtube.com
Sanding And Finishing Touches
After assembling your bunk house bed, sanding and finishing touches are essential. These steps make the bed safe and visually appealing. Proper sanding removes rough edges and splinters. Finishing protects the wood and adds color or shine. This process improves durability and comfort.
Smoothing Surfaces
Start by sanding all wooden surfaces with medium-grit sandpaper. This removes rough spots and sharp edges. Next, use fine-grit sandpaper for a smooth finish. Always sand along the wood grain to avoid scratches. Wipe away dust with a clean cloth before moving on.
Painting Or Staining
Choose paint or stain based on your style preference. Paint offers bright, solid colors and covers wood grain. Stain highlights the natural wood texture and adds warmth. Apply thin, even coats for the best result. Let each coat dry fully before adding another layer.
Applying Protective Coating
Protective coatings shield the bed from wear and spills. Use clear varnish, polyurethane, or lacquer for long-lasting protection. Apply two to three coats with a brush, allowing drying time between coats. This step makes cleaning easier and extends the bed’s life.
Final Assembly And Installation
The final assembly and installation of your bunk house bed is the most exciting part. This step brings all the pieces together into a sturdy, safe bed. Following clear, careful steps ensures a strong structure that lasts long.
Take your time to connect all parts correctly. Check each joint for tightness. Safety matters most, especially for children using the bed. A well-built bunk bed gives comfort and peace of mind.
Putting The Bed Together
Start by aligning the bed frames on a flat surface. Attach the side rails to the head and footboards using screws. Tighten each screw firmly but avoid over-tightening. Connect the slats that hold the mattress evenly across the frame. Test the frame for stability before moving to the next step.
Securing To Walls If Needed
For extra safety, secure the bunk bed to the wall. Use metal brackets or straps designed for furniture. Find wall studs using a stud finder for strong support. Attach brackets to the bed frame and then to the wall. Double-check the connection to prevent any wobbling or tipping.
Placing Mattresses And Bedding
Choose mattresses that fit the bunk bed size exactly. Place the mattresses gently on the slats, ensuring even support. Add fitted sheets, blankets, and pillows suited for the room’s style. Check that bedding does not block ladders or guardrails. A tidy bed invites good rest and comfort.
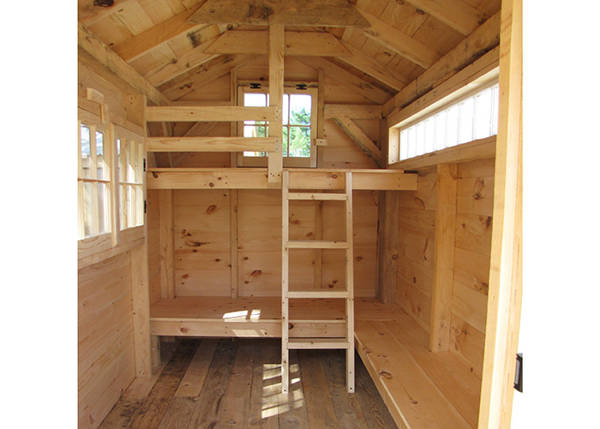
Credit: jamaicacottageshop.com
Maintenance And Safety Tips
Building a bunk house bed is just the first step. Keeping it safe and sturdy matters a lot. Regular care helps the bed last longer and keeps everyone safe. Follow these simple tips to maintain your bunk house bed well.
Regular Inspections
Check the bed often for loose screws or bolts. Tighten any that feel weak or shaky. Look for cracks or splits in the wood. Notice any wobbling or unusual sounds. Find problems early to prevent accidents. Don’t skip these inspections, especially if kids use the bed.
Cleaning And Upkeep
Dust the bed regularly to stop dirt build-up. Use a soft cloth and mild cleaner to wipe the surfaces. Avoid harsh chemicals that can damage the wood or paint. Keep the bed dry to prevent mold or wood warping. Clean sheets and mattresses often to keep the bed fresh.
Ensuring Long-term Safety
Use safety rails on the top bunk to stop falls. Make sure the ladder is strong and easy to climb. Replace any damaged parts right away. Avoid overloading the bed with extra weight. Teach children to use the bed carefully and not jump on it. These steps help keep the bunk house bed safe for years.
Frequently Asked Questions
What Materials Are Needed To Build A Bunk House Bed?
You need quality wood, screws, nails, sandpaper, wood glue, a drill, saw, measuring tape, and paint or stain. Choose sturdy wood like pine or oak for durability and safety.
How Long Does It Take To Build A Bunk House Bed?
Building a bunk house bed usually takes 1 to 3 days. Time varies based on skill level, tools, and complexity of the design.
Is It Safe To Build A Bunk House Bed At Home?
Yes, it is safe if you follow proper instructions, use quality materials, and ensure sturdy construction. Always check for stability and secure all joints.
What Tools Are Essential For Bunk House Bed Construction?
Essential tools include a saw, drill, screwdriver, measuring tape, level, clamps, and sander. These help achieve precise cuts and secure assembly.
Conclusion
Building a bunk house bed can save space and add style. Follow clear steps and use safe tools. Take your time and measure everything twice. Choose good wood for strength and durability. Finish with smooth sanding to avoid splinters. Personalize with paint or decorations if you like.
Enjoy the new bed and the extra room. Simple projects like this bring pride and comfort. Start small, and you will see progress fast. A sturdy bunk bed makes any room better.