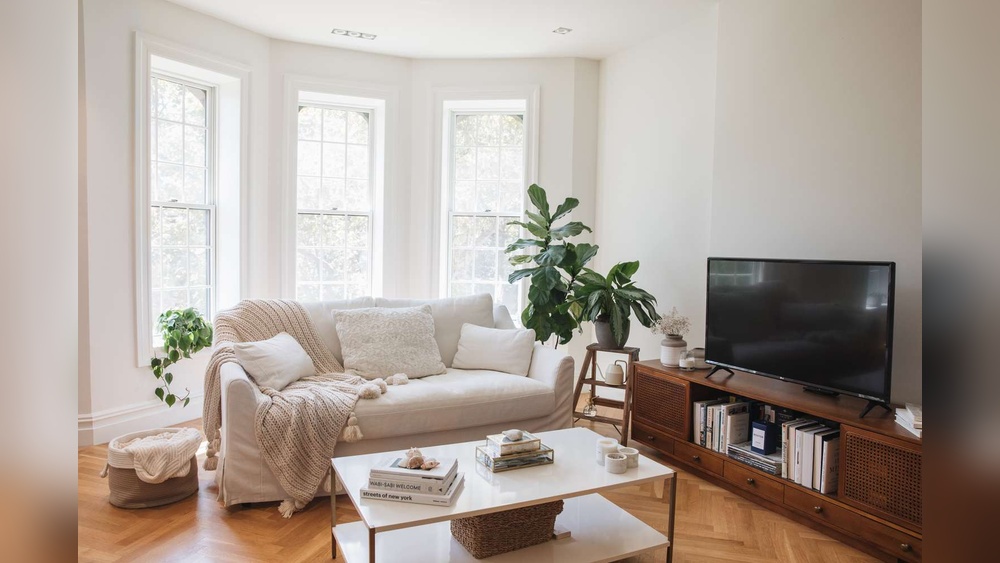
Are you looking to add a stylish and functional piece to your home? Building a console table with doors is a perfect way to do just that.
Imagine having a sleek table that not only enhances your space but also hides away clutter neatly. In this guide, you’ll discover simple steps to create your own console table, even if you’re new to woodworking. By the end, you’ll have the confidence and know-how to build a beautiful, practical table that fits your style and needs.
Ready to transform your space? Let’s get started!
Materials And Tools Needed
Building a console table with doors requires the right materials and tools. Choosing quality wood and having the necessary tools ensures a smooth project. Knowing what hardware to use helps create a functional and attractive table. This section covers everything needed to get started.
Choosing The Right Wood
Select wood that fits your style and budget. Pine is affordable and easy to work with. Oak offers strength and a classic look. Birch is smooth and paints well. Consider moisture resistance for durability. Smooth boards reduce sanding time. Avoid wood with many knots or cracks.
Essential Tools List
A good saw cuts wood accurately. A drill helps make holes and attach screws. Sandpaper smooths rough edges for a clean finish. A tape measure ensures precise cuts and placement. Clamps hold pieces together firmly during assembly. A screwdriver tightens screws securely. A level keeps the table even and balanced.
Additional Hardware
Hinges allow the doors to open and close easily. Choose hinges that match door size and weight. Magnetic catches keep doors closed firmly. Handles or knobs add style and function. Screws must fit the wood thickness. Use wood glue for extra strength. Rubber pads protect floors from scratches.
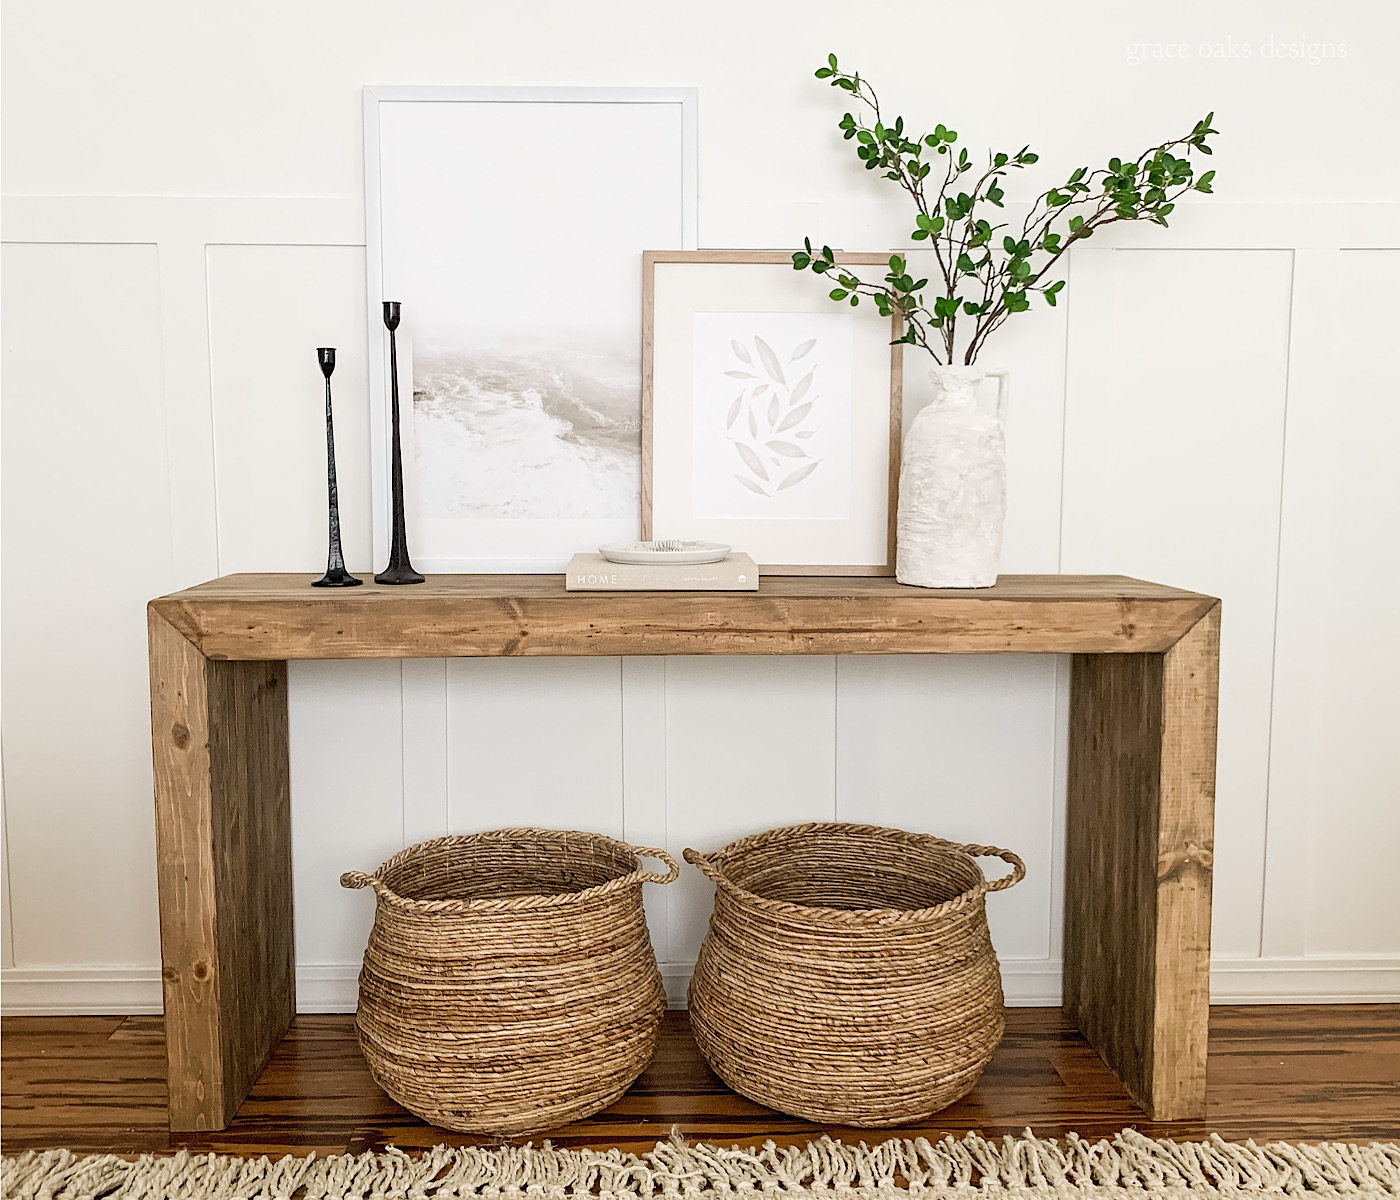
Credit: graceoaksdesigns.com
Planning Your Console Table
Planning your console table is the first step to a successful build. It helps you understand what you need and avoid mistakes. This stage focuses on size, style, and how your table will look.
Careful planning saves time and money. It ensures the table fits your space and meets your needs perfectly.
Deciding On Dimensions
Measure the space where the table will go. Consider width, height, and depth carefully. A good console table should fit without crowding the room.
Think about what you want to store or display. This helps decide the right size. Keep the table comfortable to use and visually balanced.
Designing The Door Style
Choose a door style that matches your room’s decor. Simple flat doors look modern and clean. Paneled or glass doors add character and detail.
Consider how the doors open. Hinges on the side are common. Sliding doors save space in tight areas. Pick a style that suits your needs and skills.
Sketching The Layout
Draw a rough sketch of your console table. Include all parts: doors, shelves, and legs. Use simple lines and shapes to plan the structure.
Sketching helps visualize the project and spot problems early. It guides you during cutting and assembly. Keep it clear and easy to follow.
Cutting The Wood Pieces
Assembling the frame is a key step in building your console table with doors. This part gives the table its shape and strength. Focus on making the frame sturdy and square. A solid frame keeps the table stable and ready for the doors and shelves.
Take your time with each piece. Check measurements twice. Use clamps to hold parts steady as you work.
Joining The Legs And Supports
Start by attaching the legs to the side supports. Use wood glue on the joints. Then, secure with screws or nails. Make sure each leg is straight and flush with the supports. Measure diagonally to confirm the frame is square. Adjust if needed before the glue dries.
Building The Tabletop
Lay out the tabletop boards side by side. Align edges evenly for a smooth surface. Join the boards using wood glue along the seams. Use clamps to hold them tightly together. Add screws from underneath to keep the boards in place. Sand the surface smooth once dry.
Securing The Frame
Attach the tabletop to the frame using screws. Drill pilot holes to prevent wood from splitting. Check that the tabletop sits flat and even. Tighten all screws and let the glue cure. This step ensures your console table is strong and ready for finishing touches.
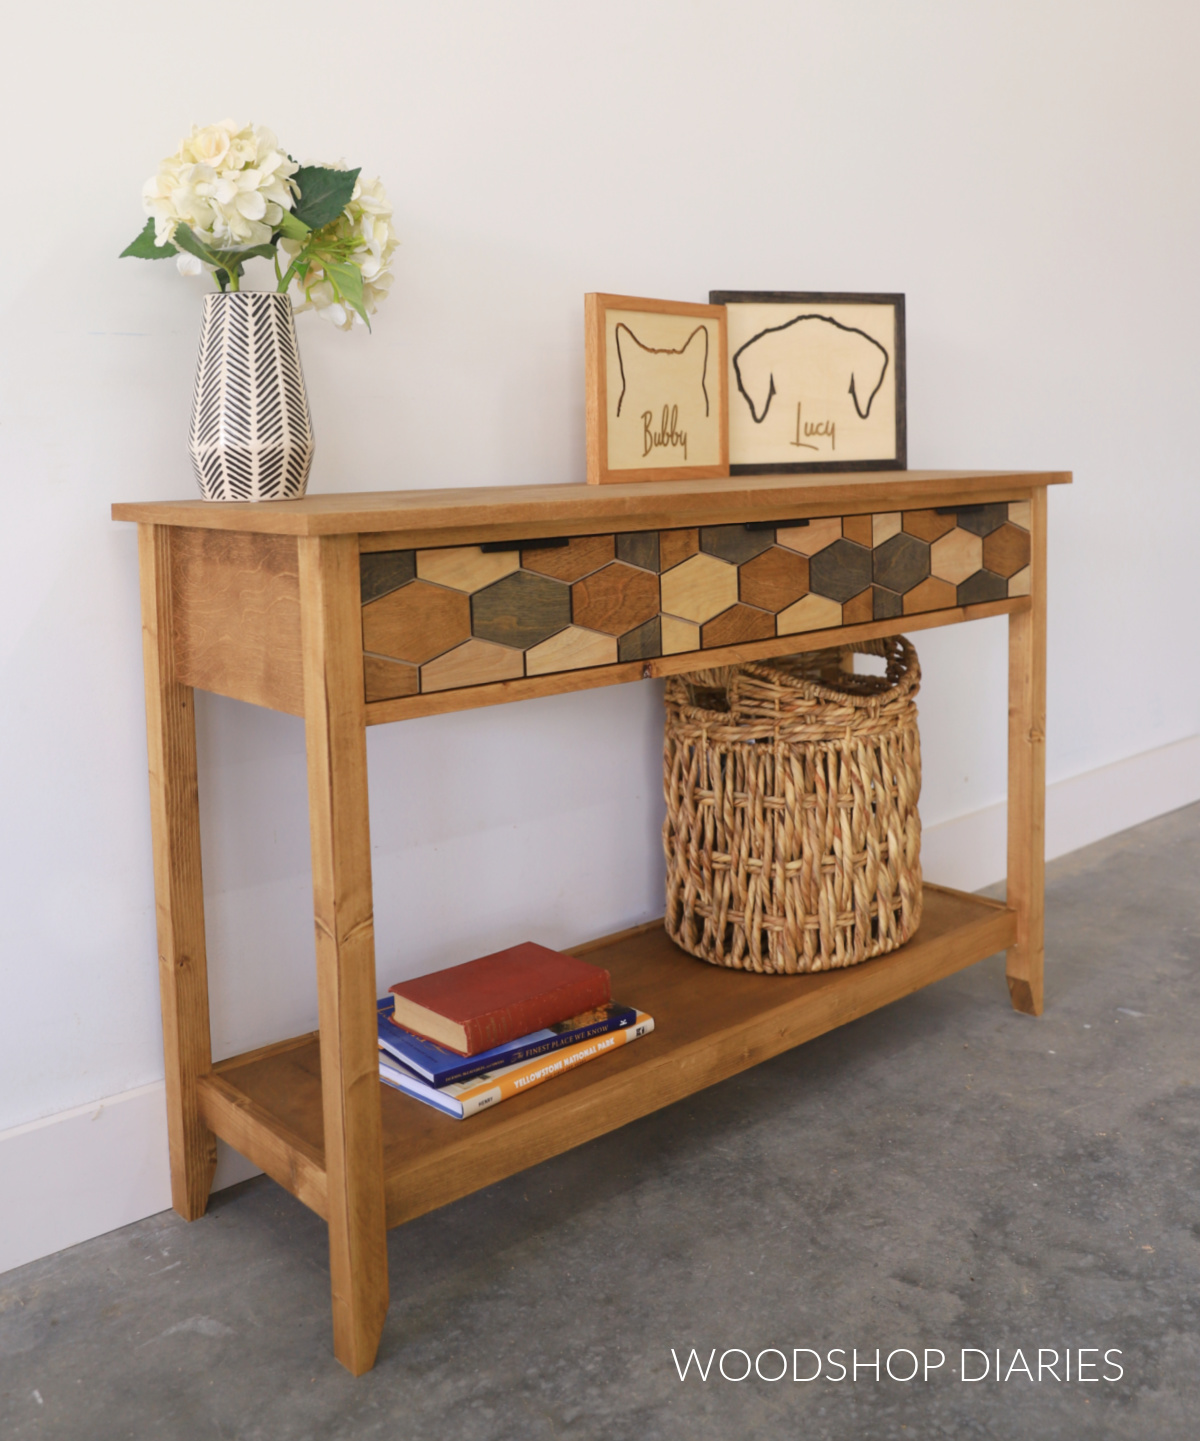
Credit: www.woodshopdiaries.com
Assembling The Frame
Installing the doors is a key step in building your console table. This step makes the table functional and adds style. Proper installation ensures the doors open and close smoothly. It also gives your table a neat look. Follow these simple steps for perfect door installation.
Attaching Hinges
Start by attaching hinges to the doors. Use a drill to make small pilot holes. This prevents wood from splitting. Position the hinges evenly along the edge of each door. Screw the hinges securely but avoid over-tightening. This allows the doors to swing freely.
Aligning The Doors
Hold the door in place on the table frame. Check that the door is level and straight. Adjust the hinges if the door is too high or low. Leave a small gap between doors for easy opening. Close the doors gently to test their fit.
Adding Door Handles
Choose handles that match your table’s style. Mark the spots on the doors where handles will go. Drill holes carefully to avoid cracking the wood. Attach handles firmly with screws. Handles make opening doors easier and improve the look.
Installing The Doors
Finishing touches make your console table look complete and polished. These final steps improve the table’s feel and protect it from damage. Taking care during this phase ensures your work lasts longer and looks beautiful.
Sanding For Smoothness
Sanding removes rough spots and sharp edges. Use fine-grit sandpaper for a soft, even surface. Sand along the wood grain to avoid scratches. Wipe away dust with a clean cloth before moving on.
Applying Paint Or Stain
Choose paint or stain to match your room’s style. Apply thin, even coats to prevent drips and blotches. Let each layer dry fully before adding another. Stain enhances the wood’s natural beauty. Paint offers a colorful, solid finish.
Sealing And Protecting
Sealing guards the table against spills and wear. Use clear polyurethane or varnish for strong protection. Apply with a brush in light, smooth strokes. Allow the sealer to dry well before use. This step keeps your table looking fresh for years.

Credit: www.731woodworks.com
Frequently Asked Questions
What Tools Are Needed To Build A Console Table With Doors?
You need a saw, drill, screwdriver, measuring tape, clamps, and sandpaper. These tools help cut, assemble, and finish the table precisely and safely.
How Do I Install Doors On A Console Table?
Attach hinges to the doors and table frame. Align doors properly, then secure hinges with screws. Check door movement and adjust if needed.
What Wood Is Best For Making A Console Table?
Hardwoods like oak, maple, or walnut are ideal. They are durable, look attractive, and hold finishes well for long-lasting furniture.
How Much Time Does Building A Console Table Take?
It typically takes 6 to 10 hours. Time varies based on skill level, design complexity, and drying time for finishes.
Conclusion
Building a console table with doors is a great project to try. You can create useful storage and a stylish look for your home. Follow each step carefully, and take your time with measurements. Choose materials that suit your space and style.
Enjoy the process of making something with your own hands. This project will add charm and function to any room. Keep practicing, and your skills will grow with each build. Simple tools and patience bring great results. Ready to start?
Your new console table awaits!