Are you looking for a simple way to organize your books and add style to your space? Building an easy bookshelf might be just what you need.
Imagine having a custom shelf that fits perfectly in your room, holds all your favorite reads, and looks great too. You don’t need special skills or expensive tools to make it happen. In this guide, you’ll discover step-by-step how to create a sturdy, attractive bookshelf with materials you can find anywhere.
Ready to turn your clutter into a neat, eye-catching display? Keep reading, and let’s get started!
Materials And Tools Needed
Building an easy bookshelf needs the right materials and tools. Choosing these carefully makes the project smooth and fun. This section guides you through the basics.
Selecting The Right Wood
Choose wood that is strong and easy to work with. Pine is a popular choice for beginners. It is soft and cuts easily. Plywood also works well for shelves. Look for smooth, straight boards without knots. This helps your bookshelf stay sturdy and neat.
Essential Tools For Beginners
A few simple tools are enough to start. You will need a saw to cut the wood. A drill helps make holes for screws. A screwdriver or a drill bit is needed for driving screws. Sandpaper or a sanding block smooths rough edges. A tape measure ensures accurate cuts and fitting.
Additional Supplies
Some extra items make your work easier. Wood screws hold the pieces together firmly. Wood glue adds extra strength at joints. Paint or wood finish protects the wood and looks nice. Clamps keep pieces tight while glue dries. A pencil helps mark your measurements clearly.
Planning Your Bookshelf
Planning your bookshelf is the first step to a successful project. It helps you stay organized and saves time. Good planning ensures the bookshelf fits your space and needs. Take your time to think about what you want.
Choosing The Size And Style
Decide how tall and wide your bookshelf should be. Check the space where you want to place it. Think about the style that matches your room. Simple designs work best for easy building. Choose a style that fits your taste and room decor.
Creating A Simple Sketch
Draw a basic picture of your bookshelf. Show the number of shelves and their spacing. Use a pencil and paper or a drawing app. Keep the sketch clear and easy to follow. This helps you see the project before starting.
Measuring And Marking
Measure the wood pieces carefully before cutting. Mark the wood with a pencil for exact cuts. Double-check measurements to avoid mistakes. Clear marks help you cut straight and fit parts well. Accurate measuring makes building easier and neater.
Cutting The Wood Pieces
Cutting the wood pieces is a key step in building an easy bookshelf. It shapes all parts to fit perfectly. Take your time here to get clean, accurate cuts. This makes the assembly smooth and the shelf strong.
Safety Tips For Cutting
Always wear safety goggles to protect your eyes. Use ear protection if your saw is loud. Keep your fingers away from the blade. Work on a stable surface to avoid slips. Double-check your measurements before cutting. Take breaks if you feel tired.
Cutting Side Panels And Shelves
Mark the wood clearly with a pencil before cutting. Use a straight edge or ruler for accuracy. Cut slowly and steadily to avoid splinters. Start with the side panels, then move to the shelves. Check each piece against your plans after cutting.
Sanding The Edges
Sand all cut edges to make them smooth. Use medium-grit sandpaper first, then fine-grit for a soft finish. Sand along the wood grain to avoid scratches. Clean off dust with a dry cloth after sanding. Smooth edges help the shelf look neat and prevent splinters.
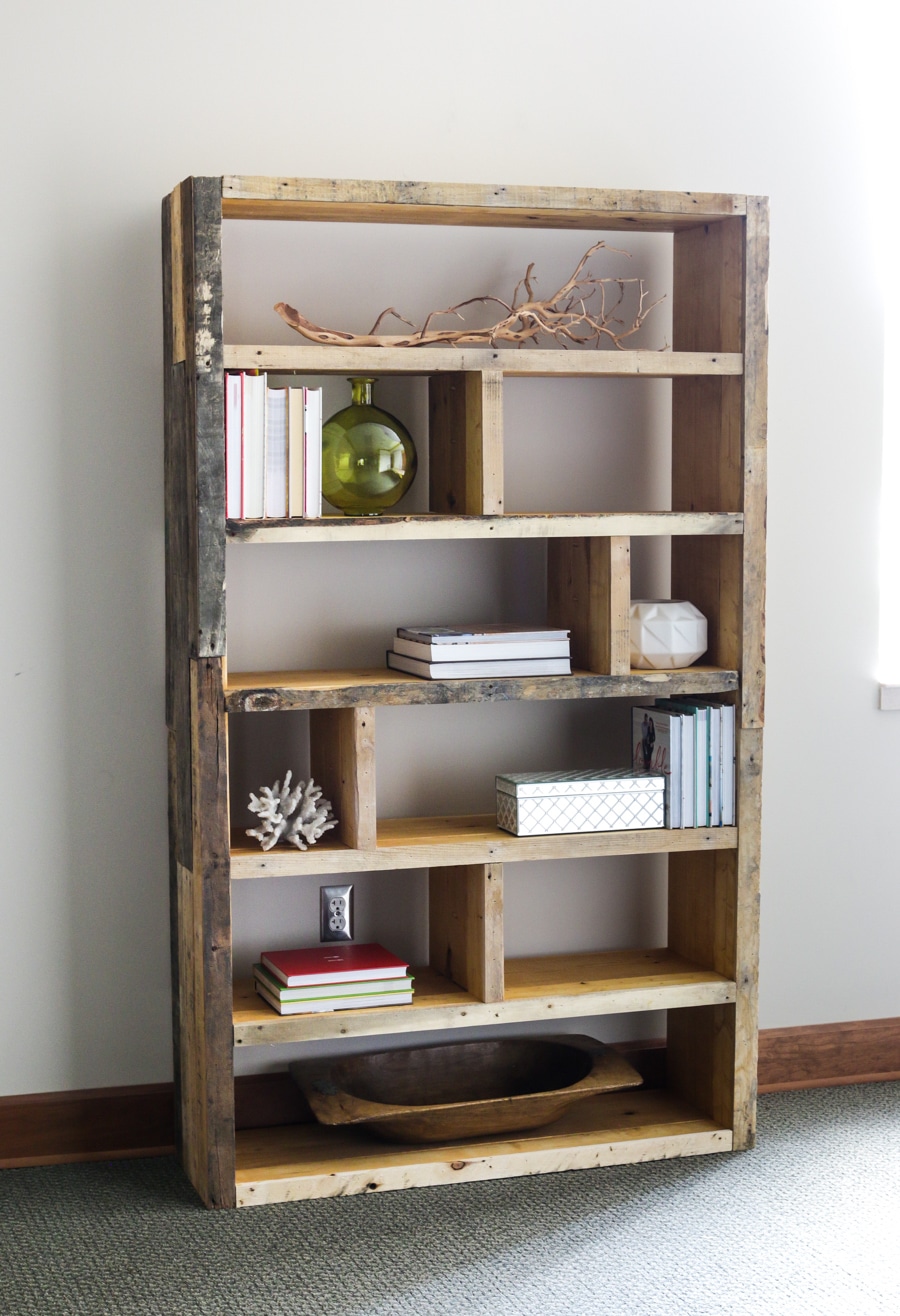
Credit: jenwoodhouse.com
Assembling The Frame
Assembling the frame is the key step in building your bookshelf. This stage sets the structure and ensures stability. Take your time to align each part correctly. A strong frame means a sturdy bookshelf that lasts long.
Joining The Side Panels
Start by placing the side panels upright and parallel. Use clamps or have a helper hold them steady. Align the edges so they are flush. Mark the spots for screws or dowels. This step creates the main shape of your bookshelf.
Attaching The Shelves
Next, position the shelves between the side panels. Make sure each shelf is level. Measure the gaps to keep shelves evenly spaced. Slide each shelf into place carefully. This forms the compartments for your books and items.
Securing With Screws And Glue
Apply wood glue along the joints before screwing. The glue adds strength and prevents wobbling. Use a drill to insert screws at marked points. Tighten screws but avoid splitting the wood. Wipe off extra glue to keep the frame clean.
Finishing Touches
Finishing touches make your bookshelf look complete and professional. These final steps improve the strength and beauty of your project. Careful work here helps your bookshelf last longer and look great in any room.
Filling Gaps And Holes
Small gaps and holes can appear after assembling the bookshelf. Use wood filler to cover these spaces. Apply it with a putty knife, pressing firmly. Let it dry completely before sanding smooth. This step hides imperfections and creates a clean surface.
Applying Paint Or Stain
Choose paint or stain to give your bookshelf color and style. Paint offers a solid, even look. Stain shows the wood grain for a natural finish. Apply with a brush or cloth in thin, even coats. Allow each coat to dry before adding another. This protects the wood and improves its appearance.
Adding Protective Coating
Protective coatings guard your bookshelf from damage. Use clear varnish, polyurethane, or wax for this layer. Apply it evenly over the painted or stained surface. This coating resists scratches, water, and dirt. Let it dry fully before use. Your bookshelf stays beautiful and durable for years.
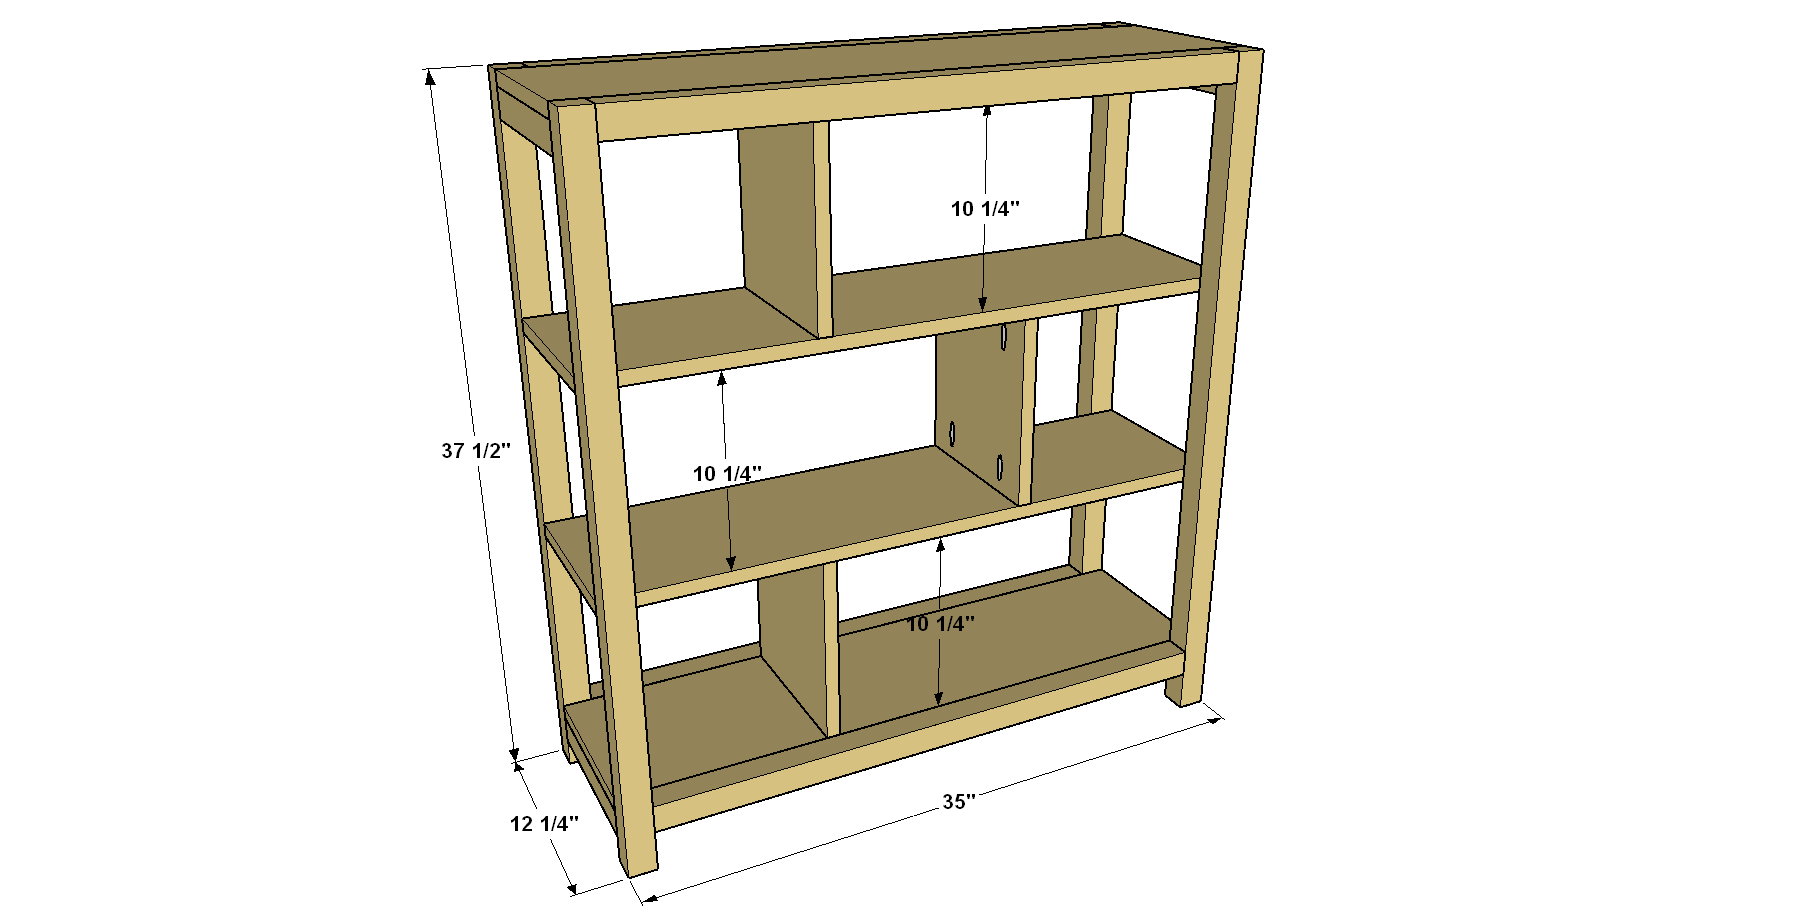
Credit: learn.kregtool.com
Tips For Stability And Safety
Building a bookshelf is simple, but keeping it stable and safe is key. This section shares easy tips to help your bookshelf stay strong. Follow these steps to avoid accidents and keep your books secure.
Anchoring To The Wall
Attach the bookshelf to the wall using brackets or straps. This stops the shelf from tipping over. Use wall anchors if you cannot find studs. Check that the anchors hold well before placing items on the shelf.
Weight Distribution
Place heavy books on the bottom shelves. Keep lighter items higher up to avoid toppling. Spread the weight evenly across each shelf. This helps keep the shelf balanced and steady.
Avoiding Common Mistakes
Do not overload the shelves beyond their limit. Avoid using weak or damaged wood. Check screws and nails regularly to ensure they stay tight. Keep the shelf away from damp areas to prevent warping or damage.
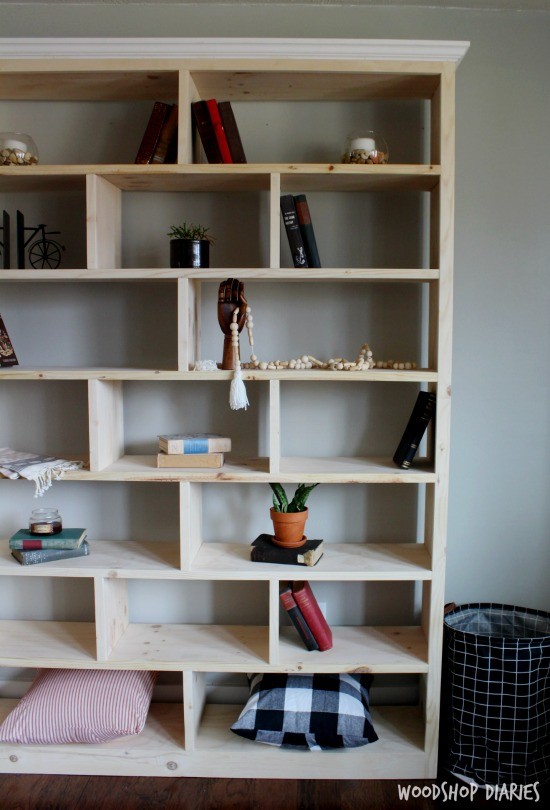
Credit: www.woodshopdiaries.com
Frequently Asked Questions
What Materials Do I Need To Build An Easy Bookshelf?
You need wood planks, screws, nails, wood glue, sandpaper, and paint or finish. Basic tools include a saw, drill, screwdriver, and measuring tape.
How Long Does It Take To Build A Simple Bookshelf?
Building a basic bookshelf typically takes 2 to 4 hours. Time depends on skill level and complexity of design.
Can Beginners Build A Bookshelf Without Professional Help?
Yes, beginners can build an easy bookshelf by following clear instructions and using basic tools. Start with simple designs.
How Do I Ensure My Bookshelf Is Sturdy And Safe?
Use quality wood, secure joints with screws and glue, and make sure shelves are level. Avoid overloading shelves beyond their capacity.
Conclusion
Building an easy bookshelf is simple and fun. You only need a few tools and materials. Follow each step carefully to avoid mistakes. Take your time and enjoy the process. Soon, you will have a useful shelf for your books.
It adds space and style to any room. Anyone can do this project with patience. Start today and see how great it feels to create something yourself.
