Are you looking to add a stylish touch to your entryway or living room without spending a fortune? Making a simple console table yourself is easier than you think.
Imagine having a beautiful piece that fits perfectly in your space, made by your own hands. In this guide, you’ll discover step-by-step how to build a console table that’s both functional and eye-catching. Ready to transform your home with a project that’s quick, affordable, and rewarding?
Keep reading, because your perfect console table is just a few steps away.
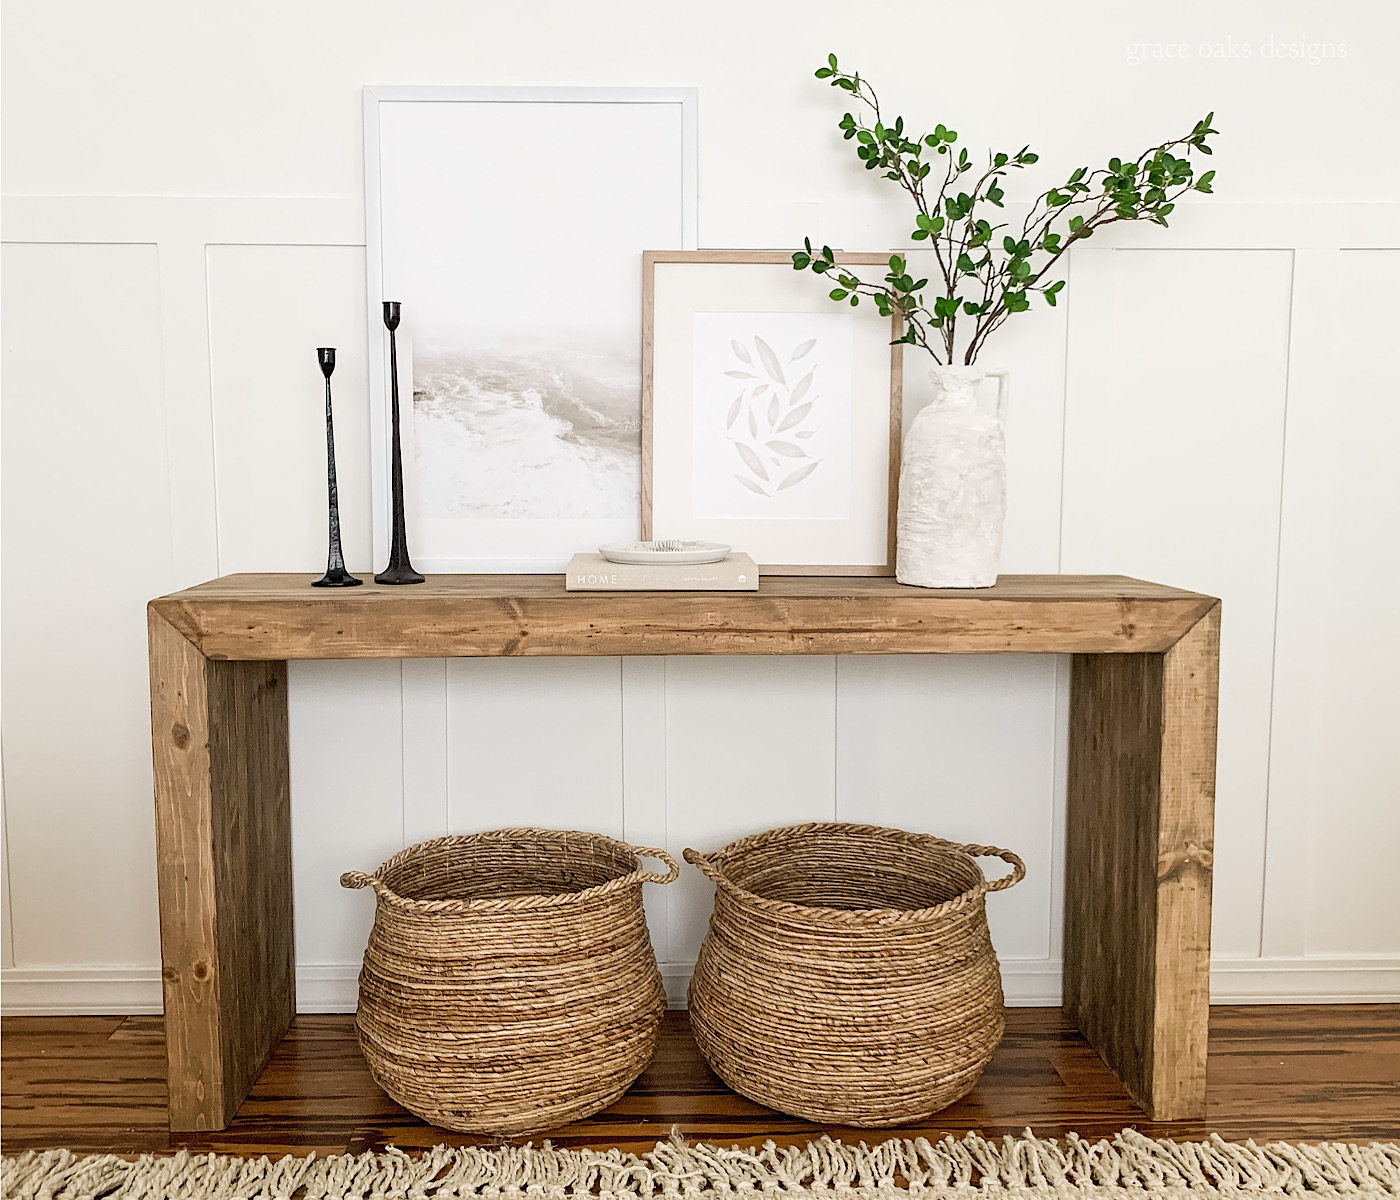
Credit: graceoaksdesigns.com
Materials And Tools Needed
Building a simple console table requires the right materials and tools. Having the correct supplies makes the process smooth and enjoyable. This section explains what wood and tools you need to get started.
Choosing The Right Wood
Pick wood that is strong and easy to work with. Pine, oak, or plywood are good choices. Pine is soft and affordable. Oak is harder and lasts longer. Plywood is smooth and stable. Make sure the wood is dry and free of cracks.
Essential Tools For The Project
You need a saw to cut the wood pieces. A drill helps make holes for screws. Use a screwdriver to join parts together. Sandpaper smooths rough edges. A tape measure ensures accurate cuts. A pencil helps mark measurements clearly.
Optional Supplies For Finishing
Wood stain or paint adds color to your table. Clear varnish protects the wood surface. Brushes or rags apply stain or paint evenly. Wood filler fixes small holes or gaps. Safety gear like gloves and goggles protects your hands and eyes.
Planning Your Console Table
Planning your console table is the first step to a successful project. It helps you visualize the final product and keeps your work organized. Careful planning saves time and materials. It also makes building easier and more enjoyable.
Start by thinking about the space where the table will go. Consider the style you want and how you will use the table. These ideas will guide your decisions on size, shape, and cost.
Deciding The Table Dimensions
Measure the wall or area where the table will stand. Choose a height that fits well with nearby furniture. A common console table height is about 30 to 36 inches.
Keep the depth shallow, usually 12 to 18 inches, so it does not block walkways. The length depends on the wall space and your needs. Write down the exact dimensions before starting.
Sketching A Basic Design
Draw a simple picture of your table on paper. Include the top, legs, and any shelves or drawers you want. Use straight lines and basic shapes to keep it clear.
This sketch helps you see the structure and plan the cuts. It also makes buying materials easier. Make changes to your sketch until you like the look.
Setting A Budget
Decide how much money you want to spend on the table. Include costs for wood, screws, paint, and tools. Stick to your budget to avoid extra expenses.
Look for affordable materials that still match your style. Buying only what you need reduces waste and saves money. Planning your budget helps keep the project simple and fun.
Cutting And Preparing Wood
Cutting and preparing wood is the first step in making a simple console table. This step shapes the wood pieces to fit your design. Careful measuring and cutting ensure your table will be stable and look great. Taking time here saves trouble later. Follow these key points to prepare your wood properly.
Measuring And Marking
Measure the wood pieces twice before cutting. Use a tape measure and pencil for clear marks. Mark each cut line carefully on the wood surface. Check your measurements against the console table plan. Accurate marks help avoid mistakes and wasted wood. Use a square tool to keep lines straight and angles correct.
Safe Cutting Techniques
Wear safety goggles and gloves before cutting. Use a sharp saw for clean cuts and less effort. Cut slowly and steadily along the marked lines. Keep your hands away from the blade at all times. Support the wood firmly on a stable surface. Follow the saw’s guide to maintain straight edges. Stop cutting if the blade feels stuck or the wood moves.
Sanding For Smooth Edges
Sand all cut edges to remove splinters and rough spots. Use medium-grit sandpaper first for uneven surfaces. Then switch to fine-grit for a smooth finish. Sand in the direction of the wood grain. Check edges by running your fingers over them. Smooth edges prevent injuries and help paint or stain stick better. Wipe away dust before assembling your table parts.
Assembling The Table Frame
Assembling the table frame is an important step in making your console table. This part gives the table its shape and strength. Follow these simple steps to join the legs and supports securely. Take your time and work carefully for best results.
Joining The Legs And Supports
Start by positioning the legs upright on a flat surface. Attach the horizontal supports between the legs. Make sure the edges line up evenly. Use clamps to hold the pieces in place. This makes joining the parts easier and more accurate.
Using Screws And Wood Glue
Apply wood glue to the ends of the supports before attaching them to the legs. This creates a strong bond. Then, drill pilot holes to avoid splitting the wood. Insert screws through the legs into the supports. Tighten the screws firmly but do not over-tighten.
Checking For Stability
Once the frame is assembled, place it on a flat surface. Check if it wobbles or shifts. Press gently on each corner. Tighten any loose screws. Adjust the frame until it stands firm and steady. A stable frame ensures your table will last long.
Attaching The Tabletop
Attaching the tabletop is a key step in building a simple console table. This part gives the table its main surface. It needs care to make sure the tabletop fits well and stays secure. Follow clear steps to attach it right. This will make your table strong and neat.
Aligning The Surface
Place the tabletop on the frame carefully. Check the edges to make sure they match the frame sides. The tabletop should sit evenly without hanging off. Adjust it until it fits perfectly. A well-aligned surface looks better and feels steady.
Securing With Fasteners
Use screws or bolts to hold the tabletop in place. Choose fasteners that fit your tabletop material. Drill holes slowly to avoid cracks in the wood. Tighten screws enough to keep the top firm. Avoid overtightening to prevent damage.
Ensuring A Level Top
Check the tabletop with a level tool. This ensures the surface is flat and even. Adjust the legs or fasteners if needed. A level top keeps items from sliding or tipping. It also makes the table more comfortable to use.
Finishing Touches
Finishing touches bring your console table to life. They protect the wood and improve its look. These steps make your table last longer and fit your style. Focus on paint or stain, protective coating, and decoration ideas.
Applying Paint Or Stain
Choose paint or stain to change the table’s color. Paint gives a bold, solid look. Stain shows the wood grain and adds warmth. Use a brush or cloth for even coverage. Let each layer dry well before adding another. Light sanding between coats helps smooth the surface.
Adding Protective Coating
Protective coating shields the table from scratches and spills. Polyurethane or varnish works best for durability. Apply thin coats with a clean brush. Allow drying time between coats. This step keeps your table looking new for years.
Decorative Elements Ideas
Decorate to match your room’s style. Add metal handles or knobs for a rustic feel. Use stencils or decals for patterns. Attach small shelves for extra storage. Place a vase or lamp to complete the look. Simple decorations add personality and charm.
Tips For Maintenance
Maintaining your simple console table keeps it looking fresh and new. Proper care helps extend its life and beauty. Small efforts can prevent damage and wear over time. Follow these easy tips to keep your table in great shape.
Cleaning Recommendations
Dust the table regularly with a soft cloth. Avoid harsh cleaners that can damage the finish. Use mild soap and water for sticky spots. Wipe with a damp cloth and dry immediately. Clean spills right away to prevent stains.
Handling Scratches And Dents
Light scratches can be hidden with a touch-up marker. Use wood filler for deeper dents before refinishing. Sand the area gently to smooth rough edges. Apply a matching stain or paint to blend repairs. Avoid dragging heavy items across the surface.
Seasonal Care Advice
Keep the table away from direct sunlight to prevent fading. Use a humidifier in dry months to avoid wood cracking. In humid seasons, ensure good air circulation to stop warping. Cover the table during extreme weather to protect it. Regular checks help catch issues early.
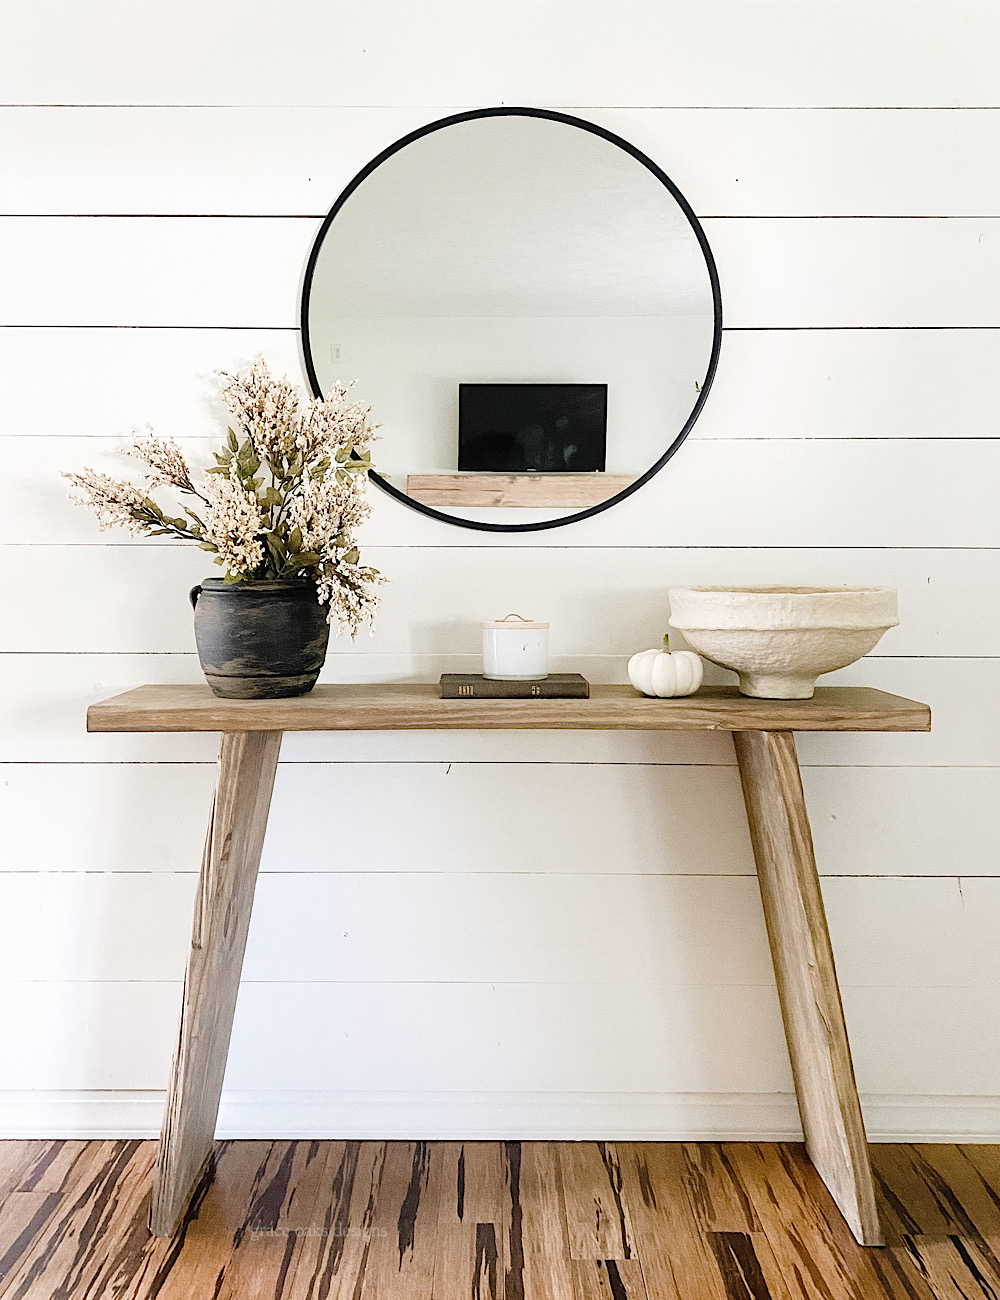
Credit: graceoaksdesigns.com

Credit: www.instructables.com
Frequently Asked Questions
What Materials Are Needed To Make A Simple Console Table?
You need wood planks, screws, sandpaper, wood glue, paint or stain, and basic tools. These materials are affordable and easy to find, making the project beginner-friendly.
How Long Does It Take To Build A Console Table?
Building a simple console table typically takes 2 to 4 hours. This depends on your experience and drying times for paint or stain.
Can I Customize The Size Of My Console Table?
Yes, you can adjust the length, width, and height to fit your space. Customizing allows the table to match your room’s dimensions perfectly.
What Tools Are Essential For Building A Console Table?
Essential tools include a saw, drill, screwdriver, measuring tape, and clamps. These help ensure precise cuts and secure assembly for a sturdy table.
Conclusion
Making a simple console table can be fun and rewarding. You only need basic tools and materials. Follow the steps carefully, and take your time. This project fits well in any home space. A handmade table adds charm and function easily.
Try customizing it with your favorite colors or designs. Enjoy creating something useful with your own hands. Start your project today and see the results. Simple, practical, and satisfying.