
Are you tired of cluttered spaces and struggling to find the perfect spot for your books and decor? Building a floor to ceiling bookshelf could be the answer you’ve been looking for.
Imagine having a stunning, custom storage solution that not only showcases your favorite reads but also transforms your room into a cozy, stylish haven. In this guide, you’ll discover simple steps to create a bookshelf that fits your space perfectly, saves money, and adds value to your home.
Ready to turn your walls into a masterpiece? Let’s get started!
:max_bytes(150000):strip_icc()/couch-and-bookshelf-in-cozy-living-room-1193057078-9d76908ec6f5427c8d21ec859e371f64.jpg)
Credit: www.thespruce.com
Planning Your Bookshelf
Planning your floor to ceiling bookshelf is the first step to a successful project. Careful planning saves time and money. It also makes sure your bookshelf fits perfectly and looks great. This section covers measuring your space, choosing the right materials, and designing your shelf layout.
Measuring The Space
Start by measuring the height from floor to ceiling. Write down the width and depth of the wall area. Measure carefully to avoid errors. Take note of any obstacles like vents or switches. These details affect your design.
Choosing Materials
Select materials that suit your style and budget. Solid wood offers durability and a classic look. Plywood is affordable and easy to work with. Think about paint or stain to match your room. Make sure materials can support the weight of your books.
Designing The Layout
Plan the number and size of shelves. Mix shelf heights for different book sizes. Include space for decorations or storage boxes. Consider open or closed backs for a unique look. Sketch your design on paper or use simple software.
Gathering Tools And Supplies
Building a floor to ceiling bookshelf starts with gathering the right tools and supplies. This step sets the foundation for a smooth project. Having everything ready saves time and avoids frustration. Prepare well to build a sturdy and beautiful bookshelf.
Essential Tools
Start with basic tools. A tape measure helps you get exact dimensions. Use a level to keep shelves straight. A drill speeds up assembly. Screwdrivers are needed for screws. A saw cuts wood to size. Sandpaper smooths rough edges. Clamps hold pieces firmly in place. A pencil marks measurements clearly.
Recommended Materials
Choose strong wood like pine or plywood. These woods are easy to work with and durable. Pick wood sheets for shelves and supports. Wood screws hold pieces tightly together. Wood glue adds extra strength. Primer and paint or stain finish the look. Shelf brackets provide extra support if needed. Don’t forget wood filler to hide holes.
Safety Gear
Wear safety glasses to protect your eyes. Use ear protection when cutting or drilling. Gloves keep your hands safe from splinters. A dust mask prevents breathing sawdust. Work in a well-ventilated area. Keep your workspace clean to avoid accidents. Safety first makes the project easier and safer.
Preparing The Workspace
Preparing your workspace is the first step to building a floor to ceiling bookshelf. A clean and organized area helps you work safely and efficiently. It also protects your home from damage during the project. Take time to get the space ready before starting any construction.
Clearing The Area
Remove all furniture and items from the workspace. This gives you enough room to move freely and store materials. Clear floors and walls of decorations or tools that could get in the way. A clutter-free space reduces accidents and makes the work easier.
Protecting Floors And Walls
Cover floors with drop cloths or old sheets to prevent scratches and stains. Use painter’s tape to secure the covers and keep them in place. Protect walls by applying cardboard or foam sheets around the work zone. These steps help avoid dents, paint spills, or dust damage.
Cutting The Wood
Cutting the wood is a key step in building your floor to ceiling bookshelf. Precise cuts ensure the shelves fit perfectly and look great. Take your time to measure carefully and cut cleanly. This will make assembly easier and the final product stronger.
Measuring And Marking
Start by measuring each piece of wood carefully. Use a tape measure to get exact lengths. Mark the cutting lines clearly with a pencil. Double-check your measurements before marking. Straight, visible lines help guide your saw. Mark all pieces before cutting to stay organized.
Using A Saw Safely
Choose the right saw for your wood type and thickness. Always wear safety glasses and gloves. Keep your hands away from the blade. Secure the wood firmly on a stable surface. Cut slowly and follow your marked lines. Turn off the saw before moving or adjusting the wood. Safety first keeps your project smooth and accident-free.
Assembling The Frame
Assembling the frame is the first step to build your floor-to-ceiling bookshelf. A strong frame holds the shelves and keeps the unit stable. Start by preparing the side panels and then connect them with the top and bottom rails. Use wood glue and screws for a firm hold. Take your time to measure and align the pieces correctly. A well-assembled frame makes the rest of the build easier and safer.
Building Side Panels
Cut two long wooden boards for the side panels. These boards will run from the floor to the ceiling height. Sand the edges to smooth out rough spots. Mark where the shelves will attach on the inside of each panel. Drill pilot holes to avoid splitting the wood. This helps when you screw the shelves later. Keep the panels steady and straight during assembly.
Attaching Top And Bottom Rails
Cut two shorter boards for the top and bottom rails. These rails connect the side panels and add support. Position the rails at the very top and bottom of the side panels. Use wood glue on the ends before screwing them in place. Check that the frame is square by measuring diagonally. Tighten all screws securely to prevent wobbling. The frame is now ready for shelves and finishing touches.
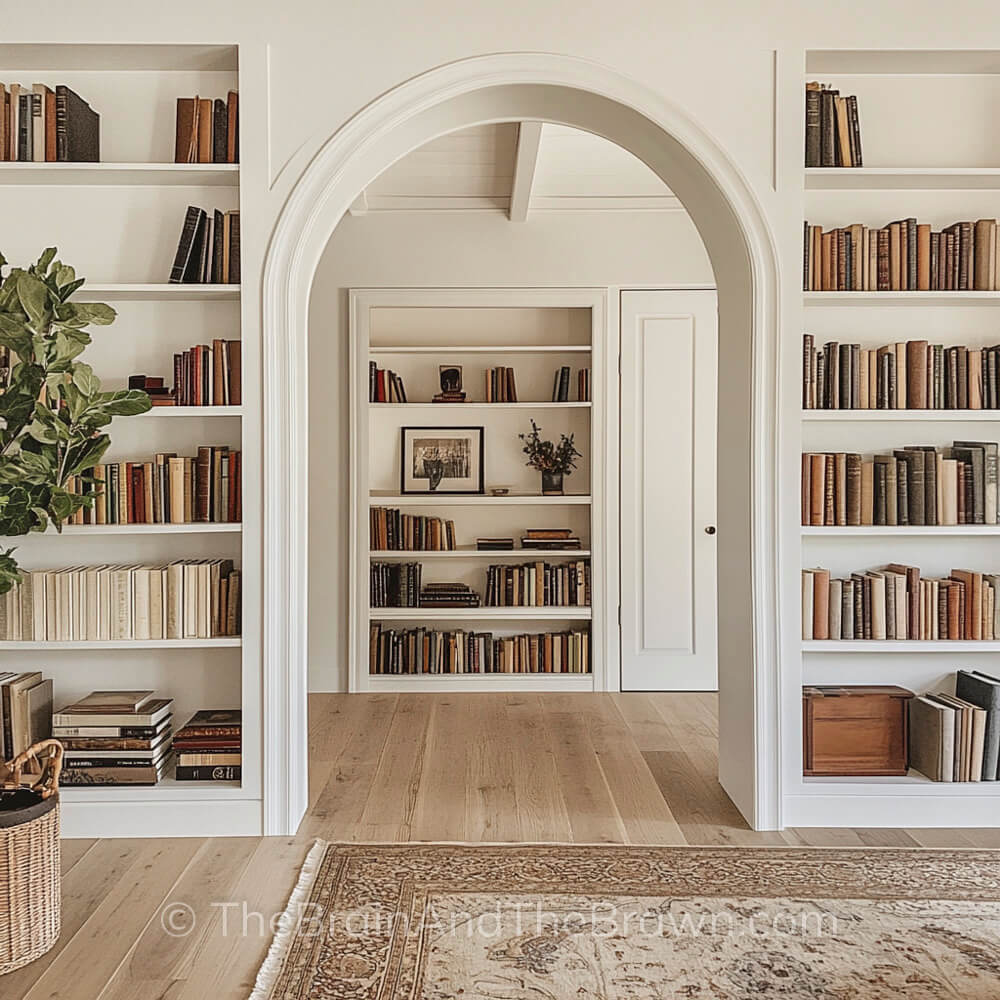
Credit: thebrainandthebrawn.com
Installing Shelves
Installing shelves is a key step in building your floor to ceiling bookshelf. Shelves hold your books and decorations. They must be level and secure to carry weight safely. Careful planning and precise work make your bookshelf strong and neat.
Marking Shelf Positions
Start by measuring the height of your bookshelf frame. Decide how far apart each shelf will go. Use a pencil and a level to mark spots on the side panels. Make sure the marks are even on both sides.
Double-check your measurements before drilling. Mark all shelf positions clearly. This helps keep shelves straight and balanced.
Securing Shelves In Place
Use strong brackets or shelf pins to hold each shelf. Drill pilot holes at your marks to avoid splitting the wood. Attach brackets or pins firmly with screws.
Place the shelf on the supports. Check that it sits flat and level. Adjust if needed before tightening screws fully. Repeat for all shelves to finish your sturdy bookshelf.
Securing Bookshelf To Wall
Securing your floor-to-ceiling bookshelf to the wall is key for safety and stability. A firmly attached bookshelf won’t tip over, even when loaded with heavy books. This step protects your books, your home, and the people around you. Follow these tips to ensure a strong, lasting hold.
Finding Wall Studs
Start by locating the wall studs behind the drywall. Studs are wooden beams that hold the wall’s weight. Use a stud finder tool for accuracy. Move it slowly across the wall surface. The tool will beep or light up when it finds a stud. Mark the spots lightly with a pencil.
Studs usually sit 16 to 24 inches apart. Securing the bookshelf to these studs provides the best support. Avoid attaching shelves only to drywall, as it can easily fail.
Using Brackets And Anchors
Choose metal brackets designed for heavy loads. Attach one bracket near the top of the bookshelf and another near the bottom. Use long screws to fix brackets to the wall studs. For extra strength, add brackets in the middle.
When studs are not available, use wall anchors. Plastic or metal anchors expand inside the wall to hold screws tight. Insert anchors into drilled holes first. Then screw the brackets into the anchors. This method prevents the bookshelf from pulling away from the wall.
Finishing Touches
Finishing touches give your floor to ceiling bookshelf a polished look. They protect the wood and enhance its beauty. These final steps make your bookshelf ready to use and last longer. Pay attention to details for a clean, smooth surface that stands out in any room.
Sanding And Smoothing
Start by sanding the entire bookshelf. Use medium-grit sandpaper to remove rough spots. Follow with fine-grit sandpaper for a smooth finish. Sand edges and corners carefully to avoid splinters. Wipe off dust with a damp cloth before moving on.
Painting Or Staining
Choose paint or stain based on your room’s style. Paint offers color variety and hides imperfections. Stain shows the wood grain and gives a natural look. Apply with a brush or cloth in thin, even coats. Let each coat dry fully before adding another.
Adding Trim
Trim adds character and hides gaps between shelves and walls. Cut trim pieces to fit shelf edges perfectly. Nail trim gently to avoid splitting the wood. Fill nail holes with wood filler for a seamless look. Sand lightly after drying, then paint or stain the trim.
Maintaining Your Bookshelf
A floor to ceiling bookshelf is a great addition to any room. It holds your books and adds style. To keep it looking good and safe, regular care is important. Small tasks can stop big problems. Let’s explore how to maintain your bookshelf well.
Regular Cleaning
Dust builds up fast on shelves and books. Use a soft cloth to wipe down shelves weekly. Avoid wet cloths that can damage wood. Clean books by dusting their edges gently. This keeps your bookshelf fresh and inviting.
Checking Stability
Bookshelves hold a lot of weight. Check shelves for any wobbling or loose screws every month. Tighten screws to keep the shelf strong. Make sure the shelf stays firmly against the wall. This prevents accidents and keeps your books safe.

Credit: www.justmeasuringup.com
Frequently Asked Questions
What Materials Are Needed For A Floor To Ceiling Bookshelf?
You need plywood or MDF, wood screws, brackets, wood glue, sandpaper, paint or stain, and a drill. Quality materials ensure durability and a polished finish.
How Do You Secure A Floor To Ceiling Bookshelf Safely?
Anchor the bookshelf to wall studs using strong brackets or L-brackets. This prevents tipping and ensures stability for heavy loads.
What Is The Best Wood For A Tall Bookshelf?
Plywood or hardwood like oak and maple are ideal. They provide strength and resist warping for tall floor to ceiling bookshelves.
How Do You Customize Shelf Height On A Floor To Ceiling Bookshelf?
Use adjustable shelf pins or pre-drill multiple holes. This allows you to rearrange shelves to fit different book sizes easily.
Conclusion
Building a floor to ceiling bookshelf adds style and storage to any room. It takes planning, measuring, and some basic tools. Step by step, you create a strong and useful piece. You can arrange your books and items just the way you like.
This project fits many spaces and budgets. With patience, anyone can build it. Enjoy your new bookshelf and the extra space it brings. A simple project with great results. Ready to start?
