Are you tired of cluttered spaces and searching for the perfect spot to showcase your favorite books? Building a freestanding bookshelf could be the answer you’ve been looking for.
Imagine having a stylish, sturdy shelf that fits your room perfectly and holds all your books just the way you want. In this guide, you’ll discover simple steps to create your own bookshelf, even if you’ve never done a project like this before.
Ready to transform your space and organize your collection? Keep reading, and you’ll learn exactly how to make it happen.
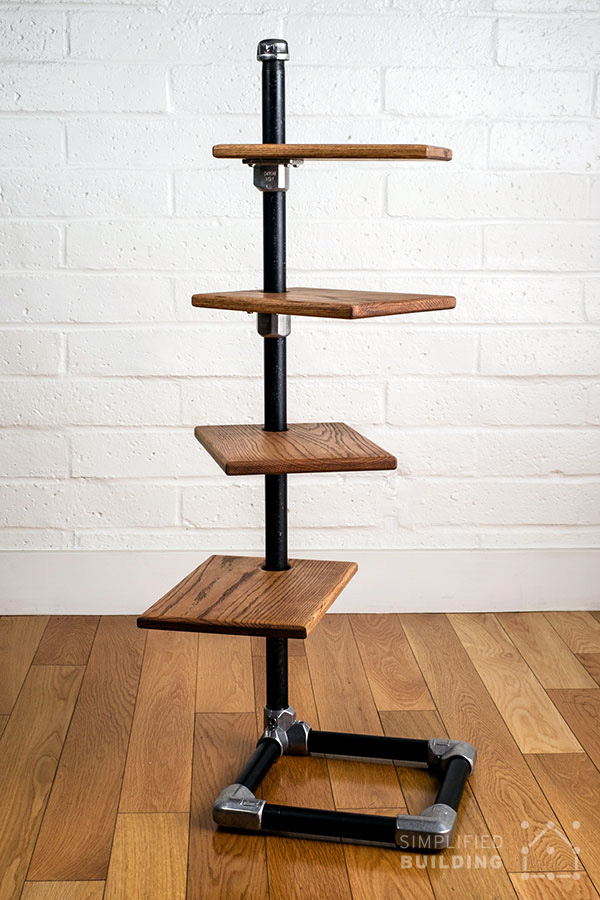
Credit: www.simplifiedbuilding.com
Materials And Tools Needed
Building a freestanding bookshelf requires the right materials and tools. Using good quality wood and proper tools makes the project easier and the shelf stronger. This section lists what you need to start your project. It helps you prepare everything before you begin.
Selecting The Right Wood
Choose wood that is strong and easy to work with. Pine is a popular choice for beginners. It is soft, affordable, and easy to cut. Hardwood like oak or maple is stronger but harder to handle. Consider the size and weight the bookshelf will hold. Thicker wood boards add more stability. Make sure the wood is smooth and free of cracks.
Essential Tools For The Project
You need some basic tools to build the bookshelf. A saw is necessary to cut the wood pieces. A drill helps make holes and drives screws. Sandpaper smooths rough edges. A tape measure ensures correct dimensions. A carpenter’s square keeps your cuts and shelves straight. Clamps hold pieces together while assembling. A screwdriver or power driver makes screwing easier.
Additional Supplies
Besides wood and tools, some extra supplies help build a better shelf. Wood screws hold the pieces firmly. Wood glue adds extra strength to joints. Wood filler fixes small holes or cracks. Paint or stain protects the wood and adds color. Brushes or rags apply the finish. Safety gear like gloves and goggles protect you during the work.
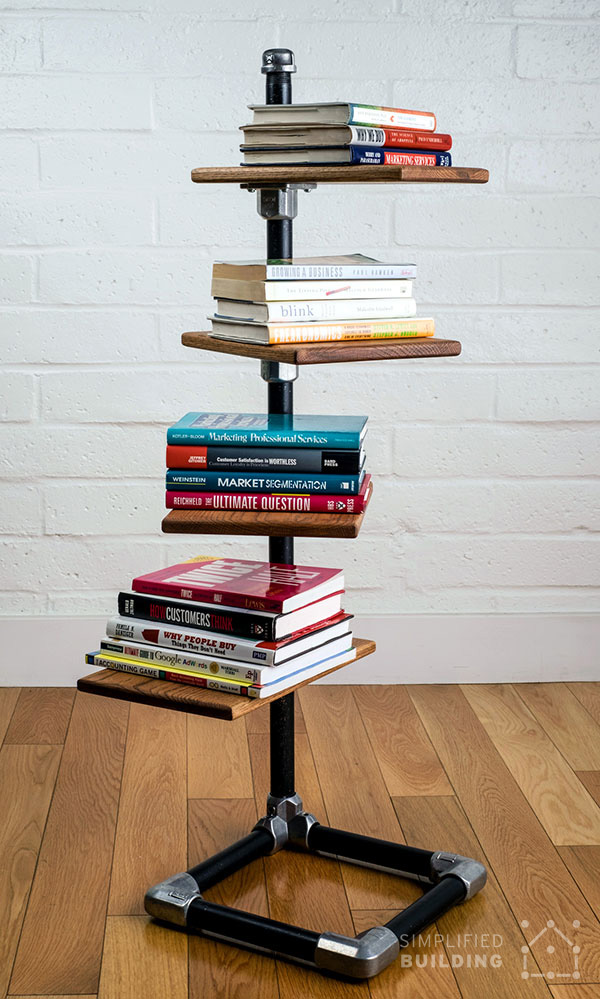
Credit: www.simplifiedbuilding.com
Planning Your Bookshelf
Planning your bookshelf is the first step in creating a strong and beautiful freestanding piece. Careful planning saves time, money, and effort. It helps you know exactly what you want before you start building. This section guides you through choosing the right size and style, sketching your design, and measuring and marking.
Choosing The Size And Style
Decide how much space your bookshelf needs. Think about the room where it will stand. Consider the height, width, and depth that will fit best.
Choose a style that matches your home. Simple, modern, rustic, or classic styles work well. Pick one that suits your taste and needs.
Sketching Your Design
Draw a rough sketch of your bookshelf on paper. Include shelves, sides, and the back panel. This helps you see the overall shape and structure.
Label each part with measurements. Keep the drawing clear and easy to follow. Use a ruler for straight lines.
Measuring And Marking
Measure your materials before cutting. Accurate measurements prevent mistakes.
Mark cutting lines clearly on the wood. Use a pencil and a square for straight marks. Double-check each measurement before cutting.
Cutting The Wood Pieces
Cutting the wood pieces is the first key step in building a freestanding bookshelf. Accurate cuts ensure the shelf fits together well and looks neat. Take your time to measure and cut carefully. This part sets the base for strong and stable shelves.
Measuring And Marking Cuts
Measure each piece twice before marking the cut lines. Use a tape measure and a pencil for clear marks. Draw straight lines with a ruler or square tool. Mark all wood pieces according to your bookshelf plan. Clear marks help avoid mistakes during cutting.
Using A Saw Safely
Select the right saw for your wood type and thickness. Keep your hands away from the blade at all times. Wear safety glasses to protect your eyes from dust and chips. Cut slowly and follow the marked lines carefully. A steady hand makes clean and accurate cuts.
Sanding The Edges
Sand the cut edges to smooth rough surfaces and splinters. Use medium-grit sandpaper for the first pass. Follow with fine-grit sandpaper for a smooth finish. Sanding helps the wood pieces fit better and feel safe to touch. Clean dust off before assembling your bookshelf.
Assembling The Frame
Assembling the frame is a key step in building your freestanding bookshelf. This process sets the foundation for a strong and steady structure. Focus on accuracy and care to create a solid frame that holds your shelves well.
Joining The Side Panels
Start by placing the two side panels upright and parallel. Align them carefully to keep the frame square. Use clamps to hold the panels in place. This keeps the sides steady during assembly.
Attaching The Shelves
Place each shelf between the side panels. Position shelves evenly for balance and style. Ensure the edges fit snugly against the sides. Check the alignment before securing the shelves.
Securing With Screws And Glue
Apply wood glue along the edges where shelves meet side panels. This adds strength to the joints. Use screws to firmly attach shelves to the panels. Drive screws slowly to avoid splitting the wood.
Finishing Touches
The finishing touches make your freestanding bookshelf look great and last longer. These steps protect the wood and give it a smooth, clean appearance. Take time to do each step carefully for the best result.
Sanding The Entire Bookshelf
Start by sanding all surfaces with fine-grit sandpaper. Sanding removes rough spots and splinters. It also helps paint or stain stick better. Move the sandpaper in the direction of the wood grain. Wipe the dust off with a clean cloth after sanding.
Applying Paint Or Stain
Choose paint or stain based on your style. Paint covers the wood fully, while stain shows the wood grain. Use a brush or cloth to apply paint or stain evenly. Let the first coat dry completely before adding more. This step gives your bookshelf color and personality.
Adding Protective Coating
Apply a clear protective coat like polyurethane or varnish last. This layer shields the wood from scratches and moisture. Use a clean brush and apply thin, even coats. Let each coat dry before applying the next. The protective coating keeps your bookshelf strong and beautiful for years.
Tips For Stability And Safety
Building a freestanding bookshelf is satisfying and useful. Ensuring it stays stable and safe is very important. A bookshelf that wobbles or falls can cause damage or injury. Follow these tips to keep your bookshelf steady and secure.
Anchoring To The Wall
Secure your bookshelf to the wall using brackets or straps. This stops tipping, especially if you have children or pets. Use wall anchors suitable for your wall type. Attach the bookshelf tightly to the wall studs for best support. This simple step greatly improves safety.
Weight Distribution
Place heavy books on the lower shelves. This lowers the center of gravity and prevents tipping. Avoid stacking all heavy items at the top. Spread the weight evenly across shelves for balance. Organize items to keep the bookshelf stable at all times.
Regular Maintenance
Check screws and bolts regularly to keep the bookshelf sturdy. Tighten any loose parts to avoid wobbling. Inspect the wall anchors to ensure they hold firmly. Clean dust and dirt to prevent damage to materials. Regular care helps your bookshelf last longer and stay safe.
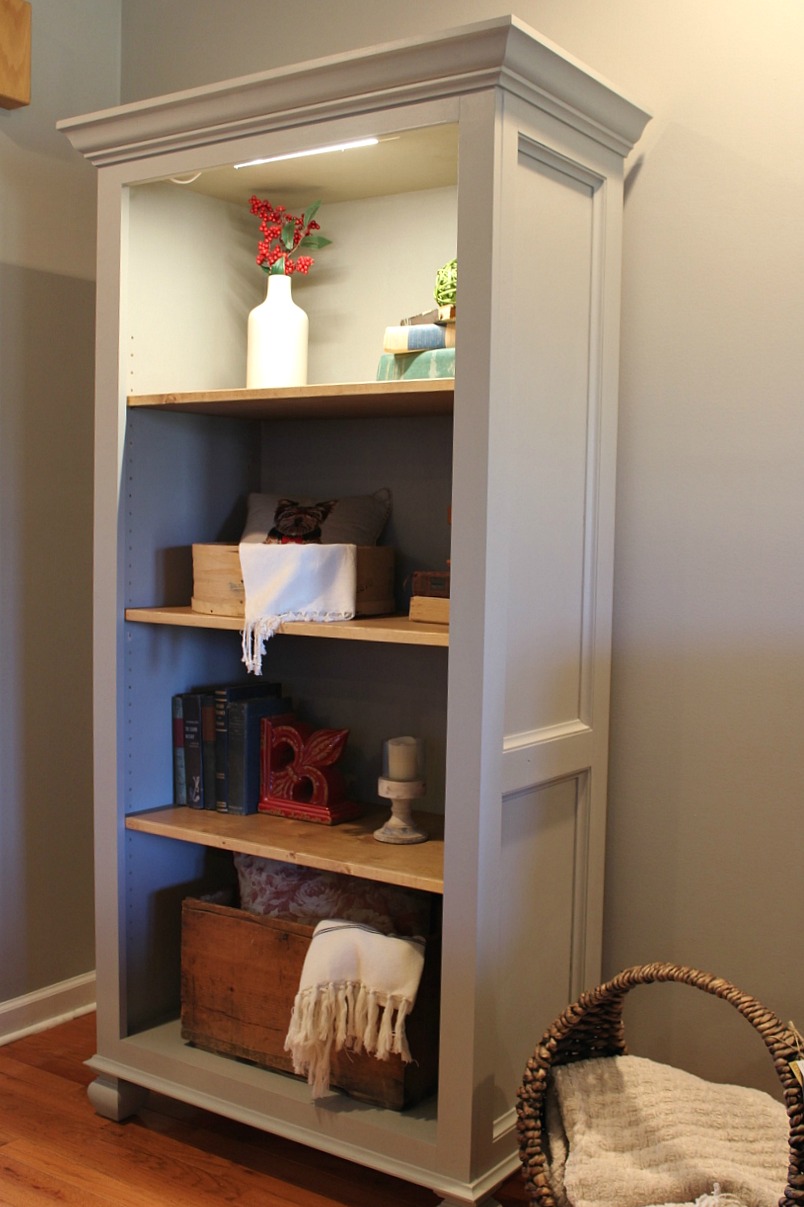
Credit: www.woodshopdiaries.com
Frequently Asked Questions
What Materials Do I Need To Build A Freestanding Bookshelf?
You need wood boards, screws, brackets, wood glue, sandpaper, and paint or stain. Choose quality wood for durability and appearance.
How Do I Ensure My Bookshelf Is Stable?
Use a sturdy base, secure shelves with brackets, and tighten all screws. Adding a wall anchor increases safety.
What Tools Are Essential For Building A Bookshelf?
Basic tools include a saw, drill, screwdriver, measuring tape, level, and clamps. These ensure precise cuts and assembly.
Can I Customize The Size Of My Bookshelf?
Yes, measure your space and adjust shelf height and width. Custom sizes fit unique rooms and needs perfectly.
Conclusion
Building a freestanding bookshelf is a simple and rewarding task. You just need basic tools and clear steps. Measure, cut, and assemble your wood carefully. Take your time to make sure everything fits well. A sturdy bookshelf holds your books safely.
It also adds style to your room. Enjoy the process and be proud of your work. This project saves money and gives a personal touch to your space. Try it out and see how satisfying DIY can be.
