Are you tired of cluttered spaces and looking for a way to organize your books in style? Building a homemade bookshelf is easier than you think, and it gives you the chance to create something that fits perfectly in your home.
Imagine having a sturdy, custom shelf that shows off your favorite reads and matches your taste. In this guide, you’ll discover simple steps to build your own bookshelf, even if you have little experience with tools. By the end, you’ll have the confidence and know-how to make a beautiful, functional piece that’s truly yours.
Let’s get started!
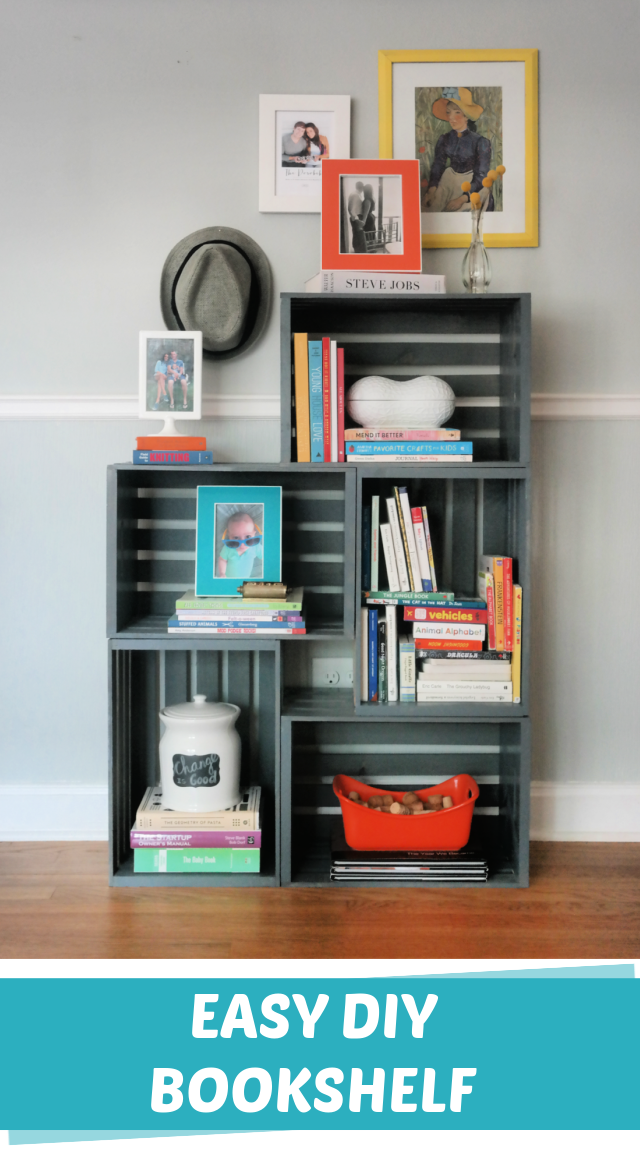
Credit: www.creatingreallyawesomefunthings.com
Choosing The Right Materials
Choosing the right materials is key to building a strong and lasting bookshelf. The materials affect the shelf’s look, strength, and cost. Good choices make the building process easier and the final product better. This section covers types of wood and essential tools you need.
Types Of Wood For Bookshelves
Wood type impacts both style and durability of your bookshelf. Softwoods like pine are affordable and easy to cut. They work well for light to medium loads. Hardwoods such as oak, maple, and cherry are stronger and last longer. These woods resist dents and scratches better. Plywood is another option. It is stable and less likely to warp. Choose smooth plywood with a good finish for shelves. Avoid cheap particle board; it breaks easily under weight.
Essential Tools And Supplies
Having the right tools makes building faster and safer. A saw is necessary to cut wood pieces. A drill helps create holes for screws. Sandpaper smooths rough edges. Clamps hold wood steady while you work. You will also need screws or nails to join pieces. Wood glue adds extra strength to joints. A measuring tape ensures accurate cuts. A level helps keep shelves straight. These tools and supplies make your project easier to complete.
Planning Your Bookshelf Design
Planning your bookshelf design is the first step to a successful project. It saves time and helps avoid mistakes. This stage focuses on understanding your space and needs. A clear plan guides every cut and nail. It ensures the bookshelf fits perfectly and holds what you want.
Measuring Your Space
Start by measuring the wall or corner for the bookshelf. Use a tape measure for accuracy. Note the height, width, and depth available. Check for obstacles like outlets or vents. Write down all measurements clearly. This step prevents building a shelf that is too big or too small.
Sketching The Layout
Draw a simple sketch of your bookshelf. Use paper or a digital app. Include the overall shape and size from your measurements. Mark where shelves will go. This visual helps plan the design better. Adjust the sketch until it looks right to you.
Determining Shelf Size And Number
Decide how many shelves you need. Think about the books and items you want to store. Measure the height of your tallest books. Make shelves slightly taller than that. Space shelves evenly or vary heights for different items. This ensures your bookshelf is practical and fits your collection well.
Cutting And Preparing Wood Pieces
Cutting and preparing wood pieces is a key step in building your homemade bookshelf. This stage sets the foundation for a sturdy and neat final product. Taking care during this process helps avoid mistakes and wasted materials. Clear and precise work leads to better fitting shelves and stronger joints.
Marking Measurements Accurately
Start by measuring all wood pieces carefully. Use a tape measure and a pencil to mark the lengths. Double-check each measurement before marking. Mark straight lines with a carpenter’s square for accuracy. Clear, visible marks guide your cuts and reduce errors. Precise marking saves time and materials.
Safe Cutting Techniques
Use sharp tools for clean cuts. A handsaw or circular saw works well for wood boards. Always wear safety glasses and gloves to protect yourself. Secure the wood piece firmly with clamps before cutting. Cut slowly and follow your marked lines closely. Keep fingers away from the blade at all times. Stop if you feel unsafe or unsure.
Sanding And Smoothing Edges
After cutting, wood edges are rough and uneven. Sand all edges with medium-grit sandpaper first. This removes splinters and sharp spots. Finish with fine-grit sandpaper for a smooth touch. Sand along the grain of the wood, not against it. Smooth edges prevent injuries and help paint or stain stick better. Wipe dust off before assembling your shelf.
Assembling The Bookshelf Frame
Assembling the bookshelf frame is the next step after cutting all the pieces. This step brings the parts together into a strong structure. It requires careful work to make sure the frame is square and stable. Using the right joining techniques and fasteners helps the shelf hold weight without wobbling.
Pay close attention to each joint. A well-assembled frame makes the rest of the build easier and the shelf more durable. Take your time and check your work often.
Joining Techniques And Fasteners
Use wood glue on each joint before fastening. This adds strength and keeps pieces from moving. Choose screws or nails that fit the wood thickness. Screws hold better for heavy loads.
Pre-drill holes to avoid splitting the wood. Countersink screws for a smooth finish. Pocket holes are useful for hidden joints and strong holds. Clamps keep pieces tight while the glue dries.
Ensuring Stability And Squareness
Check the frame with a carpenter’s square at every corner. Each angle must be exactly 90 degrees. Measure diagonals to confirm the frame is square. Both diagonal lengths should be the same.
Use clamps to hold the frame steady during assembly. Tighten fasteners evenly to prevent shifting. Place the frame on a flat surface to spot any twists or warps. Fix any issues before moving on.
Adding Shelves And Supports
Adding shelves and supports is a key step in building a homemade bookshelf. This step gives the bookshelf its storage space and strength. Proper placement and secure fixing make sure the shelves hold books safely and last a long time.
Positioning Shelves Evenly
Mark the shelf height on the side panels with a pencil. Use a measuring tape for accuracy. Place marks at equal distances for balance. Check the level with a spirit level tool. Even spacing helps books stand straight and looks neat. Adjust marks before drilling holes or attaching brackets.
Securing Shelves Firmly
Use screws or shelf brackets to fix shelves. Pre-drill holes to avoid splitting wood. Tighten screws enough to hold shelves steady. Check shelves with gentle pressure to test strength. Add corner braces for extra support if needed. A firmly fixed shelf holds books safely and prevents wobbling.
Finishing Touches
Finishing touches make your homemade bookshelf look complete and last longer. These steps protect the wood and add style. They also keep the shelf safe to use every day.
Applying Paint Or Stain
Choose paint or stain to change your shelf’s color. Paint covers the wood fully and hides flaws. Stain shows the wood’s natural grain and adds warmth. Use a brush or cloth for smooth application. Apply thin coats and let each dry well. This prevents drips and uneven color.
Sealing For Durability
Seal the shelf to protect it from water and scratches. Use a clear sealant like polyurethane or varnish. Apply with a clean brush in thin layers. Let each layer dry before adding the next. Sealing keeps the wood strong and easy to clean.
Installing Wall Anchors For Safety
Wall anchors stop your bookshelf from tipping over. Find wall studs with a stud finder for a strong hold. Use screws and anchors suited for your wall type. Secure the shelf tightly to the wall. This step is key for safety, especially in homes with kids or pets.
Tips For Maintenance And Care
Taking care of your homemade bookshelf keeps it strong and good-looking for years. Proper maintenance stops damage and keeps the wood fresh. Simple daily habits help your shelf stay neat and last longer. Follow these tips to keep your bookshelf in top shape.
Cleaning Techniques
Dust your bookshelf often with a soft cloth. Use a dry or slightly damp cloth to wipe surfaces. Avoid soaking wood with water to stop warping. For tough spots, use mild soap and water, then dry quickly. Never use harsh chemicals that can damage the finish. Clean shelves gently to protect the wood and paint.
Preventing Damage Over Time
Keep your bookshelf away from direct sunlight to avoid fading. Avoid placing it near heaters or vents that dry out wood. Use coasters or mats under heavy items to stop scratches. Tighten screws and joints regularly to keep the shelf steady. Move your bookshelf carefully to prevent cracks or breaks. Small efforts now prevent big repairs later.
:max_bytes(150000):strip_icc()/dominiquegebruinsta-35b11dd4f037417980649e06e17c4027.jpg)
Credit: www.thespruce.com
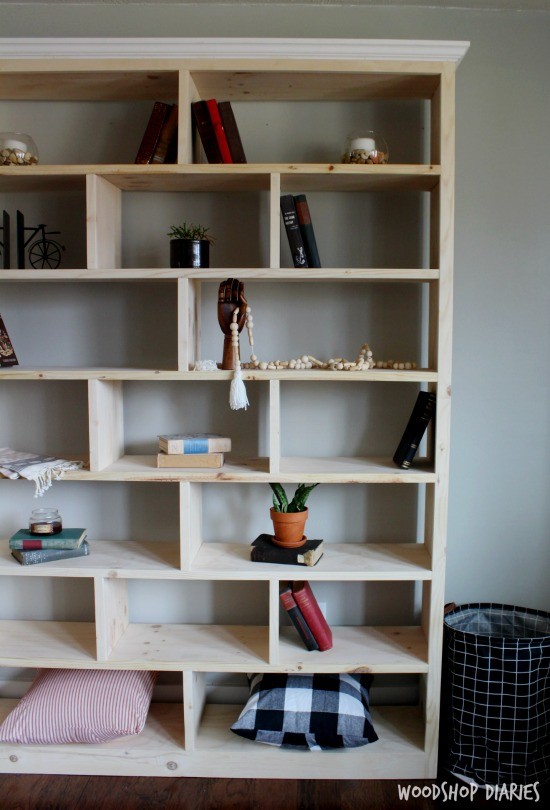
Credit: www.woodshopdiaries.com
Frequently Asked Questions
What Tools Do I Need To Build A Homemade Bookshelf?
To build a homemade bookshelf, you need a saw, drill, screwdriver, measuring tape, level, clamps, and sandpaper. These tools help ensure precise cuts and secure assembly.
What Type Of Wood Is Best For A Diy Bookshelf?
Pine, plywood, and MDF are popular choices for DIY bookshelves. They are affordable, easy to work with, and durable enough to hold books.
How Do I Ensure My Bookshelf Is Sturdy And Safe?
Use strong wood, secure joints with screws, and add brackets for support. Proper leveling and weight distribution prevent tipping and ensure safety.
Can I Customize The Size Of My Homemade Bookshelf?
Yes, you can customize the bookshelf dimensions to fit your space. Measure the area accurately and adjust shelf height and width accordingly.
Conclusion
Building a homemade bookshelf can be simple and fun. You only need a few tools and materials to start. Taking your time helps create a strong and useful shelf. This project adds character to any room. Plus, it saves money compared to buying one.
Enjoy the pride of using something you made. Try different designs to fit your space. A homemade bookshelf is both practical and personal. Ready to build your own? Give it a go!