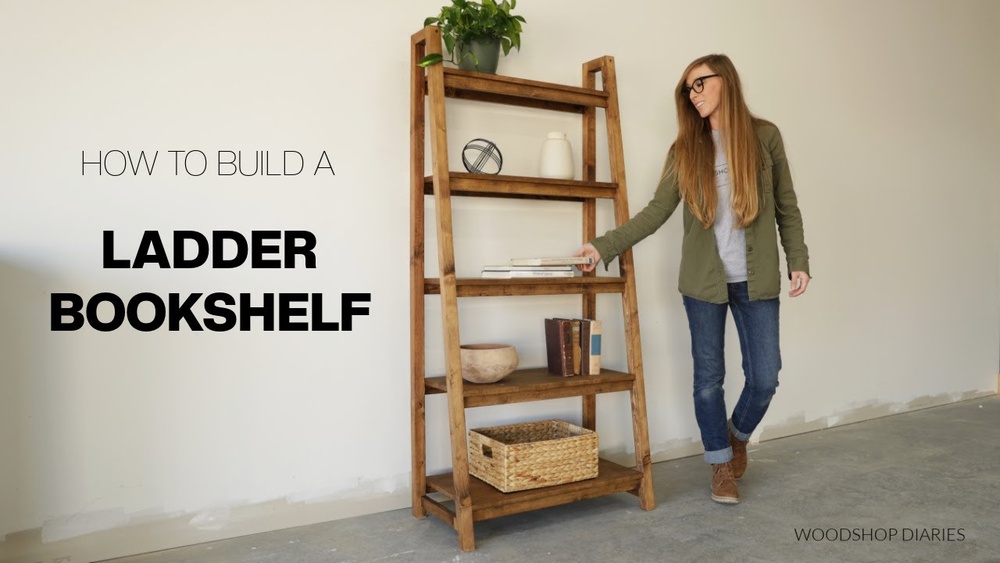
Are you looking for a stylish way to organize your books and decorate your space? Building a ladder bookshelf might be the perfect project for you.
It’s simple, practical, and adds a modern touch to any room. Imagine having a unique shelf that not only holds your favorite reads but also becomes a conversation starter. In this guide, you’ll discover easy steps to create your own ladder bookshelf, even if you’re new to DIY.
Keep reading, and you’ll be surprised at how quickly you can transform your space with this cool, functional piece.

Credit: www.youtube.com
Materials And Tools Needed
Starting a ladder bookshelf project needs the right materials and tools. These help you build a strong, beautiful shelf. Using proper supplies saves time and makes the work easier.
Gather everything before you begin. This keeps the process smooth and enjoyable.
Wood Materials
Choose sturdy wood like pine, oak, or plywood. You will need two long boards for the sides. Also, get several shorter boards for the shelves. Sanded wood gives a nice finish.
Fasteners And Hardware
Use wood screws to hold pieces together. Get screws that fit the wood thickness. Wood glue adds extra strength. Consider small brackets for extra support if needed.
Tools
Prepare a drill with screwdriver bits for fasteners. A saw helps cut wood to size. Sandpaper or a power sander smooths rough edges. A measuring tape ensures exact cuts. Use a pencil to mark measurements.
Safety Gear
Wear safety glasses to protect your eyes. Gloves keep your hands safe from splinters. Use a dust mask when sanding wood to avoid breathing dust.
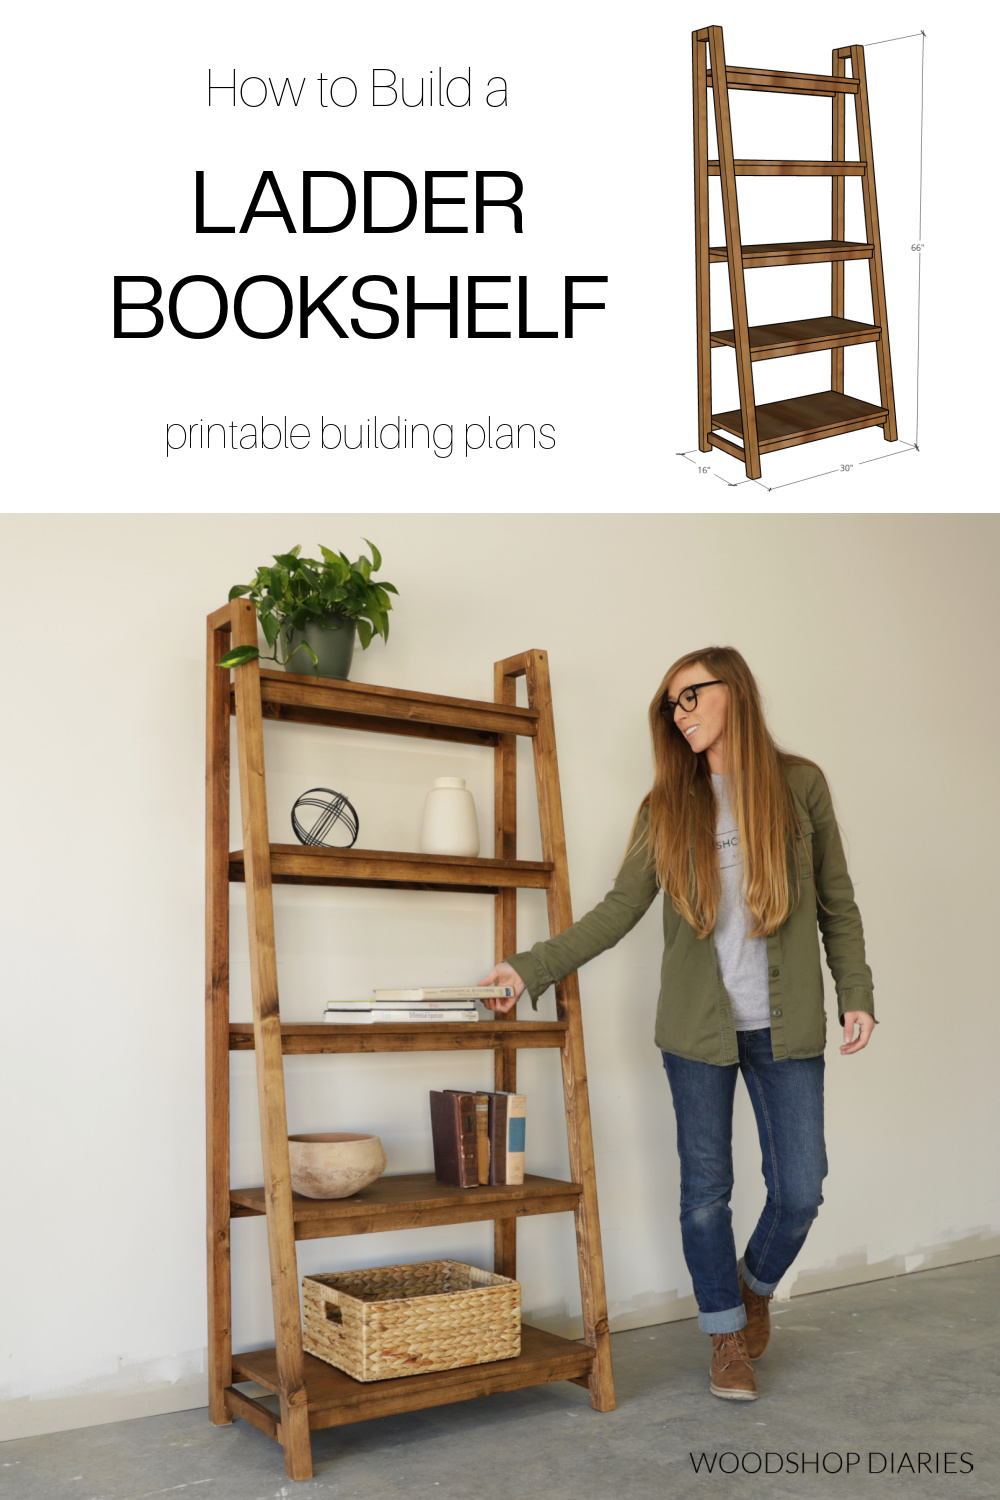
Credit: www.woodshopdiaries.com
Choosing The Right Wood
Choosing the right wood is key to building a strong ladder bookshelf. The wood type affects the shelf’s look and durability. Picking good wood makes the project easier and the result better.
Wood comes in many types. Some woods are soft and easy to cut. Others are hard and last longer. The best choice depends on your tools, budget, and style.
Hardwood Vs. Softwood
Hardwood comes from trees like oak and maple. It is strong and lasts long. Softwood comes from pine or fir trees. It is lighter and easier to work with. Hardwoods cost more but look nicer. Softwoods are cheaper and good for beginners.
Durability And Strength
Durability matters for a bookshelf that holds heavy books. Choose wood that resists dents and scratches. Oak and maple are very strong. Pine can dent but works for light use. Check wood for knots and cracks before buying.
Appearance And Finish
Wood grain and color affect the shelf’s style. Some woods have a smooth, even grain. Others show knots and patterns. You can stain or paint wood to change its look. Pick wood that matches your room’s style.
Cost And Availability
Budget affects wood choice. Common woods cost less and are easy to find. Exotic woods look great but cost more. Choose wood that fits your budget and is available locally. This saves time and money.
Measuring And Cutting The Pieces
Measuring and cutting the pieces is the first crucial step in building a ladder bookshelf. Accuracy here ensures that all parts fit well together. Take your time and double-check every measurement before cutting.
Use a tape measure to get exact lengths for each piece of wood. Mark the wood clearly with a pencil. This reduces mistakes and helps you cut straight lines.
Measuring The Side Rails
Start by measuring the side rails. These are the longest pieces that support the shelves. Measure twice to avoid errors. Mark the wood clearly at each end.
Cutting The Side Rails
Use a saw to cut along the marks carefully. A miter saw works best for straight cuts. Keep the wood steady and cut slowly for clean edges.
Measuring The Shelves
Next, measure each shelf’s width and depth. Shelves get smaller from bottom to top. Write down each shelf size to stay organized.
Cutting The Shelves
Cut the shelves using the same method as the side rails. Check each shelf against your notes before cutting. Smooth the edges with sandpaper for safety.
Credit: www.brepurposed.com
Assembling The Frame
Assembling the frame is the first big step in building your ladder bookshelf. This part creates the strong base that holds the shelves. Take your time to make sure everything fits well. A sturdy frame means a safe and lasting bookshelf.
Preparing The Wood Pieces
Start by gathering all the wood pieces. Sand the edges to avoid splinters. Check that each piece matches the measurements. This helps the frame come together smoothly and look neat.
Joining The Side Rails
Lay the two side rails flat on the floor. Use wood glue on the ends for a strong hold. Attach the rails using screws or nails. Make sure the rails are parallel and straight.
Attaching The Ladder Steps
Measure equal spaces for the steps on the side rails. Mark each spot clearly. Fix the steps one by one with screws. Check the level of each step for balance.
Securing With Brackets
Use metal brackets to add extra strength. Place them at each joint where rails and steps meet. Screw the brackets tightly but avoid splitting the wood. Brackets keep the frame steady and safe.
Attaching The Shelves
Attaching the shelves is an important step in building your ladder bookshelf. This part gives the structure strength and keeps the shelves stable. Proper attachment ensures your books stay safe and your shelf lasts longer.
Take your time to align each shelf carefully. Use clamps or a helper to hold the shelves steady. This makes it easier to fasten them securely.
Preparing Shelf Positions
Mark the spots on the ladder frame where each shelf will go. Use a tape measure for equal spacing. Make light pencil marks for accuracy. Check the marks twice to avoid mistakes.
Securing The Shelves
Apply wood glue on the edges that touch the frame. Place the shelf on the marked spot. Use screws or nails to attach the shelf firmly. Drill pilot holes first to stop the wood from splitting.
Checking For Level
Use a level tool to check if each shelf is straight. Adjust the shelf before the glue dries or screws tighten. A level shelf looks neat and holds items safely.
Final Touches
Wipe off extra glue with a damp cloth. Let the glue dry completely before adding weight. Sand any rough edges for a smooth finish. This step improves the look and feel of your shelf.
Sanding And Finishing
Sanding and finishing are crucial steps in building a ladder bookshelf. These steps make the wood smooth and protect it from damage. Proper sanding removes rough spots and prepares the wood for a clean finish. Finishing adds color, seals the wood, and helps it last longer.
Taking time to sand and finish well gives your bookshelf a professional look. It also makes the surface safe to touch and handle. The right finish can highlight the natural beauty of the wood.
Sanding The Wood Surface
Start by sanding with medium-grit sandpaper. This removes rough edges and marks from cutting. Sand along the grain to avoid scratches. After that, use fine-grit sandpaper to smooth the surface. Wipe away dust with a dry cloth before finishing.
Choosing The Right Finish
Pick a finish that fits your style and use. Clear varnish keeps the natural look. Stain adds color and shows the wood grain. Paint offers many color choices and protects well. Make sure the finish is safe for indoor use.
Applying The Finish
Use a brush or cloth to apply the finish evenly. Work in thin layers to avoid drips. Let each layer dry fully before adding another. Lightly sand between coats with fine sandpaper. This helps the finish stick and smooths the surface.
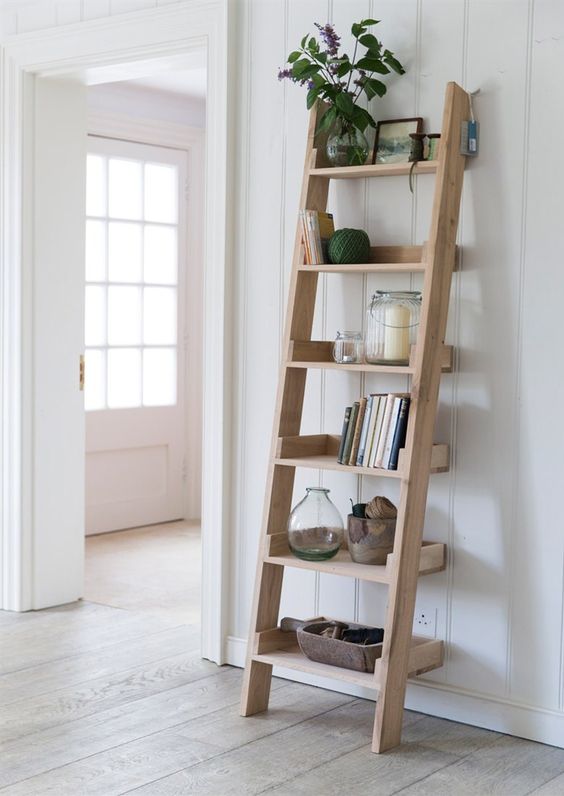
Styling Your Ladder Bookshelf
Styling your ladder bookshelf brings personality and charm to any room. It transforms a simple structure into a beautiful display. Proper styling balances function and decoration.
Start by mixing books with decorative objects. This creates visual interest and keeps the shelf from looking cluttered. Use space wisely to highlight each item.
Arrange Books By Size And Color
Group books by height for a neat look. Stack some horizontally to break the rows. Organize by color to create a pleasing pattern.
Include Decorative Items
Add small plants, candles, or picture frames. These pieces add warmth and personality. Use items of different shapes and textures for variety.
Use Baskets Or Boxes
Place baskets or boxes on lower shelves for storage. They hide clutter and keep things tidy. Choose neutral colors to match the shelf.
Balance Open And Closed Spaces
Leave some areas open for breathing room. Avoid filling every shelf completely. This balance makes the shelf look light and stylish.
Rotate Items Seasonally
Change decorations to fit the seasons or holidays. Fresh items keep the shelf interesting all year. Swap colors and themes for a new feel.
Maintenance Tips
Keeping your ladder bookshelf in good shape needs regular care. Simple maintenance extends its life and keeps it looking fresh. A few easy steps help protect the wood and structure. This section shares useful tips to maintain your bookshelf’s beauty and strength.
Cleaning The Surface
Dust your bookshelf often with a soft cloth. Avoid wet or harsh cleaners that can damage the wood. Use a dry or slightly damp cloth for best results. This stops dirt buildup and keeps the shelves neat.
Checking For Loose Screws
Look for any loose screws or nails regularly. Tighten them with a screwdriver to keep the shelf stable. Loose parts can cause wobbling or damage over time. Small fixes prevent bigger problems later.
Protecting The Wood Finish
Apply a light coat of wood polish every few months. This keeps the wood shiny and protects it from drying out. Use polish designed for your bookshelf’s wood type. It adds a nice layer of protection without buildup.
Avoiding Excess Weight
Do not overload the shelves with heavy items. Stick to the recommended weight limits for each shelf. Too much weight can warp or break the wood. Distribute items evenly to keep the shelf balanced.
Preventing Water Damage
Keep liquids away from your bookshelf to avoid stains. Use coasters or trays under plants and drinks. Wipe up any spills immediately with a dry cloth. Water can cause wood to swell or discolor.
Frequently Asked Questions
What Materials Do I Need To Build A Ladder Bookshelf?
To build a ladder bookshelf, you need wood planks, screws, wood glue, sandpaper, paint or stain, and brackets. These materials ensure sturdy shelves and a smooth finish. Choose quality wood for durability and a stylish look that fits your space.
How Long Does It Take To Build A Ladder Bookshelf?
Building a ladder bookshelf typically takes 4 to 6 hours. This includes measuring, cutting, assembling, sanding, and finishing. Time may vary depending on your experience and tools. Planning ahead helps complete the project efficiently and with great results.
Can I Customize The Size Of My Ladder Bookshelf?
Yes, you can customize the size to fit your space and needs. Adjust the height, width, and shelf depth during the design phase. Custom sizing ensures the bookshelf complements your room and holds your favorite books perfectly.
What Tools Are Essential For Building A Ladder Bookshelf?
Essential tools include a saw, drill, screwdriver, measuring tape, level, and clamps. These tools help you cut accurately, assemble securely, and keep everything aligned. Having the right tools simplifies the building process and improves the final product quality.
Conclusion
Building a ladder bookshelf brings style and function to your space. You create a unique piece with simple tools and steps. It fits well in any room, holding books and decor nicely. Enjoy the process and the final product you made.
Your new bookshelf will last and look great. Try customizing it with paint or wood stain. This project adds charm and storage without much cost. Start building and see how rewarding it feels. A ladder bookshelf can brighten your home easily.
