
Are you tired of searching for the perfect bookshelf that fits your space and style? Imagine having a beautiful, sturdy bookshelf you built yourself—one that holds your favorite books and adds charm to your room.
Building a nice bookshelf isn’t as hard as you might think. With a few simple steps and some basic tools, you can create a piece you’ll be proud of. Keep reading, and I’ll show you exactly how to make a bookshelf that’s both functional and stylish—designed just for you.
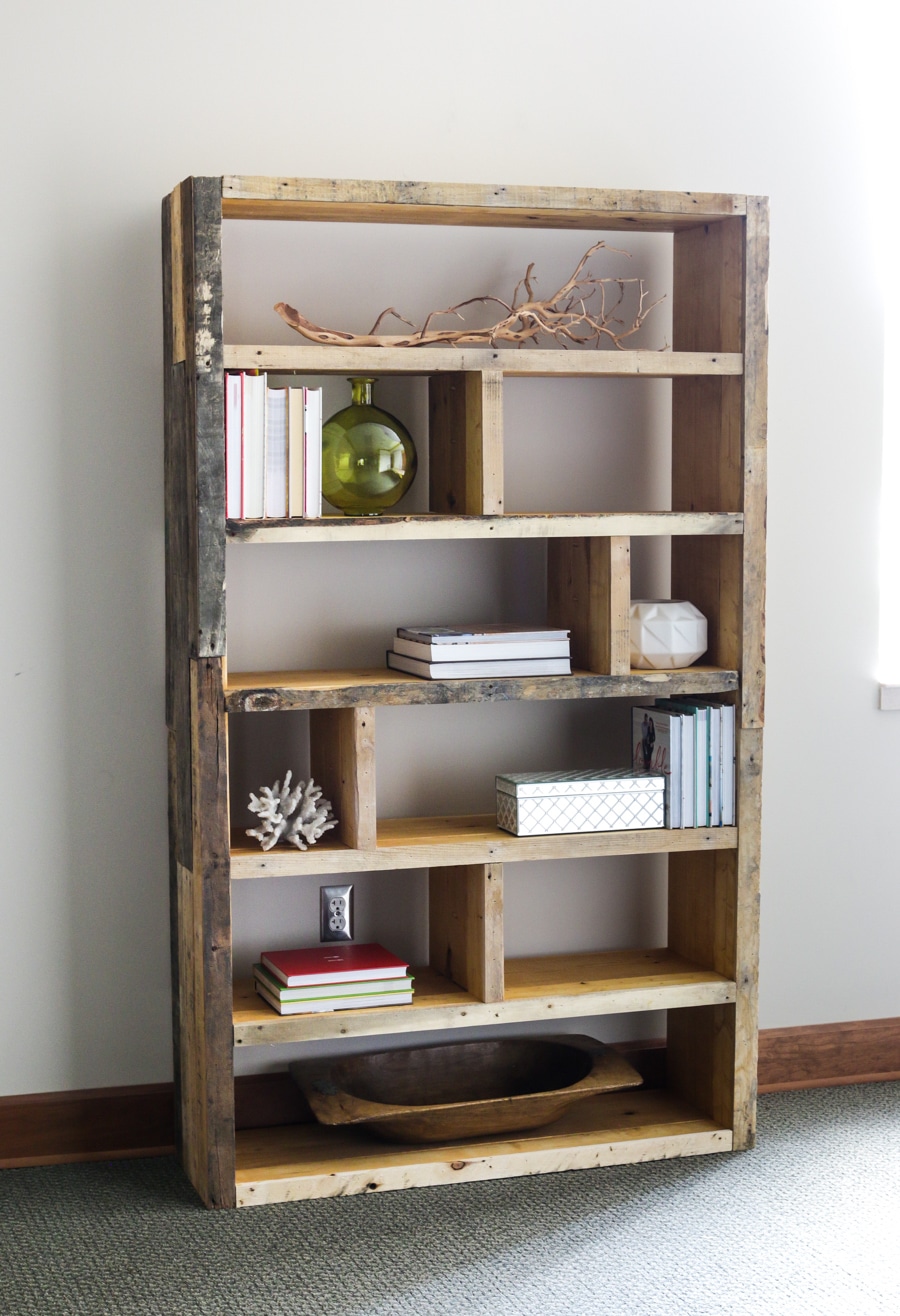
Credit: jenwoodhouse.com
Choosing The Right Materials
Choosing the right materials is the first step in building a sturdy bookshelf. The materials you select affect the shelf’s strength and look. Picking quality wood and the proper tools will make your project easier and more enjoyable.
Types Of Wood
Wood comes in many types, each with unique features. Pine is soft, easy to cut, and affordable. Oak is harder and more durable but costs more. Birch offers a smooth finish and good strength. Choose wood that matches your budget and style. Consider wood that resists scratches and warping for longer life.
Tools You’ll Need
Good tools help you work faster and safer. A saw is essential to cut your wood pieces. Use a drill to make holes for screws. Sandpaper smooths rough edges. A measuring tape ensures precise dimensions. Clamps hold pieces steady during assembly. Having the right tools reduces mistakes and saves time.
Safety Gear Essentials
Safety gear protects you from injury while building. Wear safety glasses to shield your eyes from dust and splinters. Use ear protection if your tools are loud. Gloves protect your hands from cuts and splinters. A dust mask stops you from breathing sawdust. Always wear safety gear to keep your work safe and comfortable.
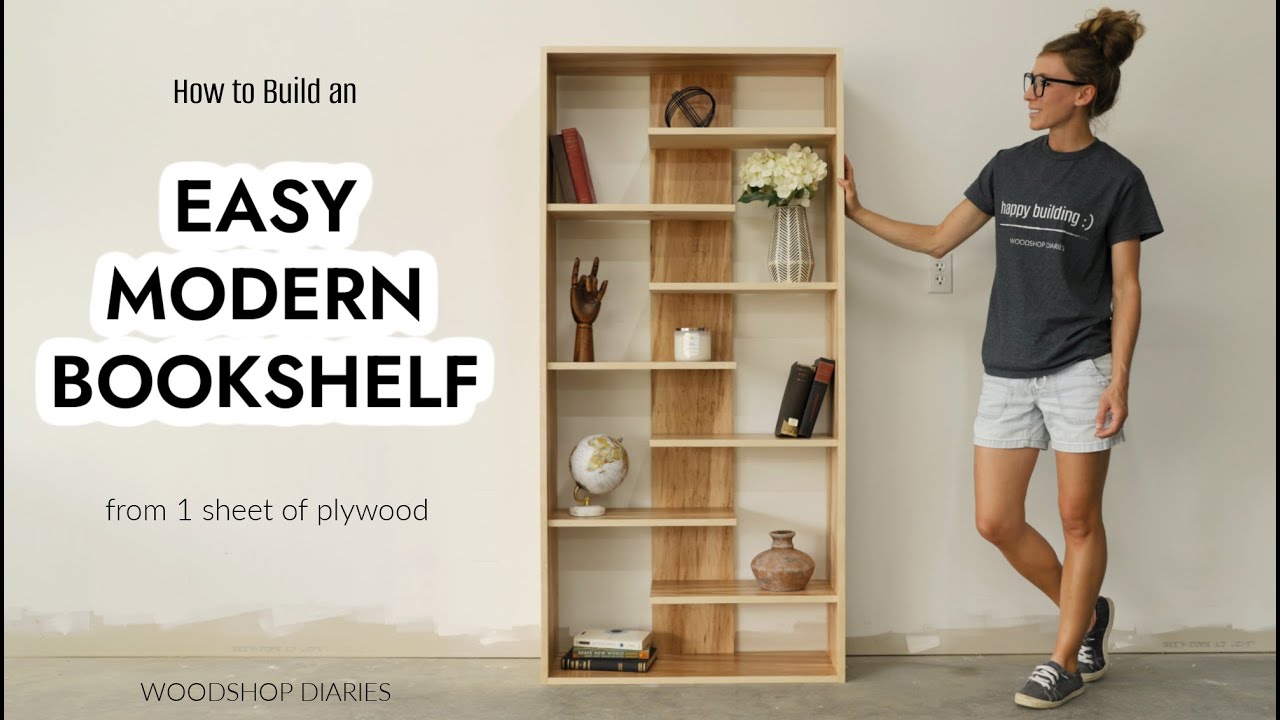
Credit: www.youtube.com
Planning Your Bookshelf Design
Planning your bookshelf design is a key step to build a functional and attractive piece. Careful planning helps avoid mistakes and wasted materials. It also ensures the bookshelf fits well in your space and meets your storage needs.
Start by understanding the area where you want to place the bookshelf. Think about the style and purpose of the shelves. Will it hold heavy books or decorative items? These questions guide your design choices.
Measuring Your Space
Measure the width, height, and depth of the area accurately. Use a tape measure and write down the numbers. Check for any obstacles like power outlets or vents. These can affect the size and shape of your bookshelf.
Measure twice to avoid errors. Make sure the bookshelf will fit without blocking other furniture or pathways.
Sketching The Layout
Draw a simple sketch of your bookshelf design on paper. Include the overall shape and shelf positions. This visual helps you plan the look and function.
Mark where each shelf will go. Think about spacing to store different sized items. Adjust the sketch until it feels balanced and practical.
Selecting Shelf Dimensions
Choose shelf width and height based on your items. Standard shelves are about 10 to 12 inches deep. This size fits most books and objects.
Space shelves 10 to 12 inches apart for books. For taller items, leave more height. Stronger shelves need thicker wood or extra support.
Cutting And Preparing Wood
Cutting and preparing wood is the first important step in building a nice bookshelf. It sets the foundation for a strong and beautiful piece. Careful preparation helps the wood fit perfectly and look clean. Taking time here saves effort later.
Wood must be measured and cut accurately. Each piece needs smooth edges for safety and good appearance. This part requires focus and simple tools. Safety is also very important when working with saws and sanders.
Marking Cut Lines
Start by measuring the wood carefully. Use a pencil and ruler to draw straight cut lines. Mark lines clearly on the wood surface. Double-check measurements before cutting. This step prevents mistakes and wasted wood.
Using Saws Safely
Choose the right saw for your wood type and size. Hold the saw firmly and cut along the marked lines slowly. Keep fingers away from the blade. Wear safety glasses and gloves to protect yourself. Stay focused to avoid accidents.
Sanding For Smooth Edges
After cutting, use sandpaper or a sanding block to smooth edges. Sand until the wood feels soft and even. This removes splinters and rough spots. Smooth edges improve the look and make the bookshelf safe to touch.
Assembling The Bookshelf
Assembling the bookshelf is the step where your project starts to take shape. This part requires care and patience. Proper assembly ensures your bookshelf looks good and lasts long.
Start by organizing all parts and tools. Follow the instructions closely. Each piece has a purpose and fits in a certain way. Take your time to avoid mistakes.
Joining Techniques
There are several ways to join the bookshelf parts. Common methods include dowels, biscuits, and cam locks. Dowels are small wooden pins that fit into holes on two pieces. Biscuits are oval-shaped pieces that fit into slots. Cam locks use a special fastener to pull pieces tightly together. Choose the technique that suits your tools and skills.
Using Nails And Screws
Nails and screws provide strong support for your bookshelf. Screws hold parts firmly and are less likely to loosen over time. Use a screwdriver or drill to insert screws straight and deep. Nails are faster but less secure. Pre-drill holes to avoid splitting the wood. Use screws for shelves and nails for backing panels.
Ensuring Stability
Stability is key for a safe bookshelf. Check that all joints fit tightly. Wobbling shelves can cause accidents and damage books. Use corner brackets or braces for extra strength. Place the bookshelf against a wall and anchor it if possible. Test by gently shaking the structure. Fix any loose parts before use.
Finishing Touches
Finishing touches make your bookshelf look complete and last longer. These steps help protect the wood and improve its beauty. Pay close attention to these details. They bring your project to life.
Applying Paint Or Stain
Choose paint or stain based on the look you want. Paint gives bright, solid color. Stain shows wood grain and feels natural. Use a brush or cloth to apply evenly. Let each coat dry fully before adding another. This prevents peeling and uneven spots.
Adding Protective Coatings
Protective coatings shield your bookshelf from scratches and water. Clear varnish or polyurethane works well. Apply thin layers with a brush. Wait for each layer to dry before the next. This builds a strong, clear finish that lasts.
Installing Brackets Or Supports
Brackets keep your bookshelf safe and steady. Choose metal or wood brackets for extra strength. Attach them under shelves or at the back. Use screws that fit your wall type. Check stability by placing weight on shelves carefully.
Tips For Maintenance And Care
Taking care of your bookshelf keeps it strong and looking great for years. Regular maintenance helps avoid big repairs and keeps the wood in good shape. Small efforts can make a big difference.
Cleaning Methods
Dust your bookshelf often using a soft cloth or feather duster. Avoid wet cloths that can damage wood. For sticky spots, use a damp cloth with mild soap. Dry the surface quickly to stop water damage. Clean shelves before placing books back.
Preventing Damage
Keep your bookshelf away from direct sunlight to stop fading. Avoid placing it near heaters or air conditioners. Use coasters under plants or drinks to prevent stains. Do not overload shelves; follow weight limits to avoid bending.
Periodic Inspections
Check your bookshelf every few months for loose screws or joints. Tighten screws as needed to keep the structure stable. Look for signs of wood cracks or damage. Fix small problems early to prevent bigger issues later.
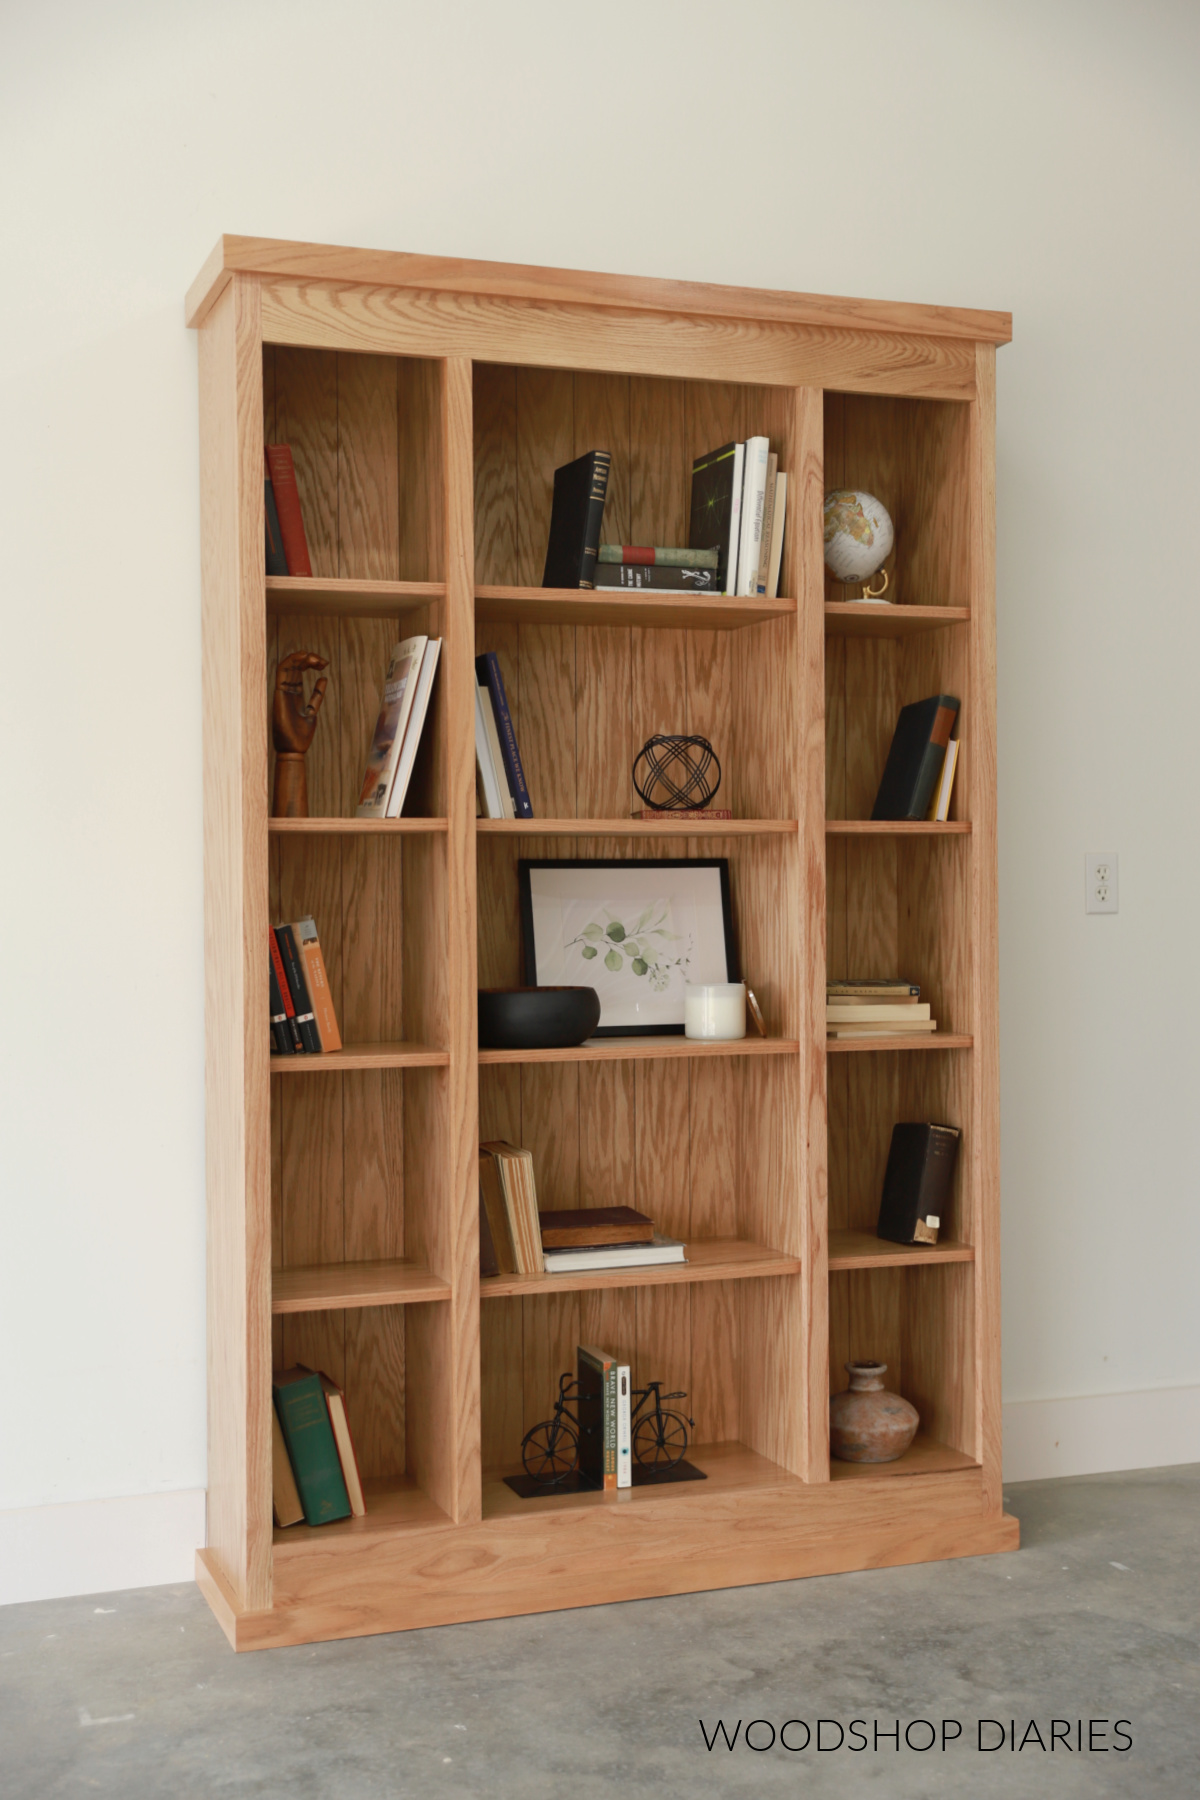
Credit: www.woodshopdiaries.com
Frequently Asked Questions
What Materials Are Best For Building A Sturdy Bookshelf?
Wood like pine, oak, or plywood is ideal for durability. Choose quality materials to ensure long-lasting strength and aesthetic appeal.
How Do I Measure Space For A Custom Bookshelf?
Measure the wall width, height, and depth where the bookshelf will go. Accurate dimensions help design a perfect fit.
What Tools Are Needed To Build A Bookshelf?
Basic tools include a saw, drill, screws, measuring tape, and sandpaper. These are essential for cutting, assembling, and finishing.
How Can I Make My Bookshelf Look Professional?
Use smooth sanding, even paint or stain, and precise assembly. Attention to detail enhances the bookshelf’s overall appearance.
Conclusion
Building a nice bookshelf can be simple and fun. Start with clear plans and the right tools. Take your time to measure and cut carefully. Use strong materials to make it last longer. Add your personal touch with paint or decorations.
Enjoy the pride of creating something useful and beautiful. A well-made bookshelf holds your favorite books and memories. Try this project to improve your space and skills. Step by step, you will see great results. Keep learning and building with confidence.
