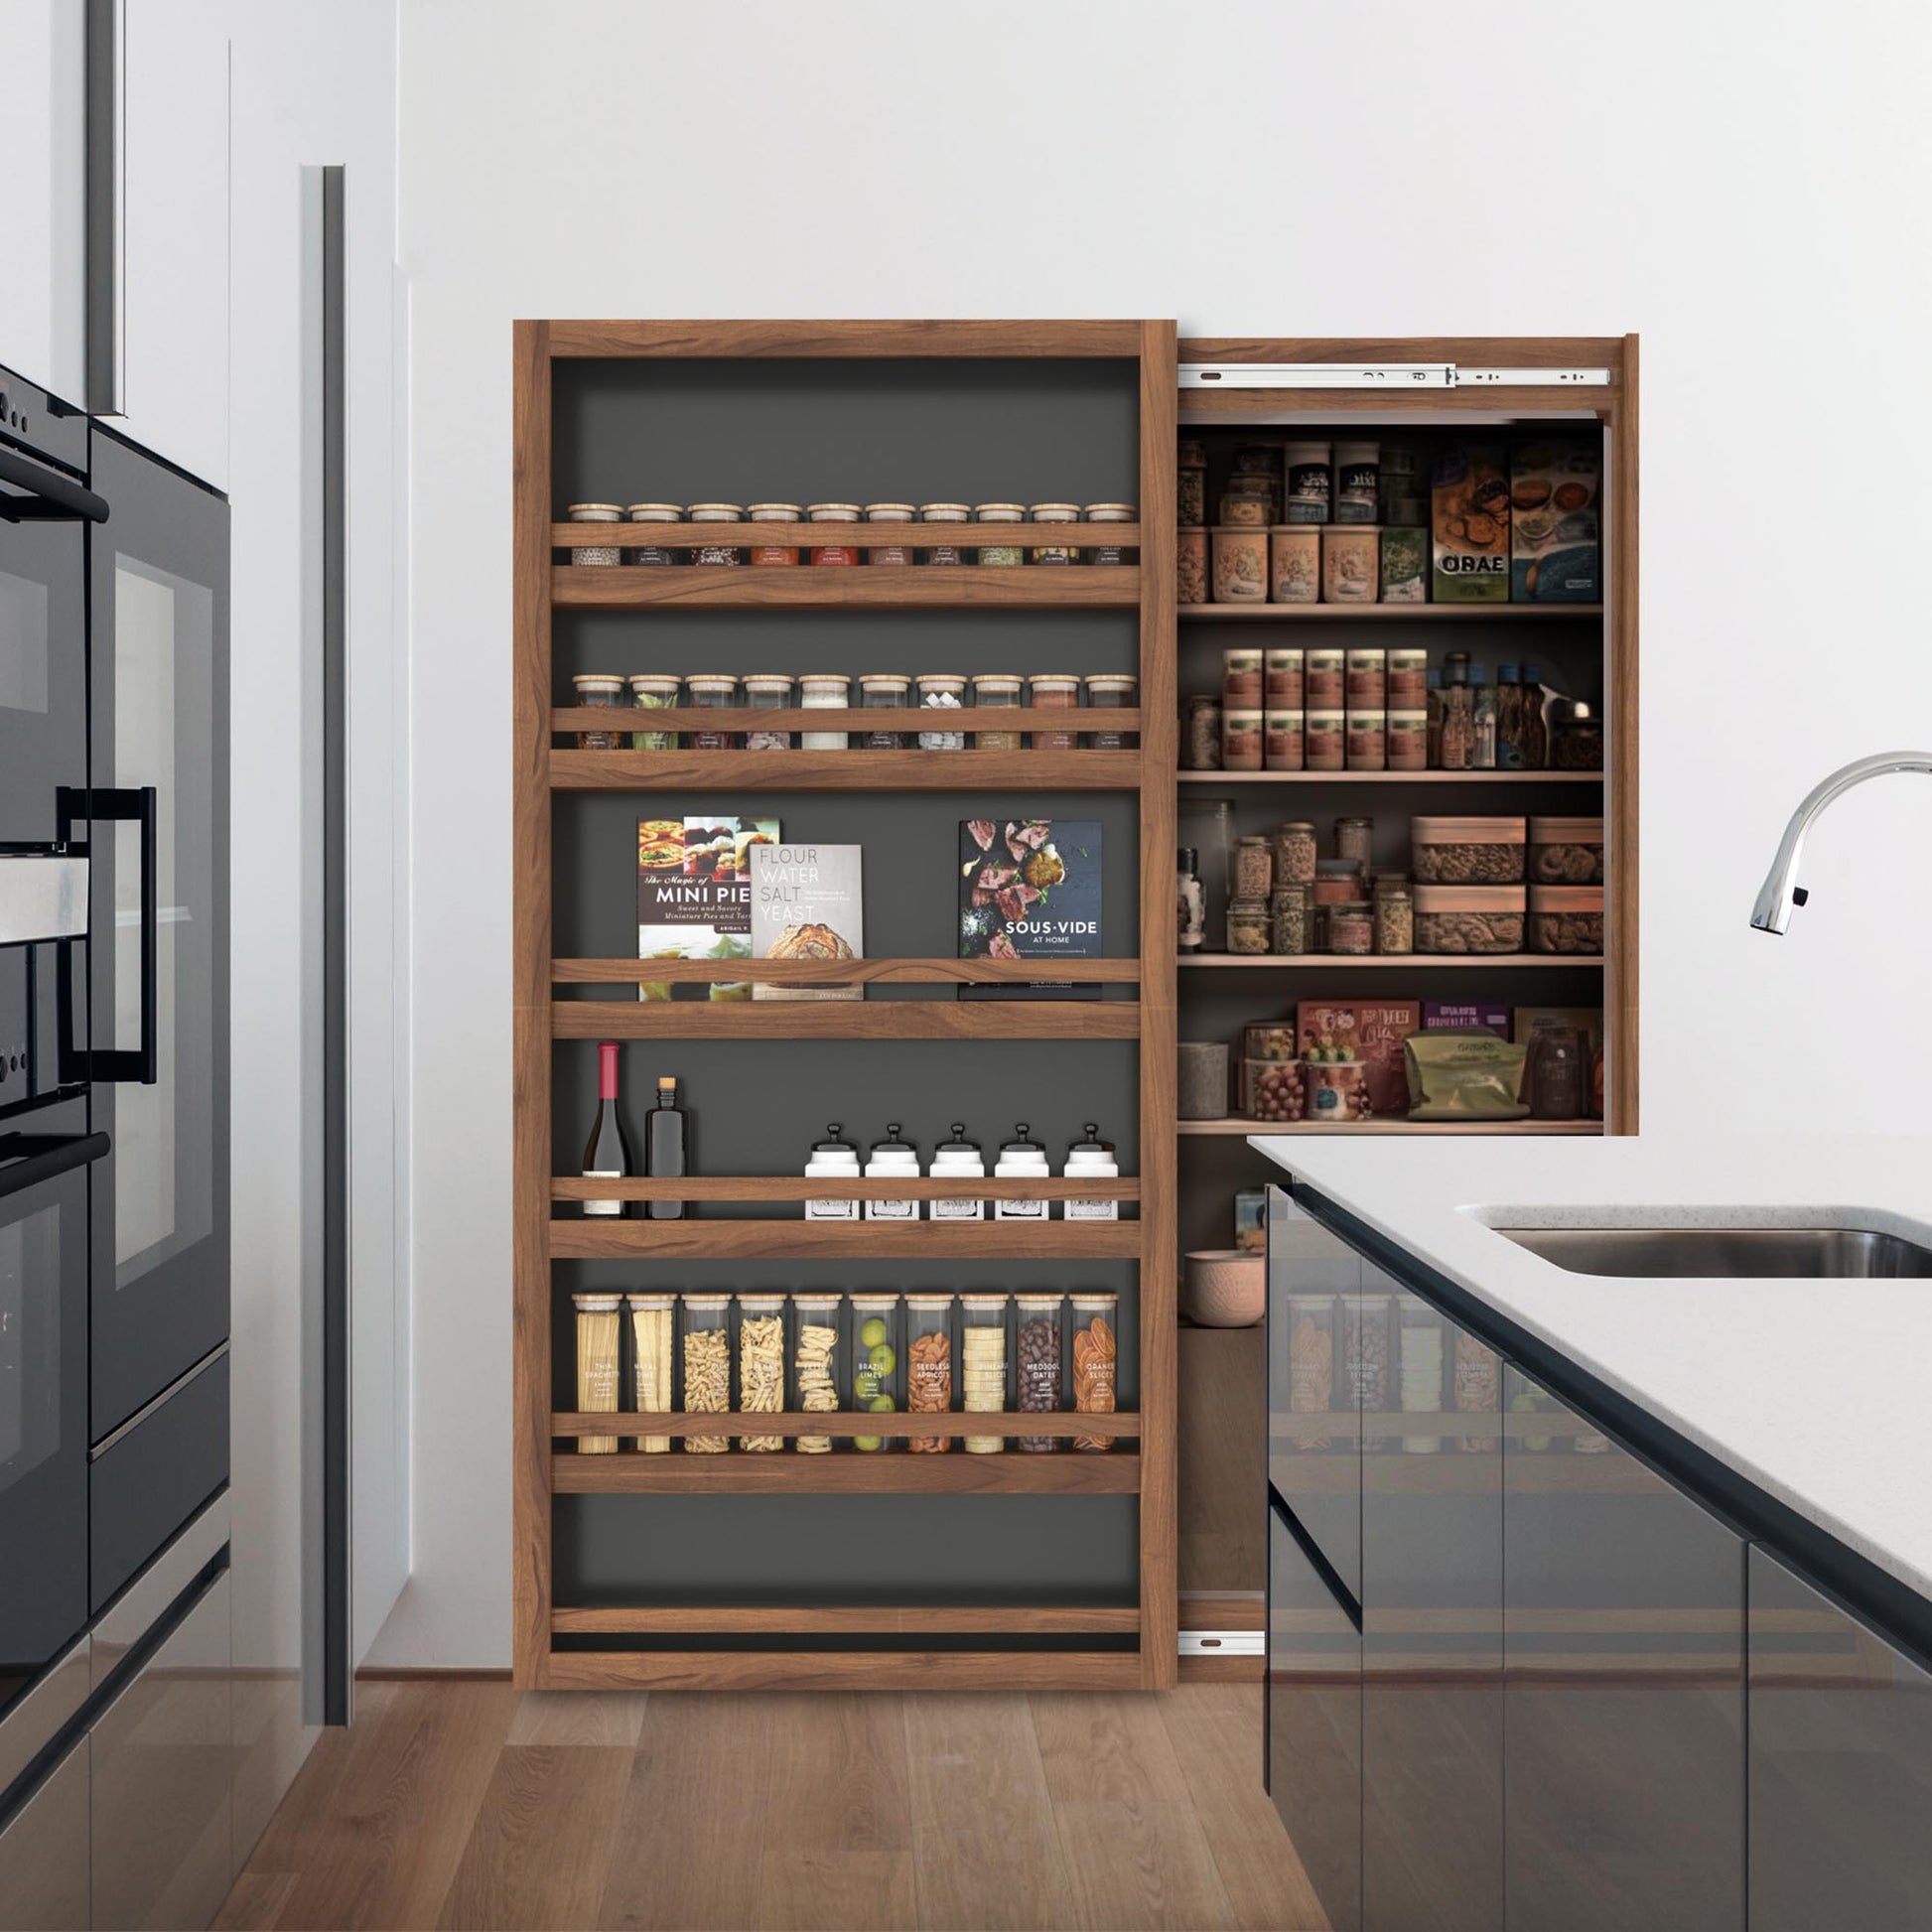
Imagine having a bookshelf that hides away neatly but pulls out easily whenever you want to grab a book. Sounds perfect, right?
If you love reading but struggle with limited space or clutter, building a pull-out bookshelf could be the game-changer your home needs. In this guide, you’ll discover simple steps to create your own functional and stylish bookshelf that fits right into your space.
Ready to transform how you store and access your books? Keep reading, and you’ll find out exactly how to make it happen—no complicated tools or skills required.
Materials And Tools Needed
Building a pull out bookshelf needs the right materials and tools. This section lists what you need to get started. Having everything ready makes the project easier and faster.
Materials Needed
- Wood boards – choose sturdy wood like pine or plywood
- Wood screws – 1 inch and 1.5 inch sizes
- Wood glue – for strong joints
- Drawer slides – full extension, heavy duty for smooth pulling
- Sandpaper – medium and fine grit for smooth finish
- Wood stain or paint – to protect and style your bookshelf
- Clear varnish – adds a protective layer
- Handles or knobs – for easy pull out
Tools Needed
- Measuring tape – to measure wood and space accurately
- Pencil – to mark cutting lines
- Power drill – for drilling holes and driving screws
- Screwdriver – manual or electric for fastening screws
- Handsaw or circular saw – to cut wood pieces
- Clamps – to hold wood pieces while gluing
- Level – to check shelves are straight
- Paintbrush or roller – for applying paint or stain

Credit: www.youtube.com
Choosing The Right Location
Choosing the right location for your pull out bookshelf is very important. It affects how useful and easy to use the shelf will be. A good spot makes your books easy to reach and keeps your space neat. Think about where you want your books and how often you use them.
Consider the space around the area. The shelf needs room to pull out fully. Avoid places with tight corners or obstacles. You want smooth movement without bumping into furniture or walls.
Assessing Available Space
Measure the width, height, and depth of the space carefully. The pull out bookshelf needs enough room to fit inside and slide out. Check for any pipes, outlets, or vents that could block the shelf. Clear space makes building easier and use more practical.
Choosing High Traffic Areas
Pick a place you pass by often. This keeps your favorite books close. Avoid hidden spots that are hard to reach. A busy hallway, near your desk, or by the couch works well. Convenience matters for daily use.
Considering Lighting Conditions
Good lighting helps you see book titles clearly. Natural light from windows is best but avoid direct sunlight. Sunlight can fade book covers over time. Use soft lighting or install a small lamp if the area is dark.
Checking Wall Strength
Make sure the wall can hold the shelf’s weight. Pull out bookshelves can be heavy when full. Solid walls or studs offer better support. Avoid drywall alone unless you add extra anchors or reinforcement.
Designing Your Pull Out Bookshelf
Design is the first step in building a pull out bookshelf. It helps you create a plan that fits your space and needs.
Good design makes the bookshelf functional and easy to use. It also ensures the shelf looks nice in your room.
Measuring Space
Start by measuring the area where the bookshelf will go. Measure height, width, and depth carefully.
Write down all measurements. Double-check to avoid mistakes later. This helps you choose the right size.
Selecting Shelf Dimensions
Decide how tall and wide each shelf should be. Consider the size of your books and items.
Make shelves deep enough to hold books but not too big to waste space. Balance is key.
Planning Sliding Mechanism
Choose a sliding mechanism that fits your design and space. Options include rollers, tracks, or rails.
Think about smooth movement and durability. Test parts before building to ensure they work well.
Cutting And Preparing Wood
Cutting and preparing wood is a key step in building a pull out bookshelf. This process shapes the wood pieces to fit your design perfectly. Careful work here makes assembly easier and the final product strong. Take your time and follow the steps closely for the best results.
Marking Measurements
Start by measuring the wood panels carefully. Use a tape measure and pencil to mark exact lines. Double-check each measurement before making any cuts. Clear, straight marks guide your saw and prevent mistakes. Mark all pieces needed for the bookshelf, including sides, shelves, and back panels.
Cutting Panels
Use a saw to cut along the marked lines. Choose a saw that fits your skill level and the type of wood. Cut slowly and steadily to keep edges straight. Keep your hands safe and wear protective gear. Cut each panel to the right size to ensure they fit well later.
Sanding Edges
Sanding smooths rough edges and removes splinters. Use sandpaper or a sanding block with medium grit. Sand all cut edges evenly to avoid sharp spots. Smooth edges make the bookshelf safer and look nicer. Wipe dust off the wood after sanding to keep surfaces clean.
Assembling The Frame
Assembling the frame is the first big step in building your pull out bookshelf. This part creates the strong base that holds everything together. Take your time to make sure each piece fits well. A solid frame means your bookshelf will last long and work smoothly.
Joining Side Panels
Start by placing the two side panels upright. Use wood glue along the edges for a tight fit. Then, connect them with screws or nails. Check if both panels are straight and aligned. This keeps the frame steady and balanced.
Attaching Shelves
Next, add the shelves between the side panels. Measure the space to keep shelves even. Apply glue to the ends of each shelf. Fit them into place and secure with screws. Make sure shelves are level for a neat look.
Securing Back Panel
The back panel adds extra strength and stops the frame from wobbling. Place it flat against the back of your frame. Use screws or nails to attach it firmly. This step locks the structure in place and keeps it square.

Credit: heartworkorg.com
Installing Sliding Hardware
Installing sliding hardware is a key step in building a pull-out bookshelf. It allows the shelf to move smoothly and safely. Proper installation helps avoid jams and damage. Follow clear steps for best results.
Choosing Drawer Slides
Select slides that fit your shelf size and weight. Full-extension slides let you pull the shelf out completely. Ball-bearing slides offer smooth and quiet movement. Check the weight rating to support your books. Choose metal slides for durability and strength.
Mounting Slides
Attach the slides to both the shelf and the bookshelf frame. Measure carefully to align slides evenly on both sides. Use screws that come with the slides for a secure fit. Make sure slides are straight for smooth sliding. Pre-drill holes to avoid wood splitting.
Testing Smooth Movement
Pull the shelf out and push it back in several times. The shelf should move without sticking or wobbling. Adjust screws if the movement feels rough or uneven. Check that the shelf stops at the right point. Smooth movement means your hardware is installed correctly.
Finishing Touches
Finishing touches give your pull out bookshelf a polished look. They protect the wood and improve its style. Small details make a big difference in the final result. Focus on painting or staining, adding handles, and applying a protective coating. These steps help your bookshelf last longer and look great.
Painting Or Staining
Choose paint or stain based on your room’s style. Paint offers bright colors and hides wood grain. Stain shows the wood’s natural beauty. Apply thin, even coats for best results. Let each layer dry fully before adding the next. Sand lightly between coats to keep the surface smooth.
Adding Handles
Handles make pulling out the shelf easy. Pick handles that match your décor and size. Measure and mark where to place them. Use screws or bolts to attach handles firmly. Make sure handles do not block the shelf’s movement. Test the pull action to ensure comfort and strength.
Protective Coating
Apply a clear protective coating to guard the wood. Use polyurethane or varnish for strong protection. Brush on thin, even layers over the entire shelf. Allow enough drying time between coats. This coating shields against scratches, moisture, and dirt. It keeps your bookshelf looking new for years.
Tips For Stylish Storage
Creating a pull out bookshelf is more than just building storage. It is about making your space look neat and stylish. Good storage helps keep your books safe and easy to find. It also adds charm to your room. Here are some simple tips to keep your bookshelf both useful and attractive.
Organizing Books
Sort your books by size or color for a clean look. Place frequently read books at eye level. Use bookends to keep books straight and tidy. Stack some books horizontally to add variety. Group similar genres together to make searching simple.
Decorative Elements
Add small plants or photo frames on empty shelves. Use decorative baskets for loose items or magazines. Choose a paint color that matches your room’s style. Consider LED strip lights to highlight your collection. Keep decorations balanced to avoid clutter.
Maximizing Space
Use the full depth of the shelf by placing tall books at the back. Install adjustable shelves for different book sizes. Use the top and bottom areas for storage boxes. Pull out shelves make reaching books easier in tight spots. Keep the design simple to save space and look neat.
Credit: murphydoor.com
Frequently Asked Questions
What Materials Are Needed For A Pull Out Bookshelf?
You need plywood or MDF, drawer slides, screws, wood glue, handles, and finishing materials. Quality materials ensure durability and smooth operation. Always measure your space before purchasing.
How Do I Install Drawer Slides For Pull Out Shelves?
Attach drawer slides to the shelf and cabinet sides using screws. Ensure slides are level and aligned for smooth movement. Test the sliding action before securing completely.
What Tools Are Essential For Building A Pull Out Bookshelf?
Basic tools include a saw, drill, screwdriver, measuring tape, level, and clamps. These tools help with cutting, assembling, and aligning parts accurately. Proper tools ensure a professional finish.
How To Maximize Space With A Pull Out Bookshelf?
Customize shelf dimensions to fit your space and items. Use adjustable shelves for flexibility. Pull out design allows easy access and efficient use of narrow or deep spaces.
Conclusion
Building a pull-out bookshelf adds both style and function to your space. It saves room and keeps books within easy reach. With simple steps, anyone can create one at home. Using basic tools makes the project less hard. This shelf helps organize and brighten any room.
Try making your own pull-out bookshelf today. You’ll enjoy the neat look and quick access to books. Small projects like this bring big satisfaction. Start now and see the difference it makes!