Are you ready to transform your kid’s room with a practical and stylish solution? Building a Simpletwin Iver full bunk bed might sound tricky, but with the right steps, you can create a sturdy, space-saving bed that suits your needs perfectly.
Imagine giving your children more room to play and sleep comfortably, all while adding a cool centerpiece to the room. In this guide, you’ll find easy-to-follow instructions that make the whole process simple, even if you’re new to DIY projects.
Keep reading, and you’ll have your very own bunk bed ready in no time!
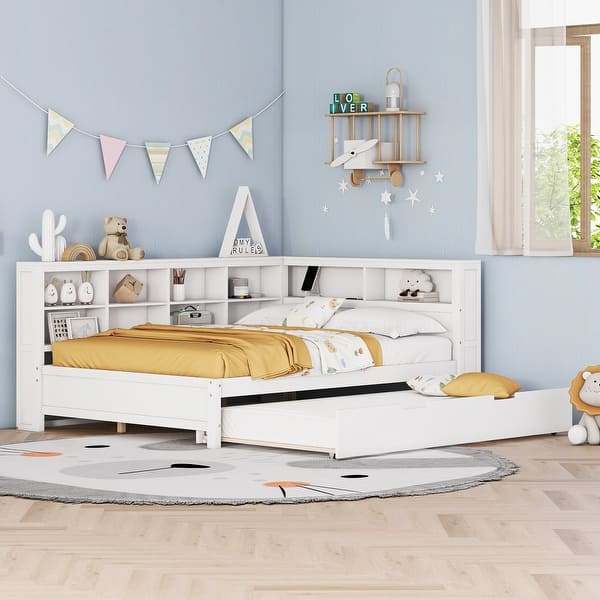
Credit: www.bedbathandbeyond.com
Materials And Tools Needed
Building a Simpletwin Iver Full Bunk Bed requires specific materials and tools. Gathering these first makes the process smoother and faster. Using the right supplies helps create a strong and safe bunk bed.
This section lists all items needed. It covers wood types, screws, and tools. Prepare everything before starting the project.
Wood And Lumber
Use solid wood like pine or oak for durability. Choose planks that are straight and smooth. You will need boards for the bed frame, guardrails, and ladder.
Fasteners And Hardware
Get wood screws of various lengths for strong joints. Use bolts and nuts for extra support. Include wood glue for added strength in joints. Consider corner brackets to secure frame corners.
Tools Required
Have a drill with drill bits for making pilot holes. Use a screwdriver or a drill driver for screws. A saw is necessary to cut wood to size. Sandpaper or a power sander smooths rough edges. A tape measure and pencil help with accurate measurements.
Safety Equipment
Wear safety glasses to protect your eyes. Use ear protection if using loud power tools. Gloves prevent splinters and improve grip. A dust mask keeps you safe from sawdust.
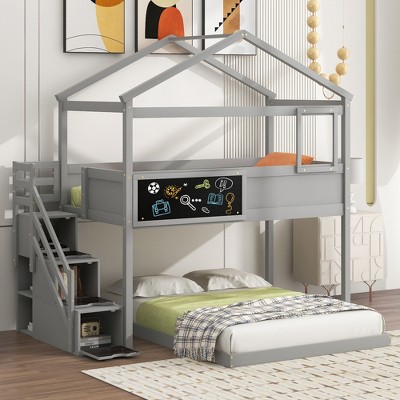
Credit: www.target.com
Planning Your Bunk Bed
Planning your Simpletwin Iver full bunk bed is the first step. Good planning saves time and effort. It helps you build a strong, safe, and comfortable bed. Start by understanding the space you have. Think about who will use the bed and how often. This makes the project easier and more fun.
Choosing The Right Dimensions
Measure the room carefully before you start. The bunk bed should fit well without crowding the space. A full bed size is usually 54 inches wide and 75 inches long. Make sure the ceiling height allows enough space between the top and bottom bunk. Leave at least 30 inches of headroom. This keeps the bed comfortable and safe to use.
Designing For Safety
Safety is very important in bunk bed design. Use strong materials that hold weight well. Add guardrails on the top bunk to prevent falls. The guardrails should be at least 5 inches above the mattress. Make a sturdy ladder that is easy to climb. Check all joints and screws to keep the bed stable. A safe bunk bed means peace of mind for everyone.
Cutting The Wood Pieces
Cutting the wood pieces is a key step in building the Simpletwin Iver full bunk bed. Accurate cuts ensure the bed parts fit well and stay strong. Taking time to measure and cut carefully saves effort later. Safety matters too, so handle tools with care.
Measuring And Marking
Start by measuring each wood piece carefully. Use a tape measure and write down the numbers. Mark the cutting lines clearly with a pencil. Double-check all measurements before cutting. Mark both sides of the wood for better guidance.
Cutting Techniques
Use a saw suited to the type of wood. A circular saw works well for straight cuts. Keep the wood steady while cutting. Cut slowly and follow the marked lines closely. Smooth the edges with sandpaper to avoid splinters.
Assembling The Bed Frame
Assembling the bed frame is the first big step in building your Simpletwin Iver full bunk bed. It gives the bed its shape and strength. Follow the steps carefully to make sure the frame is sturdy and safe. Take your time. Use the right tools. This will make the assembly easier and faster.
Building The Side Rails
Start by laying out the side rails on a flat surface. Make sure the rails are the right length and free from damage. Attach the metal brackets or wooden supports to the rails as shown in the instructions. Use screws and a screwdriver to secure them tightly. These rails will hold the mattress and support the weight. Double-check that the rails are straight and stable before moving on.
Attaching The Headboard And Footboard
Next, position the headboard and footboard upright. Align them with the ends of the side rails. Connect the boards to the rails using bolts or screws. Tighten the fasteners evenly to avoid wobbling. Check that the headboard and footboard stand firm and square. This step locks the frame together and gives the bed its classic bunk bed look. Make sure all parts fit snugly for safety and durability.
Adding Support Slats
Adding support slats is important for a strong bunk bed frame. These slats hold the mattress and stop it from sagging. Proper slat installation keeps the bed safe and comfortable. Take time to place and secure them well.
Spacing And Placement
Place the support slats evenly across the bed frame. Keep space between slats about 2 to 3 inches. This spacing gives good mattress support and airflow. Start from one side and lay slats straight across. Make sure each slat rests firmly on the frame edges.
Securing The Slats
Attach each slat with screws or nails for stability. Drill pilot holes first to avoid wood splitting. Use screws that are long enough to hold tight but not go through the frame. Check each slat to keep it flat and secure. Tighten all fasteners to prevent movement or noise.
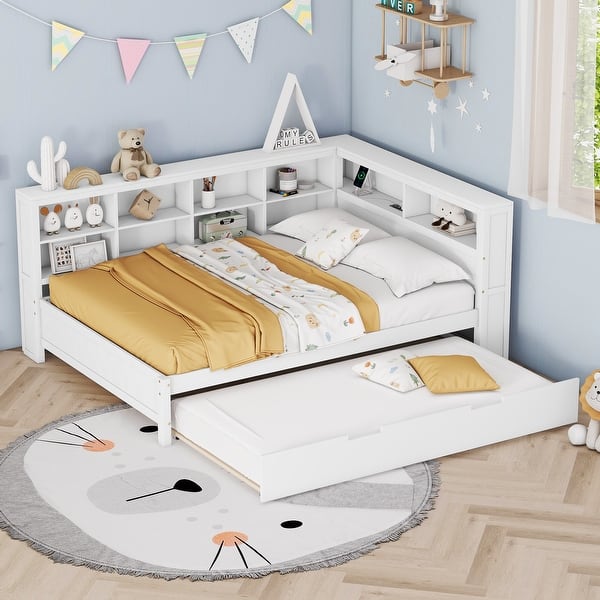
Credit: www.bedbathandbeyond.com
Constructing The Ladder
Constructing the ladder is a key step in building your Simpletwin Iver full bunk bed. The ladder must be strong and safe for daily use. Choosing the right design and installing it correctly keeps the ladder steady and easy to climb. This section helps you create a ladder that fits your bunk bed perfectly.
Ladder Design Options
There are several ways to design your ladder. A straight ladder is simple and easy to build. It fits well against the bunk bed frame. Another option is a slightly angled ladder. It is easier to climb and safer for kids. You can also add wide steps for better footing. Use smooth wood or rounded edges to avoid splinters. The height and width of the ladder should match the bed’s height. Make sure the ladder is not too steep or too narrow.
Installation Tips
Attach the ladder firmly to the bunk bed frame. Use strong screws or bolts for secure fixing. Place the ladder at a comfortable angle for climbing. Check for any sharp edges and sand them down. Test the ladder by applying weight before use. Ensure the steps are evenly spaced for easy climbing. Add non-slip pads to the bottom of the ladder for stability. Regularly check the ladder for loose screws or damage. Safety first. A well-installed ladder lasts longer and keeps users safe.
Finishing Touches
The finishing touches make your Simpletwin Iver full bunk bed look great and feel safe. This step improves the bed’s surface and protects the wood. It also helps your bed last longer. Focus on sanding and smoothing first. Then choose to paint or stain the wood. These steps bring out the bed’s best look.
Sanding And Smoothing
Use sandpaper to smooth the wood surface. Start with coarse grit, then use finer grit for a soft finish. Sand all edges and corners carefully. This removes splinters and rough spots. Wipe the dust off with a clean cloth. Smooth wood helps paint or stain stick better. It also keeps the bed safe for kids.
Painting Or Staining
Choose paint or stain based on the look you want. Paint covers the wood and adds color. Stain shows the wood grain and adds warmth. Use a brush to apply an even coat. Let the first coat dry completely before adding another. Apply a clear sealant for extra protection. This step guards against scratches and spills.
Safety Checks And Maintenance
Safety is key when building a Simpletwin Iver Full Bunk Bed. Regular checks keep the bed strong and safe for daily use. Proper maintenance stops problems before they start. This section covers how to keep your bunk bed stable and well maintained.
Inspecting For Stability
Check all bolts and screws. Tighten any that feel loose. Look at the frame for cracks or bends. Test the bed by gently shaking it. Make sure it does not wobble or move. Inspect the ladder and guardrails too. These parts must be secure to prevent falls.
Routine Maintenance Tips
Clean the bed regularly with a soft cloth. Avoid water or harsh cleaners that damage wood. Check the mattress support slats for any damage. Replace broken or weak parts right away. Lubricate metal joints if they squeak. Keep the bed away from damp areas to stop mold and wood damage.
Frequently Asked Questions
What Materials Are Needed To Build A Simpletwin Iver Bunk Bed?
You need quality wood, screws, wood glue, sandpaper, paint or finish, and basic tools like a drill and saw. These materials ensure durability and safety for the bunk bed.
How Long Does It Take To Build The Bunk Bed?
Building the Simpletwin Iver bunk bed typically takes about 6-8 hours. This depends on your skill level and tool availability. Taking your time ensures safety and quality.
Is The Simpletwin Iver Bunk Bed Safe For Children?
Yes, when built correctly, it is safe for children. Use sturdy wood, secure all joints, and add guardrails to prevent falls. Always follow safety guidelines during assembly.
Can I Customize The Bunk Bed Design Easily?
Absolutely, the design is simple and allows customization. You can change dimensions, paint colors, and add storage options. This makes the bunk bed fit your specific needs.
Conclusion
Building a Simpletwin Iver full bunk bed is easier than it seems. Follow the steps carefully and take your time. Use the right tools and materials for safety. Double-check each part before moving on. This project saves space and adds comfort to any room.
Enjoy the satisfaction of creating your own furniture. Keep the instructions handy for future adjustments. A strong, cozy bunk bed can last for years. Now, you have a clear path to build your bed. Start your project today and make a great sleeping space!