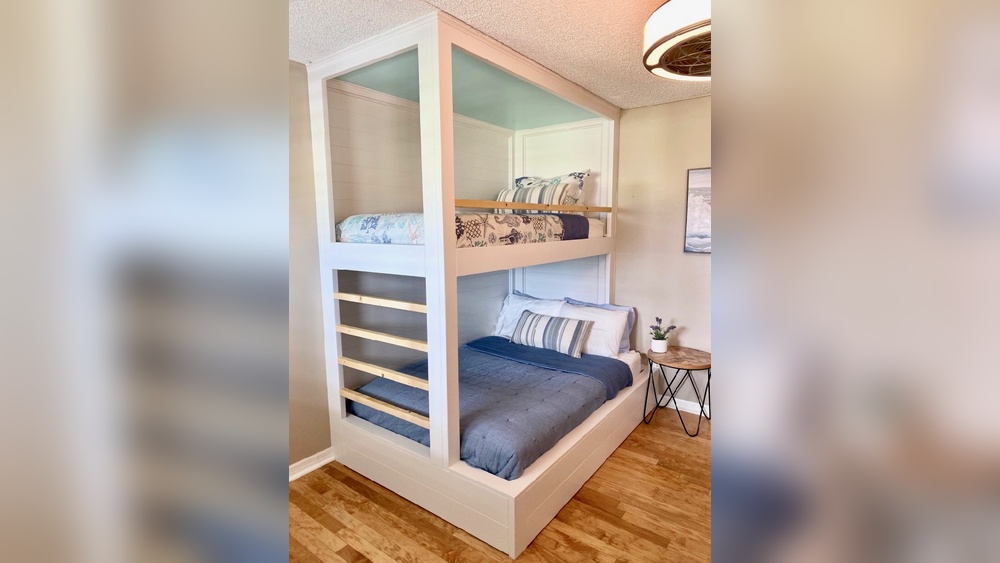
Are you looking to save space and add a fun twist to your kids’ bedroom? Building a twin over queen bunk bed might be the perfect solution for you.
Imagine having a cozy queen bed on the bottom and a twin bed up top, giving everyone their own space without crowding the room. In this guide, you’ll discover simple steps to create a sturdy, stylish bunk bed that fits your needs.
Whether you’re a beginner or have some DIY experience, you’ll find tips to make the process smooth and rewarding. Keep reading, and you’ll soon have a custom bunk bed that brings comfort and style to your home.
Materials And Tools Needed
Building a twin over queen bunk bed needs careful planning. The right materials and tools make the job easier and safer. This section lists all essentials for the project. Prepare everything before starting. It saves time and effort.
Materials Needed
Use strong wood like pine or oak for the frame. Get 2×4 and 2×6 boards for support and slats. Buy screws and wood glue to hold pieces firmly. Sandpaper smooths rough edges. Finish with paint or varnish for protection.
Tools Required
A power drill helps with fast and clean holes. A saw cuts wood to the right size. A tape measure ensures accurate lengths. A level keeps the bed balanced. Clamps hold pieces while gluing. Safety gear protects your eyes and hands.
Choosing The Right Wood
Choosing the right wood is key to building a strong twin over queen bunk bed. The wood must support weight and last long. It also affects how the bed looks. Picking good wood makes the building process easier and safer.
Wood types vary in strength, cost, and workability. Some woods are harder to cut or join. Others might be soft and easy to shape but less durable. Know the pros and cons before buying.
Hardwood Vs. Softwood
Hardwoods like oak or maple are strong and last longer. They resist dents and scratches well. Softwoods like pine are lighter and cheaper. They are easier to cut but can get damaged faster. Choose based on your budget and the bed’s use.
Durability And Strength
Durability matters for safety. The bed must hold weight without bending. Hardwoods offer great strength. Some softwoods can work if thick and well-supported. Avoid wood that cracks or splinters easily.
Appearance And Finish
Wood grain and color affect the bed’s look. Hardwoods often have rich grains and smooth finishes. Softwoods tend to be plain and need more paint or stain. Decide if natural wood beauty or painted look suits you.
Cost And Availability
Price is important for many builders. Hardwoods cost more and may be hard to find. Softwoods are affordable and widely available. Check local stores for options. Balance cost with quality for best results.
Workability And Tools Needed
Some woods are easy to cut and drill. Softwoods usually need basic tools. Hardwoods may require stronger saws and drill bits. Choose wood that matches your tool skills and equipment.
Preparing The Workspace
Preparing the workspace is the first step to building a twin over queen bunk bed. A clean and organized area makes the job safer and easier. It helps you focus on the project without distractions.
Clear enough space to move around freely. You will need room for wood pieces, tools, and assembly. A flat surface helps keep parts steady and aligned. Good lighting allows you to see details clearly. Arrange your tools nearby to save time.
Choosing The Right Location
Pick a spacious area with a flat floor. Avoid spots with carpet or thick rugs. Hard floors like wood or concrete work best. Ensure the place is well-lit, natural light is ideal. Keep the area free from pets and children.
Gathering Tools And Materials
Collect all tools before starting. Common tools include a drill, screwdriver, measuring tape, and level. Have safety gear ready like gloves and goggles. Organize screws, bolts, and wood pieces by size. This avoids searching and delays during building.
Setting Up Safety Measures
Safety is important during construction. Wear protective gloves to avoid splinters. Use goggles to protect your eyes from dust. Keep a first-aid kit close by. Make sure cords and tools do not block walkways.
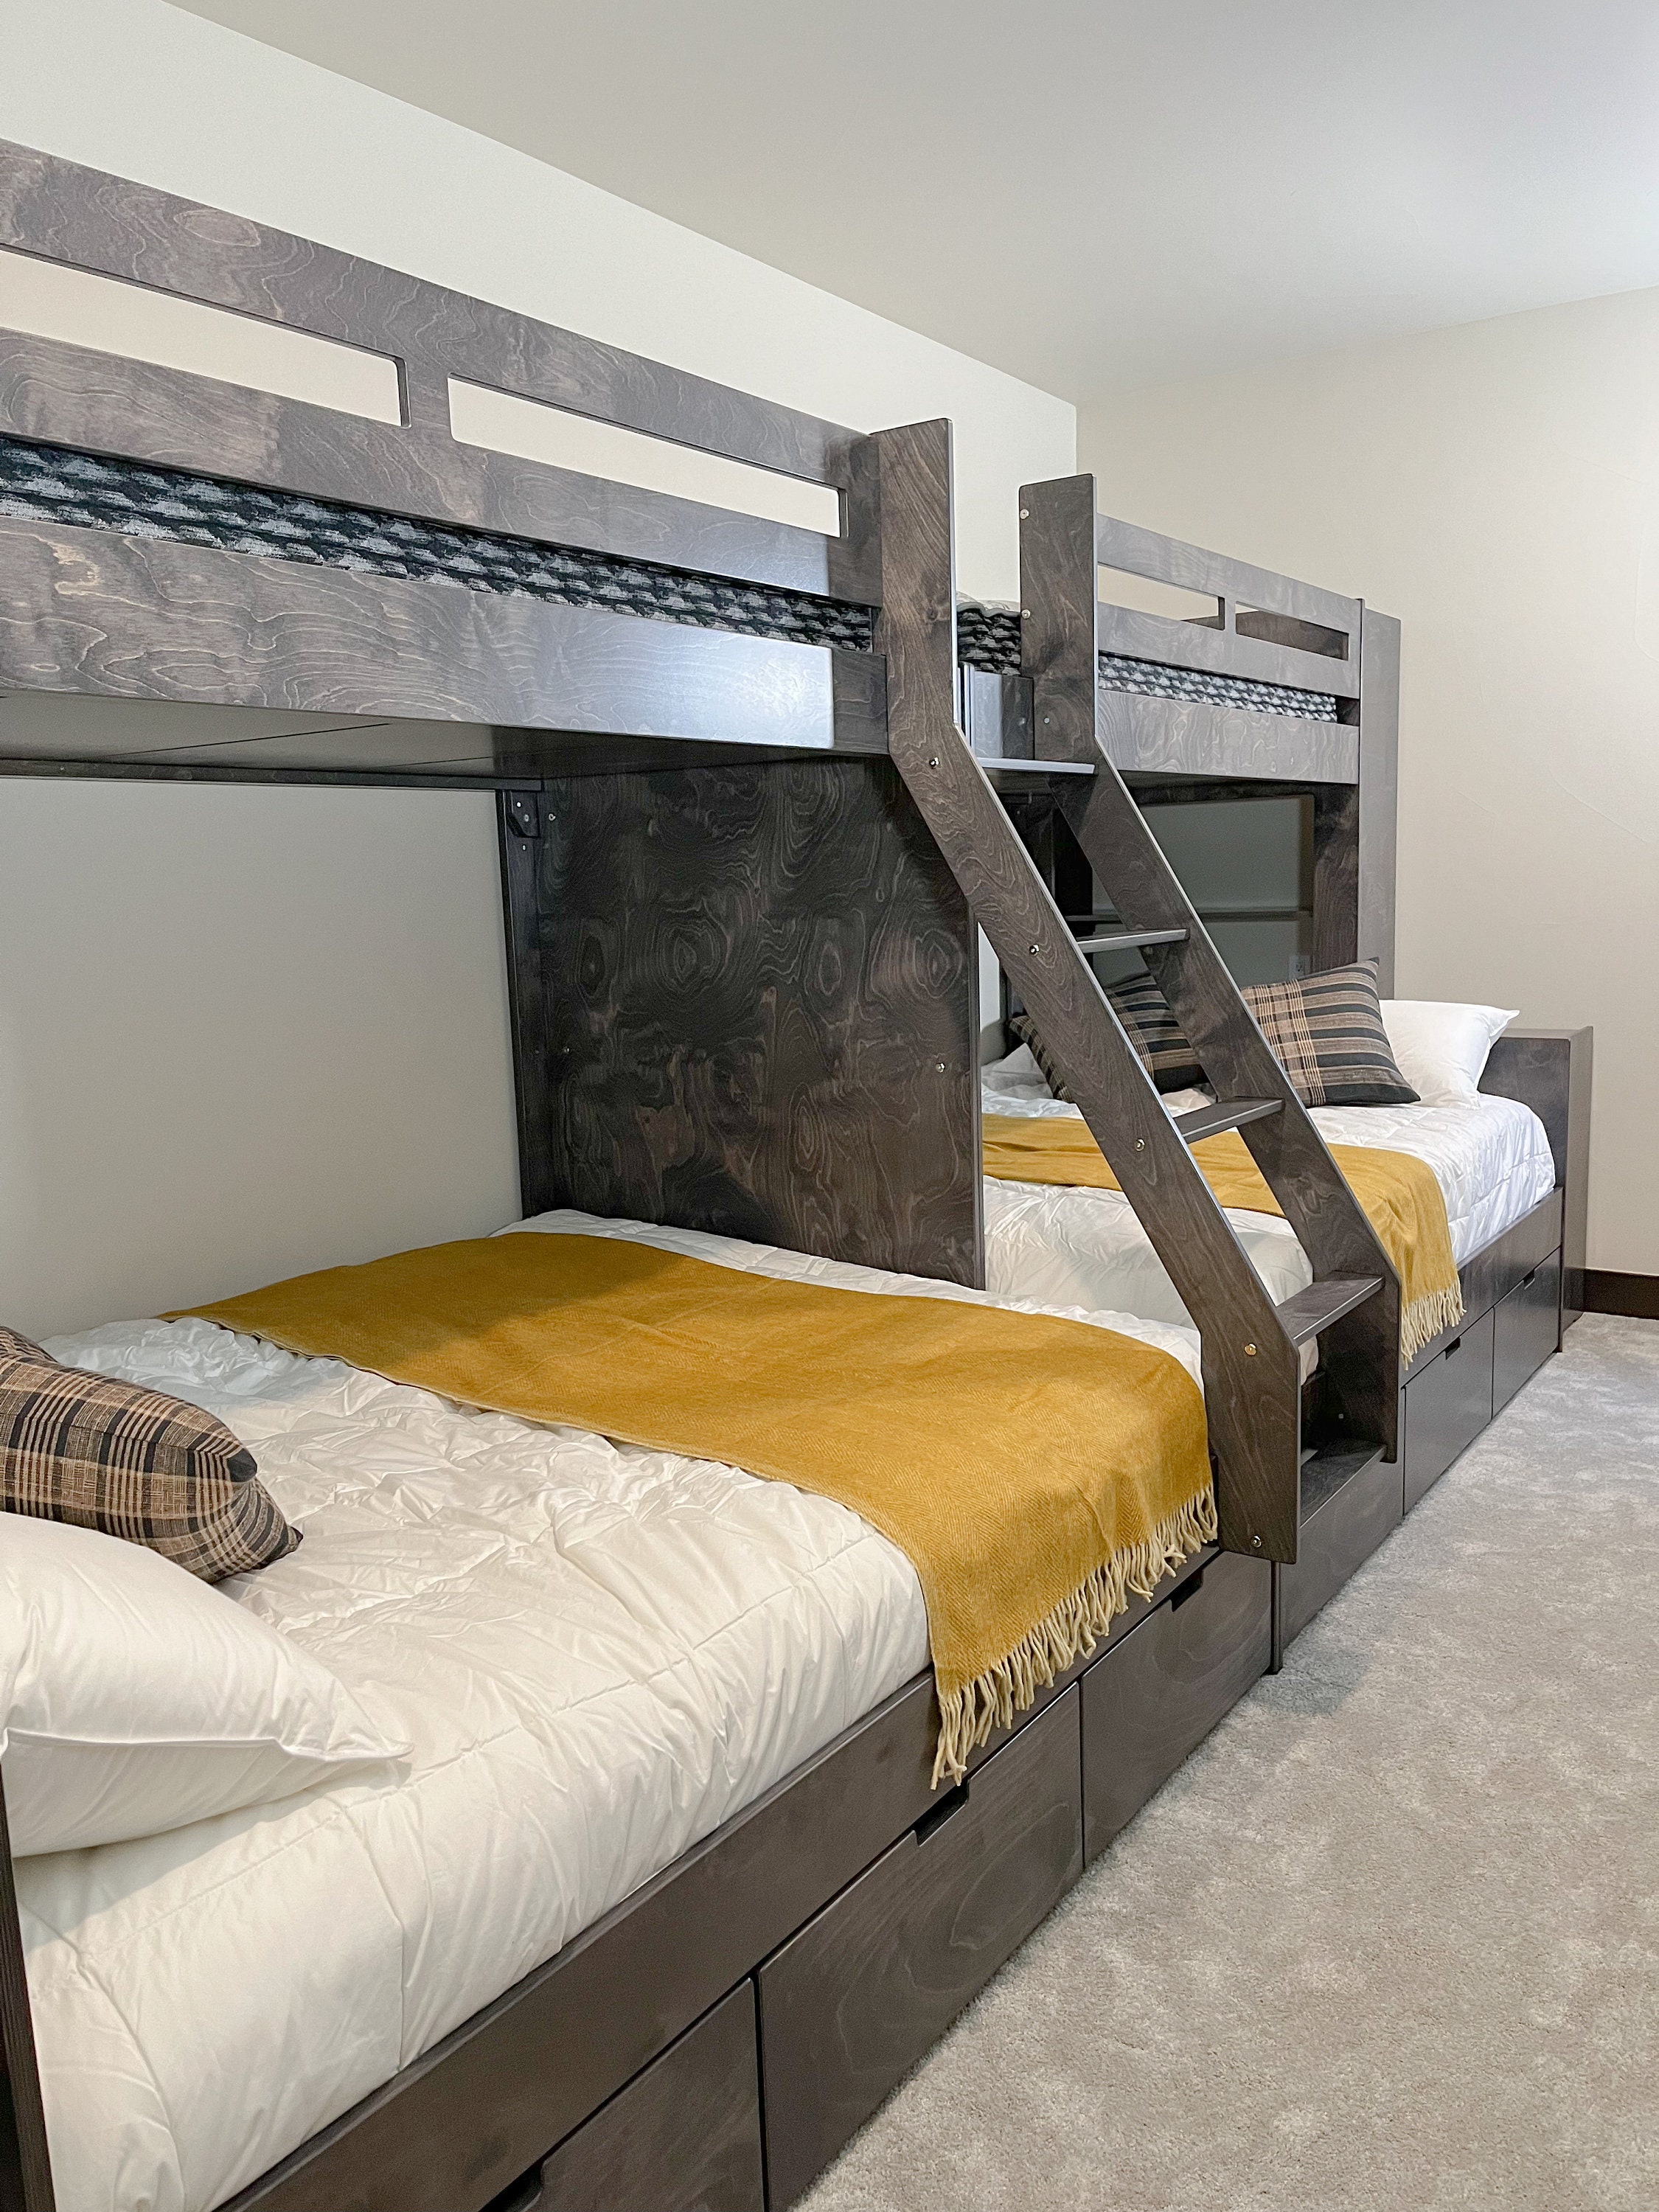
Credit: www.etsy.com
Cutting The Wood Pieces
Cutting the wood pieces is the first step in building your twin over queen bunk bed. Getting the cuts right ensures the bed will be strong and fit together well. Precise measurements and clean cuts make assembly easier.
Use quality wood for durability. Mark each piece clearly before cutting. Double-check measurements to avoid mistakes. Safety is key; wear goggles and use a stable surface for cutting.
Preparing Your Tools And Materials
Gather a saw, measuring tape, pencil, and safety gear. Choose a saw that suits your skill level. A circular saw or miter saw works best for straight cuts. Have clamps ready to hold wood steady.
Measuring And Marking The Wood
Measure twice, cut once. Mark each board with a pencil. Use a square to draw straight lines. Label each piece to match your plan. Clear marks help avoid confusion later.
Making Precise Cuts
Cut slowly and steadily along the marked lines. Keep the saw blade perpendicular to the wood. Check each piece after cutting for smooth edges. Sand rough edges to prevent splinters.
Assembling The Frame
Assembling the frame is the first step in building a twin over queen bunk bed. This part creates the strong base to hold the mattresses safely. Precise assembly ensures the bed is sturdy and secure for everyday use.
Focus on following the instructions carefully. Use the right tools for each step. Take time to double-check all connections and screws. A well-built frame will last for years and support the weight evenly.
Building The Twin Bed Frame
Start by laying out all the wood pieces for the twin frame. Identify the side rails, headboard, and footboard. Attach the side rails to the headboard and footboard using screws or bolts. Make sure the corners are square and tight.
Next, install the slats or support beams across the frame. Space them evenly to hold the mattress firmly. Use a level to check the frame is flat and balanced. Reinforce any weak spots with extra screws or brackets.
Constructing The Queen Bed Frame
Arrange the queen bed parts, including longer side rails and larger head and footboards. Connect the side rails to the head and footboards securely. Ensure all joints fit snugly without gaps or wobble.
Place the queen mattress support slats or panels inside the frame. Make sure they are evenly spaced and firmly fixed. Double-check the frame for stability before moving to the next step. A solid queen frame supports weight and prevents squeaks.

Credit: www.youtube.com
Adding The Support Slats
Adding support slats is a key step in building a twin over queen bunk bed. These slats hold the mattress in place and provide extra strength. Without strong slats, the bed might sag or feel unstable. Taking time to install them correctly ensures safety and comfort for those who use the bed.
Support slats also help spread weight evenly. This prevents damage to the frame and extends the bed’s life. Choosing the right materials and spacing them properly will make the bed sturdy and durable.
Choosing The Right Wood For Support Slats
Select wood that is strong and straight. Pine or oak work well for support slats. Avoid wood with knots or cracks. These can weaken the slats and reduce support. Cut each slat to fit the bed frame snugly.
Measuring And Cutting The Slats
Measure the width of the bed frame carefully. Mark the length on each piece of wood. Use a saw to cut the slats evenly. Smooth the edges with sandpaper to avoid splinters. Accurate cuts help the slats fit perfectly.
Installing The Support Slats
Lay the slats across the bed frame evenly. Space them about 2 to 3 inches apart. Secure each slat with screws or nails. Check that all slats are level and stable. This setup provides solid support for the mattress.
Building The Ladder
Building the ladder for a twin over queen bunk bed is a key step. The ladder must be safe, sturdy, and easy to climb. This section guides you through creating a strong ladder that fits your bunk bed perfectly.
Use quality wood and measure carefully. A well-built ladder supports weight and lasts long. Follow each step closely for the best results.
Choosing The Right Wood For The Ladder
Select wood that is strong and smooth. Pine or oak works well. Avoid wood with cracks or knots that weaken the structure. Sand the wood to remove rough spots and prevent splinters.
Measuring And Cutting The Ladder Parts
Measure the height from the floor to the top bunk. Cut two side rails to this length. Cut the steps, called rungs, to fit between the rails. Keep all pieces even for stability and safety.
Assembling The Ladder Frame
Lay the side rails flat and place the rungs evenly spaced. Use wood glue on each joint. Then, screw the rungs securely to the rails. Check that the ladder is square before tightening screws fully.
Securing The Ladder To The Bunk Bed
Attach the ladder to the bed frame using strong brackets. Position the ladder at a slight angle for easier climbing. Double-check all screws and brackets to ensure safety.
Securing The Bunk Beds Together
Securing the twin over queen bunk beds together is key for safety and stability. Proper connection stops the beds from moving or wobbling. It also keeps the structure strong for everyday use. Taking the time to join the beds well protects children from accidents. Follow clear steps to make the connection secure and lasting.
Aligning The Frames Correctly
Start by placing the twin and queen frames side by side. Make sure they sit flat on the floor. Check that the edges line up evenly. This alignment helps the beds fit tightly together. Use a level tool to confirm the frames are straight. Adjust as needed before attaching.
Using Brackets And Bolts
Metal brackets work best to join the bunk beds. Choose heavy-duty brackets for stronger hold. Position brackets at the corners where frames meet. Drill pilot holes for the bolts to avoid splitting wood. Tighten bolts firmly but avoid over-tightening. Secure brackets on both the top and bottom sections.
Adding Support With Wooden Blocks
Insert wooden blocks between the beds for extra support. Cut blocks to fit snugly in the gaps. Attach blocks with screws to both frames. This prevents any shifting or sliding. Wooden blocks reinforce the connection and improve bed stability.
Sanding And Finishing
Sanding and finishing are key steps in building a twin over queen bunk bed. These steps protect the wood and make the bed look great. Proper sanding removes rough edges and splinters. Finishing adds color and seals the wood from damage.
Taking time for sanding and finishing ensures a smooth, safe surface. It also extends the life of your bunk bed. A well-finished bed resists scratches and stains better. This section guides you through sanding and finishing for a perfect result.
Sanding The Wood
Start sanding with coarse sandpaper to remove rough spots. Use a sanding block or electric sander for even pressure. Sand along the wood grain to avoid scratches. After coarse sanding, switch to finer sandpaper for a smooth finish. Check all surfaces, edges, and corners carefully. Remove all dust with a clean cloth before finishing.
Choosing The Right Finish
Select a finish that suits your style and use. Paint adds color and hides imperfections. Stain shows the natural wood grain and adds warmth. Clear sealers protect the wood without changing its look. Make sure the finish is safe for children and easy to clean. Water-based finishes dry faster and have less odor.
Applying The Finish
Apply the finish with a brush or cloth in thin, even coats. Follow the wood grain to avoid streaks. Let each coat dry fully before adding another. Lightly sand between coats for a smoother surface. Apply at least two coats for best protection. Allow the final coat to cure before use for durability.
Safety Tips And Final Checks
Safety is the top priority when building a twin over queen bunk bed. A strong and stable bed keeps everyone safe while sleeping or playing. Taking time to check every part ensures the bed holds up well over time.
Final checks help catch small problems before use. Tightening screws and testing the bed’s strength protect children from accidents. Follow these safety tips and final steps carefully.
Check All Screws And Bolts
Make sure all screws and bolts are tight. Loose hardware can cause the bed to wobble or fall. Use a wrench or screwdriver to secure each fastener firmly. Avoid overtightening, which can damage the wood.
Inspect The Guardrails
Guardrails prevent falls from the top bunk. Confirm rails are solid and high enough. The rails should cover the full length of the bed sides. Check for any gaps or loose parts that might be unsafe.
Test Bed Stability
Push the bed gently from different sides. The frame should not sway or shake. If the bed feels unstable, check joints and connections. Add extra support if needed for better strength.
Ensure Proper Ladder Security
The ladder must be firmly attached to the bed frame. A loose ladder can cause falls. Test the ladder by climbing up and down slowly. Fix any movement or slipping before use.
Look For Sharp Edges
Sand down all rough or sharp edges. Smooth corners prevent cuts and scratches. Pay attention to areas near the ladder and guardrails. Use fine sandpaper to finish the job well.

Credit: www.amazon.com
Frequently Asked Questions
What Materials Are Needed For A Twin Over Queen Bunk Bed?
You need solid wood, screws, bolts, wood glue, sandpaper, paint or finish, and safety rails. Quality materials ensure durability and safety.
How Long Does It Take To Build A Twin Over Queen Bunk Bed?
Building typically takes 10 to 15 hours depending on skill level. Preparation and precise measurements speed up the process.
Is A Twin Over Queen Bunk Bed Safe For Kids?
Yes, if built with sturdy materials and secure guardrails. Proper mattress sizes and weight limits must be followed for safety.
Can I Customize The Design Of My Bunk Bed?
Absolutely. Customize dimensions, finishes, and add storage or ladders. Personalization fits your room style and needs perfectly.
Conclusion
Building a twin over queen bunk bed saves space and adds style. Follow the steps carefully for safety and strength. Use quality materials and measure twice before cutting. Take your time to fit all parts properly. This project brings comfort and fun to any bedroom.
Enjoy the satisfaction of creating your own furniture. A well-built bunk bed lasts for many years. Start your project today and make a cozy sleeping space.
