Are you ready to add a touch of charm and organization to your space? Building an open bookshelf is a simple project that anyone can tackle, even if you’ve never worked with wood before.
Imagine having a beautiful shelf where you can display your favorite books, plants, and keepsakes—all made by your own hands. In this guide, you’ll discover easy steps, helpful tips, and insider secrets that will make the process smooth and enjoyable.
Keep reading, and soon you’ll have a stylish, custom bookshelf that fits perfectly in your home.
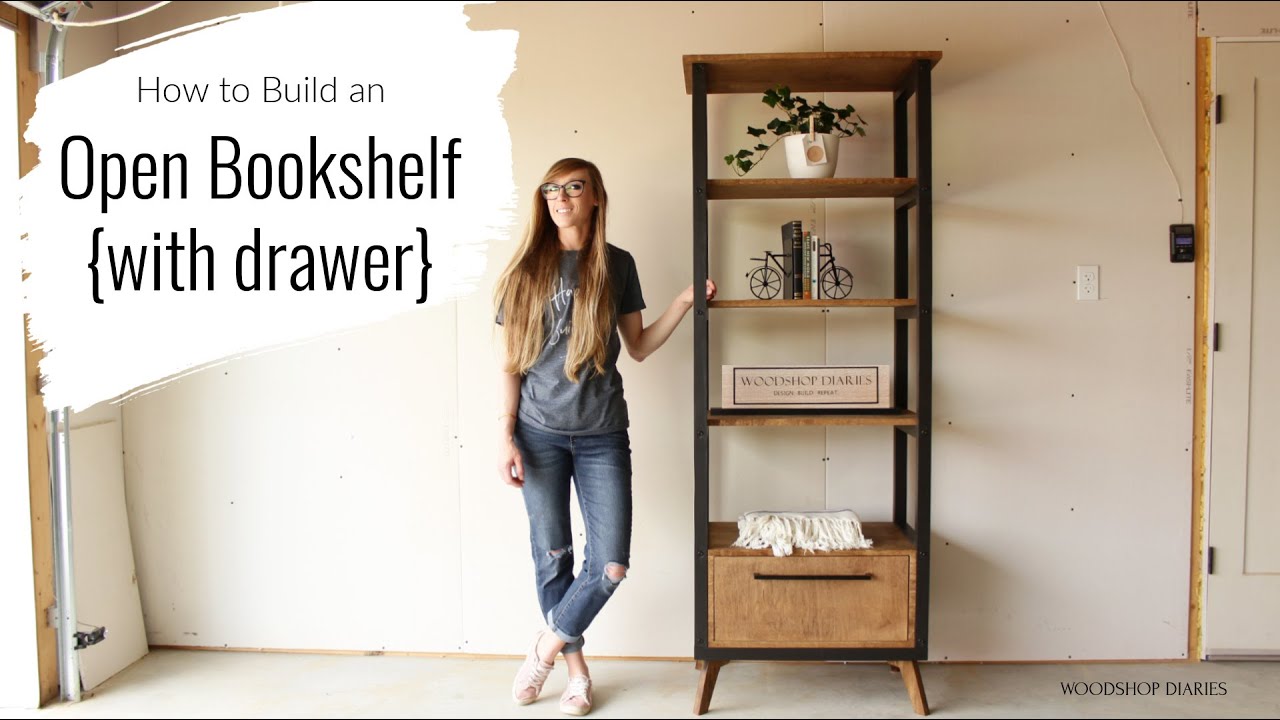
Credit: www.youtube.com
Planning Your Bookshelf
Planning your bookshelf is the first step to a successful build. Good planning saves time and money. It helps create a shelf that fits your space and needs. Think about what you want before you start cutting wood or buying supplies.
Choosing The Right Size
Measure the area where you want the bookshelf. Note the height, width, and depth. Consider how many books or items you want to store. Make sure there is enough space to walk around the shelf. Avoid making it too big or too small.
Selecting Materials
Pick strong wood or boards for durability. Pine is affordable and easy to work with. Oak and maple last longer but cost more. Choose smooth surfaces to avoid splinters. Think about paint or finish that matches your room.
Designing The Layout
Decide how many shelves you need. Space shelves to fit different book sizes. Leave room for decorations or plants if you want. Use simple designs for easier building. Plan for sturdy supports to hold heavy books.
Gathering Tools And Supplies
Before building your open bookshelf, gather all tools and materials. This step saves time and keeps the project smooth. Having everything ready helps avoid interruptions and mistakes. Safety gear is also important to protect yourself while working.
Essential Tools
Start with basic tools needed for most woodworking projects. A measuring tape ensures accurate cuts. A saw cuts wood pieces to size. Use a drill to make holes and drive screws. Sandpaper smooths rough edges. A level checks if shelves are straight. Clamps hold pieces in place during assembly.
Recommended Materials
Choose sturdy wood like pine or plywood for strong shelves. Pick wood boards in the right thickness, usually 3/4 inch. Screws and wood glue keep parts together securely. Wood filler hides small holes and imperfections. Finish with paint or varnish to protect wood and improve look.
Safety Gear
Protect your eyes with safety goggles. Wear gloves to avoid splinters and cuts. Use ear protection if power tools are loud. A dust mask keeps sawdust out of your lungs. Dress in close-fitting clothes to avoid getting caught in tools.
Cutting And Preparing Wood
Cutting and preparing wood is the first important step in building an open bookshelf. This stage ensures your wood pieces fit perfectly. Accurate cuts and smooth surfaces help the bookshelf look strong and neat. Spend time here to avoid problems later.
Measuring And Marking
Start by measuring your wood pieces carefully. Use a tape measure and pencil to mark the wood. Double-check all measurements before cutting. Clear, straight lines help you cut accurately. Mark each piece clearly to avoid confusion.
Cutting Techniques
Use a saw that suits your wood type. A handsaw or circular saw works well for straight cuts. Cut slowly along the marked lines. Keep your hands steady and follow safety rules. Clean cuts make assembly easier and stronger.
Sanding For Smooth Edges
After cutting, the wood edges can be rough. Sand each edge with medium-grit sandpaper. This removes splinters and sharp corners. Finish with fine-grit sandpaper for a smooth feel. Smooth edges protect your hands and improve the shelf’s look.
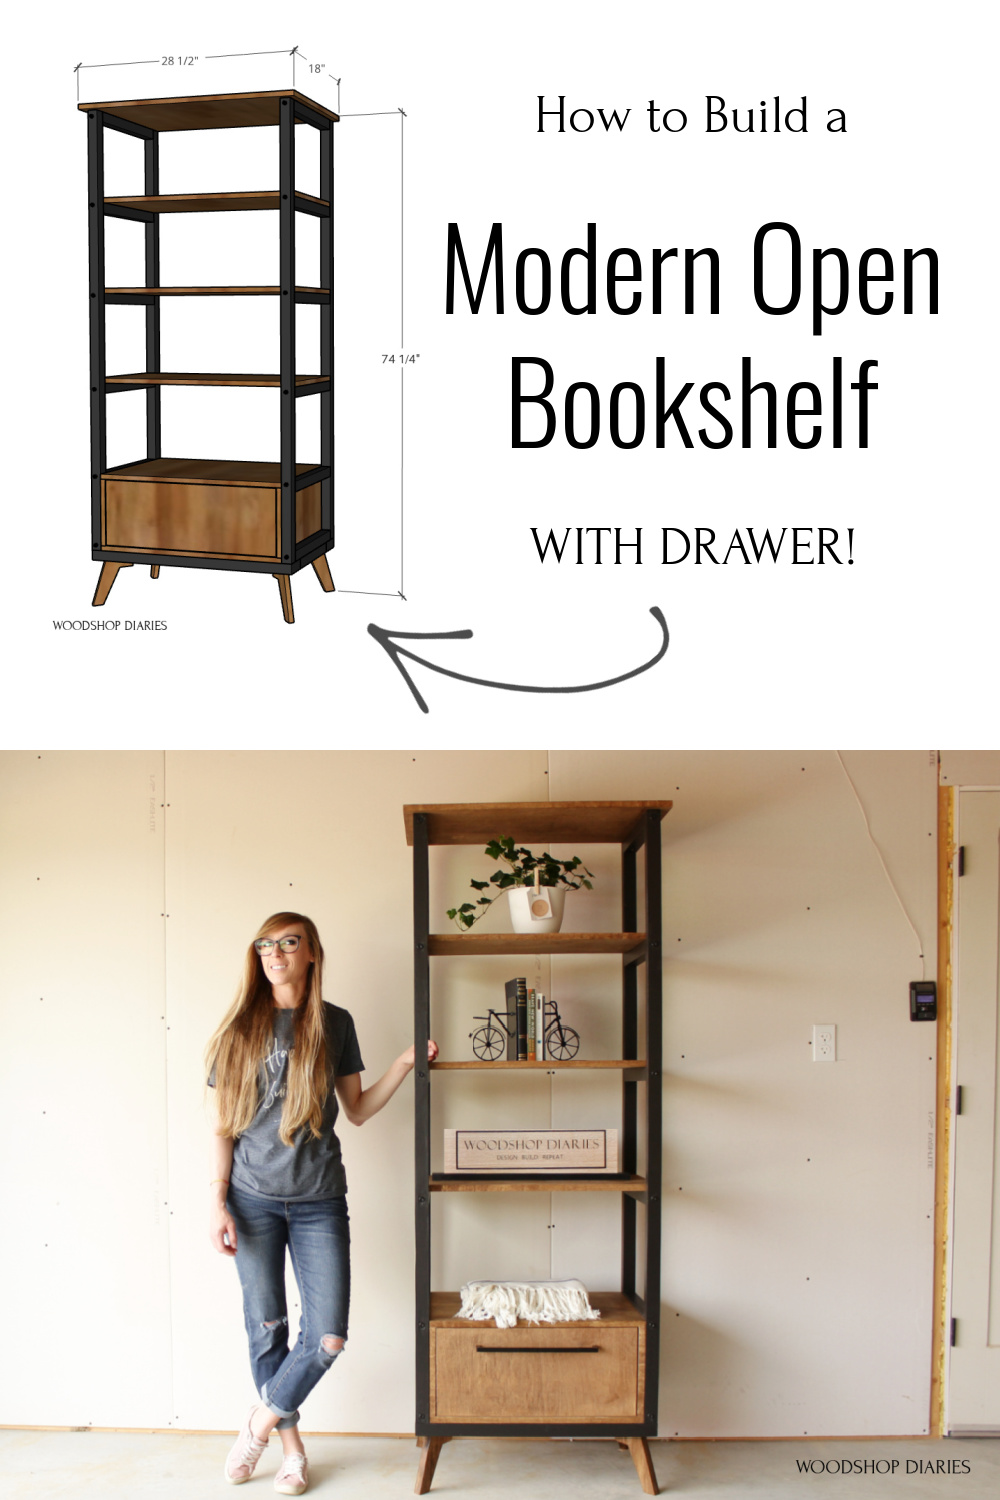
Credit: www.woodshopdiaries.com
Assembling The Frame
Building an open bookshelf starts with assembling the frame. This step creates the main structure that holds everything together. A strong frame ensures the bookshelf stays steady and lasts long. Follow clear steps to join the parts securely. Use the right tools and materials for best results.
Joining The Sides And Shelves
First, align the side panels with the shelves. Make sure the edges match perfectly. Use clamps to hold pieces in place. This prevents movement during assembly. Check that shelves sit flat and even. Proper alignment makes the bookshelf look neat.
Using Screws And Glue
Apply wood glue to the edges before joining parts. Glue adds extra strength to the joints. Next, drill pilot holes for screws to avoid wood splitting. Screw the shelves to the side panels firmly. Use screws long enough to hold but not poke through. Tight connections keep the frame strong.
Ensuring Stability
After assembling, check the frame for wobbling. Place it on a flat surface and press gently. Tighten any loose screws or add extra glue if needed. For extra support, add corner braces inside. A stable frame keeps your books safe and the shelf steady.
Finishing Touches
Finishing touches make your open bookshelf look complete and last longer. These steps protect the wood and add style. A well-finished bookshelf stands out and stays strong over time.
Applying Paint Or Stain
Choose paint or stain to match your room’s style. Paint covers the wood and adds color. Stain shows the wood grain and gives a natural look. Use a brush or cloth for even coverage. Let each coat dry fully before applying the next.
Adding Protective Coating
Protective coating shields the bookshelf from scratches and spills. Use clear varnish, polyurethane, or wax. These coatings keep the wood safe and shiny. Apply thin, even layers and allow drying between coats. This step makes your bookshelf last longer.
Installing Optional Features
Add features like hooks, lights, or decorative trim. Hooks hold keys or small items. LED lights brighten the shelves and highlight books. Decorative trim adds a personal touch and style. These extras make your bookshelf unique and more useful.
Tips For Maintenance
Maintaining an open bookshelf keeps it looking fresh and lasting longer. Simple care steps help protect your investment. Regular upkeep also keeps the shelf safe and functional.
Cleaning Your Bookshelf
Dust the shelves often. Use a soft cloth or a small brush. Wipe surfaces with a damp cloth to remove stains. Avoid using harsh chemicals that can damage the wood. Clean books and decorations on the shelf to keep everything neat.
Preventing Damage
Keep the bookshelf away from direct sunlight to stop fading. Avoid placing it near heaters or damp areas. Do not overload the shelves with heavy items. Use coasters or mats under drinks to prevent water rings. Tighten screws and joints regularly to keep it sturdy.
Updating The Design
Change the shelf style by adding new paint or stain. Rearrange books and decorations for a fresh look. Add baskets or boxes to organize small items. Swap old handles or knobs with new ones for style. Personal touches make your bookshelf unique and inviting.
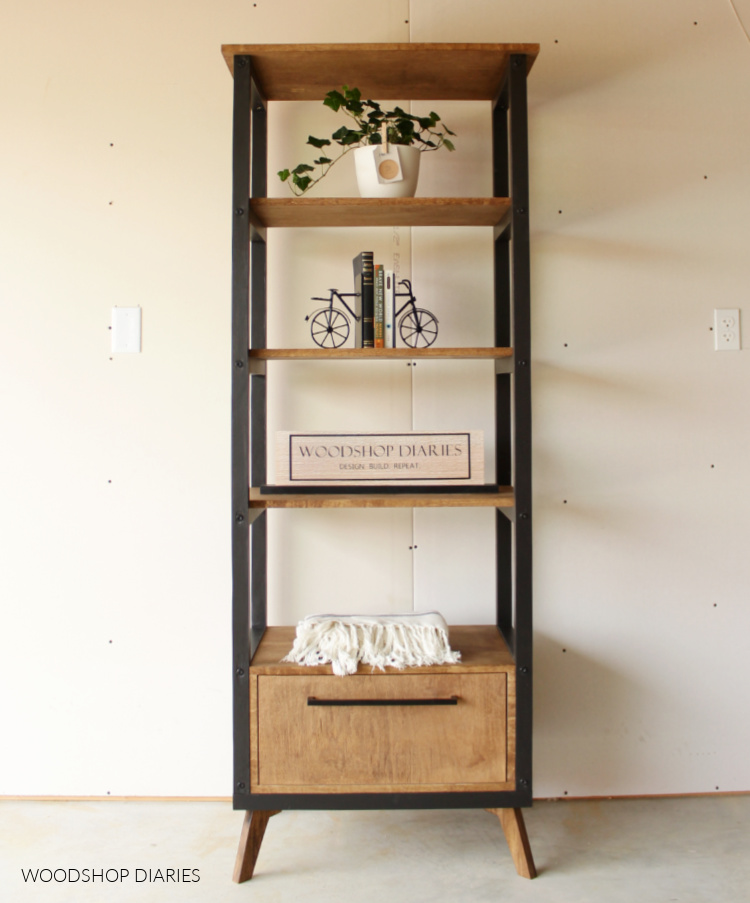
Credit: www.woodshopdiaries.com
Frequently Asked Questions
What Materials Are Best For Building An Open Bookshelf?
Wood such as pine, oak, or plywood is ideal for durability and aesthetics. Choose smooth, sturdy boards for strength and easy finishing.
How Do I Measure Space For An Open Bookshelf?
Measure the wall height and width where the bookshelf will stand. Consider shelf depth based on book sizes and room space.
What Tools Are Needed To Build An Open Bookshelf?
Basic tools include a saw, drill, screws, measuring tape, level, and sandpaper. These ensure precise cuts and secure assembly.
How Can I Ensure My Bookshelf Is Stable?
Use strong joints like screws or brackets. Anchor the bookshelf to the wall to prevent tipping.
Conclusion
Building an open bookshelf is a fun and useful project. It adds style and storage to any room. You can choose the size and design that fits your space. Using the right tools and materials makes the process easier. Take your time and follow each step carefully.
Soon, you will have a strong, beautiful bookshelf. Enjoy organizing your books and showing off your handiwork. Simple projects like this bring satisfaction and a personal touch to your home. Start building today and see the difference it makes.