Are you looking to add a stylish and functional piece to your outdoor space? Building your own outdoor console table is easier than you might think, and it can transform your patio, garden, or balcony instantly.
Imagine having a perfect spot to place drinks, plants, or decorative items while enjoying fresh air. In this guide, you’ll discover simple steps and practical tips to create a sturdy, beautiful table that fits your style and needs. Keep reading, and you’ll be surprised at how quickly you can bring your outdoor area to life with this DIY project.
Choosing The Right Materials
Choosing the right materials is the first step to build a strong outdoor console table. It helps the table last through all weather types. Picking good materials means less repair and more use. This section covers the best wood types and the tools needed.
Selecting Weather-resistant Wood
Wood that resists rain and sun keeps your table safe. Teak, cedar, and redwood are popular choices. These woods do not rot or warp easily. They also need less maintenance over time. Avoid softwoods that soak up water fast. Choose wood that looks good and stays strong outdoors.
Essential Tools And Supplies
Having the right tools makes building easier and safer. You will need a saw, drill, and measuring tape. Sandpaper smooths rough edges for a clean finish. Wood screws and outdoor glue keep the table parts tight. Don’t forget wood sealant to protect the surface from water.
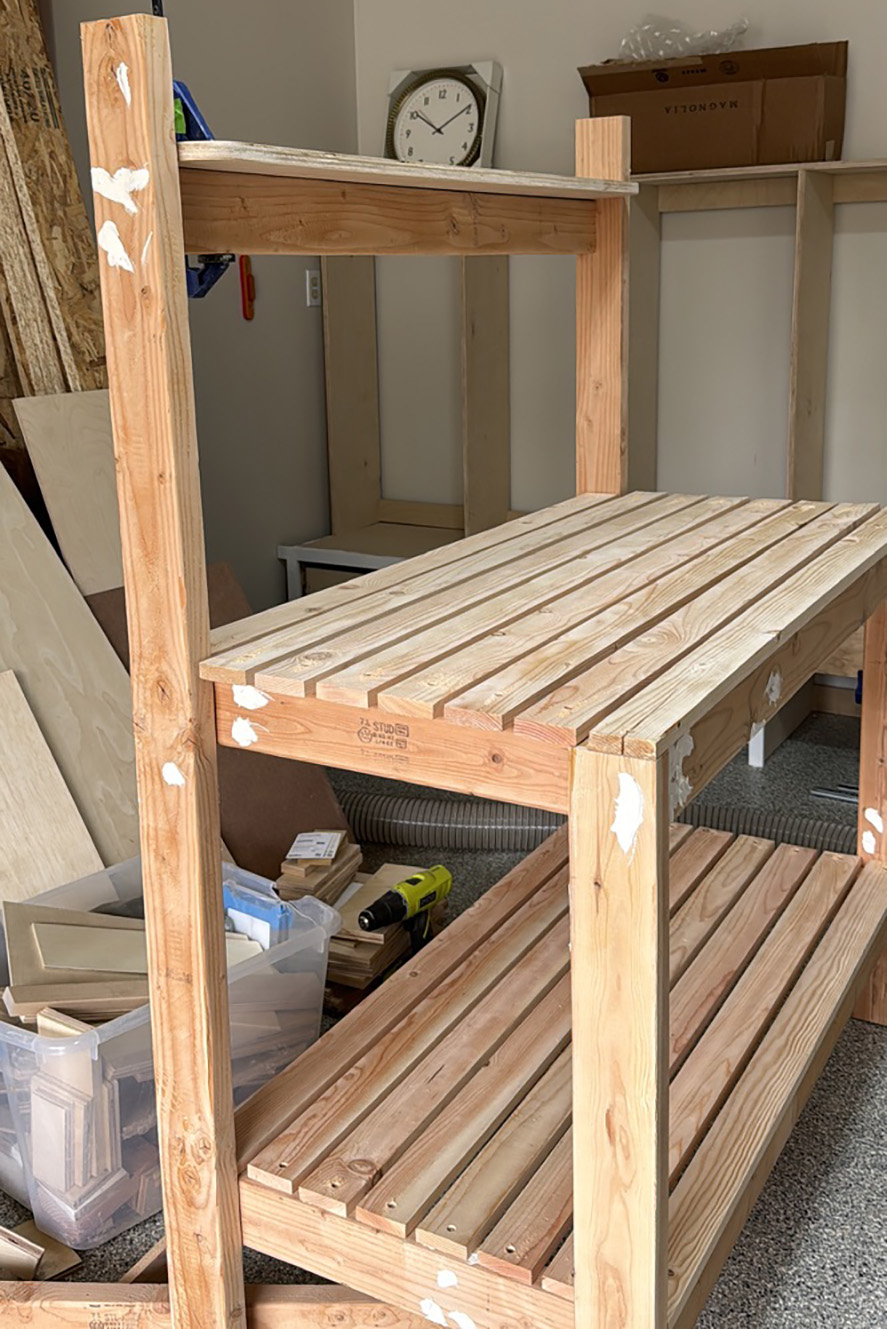
Credit: abbottabode.com
Planning Your Design
Planning your design is the first step in building an outdoor console table. This stage sets the foundation for a sturdy and attractive piece. Thoughtful planning helps avoid mistakes and saves time. It also ensures the table fits your space and style perfectly.
Measuring And Sketching
Start by measuring the area where the table will stand. Use a tape measure for accuracy. Note the width, depth, and height limits. Draw a simple sketch showing the table’s shape. Mark the measurements clearly on the sketch. This visual guide will help during construction.
Deciding On Dimensions And Style
Choose dimensions that suit your outdoor space. Make sure the table is not too big or small. Think about how you will use the table. Select a style that matches your garden or patio. Consider materials that withstand weather well. Keep the design simple for easy building and maintenance.
Cutting And Preparing Wood
Cutting and preparing wood is the first step in building your outdoor console table. This step shapes the wood pieces to the right size and makes sure they fit together well. Careful cutting and smoothing will help your table look neat and last longer outdoors.
Start by measuring and marking the wood accurately. Use the right tools to cut the wood cleanly. After cutting, the wood needs to be smoothed to avoid splinters and rough edges. Well-prepared wood makes assembly easier and improves the final look of your table.
Safety Tips For Cutting
Always wear safety goggles to protect your eyes from dust and wood chips. Use ear protection if your tools are loud. Keep your fingers away from the saw blade. Work on a stable surface to avoid slips. Check that your tools are sharp and in good condition. Follow the tool instructions carefully to avoid accidents.
Sanding And Smoothing Surfaces
Use sandpaper or an electric sander to smooth all wood surfaces. Start with coarse grit to remove rough spots. Then switch to finer grit for a smooth finish. Sand edges and corners well to prevent splinters. Wipe off dust with a dry cloth before assembly. Smooth wood will hold paint or stain better and give your table a polished look.
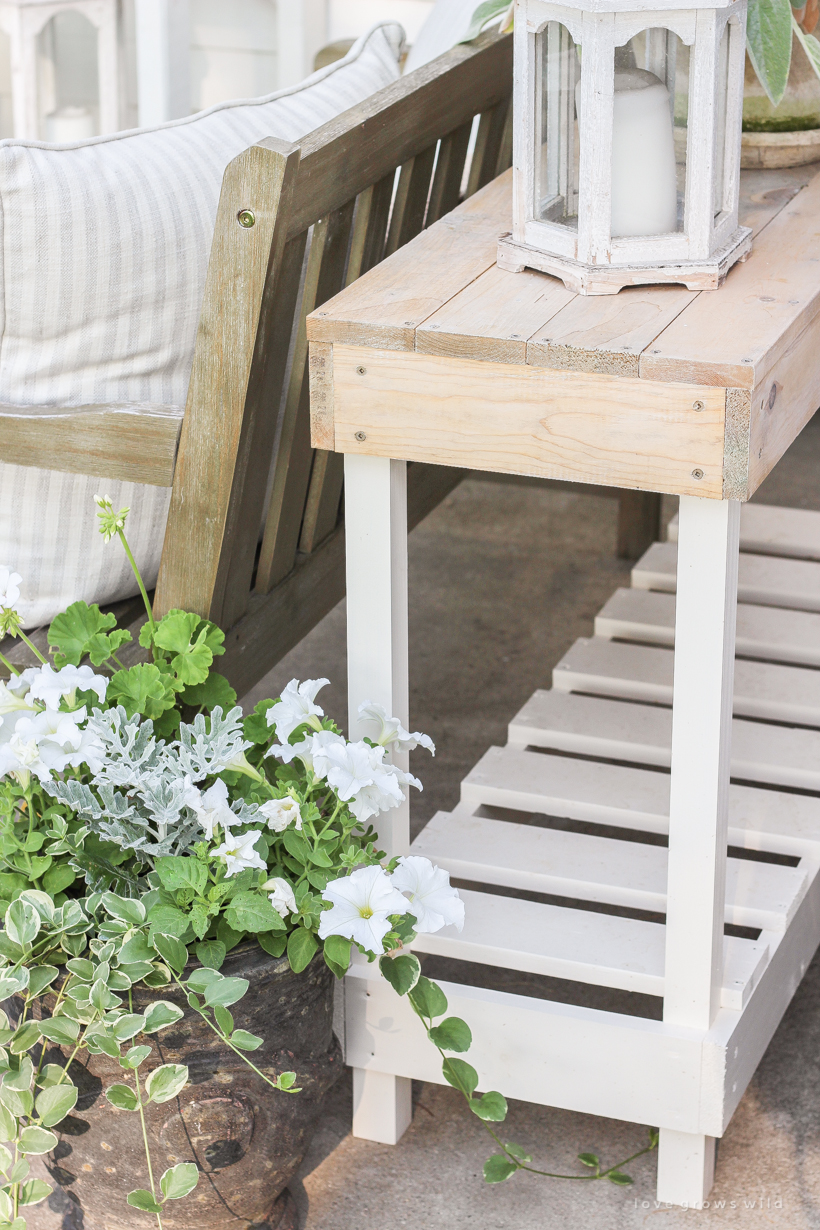
Credit: lovegrowswild.com
Assembling The Frame
Assembling the frame is a key step in building your outdoor console table. It gives the table strength and shape. A solid frame keeps the table stable and ready for use.
Start by focusing on the legs and the support that holds the tabletop. These parts must be sturdy and well-connected. Take your time and follow the steps carefully.
Building The Table Legs
Cut four pieces of wood to the desired height for your table legs. Sand the edges smooth to avoid splinters. Attach the legs to the base using screws or brackets for strong joints.
Make sure all legs are the same length. Check with a level to keep the table balanced. Tighten all screws securely. Strong legs keep the table steady on any surface.
Constructing The Tabletop Support
Measure and cut wood pieces to fit between the legs. These will support the tabletop and hold it in place. Attach the supports horizontally between the legs using wood screws.
Double-check the support frame is square by measuring the diagonals. Adjust if needed before tightening screws. A square frame ensures the tabletop fits perfectly and stays secure.
Use wood glue on joints for extra strength. Let the glue dry fully before moving on. This support frame is the backbone of your outdoor console table.
Attaching The Tabletop
Attaching the tabletop is a key step in building your outdoor console table. It gives the table its final shape and strength. This step needs care to make sure the surface is flat and steady. Follow these simple steps to fix the tabletop securely.
Securing Boards Together
Start by placing the boards side by side on a flat surface. Check if the edges fit tightly without gaps. Use wood glue along the edges. Press the boards together firmly. Use clamps to hold the boards in place. Let the glue dry for the time suggested on the bottle.
For extra strength, add screws or nails along the edges. Space them evenly, about every 6 to 8 inches. Drive them in carefully to avoid splitting the wood. This step keeps the boards from moving or warping.
Fastening The Top To The Frame
Turn the tabletop upside down. Place the frame on top, centered and aligned. Use a pencil to mark where the frame meets the boards. Remove the frame and drill pilot holes on the marks. These holes prevent the wood from cracking.
Apply wood screws through the frame into the tabletop boards. Screw them in until tight but avoid over-tightening. Check if the tabletop is firm and does not wobble. Add corner braces under the tabletop for extra support, if needed.
Finishing Touches
Finishing touches bring your outdoor console table to life. They protect the wood and add personality. These final steps ensure your table lasts through all weather conditions. Let’s explore how to apply sealant and add decorative elements.
Applying Outdoor Sealant
Sealant protects the wood from rain, sun, and dirt. Choose a sealant made for outdoor use. Use a brush to apply an even coat over the entire table. Pay special attention to corners and joints. Let the sealant dry completely before using the table. This step helps prevent cracking and fading.
Adding Decorative Elements
Decorative touches make your table unique. Add colorful pots, lanterns, or small plants. Use outdoor-safe cushions or fabric for a cozy look. Consider painting patterns or stenciling designs on the wood. These details make your table stand out and feel personal.
Maintenance Tips For Longevity
Maintaining your outdoor console table helps keep it strong and looking good for years. Regular care prevents damage from weather and daily use. Small efforts can save time and money later. Follow these tips to protect your table and enjoy it longer.
Cleaning And Care
Clean the table regularly to remove dirt and dust. Use a soft cloth and mild soap with water. Avoid harsh chemicals that can damage the finish. Wipe spills immediately to stop stains. Dry the surface after cleaning to prevent moisture buildup.
Check for loose screws or parts and tighten them. Sand down rough spots to avoid splinters. Apply a fresh coat of sealant or paint once a year. This keeps the wood safe from water and sun damage.
Seasonal Protection Advice
Cover the table during heavy rain or snow to protect it. Use a breathable cover to avoid mold and mildew. Move the table to a sheltered area in winter if possible. Keep it off damp ground by using blocks or a mat.
Store cushions and accessories indoors when not in use. Bring the table inside during extreme weather to prevent cracks. Regular checks after storms help spot damage early. Quick repairs keep the table in top shape.
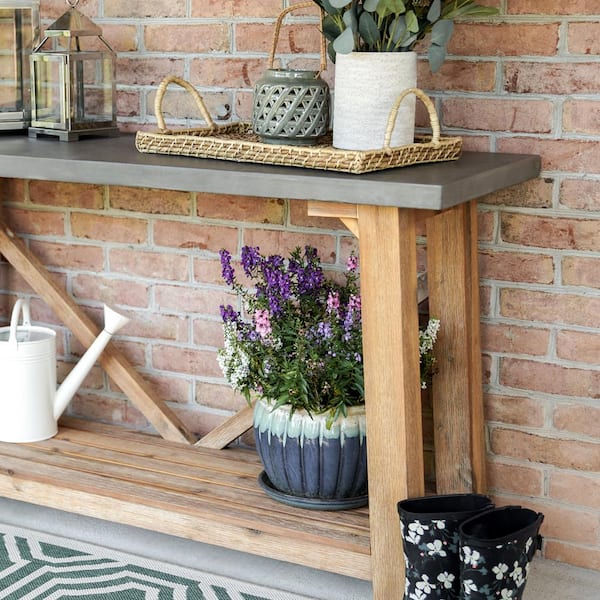
Credit: www.homedepot.com
Frequently Asked Questions
What Materials Are Best For Outdoor Console Tables?
Teak, cedar, and treated pine are best for outdoor tables. These woods resist moisture and decay, ensuring durability. Metal and weather-resistant synthetic materials also work well for longevity and minimal maintenance.
How Do I Protect My Outdoor Console Table?
Apply a weatherproof sealant or outdoor varnish regularly. Cover the table during harsh weather. Clean it with mild soap and water to prevent damage and maintain appearance.
What Tools Are Needed To Build An Outdoor Console Table?
You’ll need a saw, drill, measuring tape, screwdriver, clamps, and sandpaper. Safety gear like gloves and goggles is essential for protection. Additional tools depend on your design complexity.
How Long Does It Take To Build An Outdoor Console Table?
Building usually takes 4 to 8 hours, depending on skill level and design. Preparation and drying times for finishes may extend the project duration.
Conclusion
Building an outdoor console table is a fun and useful project. You only need basic tools and some patience. Choose the right wood to resist weather and last long. Follow clear steps to cut, assemble, and finish your table. This piece adds charm and extra space to your outdoor area.
Enjoy your new table for drinks, plants, or storage. Small efforts lead to great results. Give it a try and see how rewarding DIY can be.