Are you looking to add a warm, timeless touch to your home? Building a rustic console table might be the perfect project for you.
Imagine creating a piece that not only looks stunning but also tells a story through its natural wood grain and simple design. This isn’t just any table—you’ll craft something unique that fits your style and space perfectly. In this guide, you’ll discover easy steps and helpful tips to build your own rustic console table, even if you’re new to woodworking.
Ready to turn raw wood into a beautiful centerpiece? Let’s get started!
Choosing The Right Wood
Choosing the right wood shapes the look and strength of your rustic console table. Wood type affects color, texture, and how long the table lasts. Picking wood that suits your style and project needs is important. This choice sets the foundation for a beautiful, sturdy piece.
Types Of Wood For Rustic Tables
Hardwoods like oak, maple, and walnut work well for rustic tables. They are strong and have rich grain patterns. Pine and cedar are softer woods. They are easier to cut and have a warm, natural look. Reclaimed wood adds character with its weathered texture. Each wood type brings a unique style to your table.
Where To Source Quality Wood
Local lumber yards offer fresh, high-quality wood. They often have a variety of hardwood and softwood options. Reclaimed wood can be found at salvage yards or old barns. Online wood suppliers provide delivered options but check reviews first. Choose wood that is dry and free of cracks or pests for best results.
Essential Tools And Materials
Building a rustic console table requires the right tools and materials. These help create a sturdy and beautiful piece. Using the correct items makes the process easier and the result better. Below are the essential tools and materials needed to start your project.
Basic Carpentry Tools Needed
Start with a measuring tape to get accurate sizes. A pencil helps mark where to cut and drill. Use a saw to cut wood pieces to the right length. A drill makes holes for screws and helps join parts. Sandpaper smooths rough edges and surfaces. A hammer is useful for nailing parts together. Clamps hold wood pieces steady while you work. Safety glasses protect your eyes during cutting and drilling.
Materials For A Rustic Finish
Choose wood with natural knots and grains for a rustic look. Pine and oak are good wood choices. Use wood screws to fasten pieces securely. Wood glue adds extra strength to joints. Stain or paint gives the table its color and protects wood. Pick colors like brown, gray, or natural wood tones. Finish with a clear sealant to protect from damage and wear. Old nails or metal brackets can add a vintage touch.
Planning Your Table Design
Planning your rustic console table design is the first step in your woodworking project. It helps you visualize the final look. It saves time and materials during building. Careful planning leads to a sturdy and beautiful table.
Think about the space where the table will go. This helps you decide the right size and style. Sketching your ideas on paper makes the design clear. It also helps you spot any problems early.
Measuring And Sketching
Start by measuring the space for your console table. Note the width, height, and depth available. Make sure there is enough room to move around the table comfortably.
Next, draw a simple sketch of your table. Use a pencil and ruler for straight lines. Mark the main parts like legs, top, and shelves. This sketch will guide you through the building process.
Deciding On Dimensions
Choose dimensions that fit the space and purpose. A typical console table is about 30 inches high. The width can range from 30 to 60 inches, depending on space.
Keep the depth shallow, usually 12 to 18 inches, to save room. Adjust sizes to match your needs and the style you want. Correct dimensions make your table practical and attractive.

Credit: handmade-haven.com
Cutting And Preparing Wood
Cutting and preparing wood is the first step in building a rustic console table. This step shapes the wood to the exact size and form needed. It helps create a sturdy and attractive table. Proper preparation ensures the wood fits well and looks great.
Using the right tools and techniques makes the process safe and efficient. Taking time to prepare the wood correctly saves effort later. It also improves the final look of your table.
Safe Cutting Techniques
Always wear safety goggles and gloves before cutting wood. Use a sharp saw to make clean cuts. Measure twice, cut once to avoid mistakes. Secure the wood firmly with clamps to keep it steady. Cut slowly and steadily to control the saw. Keep your hands clear of the blade path. Work in a well-lit area to see clearly. Stop and check your progress often during cutting.
Sanding For Smooth Edges
Sand all cut edges to remove splinters and rough spots. Start with coarse sandpaper to shape the edges. Follow with finer sandpaper for a smooth finish. Sand in the direction of the wood grain. Use a sanding block or electric sander for even pressure. Check edges by touch to ensure they feel smooth. Clean dust off the wood before assembling the table. Smooth edges improve both safety and appearance.
Assembling The Table Frame
Assembling the table frame is the key step in building a rustic console table. This part shapes the base and supports the tabletop. A strong frame ensures the table lasts long and looks great. Take your time to fit the pieces carefully. Use the right tools and materials for a solid build.
Joining Legs And Supports
Start by aligning the legs with the side supports. Use wood glue on the joints for extra hold. Drill pilot holes to prevent wood from splitting. Secure the legs with screws or nails. Check that each leg is straight before tightening. Repeat this for all four legs. Then, attach the cross supports between the legs. These keep the frame from wobbling. Make sure supports fit flush to the legs.
Ensuring Stability And Balance
Place the frame on a flat surface. Press each leg gently to check for wobbles. Adjust leg positions if needed by loosening screws. Use a carpenter’s level to check balance side to side. Add extra supports if the frame feels weak. Tighten all screws firmly once balanced. Stability matters for both safety and appearance. A well-balanced frame holds weight evenly.
Adding The Tabletop
Adding the tabletop is a key step in building your rustic console table. This part sets the style and makes the table functional. A well-made tabletop gives strength and beauty to your project.
Focus on making the tabletop strong and visually rustic. Use good techniques to keep boards tight and secure. This ensures your table lasts long and looks great.
Attaching The Surface Securely
Start by placing the tabletop boards on the frame. Check they fit well and lie flat. Use clamps to hold boards in place.
Use screws or nails to attach the boards firmly. Drive fasteners into the frame underneath the tabletop. Avoid putting screws too close to edges. This stops wood from splitting.
For extra strength, add wood glue between boards before attaching. Let the glue dry fully before moving the table.
Aligning Boards For Rustic Appeal
Arrange the boards with small gaps or uneven edges. This creates a natural, rustic look. Avoid perfect alignment for charm.
Mix wood colors or textures to add interest. Use rough or distressed boards for an authentic feel.
Check the surface often to keep it level. Sand edges lightly to remove sharp spots. Keep the rustic style but make it safe to touch.
Applying Finishes And Treatments
Applying finishes and treatments is the final step to protect and beautify your rustic console table. It enhances the wood’s natural charm while making the surface durable. Choosing the right finish can change the entire look and feel of your piece.
Different finishes offer various levels of protection against scratches, water, and dirt. Some bring out the wood grain, while others add color or texture. Taking time to apply these finishes carefully will give your table a long-lasting and attractive appearance.
Choosing Stains And Sealants
Stains add color and highlight the wood’s natural patterns. Pick a stain that matches your style and wood type. Test the stain on a small wood piece first to see the color result.
Sealants protect the wood from moisture and damage. Use a clear sealant to keep the natural look or a tinted one for extra color. Apply sealants in thin, even coats. Let each coat dry completely before adding the next.
Creating A Weathered Look
A weathered look adds character and a sense of age to your table. Lightly sand edges and corners to mimic natural wear. Use a dry brush to apply a thin layer of paint, then wipe some off for a faded effect.
Use wax or glaze over the finish to add depth and texture. This makes the table look like it has aged outdoors. The weathered look fits perfectly with rustic decor and adds charm to your space.
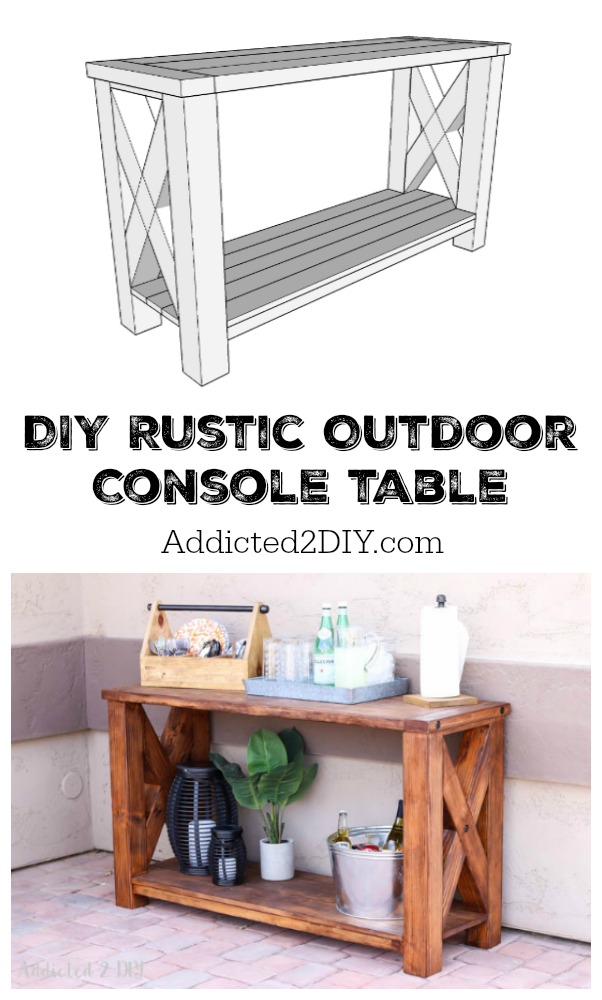
Credit: addicted2diy.com
Final Touches And Styling
Final touches make your rustic console table stand out. Styling brings personality and charm to your piece. These last steps complete your work and add warmth to any room.
Adding Decorative Elements
Place simple items that match the rustic style. Use natural materials like wood, stone, or metal. A small plant or candle adds life and coziness. Vintage books or a ceramic bowl give a personal touch. Keep decorations low and balanced to avoid clutter.
Maintaining Your Rustic Table
Clean your table with a soft, dry cloth regularly. Avoid harsh chemicals that damage wood and finish. Use coasters to protect the surface from water marks. Repair small scratches with matching wood filler or wax. Regular care keeps your table looking fresh and strong.
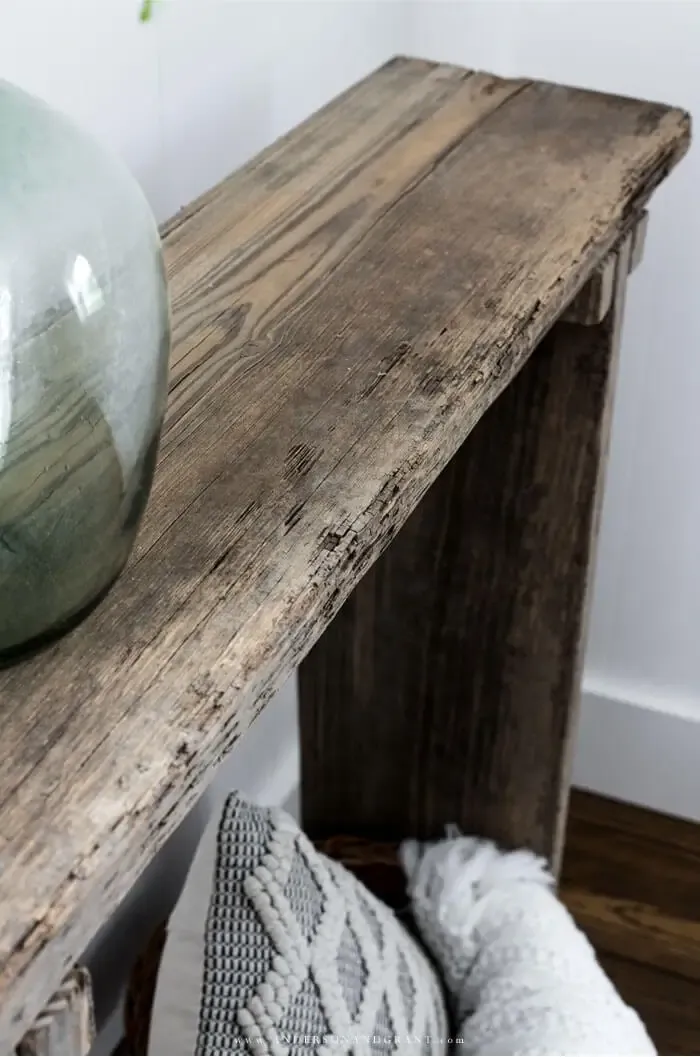
Credit: www.andersonandgrant.com
Frequently Asked Questions
What Materials Are Best For A Rustic Console Table?
Wood is the top choice for rustic console tables. Reclaimed wood adds character and sustainability. Pine, oak, and cedar are popular for their durability and texture.
How Do I Finish A Rustic Console Table?
Use natural stains or matte finishes to maintain a rustic look. Avoid glossy paints. Seal with wax or clear polyurethane for protection and longevity.
Can I Build A Rustic Console Table Without Power Tools?
Yes, you can use hand saws, chisels, and clamps. It requires more time and effort but results in a charming handcrafted piece.
What Are Common Dimensions For A Console Table?
Typical dimensions are 30-36 inches in height, 12-18 inches in depth, and 48-60 inches in length. Adjust based on your space and needs.
Conclusion
Building a rustic console table is a fun and rewarding project. It adds charm and character to any room. You only need basic tools and simple steps. Personal touches make your table unique and special. Take your time and enjoy the process.
Soon, you will have a beautiful piece to show off. This project brings warmth and style to your home. Start building and see how satisfying it feels.