Are you tired of your cluttered craft supplies scattered everywhere? Imagine turning that plain old bookshelf into a stylish, organized craft cabinet that keeps everything neat and easy to find.
You don’t need to buy expensive storage furniture or spend hours searching for the perfect solution. You’ll discover simple, step-by-step ways to transform your bookshelf into a beautiful, functional craft cabinet that fits your space and style. Ready to take control of your crafting chaos?
Let’s get started!
Choosing The Right Bookshelf
Choosing the right bookshelf is the first step in creating a craft cabinet. The right piece provides enough space and strength for your supplies. It also fits well in your craft area. Consider size, material, and shelf strength before buying. These factors help the bookshelf last longer and hold your items safely.
Size And Material Considerations
Size matters. Pick a bookshelf that fits your available space. Measure the area carefully. Think about how much storage you need. A tall shelf offers more vertical space. A wide shelf can hold larger items. Choose a material that matches your style and use. Wood looks warm and strong. Metal is durable and modern. Particleboard is affordable but less sturdy. Make sure the material suits your craft supplies.
Assessing Shelf Strength
Shelf strength is key for a craft cabinet. You will store heavy items like paints and tools. Check the thickness of shelves. Thicker shelves hold more weight. Look for shelves with strong supports or brackets. Avoid shelves that bend or sag. Test the shelf by pressing down lightly. Good shelves stay firm and steady. Reinforce weak shelves with extra brackets if needed.
Gathering Essential Supplies
Before transforming your bookshelf into a craft cabinet, gather all needed supplies. Having the right tools and organizers makes the process smooth. It helps keep your craft items neat and easy to find. Prepare your workspace and materials to avoid interruptions.
Tools You’ll Need
Start with basic tools like a screwdriver and hammer. A drill can help add screws faster and with less effort. Sandpaper smooths rough edges for a clean finish. A measuring tape ensures accurate placement of shelves and hooks. Consider a level to keep shelves straight. Paintbrushes or rollers are useful if you want to repaint the cabinet.
Storage Accessories And Organizers
Use clear bins to store beads, buttons, and other small items. Drawer dividers help separate different craft supplies. Pegboards on the cabinet doors hold scissors, rulers, and tapes. Small jars or cups keep brushes and pens upright. Labels on containers make finding items quick and simple. Hooks or rods can hang ribbons or thread spools.
Preparing The Bookshelf
Preparing the bookshelf is the first step to turning it into a craft cabinet. It needs to be clean, smooth, and ready for paint or finish. This helps the new look last longer and look neat.
Start by removing all dust and dirt from the surface. Then, smooth any rough spots or old paint. This makes the cabinet strong and easy to paint.
Cleaning And Sanding
Use a soft cloth to wipe the bookshelf clean. Remove all dust, dirt, and grease. A clean surface helps paint stick better.
Check the bookshelf for rough spots or chipped paint. Use sandpaper to smooth these areas. Sanding creates a smooth base for painting.
Sand lightly with fine-grit sandpaper. Wipe off dust with a dry cloth after sanding. Repeat if needed until the surface feels smooth.
Painting And Finishing Options
Choose paint that matches your craft room style. Chalk paint gives a soft, matte look. Spray paint offers quick, even coverage.
Apply paint in thin layers. Let each layer dry before adding the next. This prevents drips and uneven surfaces.
Seal the paint with a clear finish. Use a water-based sealant for a natural look. This protects the paint from wear and tear.
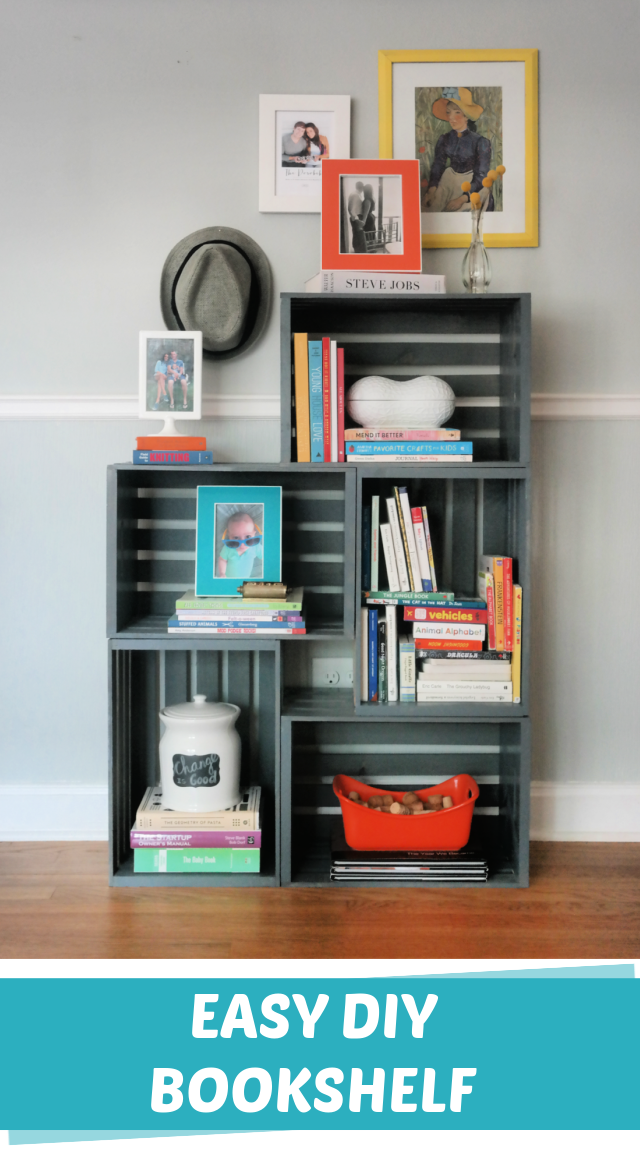
Credit: www.creatingreallyawesomefunthings.com
Customizing Shelves And Compartments
Customizing shelves and compartments transforms a plain bookshelf into a handy craft cabinet. It helps keep craft supplies neat and easy to find. Proper organization saves time and keeps your workspace tidy.
Adjust the shelves to fit different items. Some craft tools need more space, while small items need compartments. Creating sections makes everything accessible and visible.
Adding Dividers And Bins
Dividers help separate craft materials like paper, ribbons, or paint tubes. Use wood or plastic strips to create sections on each shelf. This stops items from mixing and cluttering.
Bins are great for storing small pieces like buttons, beads, or scissors. Clear plastic bins let you see contents quickly. Label each bin for easy identification. Stackable bins save space and keep shelves tidy.
Installing Hooks And Racks
Hooks add more storage without using shelf space. Attach them to the sides or underneath shelves. Hang scissors, tape, or measuring tapes for quick access.
Racks hold rolls of ribbon, thread, or washi tape. Install a rod or a small rack inside the cabinet. This keeps rolls neat and prevents them from unraveling.
Use these tools to customize your craft cabinet. It makes crafting easier and more enjoyable.
Optimizing Craft Storage
Optimizing craft storage in a bookshelf turned craft cabinet helps keep your workspace neat. Proper storage saves time and reduces frustration. It makes crafting more fun and efficient. Organizing supplies and tools carefully can create a pleasant and productive area.
Small craft items often get lost or tangled. Creating clear spaces for different tools helps you find things fast. Thoughtful storage can also protect delicate materials from damage.
Organizing Small Supplies
Use small containers or jars to store beads, buttons, and pins. Label each container clearly. Stackable boxes save space and keep items visible. Drawer organizers work well for tiny pieces. Keep frequently used supplies within easy reach. Clear containers let you see contents without opening them. Group similar items together to avoid clutter.
Creating Dedicated Spaces For Tools
Assign shelves or drawers for scissors, glue, and brushes. Use hooks or magnetic strips to hang metal tools. A pegboard inside the cabinet door keeps tools organized and accessible. Separate sharp tools from delicate items for safety. Keep heavier tools on lower shelves to avoid accidents. This setup prevents mess and speeds up your work.
Enhancing Accessibility
Enhancing accessibility in your craft cabinet makes crafting easier and more fun. You can find tools and materials quickly. No more digging through piles of supplies. This saves time and reduces frustration.
Organizing for easy reach keeps your workspace neat. You can focus more on creativity than on searching. Thoughtful design turns a simple bookshelf into a practical craft cabinet.
Labeling Techniques
Clear labels help you spot items fast. Use large, bold fonts for easy reading. Color coding groups similar supplies together. Paper labels work well, but plastic tags last longer. Label the front edges of shelves or containers. This method keeps everything visible and tidy.
Incorporating Pull-out Trays
Pull-out trays bring items closer to you. They save space and allow better access. Install trays on smooth slides for easy movement. Use trays to store small items like beads or buttons. Pulling out trays avoids bending or reaching deep inside. This feature improves comfort and speeds up your work.
Maintaining Your Craft Cabinet
Keeping your craft cabinet neat helps you enjoy your creative space. Regular care stops clutter and keeps supplies easy to find. A well-maintained cabinet saves time and reduces stress during projects. Small habits make a big difference in the long run.
Regular Cleaning Tips
Dust the shelves at least once a week. Use a soft cloth to wipe surfaces gently. Check for spills or glue stains and clean them quickly. Organize tools and supplies after each use to avoid mess. Keep a small trash bin nearby for scraps and trash. Clear out empty containers or broken items regularly.
Updating Storage As Needs Change
As your craft projects change, your storage needs change too. Swap out old containers for new ones that fit better. Add small baskets or boxes for tiny supplies. Move frequently used items to easy-to-reach spots. Remove tools you no longer use to free space. Adjust shelves or add dividers for better organization.

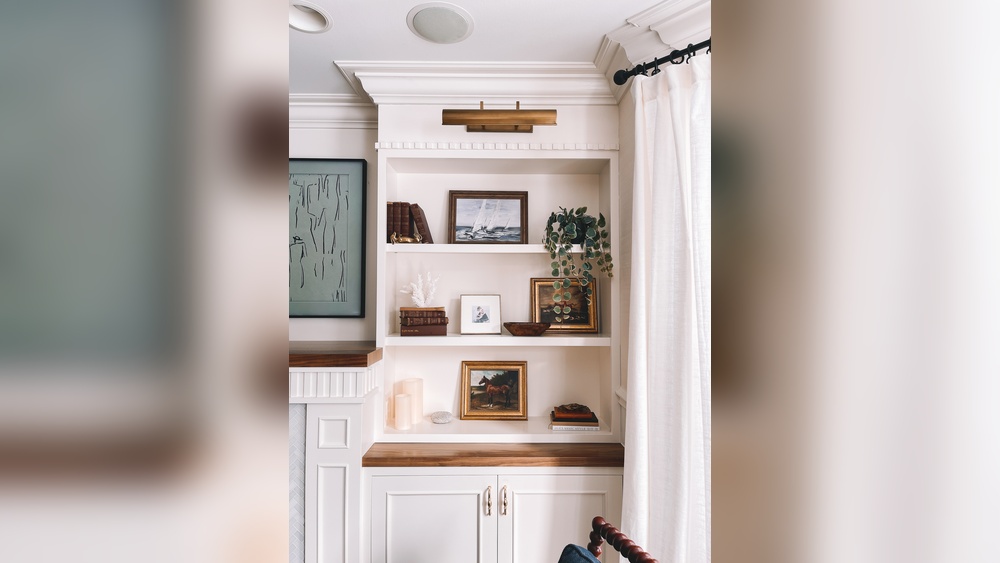
Credit: www.lizmarieblog.com

Credit: www.amazon.com
Frequently Asked Questions
How Do I Prepare A Bookshelf For Crafting Storage?
First, clear all items from the bookshelf. Clean and sand the surface for better paint or finish. Remove or adjust shelves for craft supplies.
What Materials Work Best For A Craft Cabinet Makeover?
Use paint, contact paper, or fabric to personalize. Add baskets, bins, or drawer organizers to maximize storage. Hooks and pegboards also help keep tools accessible.
How Can I Maximize Space Inside The Craft Cabinet?
Use clear containers and label them for easy access. Install adjustable shelves to fit various craft items. Utilize vertical space with hooks or hanging storage solutions.
Is It Necessary To Reinforce The Bookshelf For Heavy Supplies?
Yes, reinforce weak shelves with brackets or additional supports. This prevents sagging and ensures the cabinet holds heavier craft materials safely.
Conclusion
Transforming a bookshelf into a craft cabinet is simple and fun. You save money by reusing old furniture. Organizing your craft supplies becomes much easier. Customizing shelves fits your specific needs. Small changes can make a big difference in your space.
Try adding baskets or containers for better storage. Personal touches make your craft cabinet unique. Start your project today and enjoy a tidy craft area. Your creativity deserves a neat and useful home.