Are you ready to take full control of your Rails application right from the console? Knowing how to create a table directly in the Rails console can save you time and make your development process smoother.
Whether you’re fixing something quickly or experimenting with new ideas, this skill puts power in your hands. You’ll discover simple, step-by-step instructions to create tables effortlessly using the Rails console. Keep reading, and you’ll unlock a practical trick that every Rails developer should know.
Setting Up Rails Console
Before creating a table in Rails Console, setting up the console correctly is key. This setup allows smooth interaction with your Rails app’s database. Understanding how to launch and verify the console ensures your commands run without errors. Follow simple steps to get ready for table creation.
Launching Rails Console
Start by opening your terminal or command prompt. Navigate to your Rails project folder. Type rails console or rails c and press Enter. This command opens the Rails Console interface. You will see a prompt where you can type Ruby and Rails commands directly. The console connects to your app environment, ready for database tasks.
Checking Database Connection
Once inside the console, confirm the database connection is active. Run ActiveRecord::Base.connection. If no error appears, the connection is working. You can also check by listing tables with ActiveRecord::Base.connection.tables. Seeing your current tables means the console talks to the database properly. This step avoids problems during table creation.

Credit: www.amazon.com
Creating A Migration
Creating a migration is the first step to add a new table in Rails. Migrations help manage database changes safely. They create or modify tables and columns without writing raw SQL.
This process keeps your database structure organized. Rails uses migration files to track changes and apply them in the right order. It also allows easy rollback if needed.
Generating Migration File
To create a migration file, use the Rails console command:
rails generate migration CreateTableNameThis command creates a new file in the db/migrate folder. The file contains a class with methods to define the table structure.
Each migration file has a unique timestamp. This ensures the order of changes is clear and consistent across team projects.
Naming Conventions
Name your migration file clearly. Use verbs like Create, Add, or Remove followed by the table or column name.
For example, CreateUsers creates a users table. AddEmailToUsers adds an email column to the users table.
Good names help understand the migration’s purpose quickly. They also prevent confusion when managing multiple migrations.
Defining Table Structure
Defining the table structure is a key step in creating a table in Rails console. It means deciding what columns your table will have. Each column stores a specific type of data. This structure shapes how your application saves and uses data.
You start by thinking about what information you need to keep. Then, you create columns with names and data types. Rails migrations help you define this structure clearly and efficiently.
Adding Columns
Columns are the building blocks of your table. You add a column for every piece of data you want to save. For example, a users table might need columns like name, email, and age.
In Rails, use the add_column method inside a migration file. This command tells Rails to create a column in your table. Each column has a unique name that describes the data it holds.
Choosing Data Types
Each column needs a data type. Data types tell Rails what kind of data will go in each column. Common types include string, integer, text, and boolean.
Choosing the right type is important. It keeps your data organized and helps Rails handle it correctly. For example, use string for short text and integer for numbers.
Credit: www.jetbrains.com
Running The Migration
Running the migration is the key step after creating a migration file in Rails. This process updates your database by applying the changes defined in the migration. It creates the table or modifies it as specified. Without running the migration, your database will not reflect the new structure.
Understanding how to run migrations correctly is important. It helps keep your database schema organized and consistent with your Rails app code. Let’s break down the steps to run migrations in the Rails console.
Applying Changes To Database
To apply the migration, open your terminal and run the command:
rails db:migrateThis command executes all pending migrations. It updates the database schema by creating or changing tables.
Rails records which migrations have run. It prevents running the same migration twice. This keeps your database stable and safe.
Verifying Table Creation
After running the migration, check if the table exists. Use the Rails console with this command:
rails consoleInside the console, run:
ActiveRecord::Base.connection.tablesThis command lists all tables in your database. Look for your new table name here.
You can also inspect the table columns with:
ActiveRecord::Base.connection.columns(:your_table_name).map(&:name)This shows all columns created by the migration. Confirm they match your migration file.
Using The New Table
After creating a new table in Rails console, the next step is to use it effectively. This involves adding data and retrieving it as needed. The Rails console makes this process straightforward. You can create records quickly and run queries to find data. This section explains how to work with your new table in simple steps.
Creating Records
Creating records means adding new rows to your table. Use the model that matches your table name. For example, if your table is called “books,” use the Book model. To create a record, call Book.create with your data inside parentheses. Write each field with its value. For example:
Book.create(title: "Rails Guide", author: "John Doe")This command adds a new book to the table. You can create as many records as you want. Each record saves information you provide.
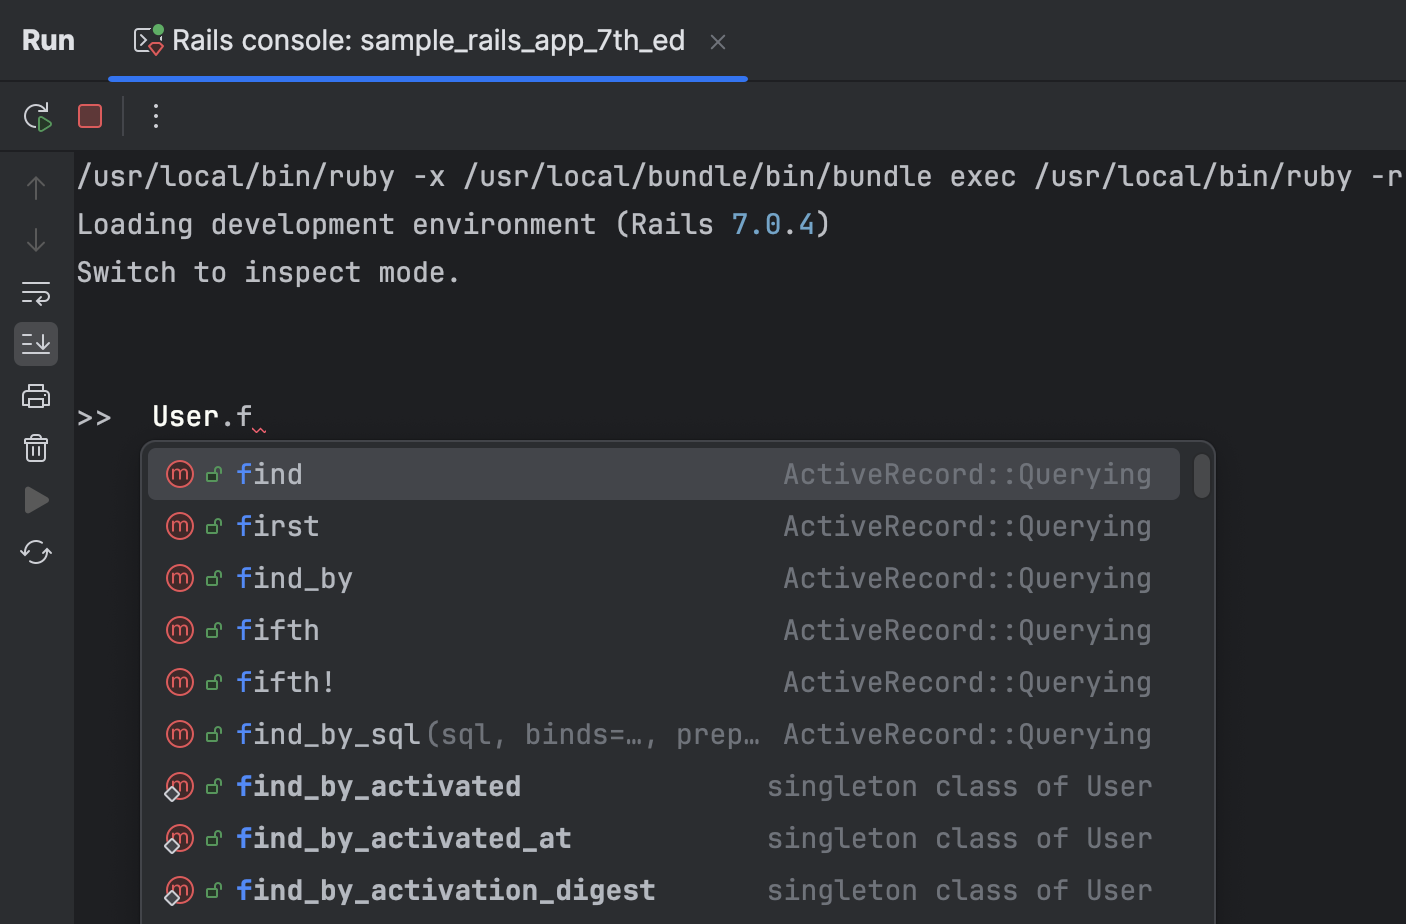
Querying Data
Querying data means searching for records in your table. Rails provides easy methods to find what you need. Use Book.all to get all records. This shows all rows in the books table.
To find specific records, use Book.where. For example, Book.where(author: "John Doe") finds books by John Doe. You can also use Book.find(id) to get a record by its ID.
These methods help you look at data and use it in your app. The Rails console is a powerful tool for working with tables.

Credit: www.rubydoc.info
Frequently Asked Questions
How Do I Create A Table Using Rails Console?
You create a table in Rails console by generating a migration. Use rails generate migration CreateTableName. Then, define columns in the migration file and run rails db:migrate to apply changes.
Can I Add Columns To A Table Via Rails Console?
Yes, add columns by generating a new migration. Use rails generate migration AddColumnToTable column_name:data_type. Then run rails db:migrate to update the table structure.
How To Check Existing Tables In Rails Console?
Use ActiveRecord::Base. connection. tables in Rails console. This command lists all current database tables in your Rails application.
Is It Possible To Drop Tables From Rails Console?
Yes, drop tables by creating a migration with drop_table :table_name. Run rails db:migrate after editing the migration file to remove the table.
Conclusion
Creating a table in Rails console is simple and quick. You just need to write clear commands step by step. This method helps you test and build your app fast. Keep practicing to feel more confident with Rails. Remember, small steps lead to big progress.
Try creating different tables to learn more. Rails console is a useful tool for developers. Use it often to improve your skills. Coding can be easy with the right approach. Start now and enjoy building your Rails projects.