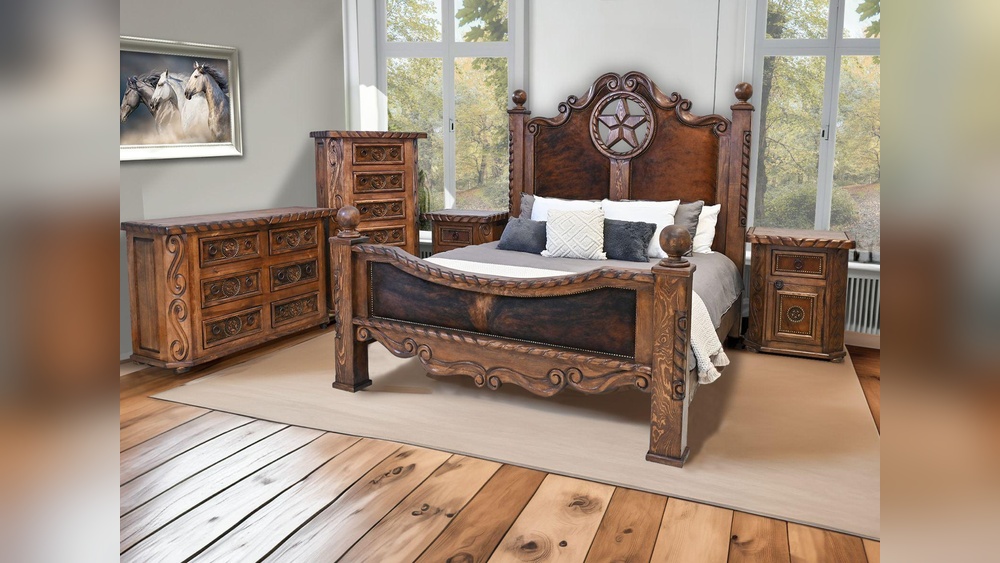
Your bedroom should feel like a peaceful retreat, and the right furniture can make all the difference. But what if your furniture looks too new or plain, lacking character and charm?
Distressing your bedroom furniture can add warmth, personality, and a cozy vintage vibe. Imagine turning your ordinary dresser or nightstand into a unique piece that tells a story. If you’ve ever thought about giving your furniture a fresh, stylish makeover without spending a fortune, this guide is for you.
Keep reading, and you’ll discover simple, effective ways to distress your bedroom furniture that anyone can do—no special skills needed. Your dream look is closer than you think.
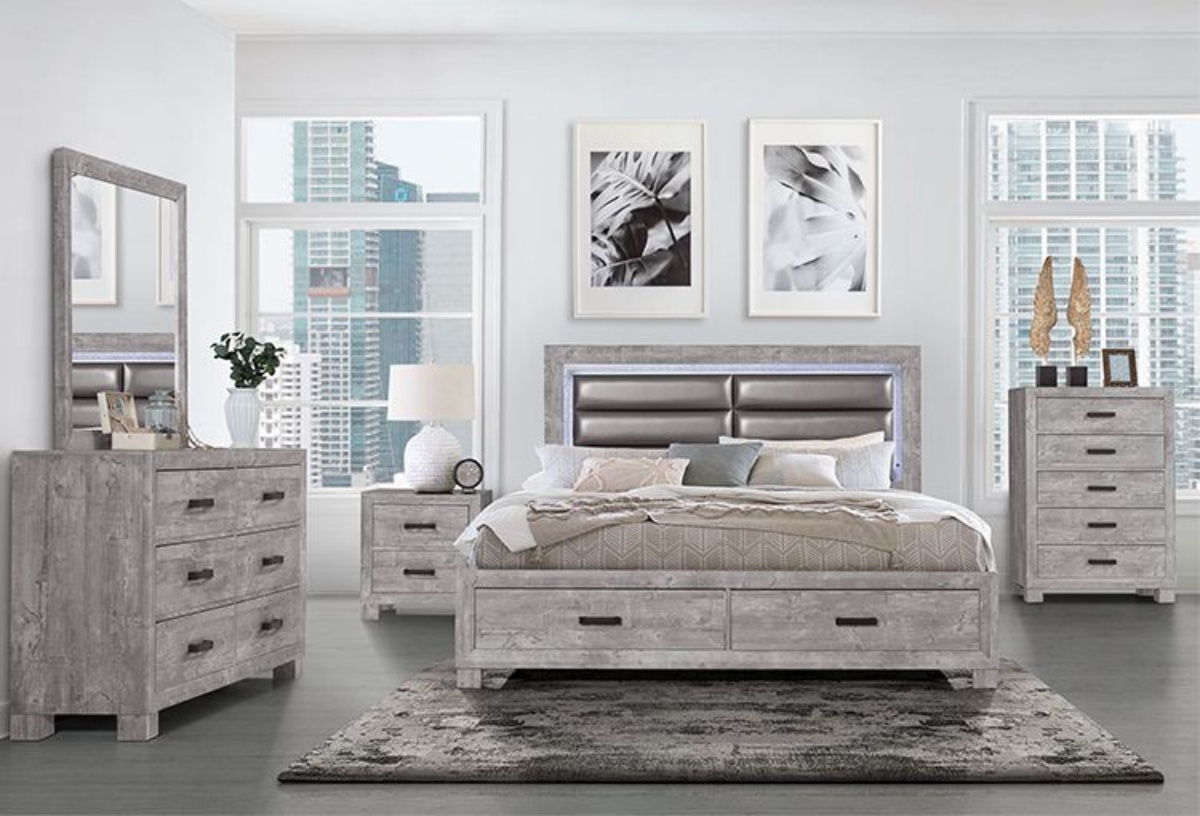
Choosing The Right Furniture
Choosing the right furniture is the first step to distress your bedroom pieces beautifully. Not all furniture suits distressing equally well. Some materials and styles show wear and tear better. Picking the correct item makes your project easier and more satisfying.
Best Wood Types For Distressing
Hardwoods like oak and pine are great for distressing. They have strong grains that add character when aged. Softwoods can also work but may dent too easily. Avoid particle board or laminate. These materials do not respond well to distressing techniques.
Look for solid wood with natural imperfections. These imperfections help create an authentic worn look. The wood should be sturdy enough to handle sanding, scraping, and painting. This ensures your furniture lasts long after distressing.
Furniture Pieces That Work Well
Dressers, nightstands, and bed frames are ideal for distressing. These pieces have flat surfaces that are easy to work on. Chairs and benches also take distressing nicely. Their edges and legs can be aged for a rustic feel.
Avoid furniture with too many details or carvings. Small decorations can be damaged during distressing. Simple designs give you more freedom to create the look you want. Choose pieces that fit your room size and style.
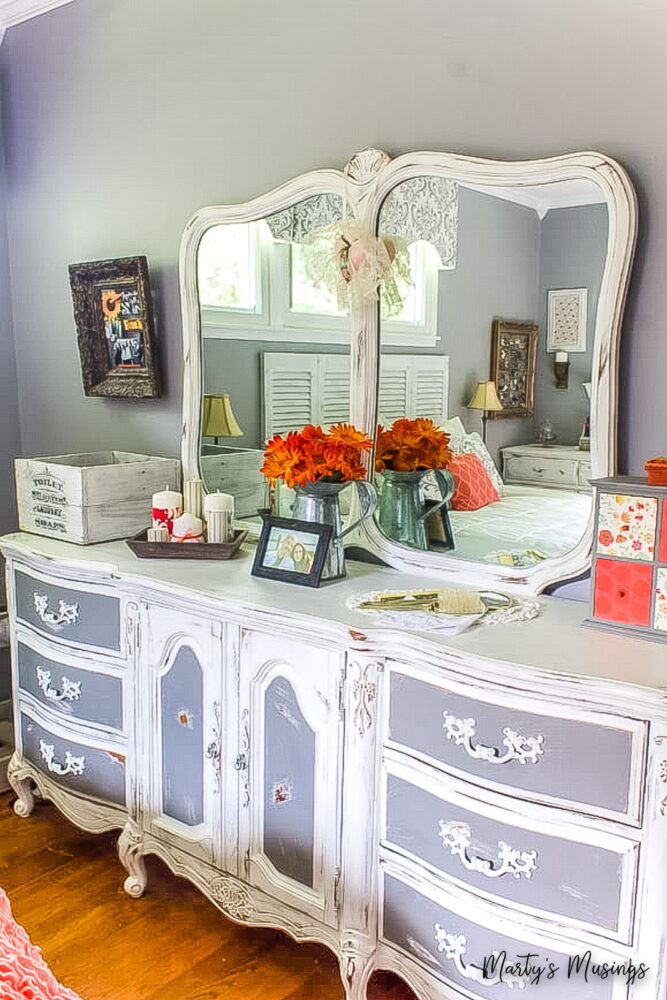
Credit: www.martysmusings.net
Tools And Materials Needed
Before you start distressing your bedroom furniture, gather the right tools and materials. Having everything ready makes the process smoother and more enjoyable. Simple tools and paints can create amazing vintage looks. Use safe and easy-to-handle items to avoid damage and frustration.
Essential Distressing Tools
Start with sandpaper in different grits. Coarse grit removes paint quickly. Fine grit smooths rough edges. A sanding block helps hold the sandpaper firmly. Use a paint scraper or putty knife to chip paint off corners. Steel wool adds a soft worn look on wood surfaces. A small hammer or chain can create dents and marks. Clean rags help wipe dust and paint drips. Gloves protect your hands from splinters and paint. A dust mask keeps you safe from fine particles.
Paints And Finishes To Use
Chalk paint is popular for distressing. It dries fast and sands easily. Latex paint also works well and is easy to find. Use dark wax or glaze to add depth and age to the finish. Clear wax or matte sealers protect your work without shine. Mix paint colors to create unique layers. Thin layers are better for a natural worn effect. Avoid glossy paints; they look too new and shiny.
Prepping Your Furniture
Prepping your bedroom furniture is the first step to achieve a beautiful distressed look. Proper preparation ensures the paint or stain sticks well. It also helps create an authentic aged effect. This stage takes time and care. A smooth surface and clean finish matter most.
Cleaning And Sanding Tips
Start by cleaning the furniture with a damp cloth. Remove all dirt, dust, and grease. Use mild soap if needed. Let the piece dry completely before sanding.
Next, sand the furniture lightly with medium-grit sandpaper. Focus on rough or glossy areas. Sanding removes the old finish and smooths the surface. Wipe away sanding dust with a clean cloth.
Removing Old Hardware
Take off all knobs, handles, and other hardware. Use a screwdriver to avoid damage. Removing hardware makes sanding and painting easier. Keep the pieces safe if you plan to reuse them. This step helps achieve a neat, even finish.
Techniques For Distressing
Distressing furniture gives it a charming, aged look. It adds character and warmth to any bedroom. There are simple techniques to create this effect. Each method brings a unique style to your furniture. Here are some easy ways to distress your bedroom pieces.
Sanding For Worn Edges
Sanding is the most common way to distress wood furniture. Focus on edges and corners where natural wear happens. Use medium-grit sandpaper to rub away paint or finish. Sand lightly to reveal the wood beneath. This creates a soft, worn look that feels authentic. Avoid over-sanding to keep the piece sturdy.
Using Paint Layers And Scraping
Apply multiple paint layers in different colors. Let each layer dry before adding the next one. Use a scraper or putty knife to gently remove paint in some spots. This reveals the colors underneath. The effect looks like years of repainting and wear. Try scraping near handles or edges for a natural look.
Creating Natural Wear Marks
Use items like chains, rocks, or steel wool to add small dents and scratches. Tap or rub these objects on the surface for random marks. These marks mimic real wear from daily use. Keep the marks subtle to avoid damaging the furniture. This technique adds depth and realism to your distressed look.
Adding Vintage Details
Adding vintage details gives bedroom furniture a warm, timeless look. These touches bring charm and character. They make pieces feel like they have a story to tell. Vintage details often focus on small features that stand out.
You can create a vintage style by changing hardware and using special finishes. These methods make old furniture look unique and full of life. The key is to keep things simple and natural.
Distressed Hardware Choices
Choose hardware that looks aged or worn. Brass, bronze, and iron work well. Pick knobs and handles with simple designs or slight rust. These add an old-world feel without much effort. You can also sand parts of the hardware to create a chipped look. Mixing different styles of hardware adds interest and a handmade feel.
Applying Stains And Waxes
Stains and waxes help create a soft, aged finish. Use a dark stain to highlight wood grain and give depth. Apply wax with a cloth, focusing on edges and corners. This makes the furniture look used and loved. Buff the wax gently to keep a natural shine. Choose colors that match your room for a cozy vibe.
Protecting Your Finished Piece
Protecting your finished distressed furniture is key to keeping its look and feel. After all the hard work, the last thing you want is for the beauty to fade or get damaged. Proper care helps your piece last longer and stay charming.
Sealing and maintenance are two main steps in protecting your furniture. They stop scratches, water marks, and dirt from ruining your work. A well-protected piece also holds its character better over time.
Sealing Tips For Durability
Choose a clear sealant that suits your furniture type. Polyurethane is great for wood and gives a strong finish. Use a brush with soft bristles for smooth application.
Apply thin, even coats and let each dry fully before the next. Avoid thick layers to prevent bubbles and drips. Sand lightly between coats for a smooth surface.
Seal edges and corners carefully; these areas wear out fast. Use a sealant with UV protection to keep colors from fading. Proper sealing forms a strong shield against damage.
Maintenance For Long-lasting Charm
Keep your furniture clean by dusting regularly with a soft cloth. Avoid harsh chemicals; mild soap and water work best. Dry the surface immediately to prevent water stains.
Place felt pads under objects to stop scratches. Reapply sealant every year or when the finish looks dull. Watch for chips or cracks and fix them fast to prevent bigger problems.
Small care steps protect your distressed furniture’s charm. This care keeps your piece beautiful and ready for years of use.
Common Mistakes To Avoid
Distressing bedroom furniture gives it a cozy, vintage look. It can add charm and character to any room. Many people try this DIY but make simple mistakes. These errors can ruin the final look or damage the furniture. Avoiding these common mistakes helps you get the best result.
Here are two big mistakes to watch out for during the distressing process.
Over-distressing
Less is more when distressing furniture. Over-distressing makes the piece look worn out or fake. Scratches and dents should look natural, not forced. Focus on areas that get used or touched the most. These spots wear naturally over time. Stop often and check your progress. It is easy to add more distress, but hard to fix too much.
Ignoring Surface Preparation
Good prep work is key for a smooth finish. Clean the furniture well before you start. Remove dirt, grease, and old polish. Sand the surface lightly to help paint or stain stick better. Skip this step and paint may peel or chip quickly. Proper preparation makes distressing easier and more durable.
Credit: badcocksfl.com

Credit: www.ourtinynest.com
Frequently Asked Questions
What Materials Are Best For Distressing Bedroom Furniture?
Wood furniture is ideal for distressing. Softwoods like pine are easier to work with. Use sandpaper, paint, and wax for best results. Avoid delicate or veneer pieces, as they may damage easily.
How Do I Create A Vintage Look On Furniture?
Apply a base coat, then a contrasting topcoat. Lightly sand edges and surfaces to reveal the base. Finish with dark wax or glaze for an aged appearance. This method mimics natural wear over time.
Can I Distress Furniture Without Sanding?
Yes, use tools like chains, hammers, or screwdrivers to create dents and scratches. This adds character without sanding. Always work carefully to avoid over-damaging the piece.
How Long Does It Take To Distress Bedroom Furniture?
Distressing can take 1-3 hours depending on technique and furniture size. Drying time for paint and wax may add extra hours. Plan accordingly to achieve desired results.
Conclusion
Distressing bedroom furniture adds charm and character to your space. It lets you refresh old pieces without buying new ones. Simple steps create a cozy, vintage look anyone can do. Experiment with sanding, painting, and staining for unique results. Take your time and enjoy the process.
Your bedroom will feel warm and inviting with distressed furniture. Try it today and see the difference yourself.