You’ve built your bookshelf, and now comes the crucial step: finishing it. How you finish your bookshelf can transform it from a simple piece of wood into a stunning centerpiece in your room.
You want a finish that looks great, protects your work, and lasts for years. But where do you start? This guide will walk you through easy, effective steps to finish your bookshelf like a pro. By the end, you’ll have the confidence and know-how to give your project that perfect final touch.
Ready to make your bookshelf truly shine? Let’s dive in.
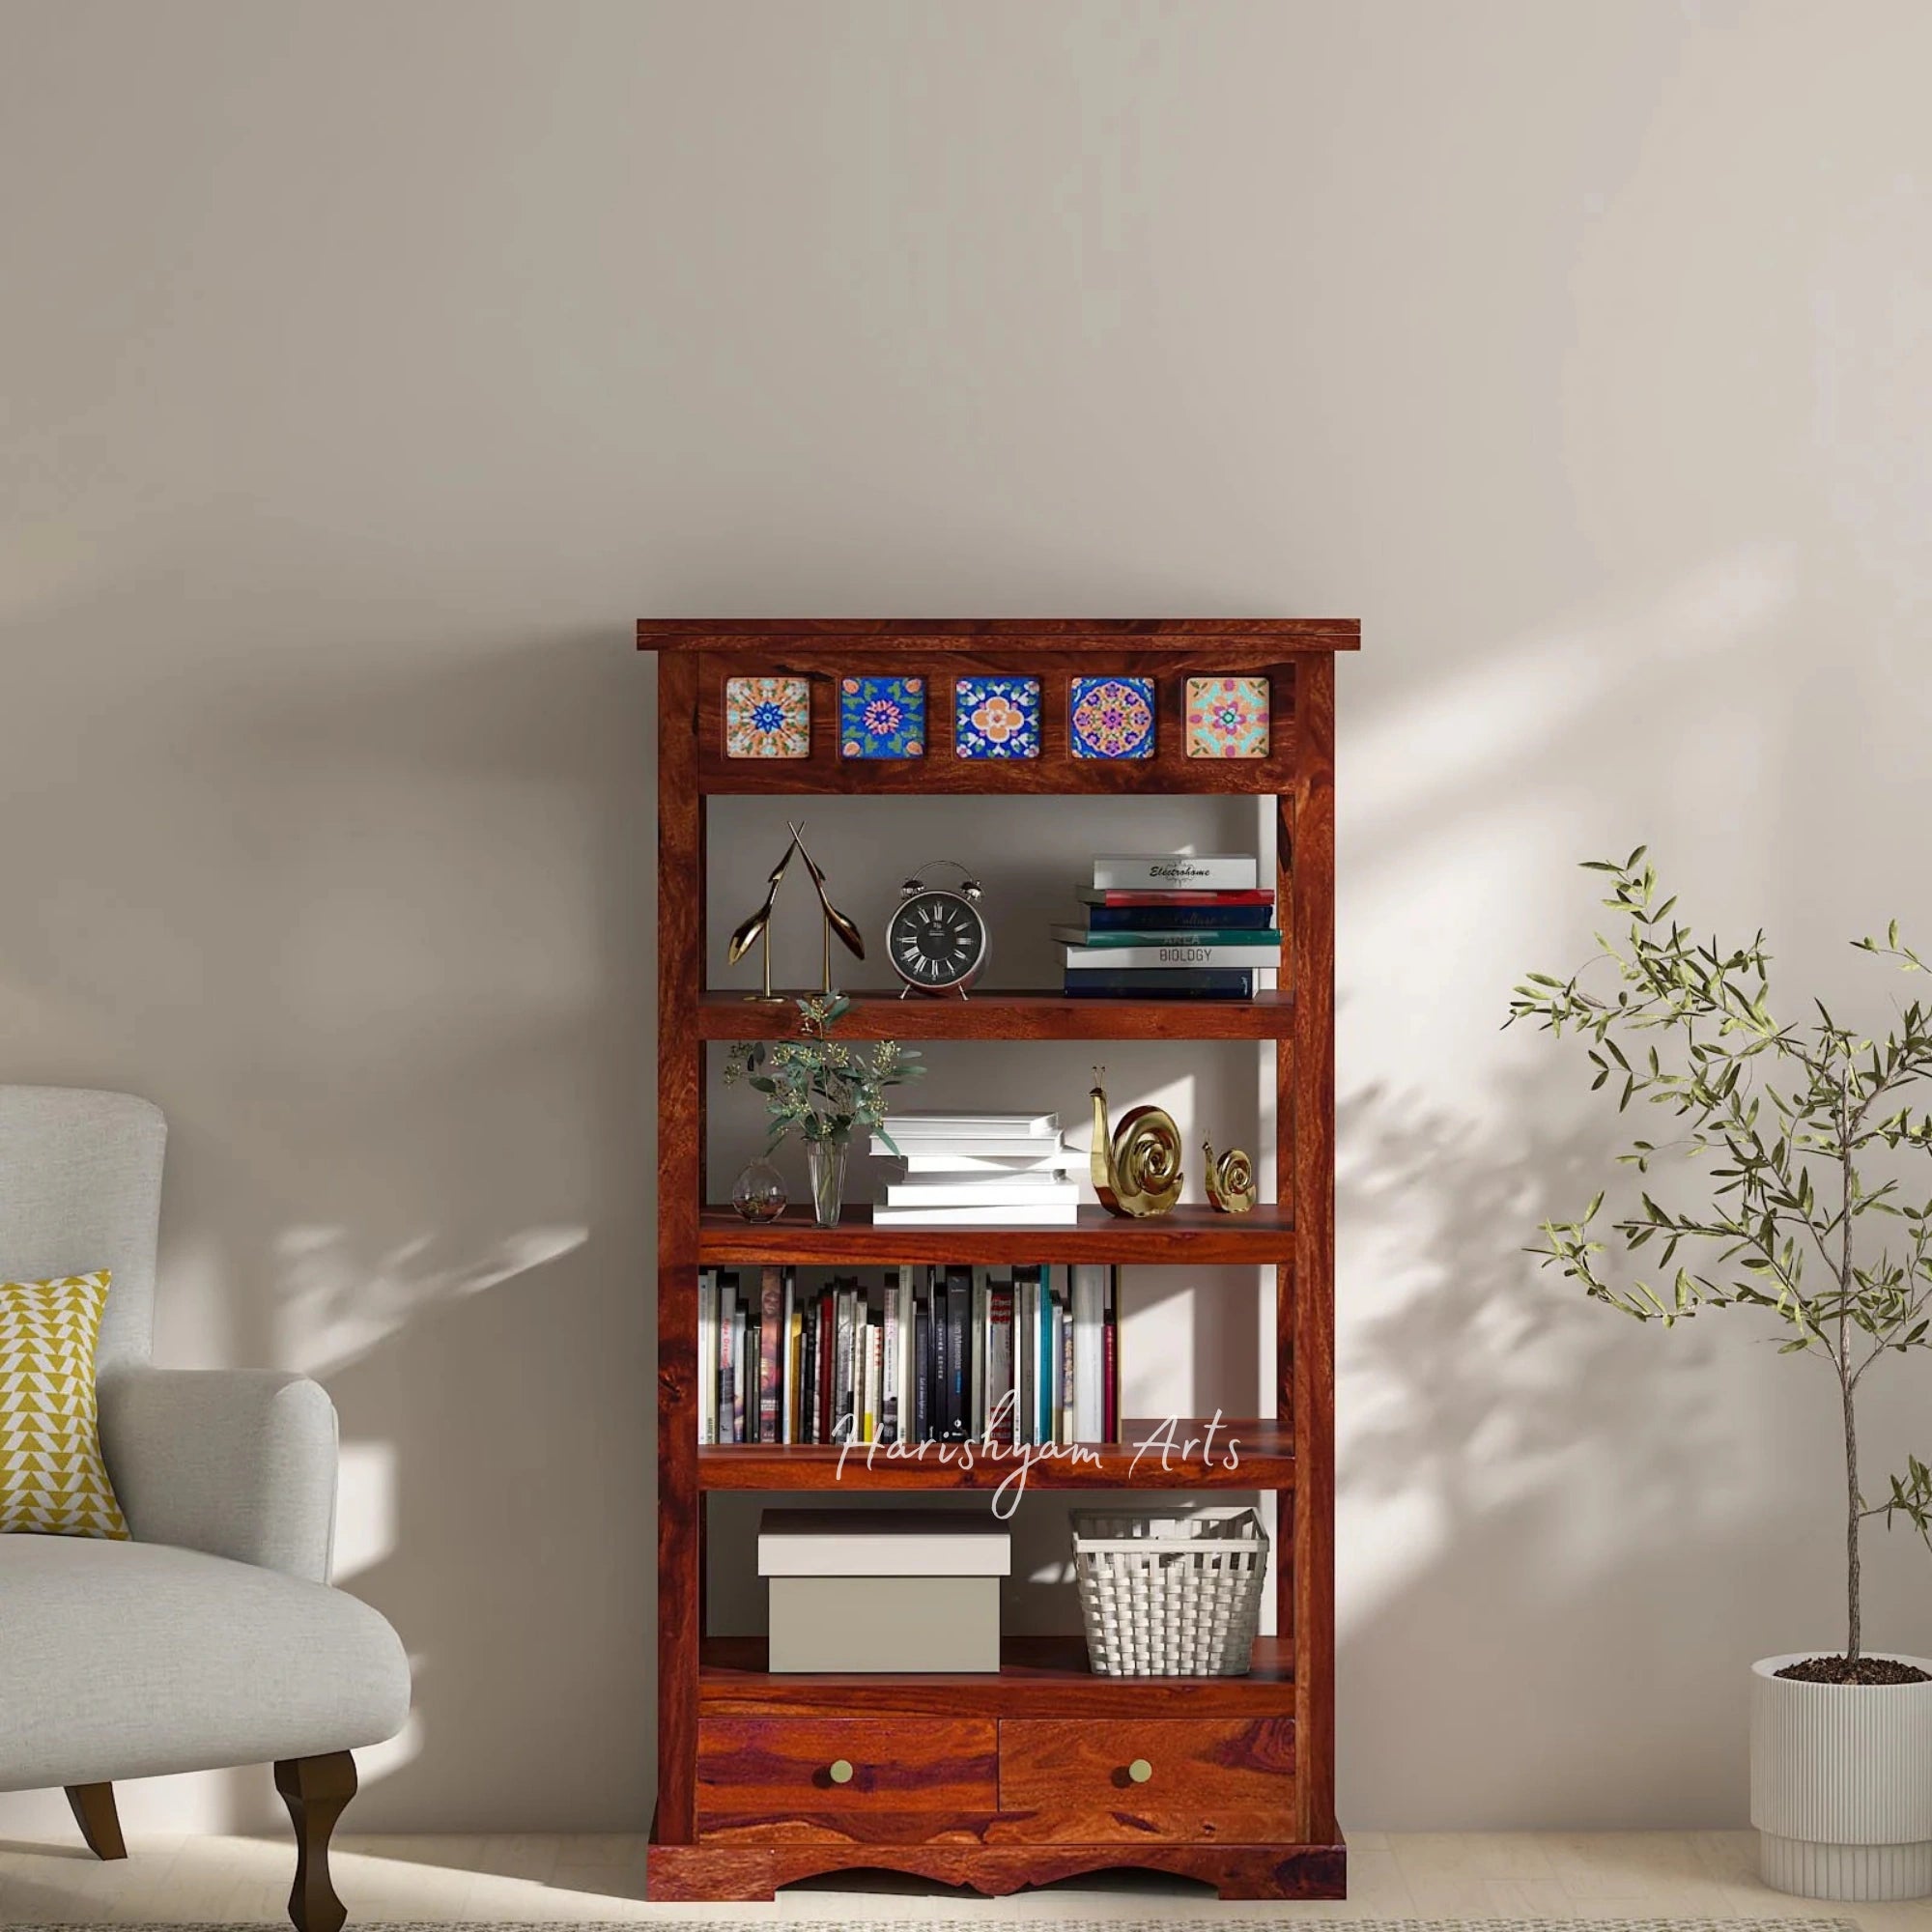
Credit: harishyam.com
Choosing The Right Finish
Choosing the right finish for your bookshelf is an important step. It protects the wood and enhances its beauty. The finish you pick changes the look and feel of the entire piece. It also affects how well the shelf holds up over time.
Consider the wood type and the room where the bookshelf will go. Think about the style and colors around it. The right finish brings everything together for a polished look.
Types Of Finishes
There are several common finishes to choose from. Oil finishes soak into the wood and create a natural look. They bring out the grain and add warmth.
Varnishes and lacquers form a hard, protective layer. They shine and resist water and scratches. These finishes are good for heavy use.
Wax finishes give a soft, smooth feel. They add a gentle shine but need more upkeep. Polyurethane is tough and durable. It works well on shelves that hold heavy items.
Matching Finish To Wood
Different woods react differently to finishes. Light woods like pine look great with clear oils. They keep the natural color bright.
Darker woods such as walnut or cherry can handle richer stains. These finishes deepen the wood’s color and highlight patterns.
Test the finish on a small piece first. This shows how the wood will change. It helps avoid surprises after applying the finish.
Considering Room Style
The room’s style affects your finish choice. A modern room suits sleek, glossy finishes. They give a clean, sharp look.
Rustic or traditional rooms go well with matte or satin finishes. These create a cozy, warm vibe.
Think about the shelf’s role. Is it a statement piece or a simple storage? The finish should match its purpose and setting.
Preparing The Bookshelf
Preparing the bookshelf is the first step to a smooth and lasting finish. This stage ensures the wood surface is clean, smooth, and free of damage. Proper preparation helps paint or stain stick better. It also improves the final look of the bookshelf.
Cleaning The Surface
Start by removing dust, dirt, and grease. Use a damp cloth or mild soap solution. Wipe the entire bookshelf carefully. Let it dry completely before moving on. Clean surfaces allow finishes to adhere well.
Sanding Techniques
Sanding smooths the wood and removes old finishes. Use medium-grit sandpaper to start. Sand in the direction of the wood grain. Finish with fine-grit sandpaper for a smooth touch. Sanding creates a clean surface for paint or stain.
Repairing Imperfections
Check for cracks, holes, or dents. Fill small holes with wood filler using a putty knife. Let the filler dry fully. Sand the filled areas smooth to blend with the surface. Repairing imperfections prevents flaws from showing after finishing.
Applying Primer
Applying primer is an important step when finishing a bookshelf. It helps paint stick better and last longer. Primer also protects the wood from moisture and stains. This step prepares the surface for a smooth and even paint job.
Why Primer Matters
Primer creates a strong base for paint. It seals the wood and hides imperfections. This prevents paint from soaking unevenly. Primer also improves paint adhesion. It helps the finish look more vibrant and last longer.
Selecting The Primer
Choose a primer that matches your paint type. For water-based paint, use a water-based primer. For oil-based paint, select an oil-based primer. Some primers work well on wood and other surfaces. Check the label to ensure it suits your project.
Tips For Even Application
Start with a clean and dry surface. Use a brush or roller for smooth coverage. Apply thin, even coats to avoid drips. Let the primer dry fully before adding paint. Lightly sand the surface if it feels rough after drying.
Credit: www.reddit.com
Staining The Wood
Staining the wood is a key step in finishing a bookshelf. It brings out the wood’s natural beauty. Stain adds color and depth. It also protects the wood from damage. Proper staining makes your bookshelf look polished and professional.
Take time to prepare the wood. Sand it smooth and clean off dust. This helps the stain soak evenly. The right stain can change the feel of your bookshelf. Below are tips on choosing and applying stain.
Choosing The Stain Color
Pick a color that fits your room. Light stains keep a natural look. Dark stains add richness and contrast. Think about your furniture and walls. Match or contrast for a balanced style. Test the stain on a scrap piece. It shows the true color on your wood.
Methods For Applying Stain
Use a brush, cloth, or sponge to apply stain. Brushes cover large areas quickly. Cloths allow more control and a smooth finish. Sponges work well for tight spots. Apply the stain in the wood grain’s direction. Wipe off extra stain with a clean cloth. This prevents blotches and uneven color.
Controlling Stain Intensity
For a lighter color, wipe off stain sooner. For a darker color, leave stain on longer. Apply multiple coats for deeper shades. Sand lightly between coats for smoothness. Always let the stain dry fully before adding more. This helps you get the exact look you want.
Sealing With Varnish Or Polyurethane
Sealing a bookshelf protects the wood and enhances its beauty. Varnish and polyurethane are popular choices. Both create a strong, clear finish that resists scratches and moisture. Choosing the right sealant and applying it carefully will keep your bookshelf looking great for years.
Differences Between Varnish And Polyurethane
Varnish is made from natural oils and resins. It dries slowly but adds a warm, rich glow to the wood. Polyurethane is a synthetic product. It dries faster and forms a harder, more durable surface. Varnish is better for outdoor or rough use. Polyurethane suits indoor furniture well. Both come in gloss, satin, and matte finishes.
Application Techniques
Start with clean, dry wood. Use a high-quality brush or foam applicator. Apply thin, even coats to avoid drips and bubbles. Brush along the wood grain for smooth coverage. Let each coat dry fully before adding the next. Lightly sand between coats with fine sandpaper. This helps the next layer stick better and smooths out imperfections.
Drying And Curing Times
Varnish usually takes 4 to 6 hours to dry to the touch. It cures fully after about 7 days. Polyurethane dries faster, often within 2 to 4 hours. Full curing can take up to 30 days. Avoid heavy use until the finish hardens. Proper drying and curing ensure long-lasting protection and shine.

Credit: hekman.com
Finishing Touches
Finishing touches make your bookshelf look complete and polished. These small steps bring out the beauty of the wood. They also protect your work and help it last longer.
Paying attention to the final details gives your bookshelf a professional look. It feels smooth to touch and looks more attractive. Let’s explore how to add these finishing touches.
Buffing For Smoothness
Buffing removes any rough spots on the wood surface. Use a soft cloth or fine steel wool. Rub gently in circular motions. This step makes the finish smooth and shiny. Buffing also helps the finish last longer.
Adding Decorative Details
Decorative details add charm and personality to your bookshelf. Try small wood carvings or painted accents. You can also use decorative knobs or metal corners. These details make your shelf unique and stylish. Keep decorations simple for a clean look.
Maintaining The Finish
Keep your bookshelf looking new by regular care. Dust it often with a soft cloth. Avoid harsh chemicals that can damage the finish. Use wood polish or wax to protect the surface. Proper maintenance extends the life of your bookshelf.
Frequently Asked Questions
How Do I Prepare A Bookshelf For Finishing?
Start by sanding the bookshelf with fine-grit sandpaper. Remove dust with a tack cloth. Clean the surface thoroughly before applying any finish for better adhesion and smooth results.
What Types Of Finishes Work Best On Bookshelves?
Popular finishes include polyurethane, varnish, and lacquer. They protect wood and enhance its natural beauty. Choose a finish based on desired sheen and durability.
How Long Should I Let The Finish Dry?
Drying times vary by product but generally take 4 to 6 hours. Always follow the manufacturer’s instructions for best results and avoid rushing the process.
Can I Use Paint Instead Of Wood Finish?
Yes, paint is an option for a colorful look. Use primer first for better adhesion. Choose durable paint meant for furniture for lasting results.
Conclusion
Finishing a bookshelf takes patience and care. Choose the right finish for your wood type. Sand the surface smooth for best results. Apply finish evenly and let it dry well. Multiple coats can improve durability and look. Take your time, and enjoy the process.
A well-finished bookshelf adds charm to any room. Your effort shows in the final product. Keep these steps in mind for future projects. Simple steps lead to great results every time.