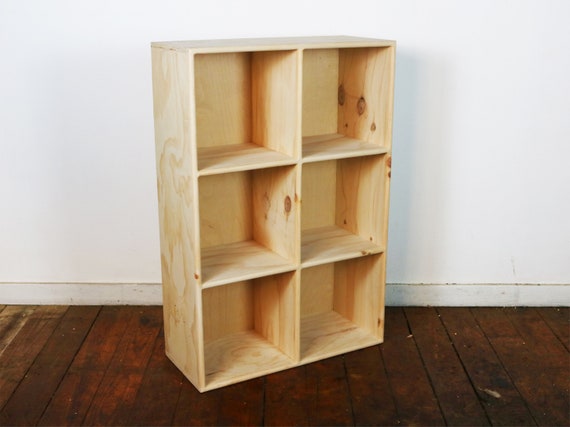
Are you looking for a simple project that adds style and storage to your space? Making a 2×3 bookshelf is easier than you think.
With just a few tools and some basic materials, you can build a sturdy shelf perfect for your books, decor, or everyday essentials. Imagine the satisfaction of seeing your own handiwork proudly holding your favorite items. Keep reading, and you’ll discover step-by-step instructions that anyone can follow—no experience needed.
By the end, you’ll have a beautiful, custom bookshelf that fits your needs perfectly. Ready to get started?
Materials Needed
Gathering the right materials is the first step to build a sturdy 2×3 bookshelf. Choosing quality wood and the correct tools will make the process smooth and the final product strong. Prepare everything before starting to save time and avoid mistakes.
Wood Selection
Select wood that is strong and easy to work with. Pine and plywood are popular choices for bookshelves. Pine is affordable and light. Plywood offers stability and smooth surfaces. Use boards that are straight without cracks or knots. Measure and cut pieces to fit the 2×3 shelf design.
Tools Required
A few basic tools are enough to build the bookshelf. You will need a saw to cut the wood to size. A drill helps make holes and insert screws. Sandpaper smooths edges and surfaces. A measuring tape and square ensure precise cuts. Clamps hold pieces in place while assembling.
Additional Supplies
Besides wood and tools, gather some extra supplies. Wood screws keep the parts firmly joined. Wood glue adds strength to joints. A pencil marks measurements on wood. Paint or stain finishes the shelf and protects the wood. Brushes or rags help apply the finish evenly.
Planning Your Bookshelf
Planning your bookshelf is the first step to a successful project. It helps you avoid mistakes and saves time. A clear plan makes building easier and ensures the finished shelf fits your space. Focus on exact measurements, smart design, and preparing a detailed cut list before starting.
Measuring Dimensions
Measure the space where the bookshelf will go. Note the height, width, and depth available. Consider the size of the books you want to store. Write down these numbers clearly. Accurate measurements prevent issues later.
Design Considerations
Think about how many shelves you need. Decide on the distance between shelves based on book sizes. Choose a simple design for easy building. Plan for strong support to hold heavy books. Keep the style matching your room.
Creating A Cut List
List all wood pieces by size and quantity. Include sides, shelves, top, and bottom panels. Double-check each measurement before cutting. Organize your list to work efficiently in the workshop. A good cut list reduces waste and mistakes.
Cutting The Wood
Cutting the wood is the first big step in making your 2X3 bookshelf. This part shapes all the pieces you need. Accurate cuts ensure the shelf fits together well. Take your time. Measure twice. Cut once.
Safety Tips
Wear safety glasses to protect your eyes from dust and chips. Use ear protection if your saw is loud. Keep your hands away from the blade. Use clamps to hold wood steady. Work in a clean, well-lit area. Always check your tools before starting.
Cutting Techniques
Mark your wood clearly with a pencil and ruler. Use a saw suitable for your wood type. A circular saw works well for straight cuts. Cut slowly to avoid splintering. Follow the marked lines carefully. Sand edges to smooth rough cuts.
Preparing Pieces
After cutting, check each piece for size and shape. Sand all surfaces to remove splinters and rough spots. Arrange pieces to see how they fit together. Label parts to keep track. This step makes assembly easier and faster.

Credit: www.homfurniture.com
Assembling The Frame
Assembling the frame is the first step in building your 2×3 bookshelf. It creates the basic shape and support for the shelves. Take your time to make sure everything fits well and stays strong. A sturdy frame means a durable bookshelf.
Joining Side Panels
Start by placing the two side panels upright. Align the edges carefully so they match perfectly. Use clamps to hold the panels steady. This will keep them from moving during assembly. Check that the panels are straight and square before moving on.
Attaching Shelves
Next, place the shelves between the side panels. Space them evenly to fit your books. Hold each shelf in place and ensure it is level. Mark the spots where the shelves meet the panels. This helps to keep everything aligned.
Securing With Screws
Use screws to fasten the shelves to the side panels. Choose screws long enough to hold the wood firmly. Drill pilot holes first to avoid splitting the wood. Drive screws in slowly to keep the panels and shelves tight. Double-check each connection for strength and stability.
Finishing Touches
Finishing touches bring your 2X3 bookshelf to life. They improve its look and protect the wood. Taking time to finish well makes your project last longer. Simple steps can create a smooth, beautiful surface ready for use.
Sanding Surfaces
Sanding smooths rough edges and removes splinters. Use fine-grit sandpaper for the best results. Sand all surfaces evenly, including corners and edges. Wipe dust away with a clean cloth after sanding. Smooth wood helps paint or stain stick better.
Applying Paint Or Stain
Choose paint or stain to match your style. Paint covers the wood completely with color. Stain enhances the natural wood grain. Apply thin coats with a brush or cloth. Let each coat dry fully before adding another. Even layers create a neat, polished look.
Adding Protective Coating
A protective coating shields wood from damage and dirt. Use clear varnish, polyurethane, or wax for protection. Apply it evenly over painted or stained surfaces. Let the coating dry completely before handling the shelf. This step keeps your bookshelf strong and clean for years.
Credit: www.etsy.com
Tips For Stability
Building a 2×3 bookshelf is simple, but making it stable is important. A sturdy bookshelf lasts longer and holds your books safely. Small steps help avoid wobbling or falling. Focus on securing the shelf well and balancing the weight evenly.
Anchoring To Wall
Attach the bookshelf to the wall for strong support. Use screws and wall anchors suitable for your wall type. This prevents the shelf from tipping forward. Choose the right height to keep it steady.
Using Brackets
Install metal or wooden brackets under shelves. Brackets add extra strength to hold heavy books. Fix them tightly to both the shelf and the frame. This reduces shaking and increases load capacity.
Weight Distribution
Place heavier books on the bottom shelves. Lighter items go on the top shelves. This lowers the center of gravity and keeps the shelf balanced. Evenly spread the weight across each shelf for best stability.
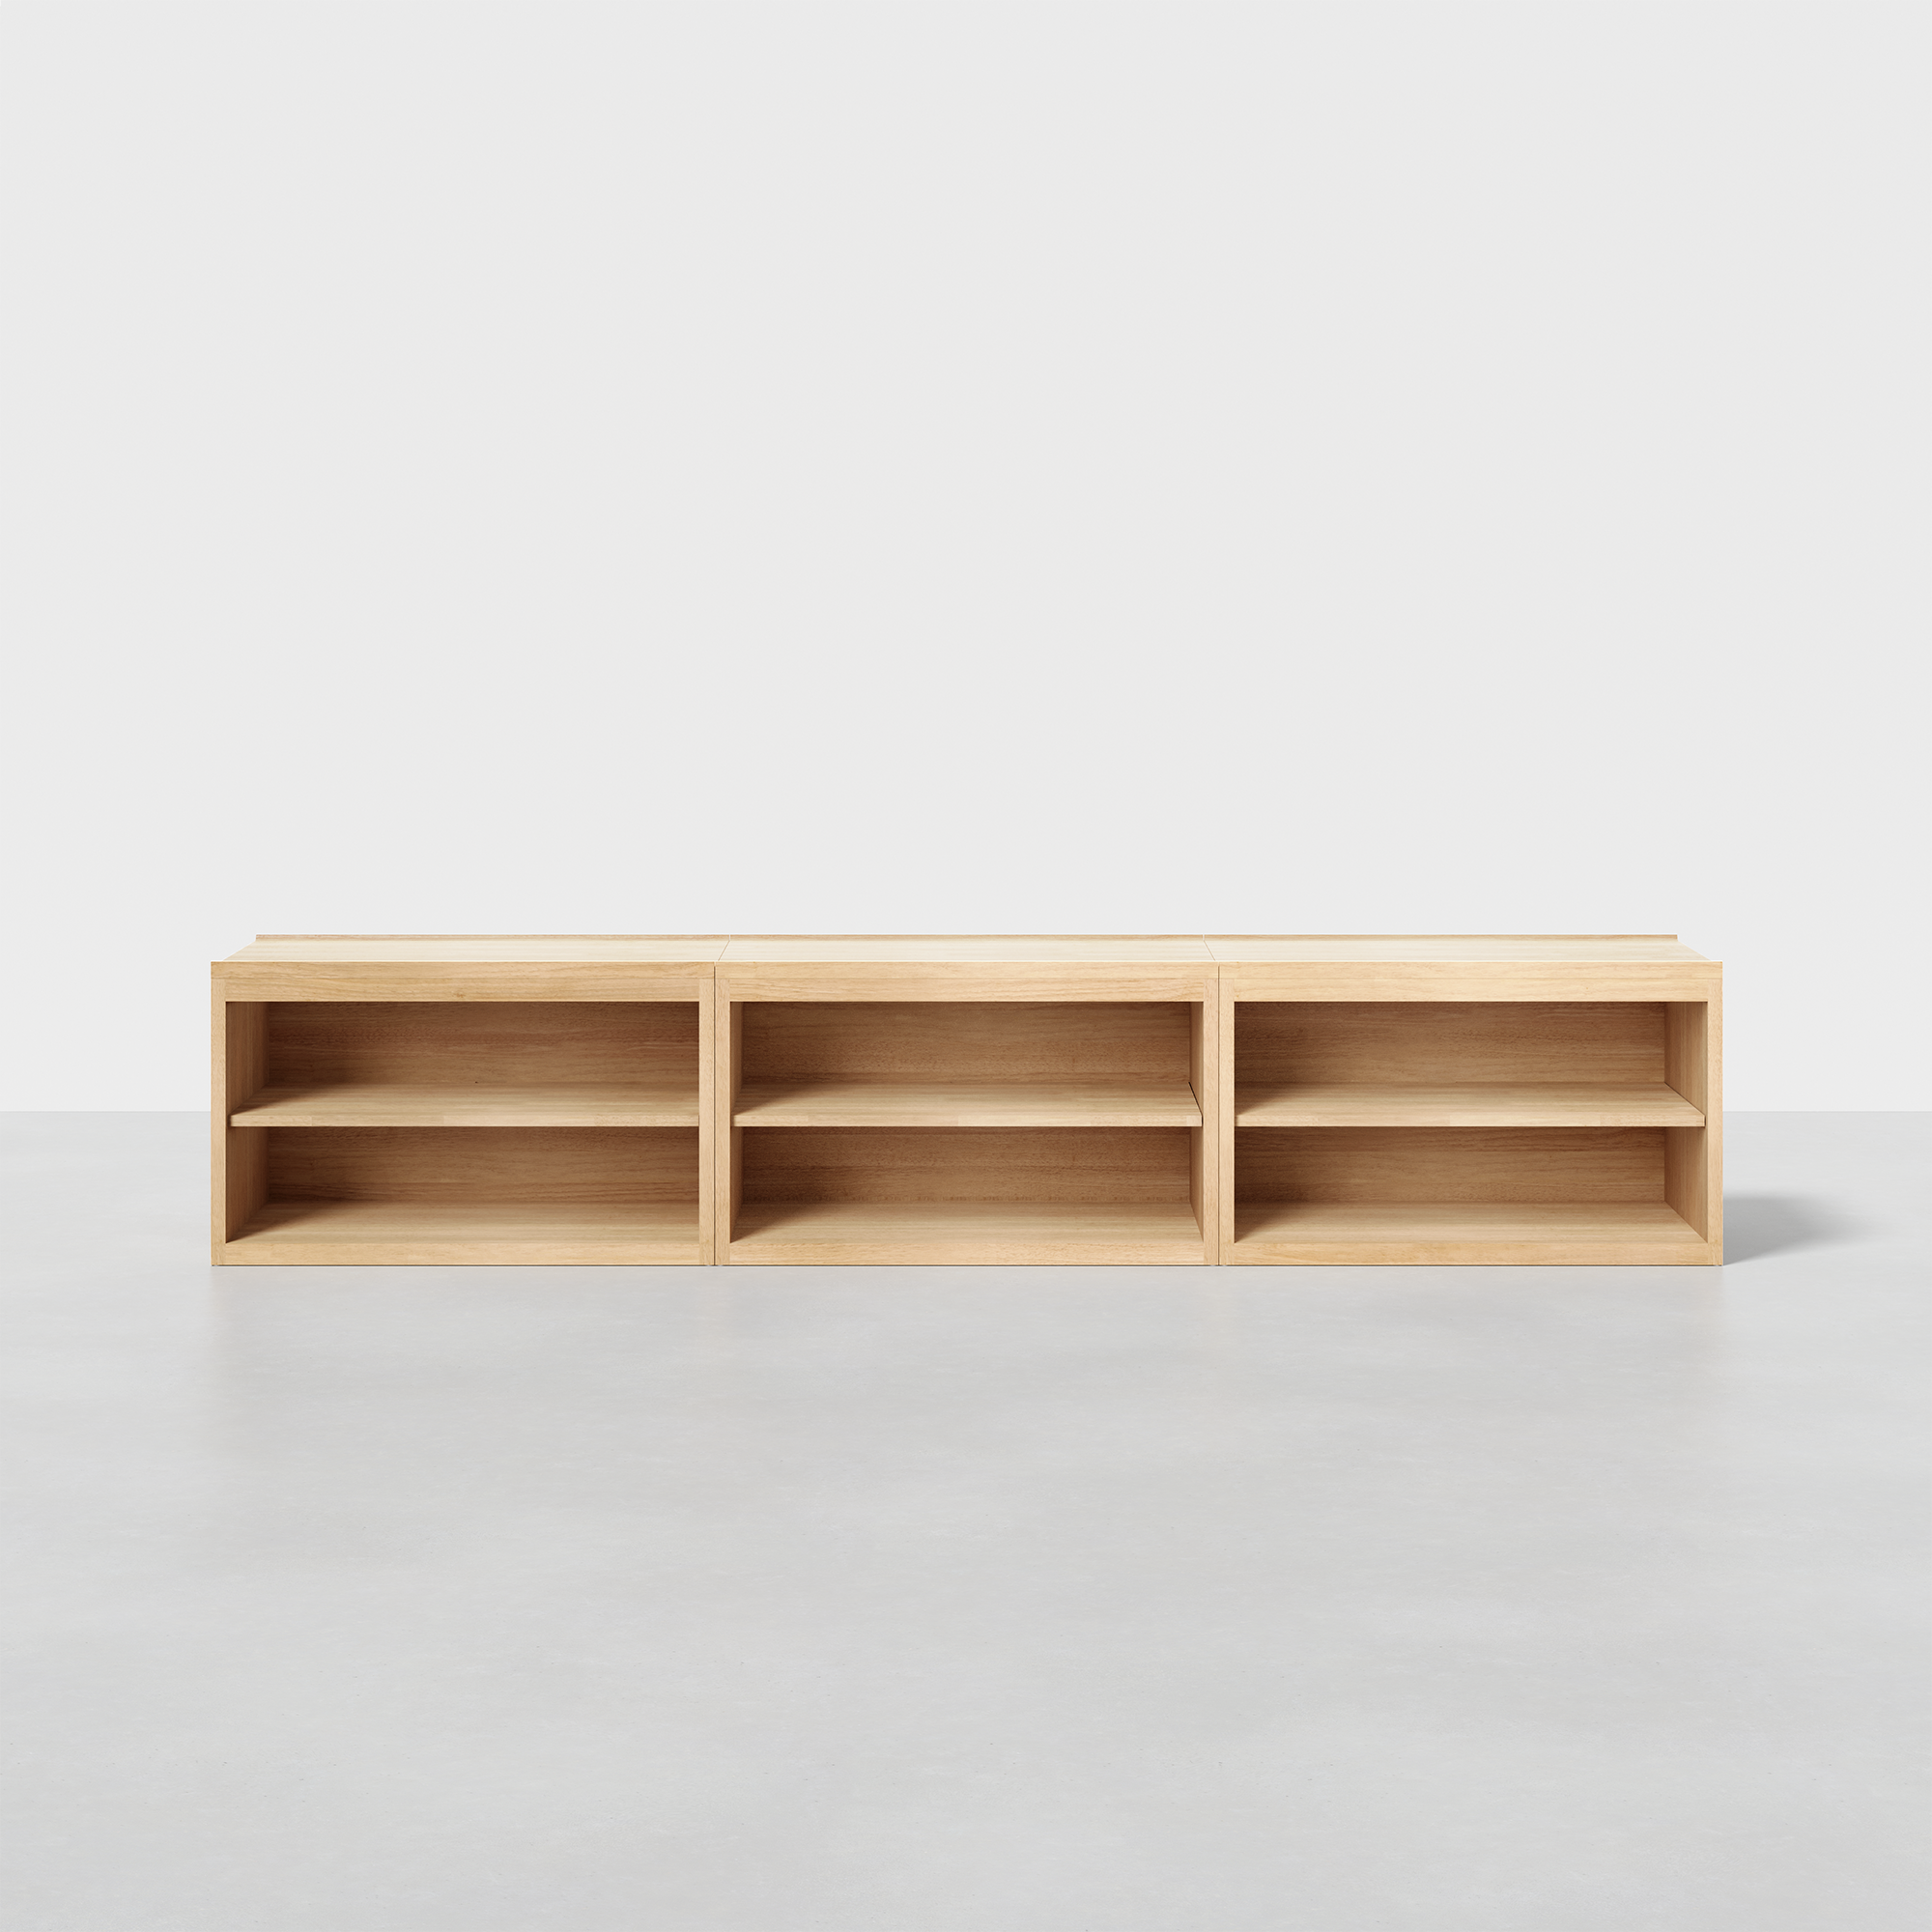
Credit: www.thuma.co
Frequently Asked Questions
What Materials Are Needed For A 2×3 Bookshelf?
You need wood boards, screws, wood glue, sandpaper, paint or stain, and basic tools like a drill and saw. These materials ensure a sturdy and attractive bookshelf.
How Long Does It Take To Build A 2×3 Bookshelf?
Building a 2X3 bookshelf typically takes 2 to 4 hours. The time varies based on experience and tool availability.
What Are The Exact Dimensions Of A 2×3 Bookshelf?
A 2X3 bookshelf has 2 shelves vertically and 3 sections horizontally. The size depends on your chosen board dimensions.
How Do I Ensure The Bookshelf Is Stable And Durable?
Use quality wood, secure joints with screws and glue, and properly sand and finish surfaces. This increases stability and durability.
Conclusion
Building a 2×3 bookshelf is simple and rewarding. You only need basic tools and materials. Following clear steps helps you create a sturdy shelf. This project saves money and adds charm to any room. Customize the shelf with paint or decorations.
Enjoy organizing your books in a neat space. Try this DIY project for a fun weekend activity. You will feel proud of your handiwork. Start today and build your own bookshelf easily.