Are you tired of cluttered spaces and looking for a stylish way to organize your books and decor? Building your own 8-foot bookshelf might be exactly what you need.
Imagine having a sturdy, beautiful piece that fits perfectly in your room and holds all your favorite items. In this guide, you’ll discover simple steps to create a bookshelf that not only saves space but also adds charm to your home.
Ready to turn your vision into reality? Let’s get started!
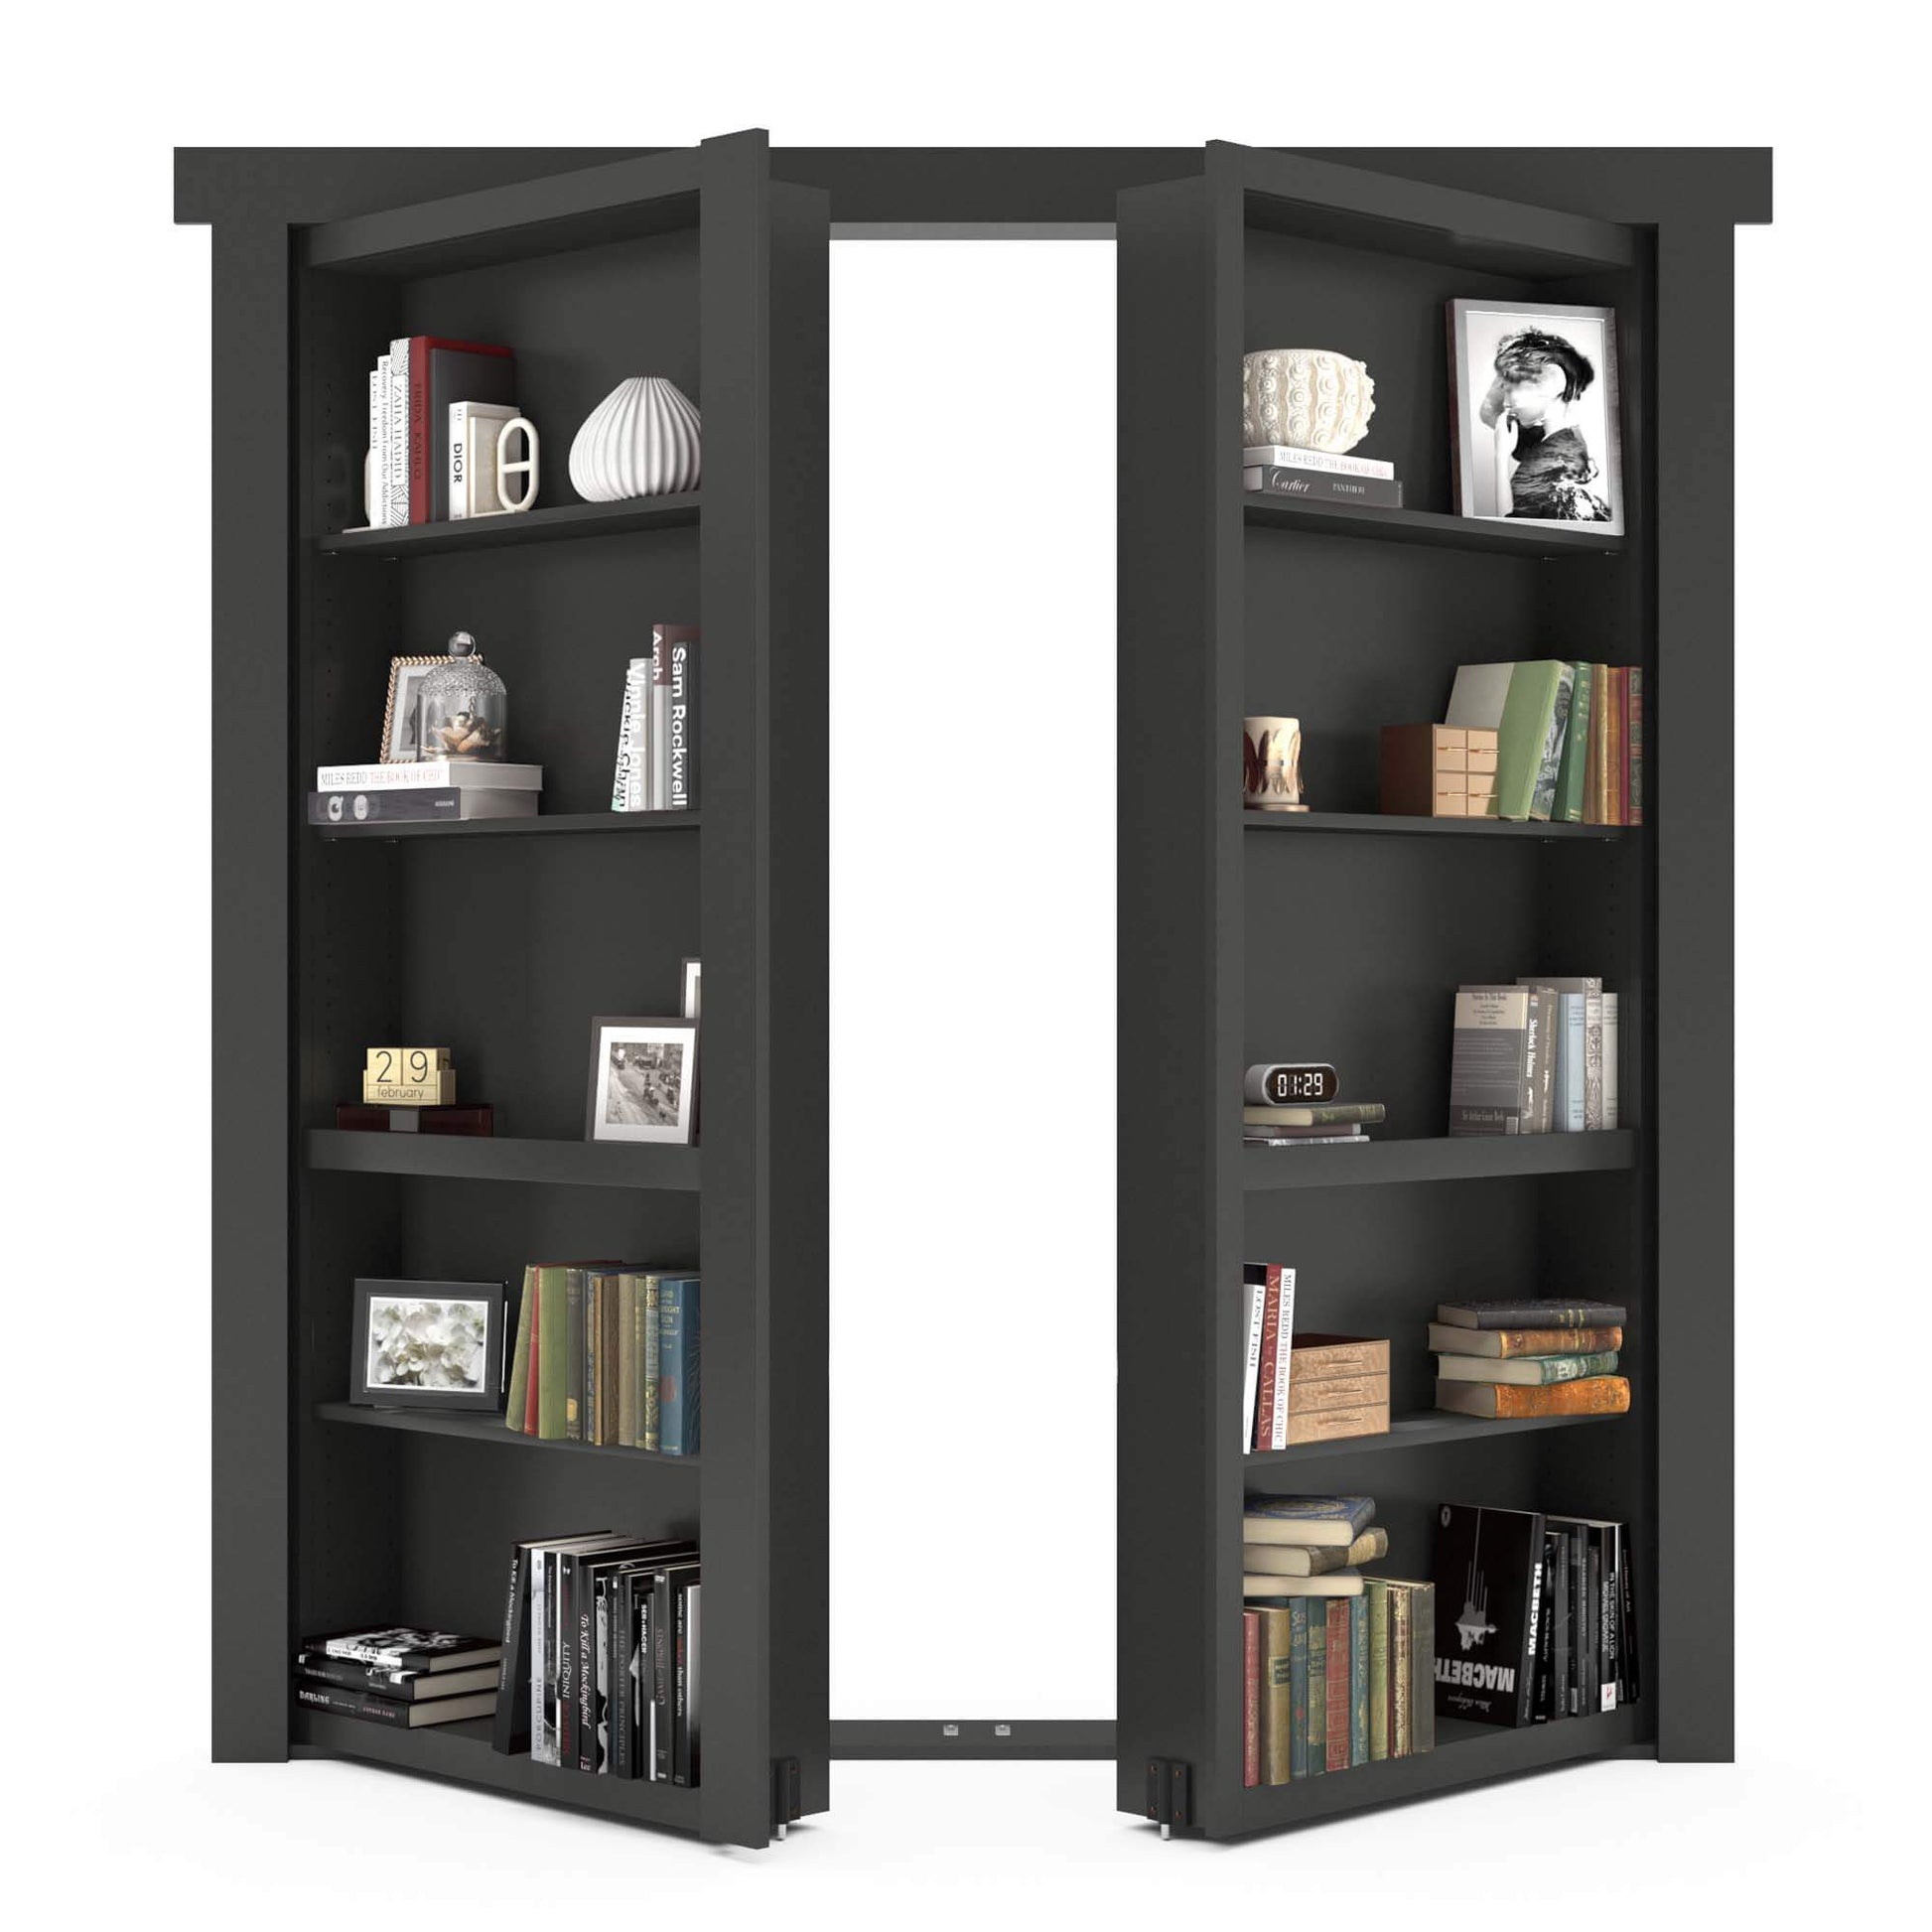
Credit: murphydoor.com
Materials And Tools Needed
Building an 8-foot bookshelf requires careful planning and the right materials. Choosing the correct wood and having the proper tools ensures a smooth process. Safety gear protects you while working. This section covers all essentials.
Wood Types And Sizes
Select sturdy wood like pine, oak, or plywood for your bookshelf. Pine is affordable and easy to work with. Oak offers strength and a beautiful finish. Plywood is stable and resists warping.
For an 8-foot bookshelf, use boards that are 1 inch thick. Standard shelf depth ranges from 10 to 12 inches. Side panels should match the full height of 8 feet. Make sure all wood pieces are straight and smooth.
Essential Tools List
A few essential tools make building easier. You need a measuring tape to get accurate dimensions. A circular saw or handsaw cuts wood to size. A drill drives screws and creates holes. Sandpaper or a power sander smooths rough edges. A screwdriver helps tighten screws. A carpenter’s square ensures right angles.
Safety Gear
Safety is crucial during woodworking. Wear safety glasses to protect your eyes from dust. Use ear protection against loud saw noises. Gloves shield your hands from splinters. A dust mask prevents inhaling sawdust. Work in a well-ventilated area to stay safe.

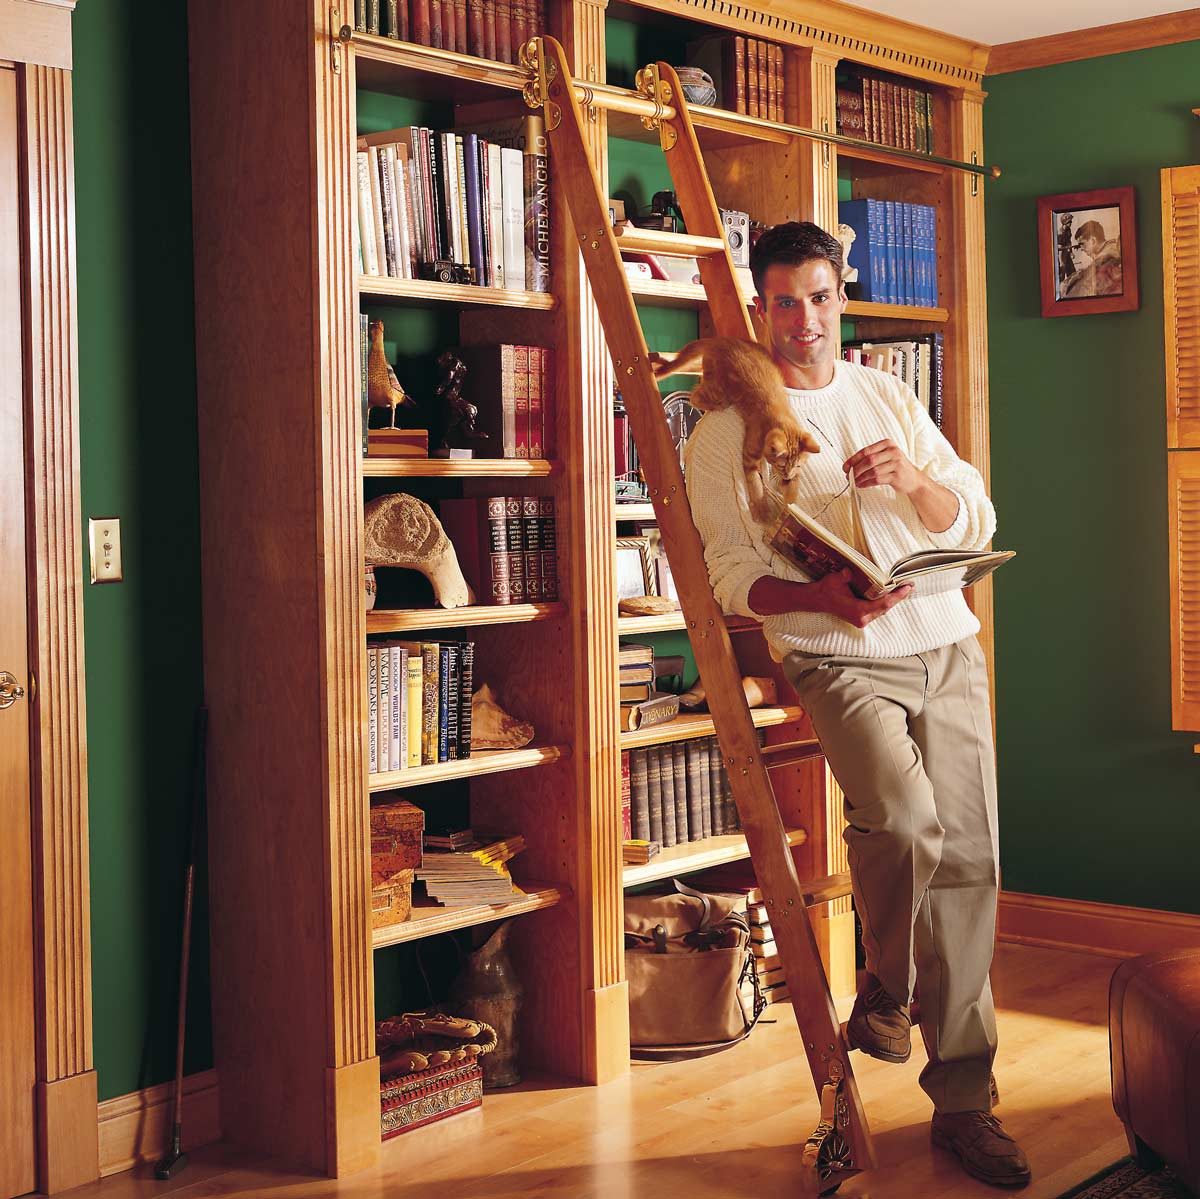
Credit: www.domino.com
Design And Measurements
Design and measurements are the first steps in building an 8-foot bookshelf. A clear plan helps avoid mistakes. It saves wood and time. Precise measurements ensure the bookshelf fits your space well. You need to decide on the size and number of shelves. Also, think about the thickness of the wood. These choices affect strength and appearance.
Careful measuring and marking help make clean cuts. This makes assembly easier. You will get a sturdy and neat bookshelf. Take your time during this phase. It is the foundation of a good project.
Choosing Shelf Dimensions
Decide the height, width, and depth of each shelf first. Standard shelf height is around 12 inches for books. Width depends on the total length of the bookshelf. For an 8-foot bookshelf, divide the length into equal sections. Depth usually ranges from 10 to 12 inches. This size holds most books securely. Thicker wood adds strength but reduces interior space. Choose shelves that fit your needs and room size.
Marking And Measuring Wood
Use a tape measure and pencil for marking. Always measure twice to avoid errors. Mark the length and width on each wood piece clearly. Use a square tool to draw straight lines. This helps when cutting with a saw. Label each piece to know its place. Keep your marks light but visible. Proper marking leads to smooth cutting and assembly.
Cutting The Wood
Cutting the wood is a key step in building your 8-foot bookshelf. Precise cuts ensure the pieces fit well. Careful measuring and cutting help avoid mistakes. Safety is very important while using saws.
Cutting Side Panels
Start by measuring the height and width of the side panels. Mark the wood clearly with a pencil. Use a circular saw or handsaw for straight cuts. Cut slowly to keep the edges smooth. Two side panels will support the entire shelf.
Cutting Shelves
Measure the length of each shelf carefully. Mark the wood with a pencil line. Cut the shelves to fit between the side panels. Keep the cuts straight and even. Proper shelf length prevents wobbling and adds strength.
Sanding Edges
Sand all cut edges with medium-grit sandpaper. Smooth edges prevent splinters and improve appearance. Sand in one direction for a clean finish. Check edges for rough spots and sand again if needed. Smooth wood helps paint or stain stick better.
Credit: www.familyhandyman.com
Assembling The Frame
Assembling the frame is the key step in building your 8-foot bookshelf. This step creates the strong base that holds everything together. The frame must be sturdy and square to support weight over time.
Take your time to fit each piece carefully. Follow the instructions closely to avoid mistakes. A well-built frame makes the rest of the project easier and safer.
Attaching Side Panels
Start by positioning the two side panels upright. Make sure they are perfectly vertical using a level. Align the edges with the top and bottom pieces of the frame. Use clamps to hold them in place temporarily.
Drill pilot holes through the side panels into the top and bottom pieces. This prevents the wood from splitting. Then, insert screws to secure the panels firmly. Check for any gaps and adjust if needed.
Securing Shelves
Next, add the shelves inside the frame. Measure the height for each shelf to fit your needs. Mark the shelf positions on the side panels for accuracy.
Attach the shelves by drilling pilot holes through the side panels into the shelf edges. Insert screws carefully to avoid cracking the wood. Use a level to keep shelves even and straight.
Using Brackets And Screws
Brackets add extra strength to your bookshelf frame. Place metal brackets at each corner where panels meet. Hold brackets in place and mark screw holes before drilling.
Screw the brackets tightly to secure all connections. This reinforcement keeps the frame stable and prevents wobbling. Double-check all screws are tight and flush with the wood.
Finishing Touches
Finishing touches make your 8-foot bookshelf look professional and last longer. These steps improve the wood’s appearance and protect it from damage. Taking time on these final steps will give your project a neat and polished look.
Filling Holes And Sanding
Fill nail or screw holes with wood filler. Let it dry completely before sanding. Sand the entire surface with fine-grit sandpaper. Sanding smooths rough edges and removes excess filler. Wipe off dust with a clean cloth to prepare for painting or staining.
Applying Paint Or Stain
Choose paint or stain based on your desired look. Use a brush or cloth to apply evenly. Work in thin coats to avoid drips and runs. Allow each coat to dry fully before adding another. Paint gives a solid color, while stain shows the wood grain.
Sealing For Durability
Apply a clear sealant to protect the wood. Polyurethane or varnish works well for bookshelves. Sealants guard against scratches, moisture, and wear. Use a brush and apply thin, even coats. Let the sealant dry completely for the best finish.
Installing And Securing
Installing and securing your 8-foot bookshelf is a crucial step. It ensures safety and keeps the shelf steady. Proper installation prevents accidents and protects your books.
Follow these steps to position and anchor your bookshelf correctly. This will help your shelf stand strong for years.
Positioning The Bookshelf
Place the bookshelf near the wall where you want it. Make sure the floor is level. Check for any obstacles or cords behind the shelf. Leave enough space for easy access to books. Use a level tool to keep the shelf straight. Adjust the feet or add shims if needed.
Anchoring To The Wall
Secure the bookshelf by attaching it to the wall. Find the wall studs using a stud finder. Mark the spots on the bookshelf where you will drill. Use screws and brackets designed for heavy loads. Drill pilot holes to avoid splitting the wood. Tighten the screws firmly to hold the shelf in place.
Final Stability Check
After anchoring, test the shelf’s stability. Gently push the shelf from different sides. Check for any movement or wobbling. Tighten screws if you feel any looseness. Place heavier books on the bottom shelves for balance. Regularly inspect the shelf to keep it safe and steady.
Frequently Asked Questions
What Materials Are Needed For An 8-foot Bookshelf?
You need plywood or solid wood, screws, wood glue, sandpaper, paint or stain, brackets, and shelves. Choose sturdy materials for durability and stability.
How Long Does It Take To Build An 8-foot Bookshelf?
Building an 8-foot bookshelf typically takes 4 to 6 hours. Time varies based on skill level and tools available.
What Tools Do I Need To Make An 8-foot Bookshelf?
Essential tools include a saw, drill, screwdriver, measuring tape, level, and clamps. These help ensure precise cuts and assembly.
How Do I Ensure The Bookshelf Is Stable And Safe?
Use strong joints, secure shelves with brackets, and anchor the bookshelf to the wall. This prevents tipping and increases safety.
Conclusion
Building an 8-foot bookshelf is easier than you think. With the right tools and steps, anyone can create one. Take your time and measure carefully for best results. This bookshelf will hold your books and decorations nicely. Enjoy the satisfaction of using something you built yourself.
Keep practicing to improve your woodworking skills. A sturdy bookshelf adds value and style to any room. Start your project today and see how rewarding it can be.