
Are you looking for a fun and creative way to organize your Barbie collection? Making a Barbie bookshelf is the perfect project for you.
Imagine having a special place where all your dolls and books fit perfectly, looking neat and stylish. In this guide, you’ll discover simple steps to build your own Barbie bookshelf, even if you’ve never built furniture before. By the end, you’ll have a unique shelf that shows off your personality and keeps your favorite things within easy reach.
Ready to get started? Let’s dive in!

Credit: www.youtube.com
Materials Needed
Gathering the right materials is the first step to build a Barbie bookshelf. Choosing quality supplies helps create a sturdy and pretty shelf. Below is a list of essentials to prepare before starting your project.
Wood And Tools
Use plywood or pine wood for easy cutting and strength. Get boards cut to the size of your shelf design. A saw is necessary to shape the wood pieces. Sandpaper smooths rough edges and surfaces. Have a hammer and nails or a screwdriver and screws ready. A measuring tape and pencil help mark precise cuts and holes.
Paint And Decorations
Pick non-toxic, water-based paint for safety and bright colors. Choose shades that match Barbie’s style, like pink, white, or purple. Use paintbrushes of different sizes for details and larger surfaces. Stickers, glitter, or small decorative items add charm. Finish with a clear sealant to protect paint from scratches.
Safety Gear
Wear safety glasses to protect eyes from dust and wood chips. Use gloves to avoid splinters and sharp edges. A dust mask prevents breathing in sawdust. Work in a well-ventilated area to avoid fumes from paint and glue. Keep a first aid kit nearby for small cuts or scrapes.
Designing The Bookshelf
Designing a Barbie bookshelf is a fun and creative step. It helps you build something useful and pretty. A good design saves time and materials. It also makes sure the bookshelf fits well in your space.
Think about what you want the bookshelf to hold. Books, dolls, and toys need different spaces. Planning the design carefully makes the project easier and more enjoyable.
Choosing The Size
Start by measuring the space where the bookshelf will stand. Use a tape measure for accuracy. Consider the height, width, and depth. The size should fit the room and be easy for kids to use. Keep the scale in mind to match Barbie’s size.
Sketching The Layout
Draw a simple sketch on paper or use a drawing app. Show the shape and size of the bookshelf. Mark where the shelves will go. Sketching helps you see the design clearly. It also allows easy changes before building.
Planning Shelves And Compartments
Decide how many shelves you need. Think about the height of Barbie books and toys. Make some shelves tall for dolls and others short for books. Add compartments for small items. This keeps everything neat and organized.
Cutting And Preparing Wood
Cutting and preparing wood is the first step to building a Barbie bookshelf. This step shapes the pieces that will form your shelf. Careful cutting ensures the shelf fits together well and looks neat. Preparing wood correctly also makes the project safer and easier.
Using the right tools and methods helps avoid mistakes. Taking time here saves effort later during assembly. It also makes your bookshelf last longer and hold Barbie books securely.
Measuring And Marking
Measure the wood pieces carefully before cutting. Use a tape measure for accuracy. Mark the cut lines clearly with a pencil. Double-check measurements to avoid errors. Mark each piece to know where to cut. This step keeps your pieces the right size.
Safe Cutting Techniques
Use a saw that suits your wood type and size. Keep hands away from the cutting path. Cut slowly and steadily for clean edges. Wear safety glasses to protect your eyes. Use clamps to hold wood steady. Following these tips helps prevent accidents.
Sanding Edges
Sand the cut edges smooth with sandpaper. Start with rough grit, then use fine grit for finishing. Sanding removes splinters and sharp spots. Smooth edges give a nice look and feel. It also keeps Barbie safe from scratches. Take time to sand every edge well.
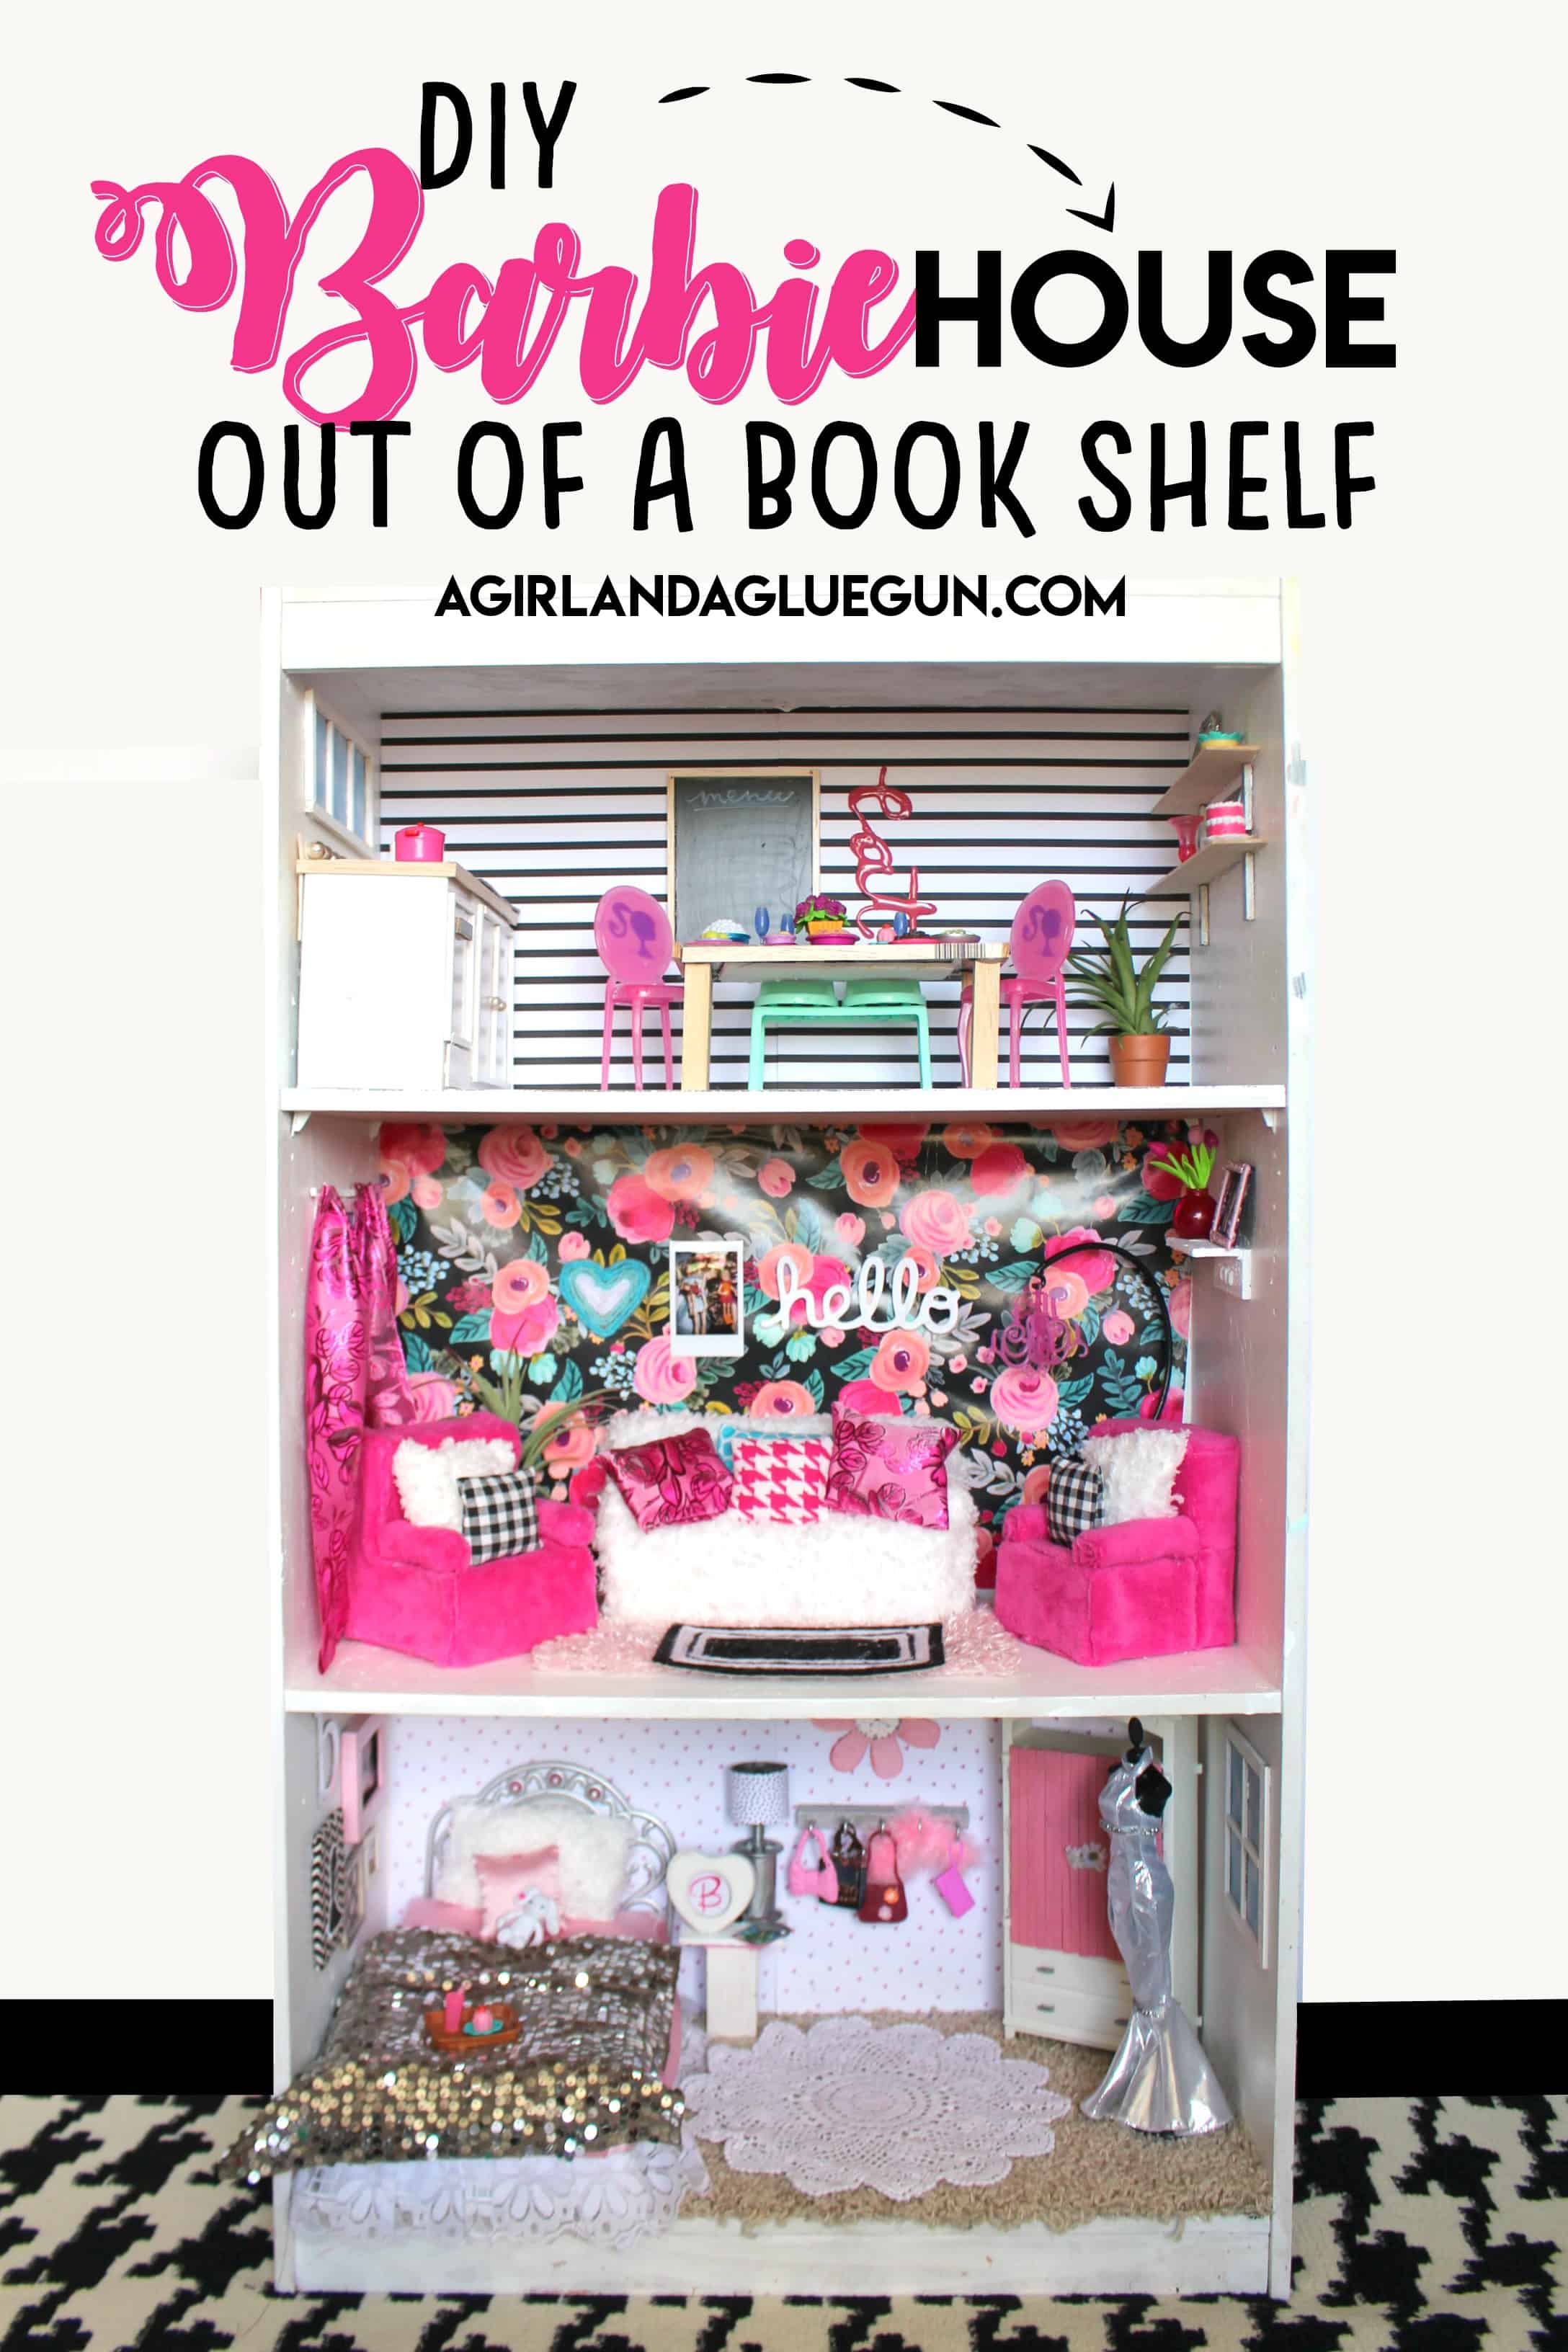
Credit: www.agirlandagluegun.com
Assembling The Bookshelf
Assembling the Barbie bookshelf is a simple step that brings your project to life. It involves putting all the cut pieces together carefully. Follow each step closely to build a sturdy and beautiful bookshelf.
Joining The Pieces
Start by aligning the shelves with the side panels. Make sure the edges fit perfectly. Use wood glue on the edges for a strong hold. Press the pieces together firmly. Let the glue set for a few minutes before moving on.
Securing With Nails Or Screws
Use small nails or screws to keep the pieces in place. Choose nails or screws that fit the wood thickness. Drive them slowly to avoid splitting the wood. Place fasteners at corners and joints for extra support. Check that nothing is loose or wobbly.
Checking Stability
Stand the bookshelf upright on a flat surface. Push gently on different sides to test strength. If it wobbles, tighten the screws or add more nails. Make sure the shelves sit level and straight. A stable bookshelf lasts longer and holds Barbie books safely.
Painting And Decorating
Painting and decorating the Barbie bookshelf turns it into a fun, creative project. This step adds personality and charm to the simple wooden structure. It also makes the bookshelf match Barbie’s playful style. Take your time with colors and details to make it look special.
Choosing Colors
Pick bright and cheerful colors for the bookshelf. Pink is a popular choice for Barbie themes. You can also use purple, white, or light blue. Choose colors that match the room where the bookshelf will go. Think about mixing two or three colors for a lively look.
Applying Base Coat
Start with a base coat to prepare the wood. Use a paintbrush or small roller for even coverage. Let the base coat dry completely before adding more paint. This step helps the colors stay bright and last longer. Apply two coats if needed for better coverage.
Adding Barbie-themed Details
Add fun details like stars, hearts, or Barbie logos. Use stencils or stickers for easy shapes. Paint small dolls or accessories on the shelves for a unique touch. Glitter or metallic paint can make the bookshelf sparkle. These details make the bookshelf look playful and special.
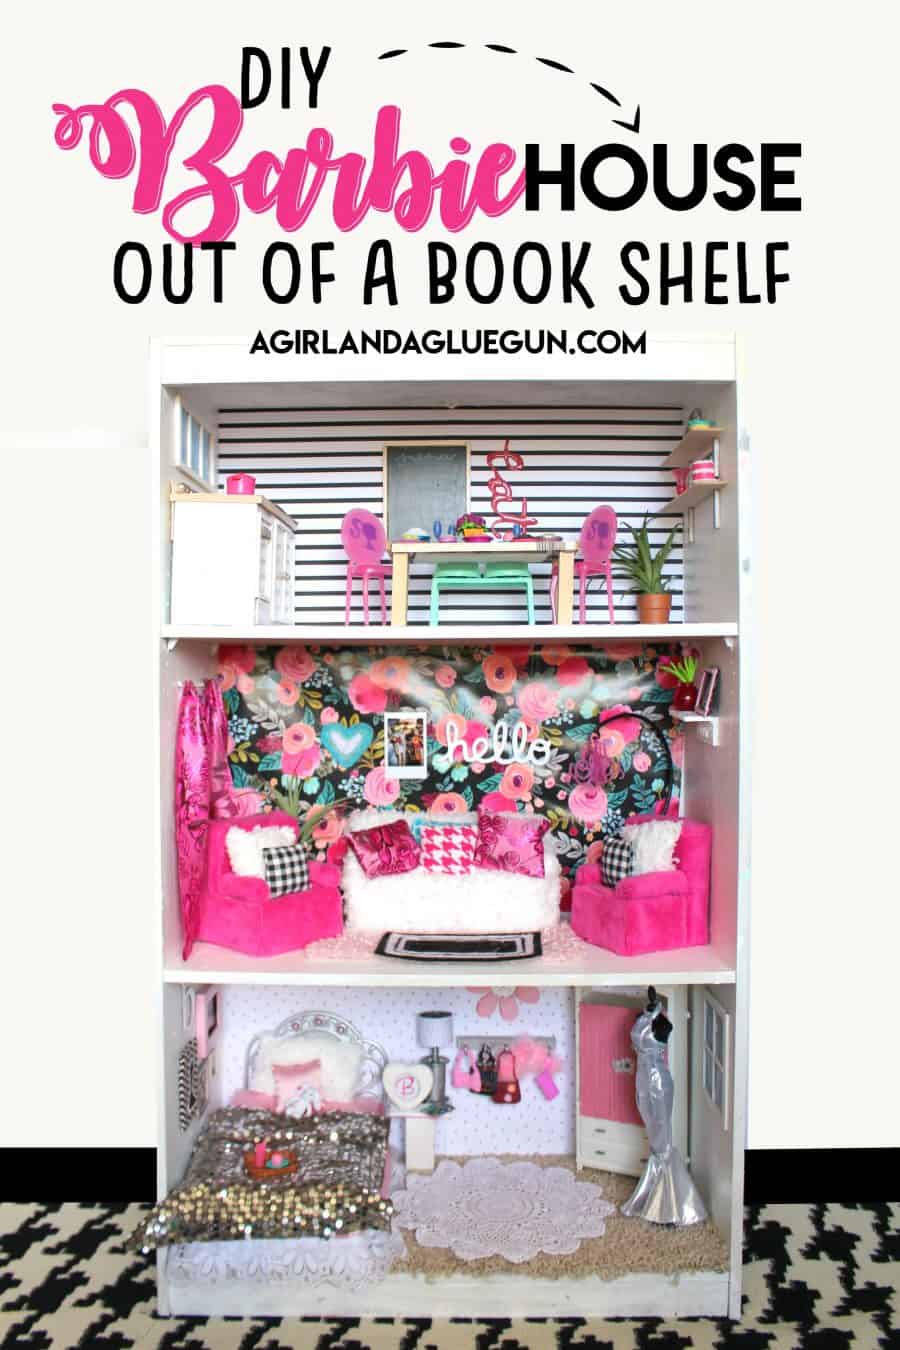
Credit: www.agirlandagluegun.com
Final Touches
After assembling and painting your Barbie bookshelf, it is time for the final touches. These steps make the bookshelf last longer and look beautiful. Small details can change the whole look and feel of the shelf. Let’s explore how to finish your project perfectly.
Sealing The Paint
Sealing protects the paint from scratches and spills. Use a clear, non-yellowing sealant designed for wood or craft projects. Apply it with a soft brush in thin, even coats. Let each coat dry fully before adding the next. This process keeps colors bright and the surface smooth.
Adding Accessories
Accessories give the bookshelf personality and charm. Add miniature plants, tiny books, or small dolls. Use colorful baskets or boxes to organize Barbie clothes and shoes. Choose items that match the shelf’s style and size. Accessories make the shelf more fun and inviting.
Placement In The Room
Place the Barbie bookshelf where it is easy to reach. A child’s playroom or bedroom corner works well. Avoid spots with direct sunlight to prevent paint fading. Make sure the shelf is stable and safe from tipping. Good placement encourages regular use and display.
Safety Tips For Kids
Safety is very important when kids make a Barbie bookshelf. It keeps children safe from injuries. It also helps them enjoy the project more. Teaching safety rules makes the activity fun and secure.
Supervision Guidelines
Always have an adult nearby during the project. Kids should not work alone with tools. Adults can help if something goes wrong. Keep the work area clean and free from hazards. Watch kids closely to stop unsafe actions fast.
Handling Tools Carefully
Use child-friendly tools made for small hands. Teach kids how to hold tools firmly. Show them the right way to cut or hammer. Remind kids to keep fingers away from sharp edges. Store tools safely after each use to avoid accidents.
Maintaining The Bookshelf
Check the bookshelf regularly for loose parts or splinters. Sand rough edges to stop cuts. Tighten screws or nails that come loose over time. Clean the bookshelf to keep it safe and neat. Teach kids to use the shelf gently to prevent damage.
Frequently Asked Questions
What Materials Are Needed To Make A Barbie Bookshelf?
You need wood boards, screws, paint, sandpaper, and a drill. Optional items include decorative stickers and small shelves for accessories. Choose lightweight wood for easy handling and ensure all materials are child-safe.
How Long Does It Take To Build A Barbie Bookshelf?
Building a Barbie bookshelf typically takes 2 to 4 hours. Time varies based on design complexity and your experience with DIY projects. Painting and drying time may add extra hours.
Can I Customize The Barbie Bookshelf Design?
Yes, you can customize size, color, and shelf layout. Adding personalized stickers or paint enhances the look. Tailor the shelves to fit Barbie dolls and accessories perfectly.
Is Woodworking Experience Necessary For This Project?
Basic woodworking skills help but are not mandatory. Clear instructions and simple tools make it accessible for beginners. Take your time and follow safety guidelines for the best results.
Conclusion
Building a Barbie bookshelf can be fun and simple. You only need basic tools and materials. Follow the steps carefully and take your time. Personalize it with colors and decorations you like. This project keeps books and toys neat and easy to find.
Creating something with your hands feels great. Try it today and enjoy your new Barbie bookshelf!