Are you looking for a simple and affordable way to add stylish storage to your space? Making a bookshelf out of pallets might be just what you need.
Imagine turning old wooden pallets into a unique piece that holds your favorite books and decorations. It’s easier than you think, and you don’t need special skills or expensive tools. Keep reading, and you’ll discover step-by-step how to transform pallets into a beautiful bookshelf that fits perfectly in your home.
You’re about to create something practical and eye-catching—let’s get started!
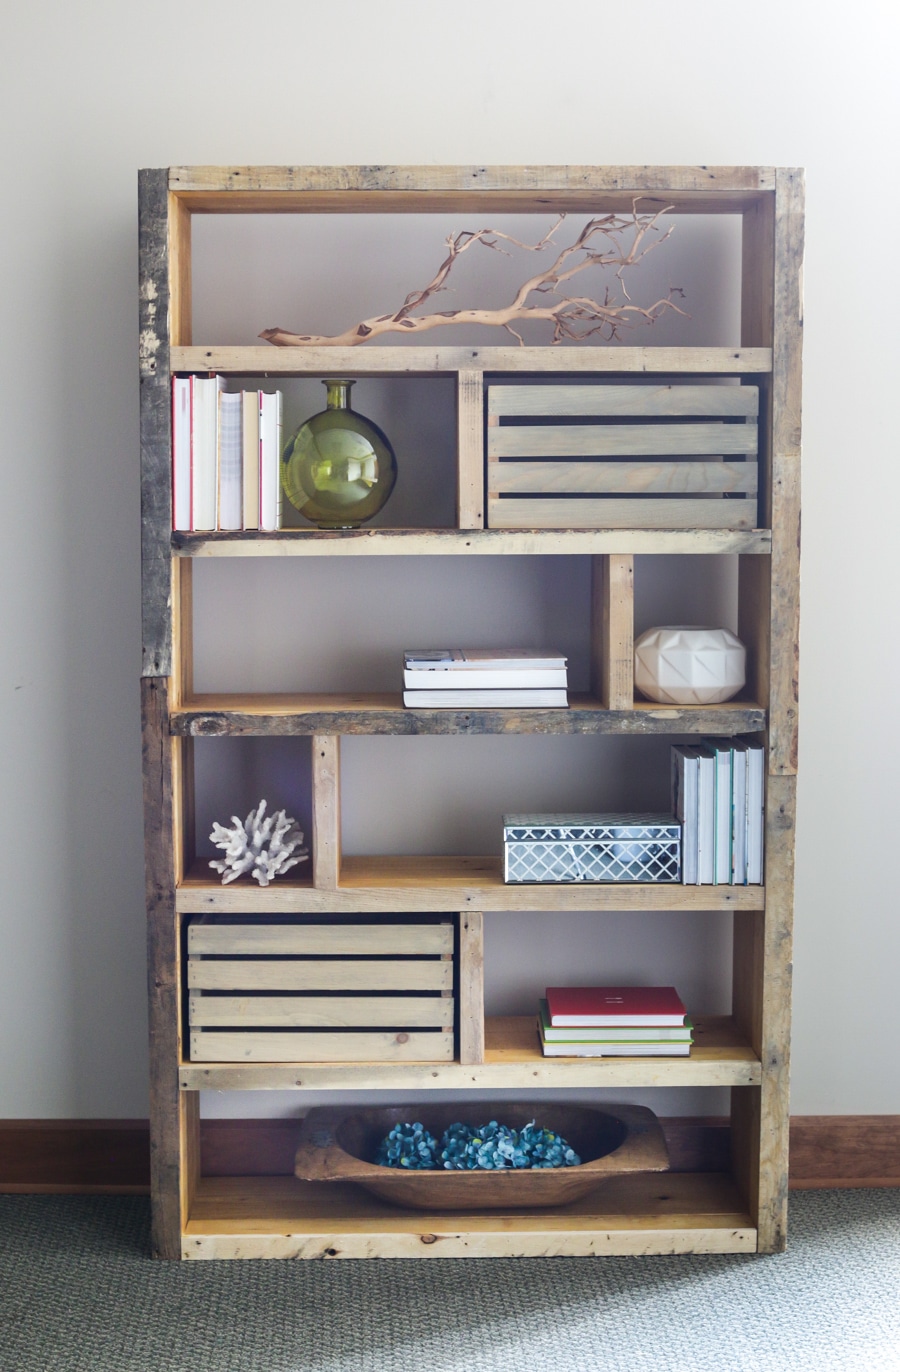
Credit: jenwoodhouse.com
Choosing The Right Pallets
Choosing the right pallets is important for a strong and safe bookshelf. Not all pallets are made the same. The type and condition of the pallet affect the final look and durability. This section helps you pick pallets that work best for your project.
Types Of Pallets
Pallets come in many types. Wood pallets are the most common and easy to work with. They offer a natural look and can hold weight well. Plastic pallets last longer but are harder to cut and shape. Metal pallets are strong but heavy and not ideal for shelves.
Look for pallets made from hardwood or softwood. Hardwood pallets are stronger but heavier. Softwood pallets are lighter but may not hold heavy books. Choose pallets that fit your style and weight needs.
Checking For Safety And Quality
Safety is key when choosing pallets. Avoid pallets with cracks, splinters, or broken boards. These can make your shelf weak and unsafe. Check for signs of mold or pests, which can damage wood and spread dirt.
Look for stamps on the pallet to know if it is heat-treated or chemically treated. Heat-treated pallets are safer for indoor use. Avoid pallets marked with “MB,” which means they contain harmful chemicals.
Clean the pallet well before using it. Sand rough edges to prevent splinters. A good pallet ensures your bookshelf looks great and lasts long.
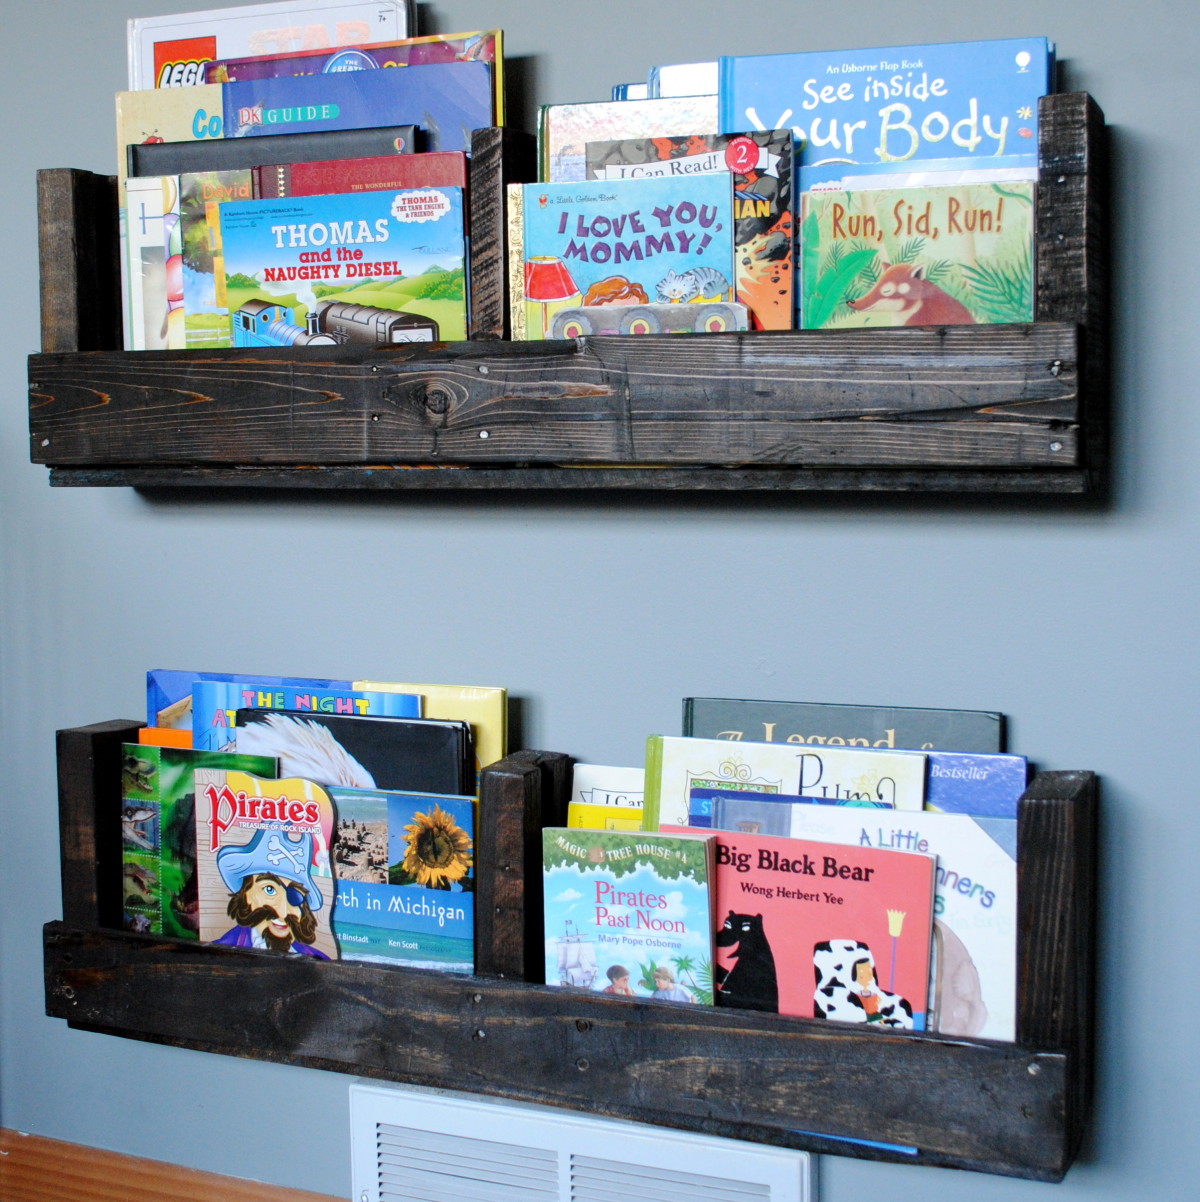
Credit: jennaburger.com
Gathering Tools And Materials
Gathering the right tools and materials is the first step to build a pallet bookshelf. Having everything ready makes the project easier and faster. It also keeps your work safe and neat.
Start with the main tools you need. Then, collect extra supplies to finish the bookshelf perfectly. Each item plays a key role in your project.
Essential Tools
You will need a saw to cut the pallets into the right size. A hammer helps to join the wood pieces securely. Use a drill for making holes and fixing screws. Sandpaper or an electric sander smooths rough edges. A tape measure ensures precise cuts. Safety gear like gloves and goggles protects you while working.
Additional Supplies
Wood screws or nails hold the bookshelf together firmly. Wood glue adds extra strength to joints. Paint or wood stain gives the shelf a nice finish. Brushes or rags help apply paint or stain evenly. A level tool checks that your shelf stands straight. Wood filler fills any cracks or holes in the pallet wood.
Preparing The Pallets
Preparing the pallets is the first step in making a sturdy bookshelf. Clean pallets ensure a smooth finish. Proper preparation helps avoid injuries during building. Spend time on this stage for better results.
Cleaning And Sanding
Start by removing dirt and dust from the pallets. Use a stiff brush or a power washer for deep cleaning. Let the wood dry completely before sanding. Sanding smooths rough surfaces and removes old paint. Use medium-grit sandpaper first, then fine-grit for a soft finish. Clean the dust off after sanding to keep the surface ready.
Removing Nails And Splinters
Check pallets for nails and staples sticking out. Use a hammer or pliers to pull out all nails carefully. Remove any sharp splinters to prevent injuries. Take your time to inspect every corner of the wood. This step makes the wood safe for handling and building your bookshelf.
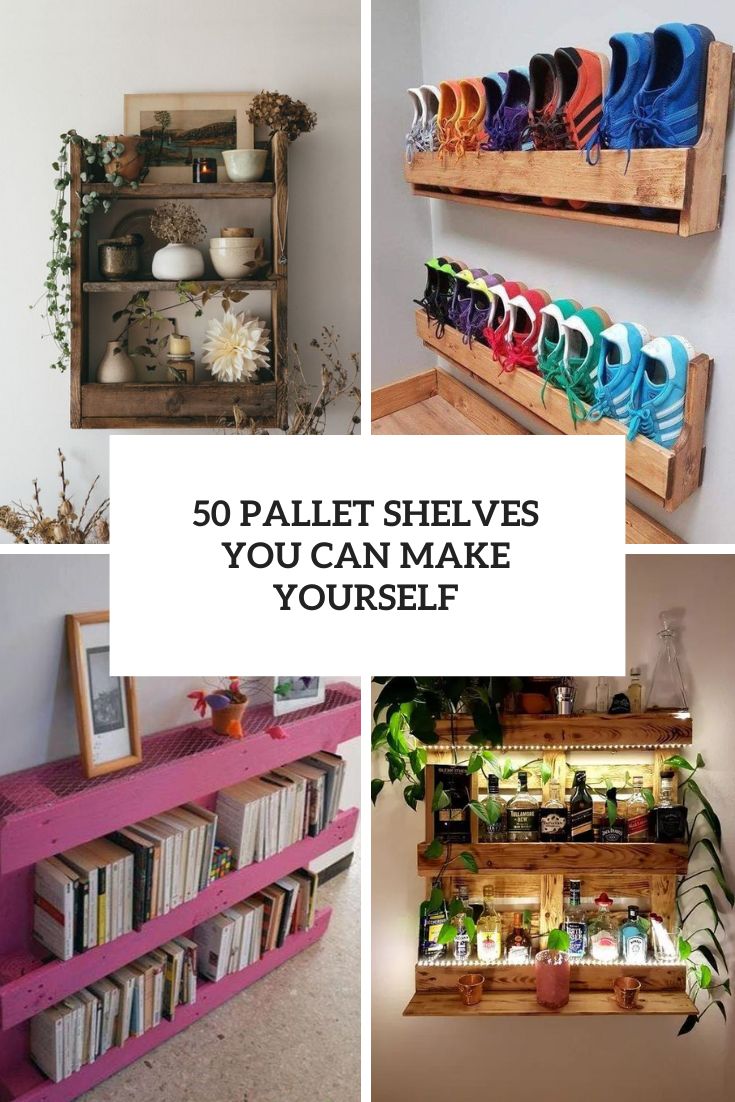
Credit: www.shelterness.com
Designing Your Bookshelf
Designing your bookshelf is an important step. It helps make sure the finished piece fits your space and needs. Planning carefully saves time and materials. It also makes the building process smoother and more fun.
Measuring And Planning
Start by measuring the space for your bookshelf. Note the height, width, and depth available. Think about what you want to store. Books, decor, or both? This affects shelf size and spacing. Write down these numbers clearly. Use a tape measure for accuracy. Double-check your measurements before moving on.
Sketching The Layout
Draw a simple sketch of your bookshelf design. Include all measurements on the drawing. Mark the number of shelves and their placement. Show how the pallets will be cut and joined. This visual plan helps avoid mistakes. It also guides you while building. Keep the sketch nearby for quick reference.
Assembling The Frame
Assembling the frame is the first important step in making your pallet bookshelf. It gives the bookshelf its shape and strength. Taking your time here helps the shelf last longer and hold more books.
Cutting Pallet Pieces
Start by measuring the size of the bookshelf you want. Mark the pallet wood to fit these measurements. Use a saw to cut the wood carefully along the marks. Always cut straight lines to make joining easier. Sand the edges to remove splinters and rough spots.
Joining The Parts
Arrange the cut pieces flat to form the frame’s shape. Use wood screws or nails to join the pieces firmly. Drill pilot holes first to stop the wood from splitting. Check the corners with a square tool to keep them right angled. Tighten all joints well to create a strong frame.
Adding Shelves And Supports
Adding shelves and supports is a key step in building a sturdy pallet bookshelf. This part gives your bookshelf structure and strength. Properly installed shelves hold your books safely. Supports keep everything balanced and prevent wobbling. Take time to fit shelves and supports carefully. This ensures your bookshelf lasts long and looks good.
Securing Shelf Boards
Start by measuring your pallet frame for shelf boards. Cut boards to fit perfectly inside the pallet structure. Place each board evenly across the frame. Use screws or nails to fix the boards tightly. Drive fasteners straight to avoid splitting the wood. Check each shelf for firmness by pressing down gently. Secure shelves prevent books from falling or shifting.
Reinforcing Stability
Stability depends on strong supports under the shelves. Attach wooden braces or brackets under each shelf. Use corner brackets for extra strength at joints. Fix supports firmly with screws into the pallet wood. Add a back panel or cross braces to stop side movement. Test the bookshelf by placing weight on shelves. Adjust supports if you notice any wobble.
Finishing Touches
Finishing touches are essential to enhance your pallet bookshelf’s look and durability. They protect the wood and bring out its natural beauty. This step makes your bookshelf last longer and look great in any room.
Painting And Staining
Painting adds color and style to your bookshelf. Choose a paint that suits your room’s decor. Use a brush or spray for even coverage. Let the paint dry completely before moving on.
Staining shows the wood’s natural grain. It gives a warm, rich tone to the shelves. Apply stain with a cloth or brush, wiping off excess. Allow it to dry fully for the best effect.
Sealing And Protecting
Sealing locks in the paint or stain and guards against damage. Use a clear sealant like polyurethane or varnish. Apply thin, even coats for smooth protection. Let each coat dry before adding another. This step helps prevent scratches and water damage.
Proper sealing keeps your bookshelf looking new for years. It also makes cleaning easier and protects the wood from dust and dirt.
Maintaining Your Bookshelf
Maintaining your pallet bookshelf keeps it strong and looking good. Small care steps help your bookshelf last longer. Clean regularly and fix damages quickly to avoid bigger problems. This section covers simple ways to care for your shelf.
Cleaning Tips
Dust your bookshelf often to stop dirt buildup. Use a soft cloth or a small brush for tight spaces. Wipe with a damp cloth if needed, but avoid soaking the wood. Dry the shelf well after cleaning to prevent moisture damage. Clean spills quickly to keep the wood safe.
Repairing Damages
Check your shelf for cracks or loose boards every month. Tighten screws or nails that have become loose. Use wood glue for small cracks and clamp until dry. Sand rough or splintered areas gently to smooth them out. Replace any broken pallet parts to keep the shelf stable.
Frequently Asked Questions
What Materials Are Needed To Build A Pallet Bookshelf?
You need wooden pallets, sandpaper, screws, a drill, measuring tape, wood glue, and a saw. Optional items include paint or stain for finishing. These materials help create a sturdy and attractive bookshelf from recycled pallets.
How Do You Prepare Pallets For Bookshelf Construction?
Start by cleaning the pallets thoroughly. Then, sand all surfaces to remove splinters and rough spots. This ensures the wood is safe to handle and ready for assembly. Proper preparation improves the shelf’s durability and finish.
What Is The Easiest Design For A Pallet Bookshelf?
A simple rectangular frame with horizontal shelves is the easiest design. It uses fewer cuts and straightforward assembly steps. This design suits beginners and provides ample space for books and decor.
How Long Does It Take To Make A Pallet Bookshelf?
Typically, building a pallet bookshelf takes 3 to 6 hours. The time depends on your skill level and design complexity. Allow extra time for drying paint or stain if you choose to finish the wood.
Conclusion
Building a bookshelf from pallets is simple and fun. You only need basic tools and a little time. Pallets give wood a new life and save money. Each shelf you make will be unique and strong. You can paint or stain it to match your room.
This project helps you create useful furniture yourself. Try it today and enjoy your new bookshelf!