Are you tired of your bookshelf looking crooked or uneven? A bookshelf that isn’t square can wobble, lean, or even fall apart over time.
Making sure your bookshelf is perfectly square is the key to building something sturdy and lasting. In this guide, you’ll learn simple, practical steps to check and fix your bookshelf’s shape. By the end, you’ll have a strong, professional-looking piece that fits perfectly in your space.
Ready to transform your bookshelf and avoid common mistakes? Let’s get started!
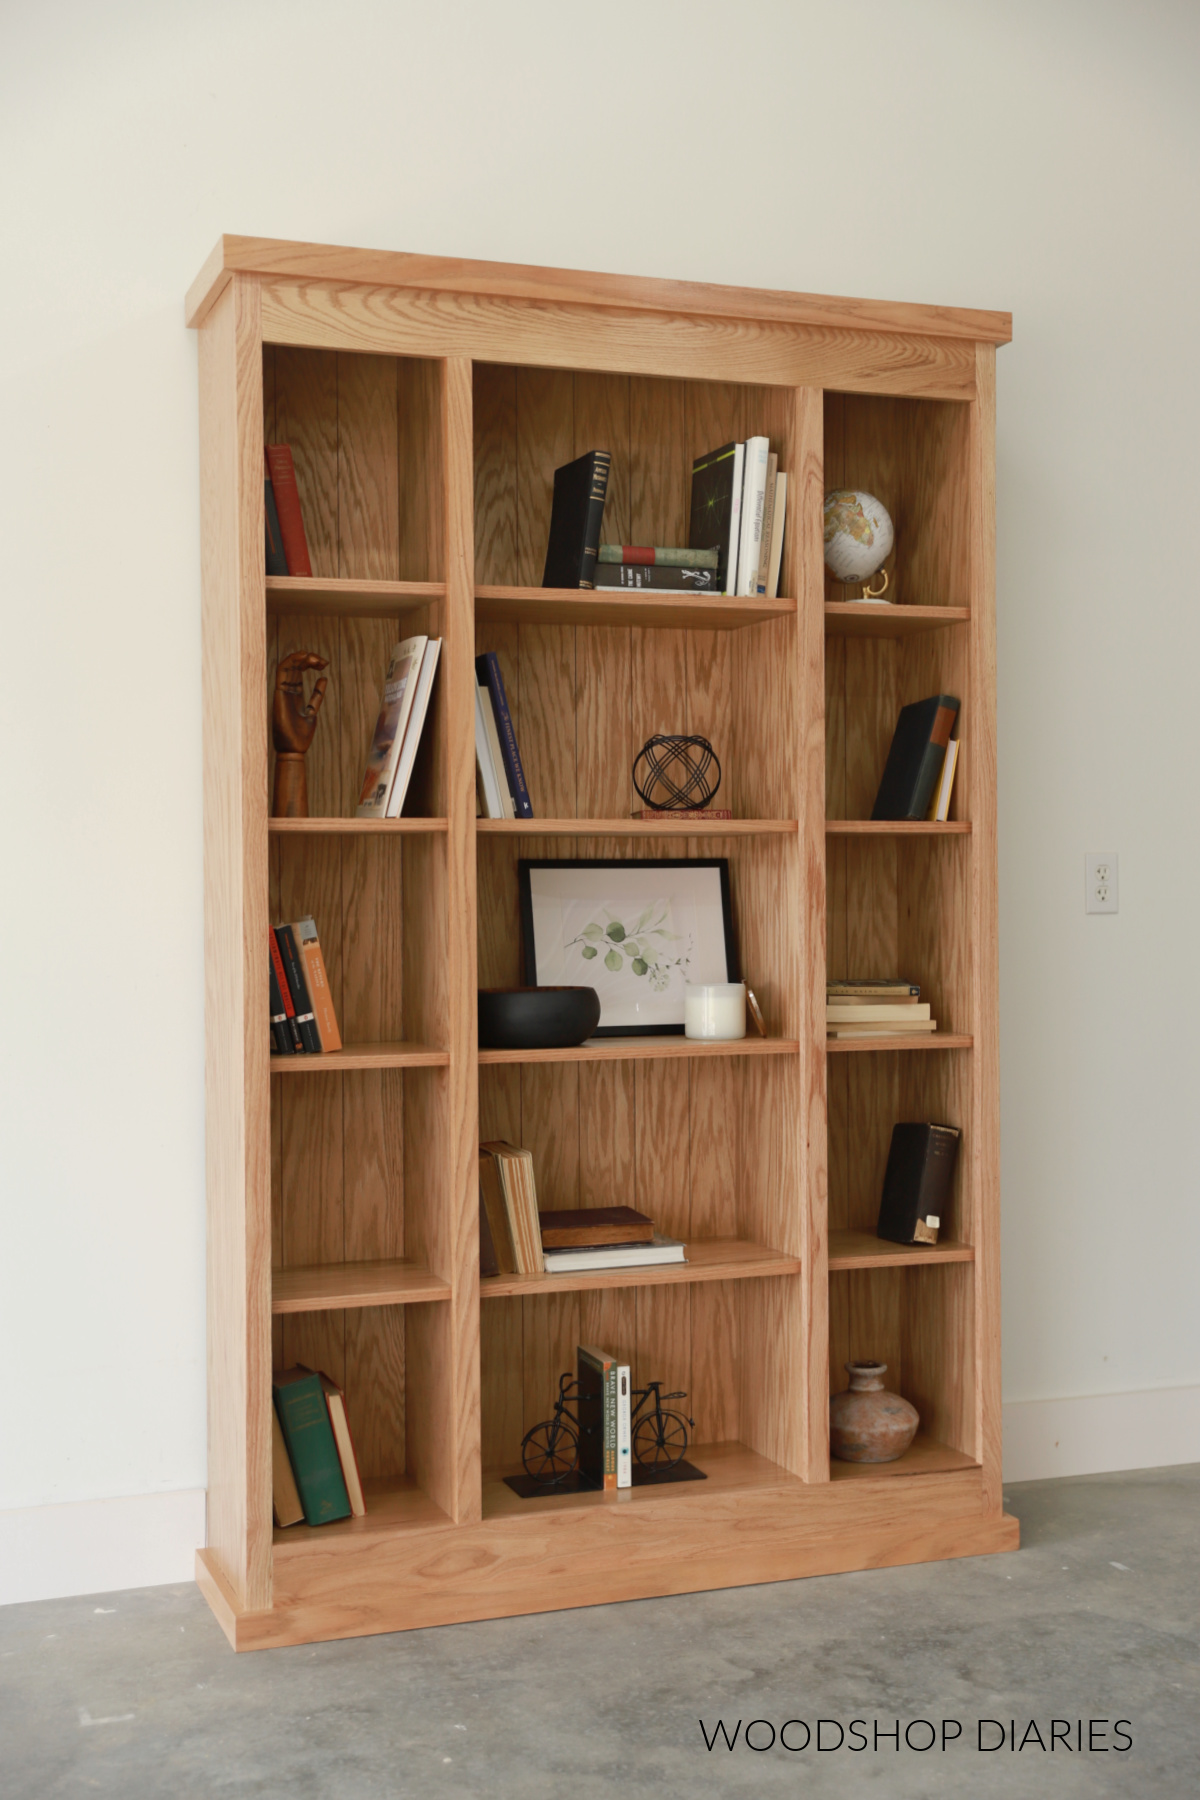
Credit: www.woodshopdiaries.com
Tools Needed
Building a bookshelf that is perfectly square requires the right tools. These tools help measure, check angles, and hold pieces together. Using them ensures your bookshelf looks neat and stays strong.
Each tool plays a key role in making the process easier and more accurate. Understanding their use will help you make a shelf that fits well and lasts long.
Measuring Tape
A measuring tape helps you get exact lengths for wood pieces. It is flexible and easy to use. Accurate measuring prevents mistakes and saves time.
Carpenter’s Square
This tool checks if corners are exactly 90 degrees. It helps keep your bookshelf square and aligned. Using a carpenter’s square avoids crooked shelves.
Level
A level shows if surfaces are flat and even. It helps place shelves straight. A level prevents leaning or tilted shelves that look odd.
Clamps
Clamps hold wood pieces tightly while you work. They keep parts from moving during cutting or gluing. Clamps make assembly safer and easier.
Pencil
A pencil marks measurements and cutting lines on wood. Clear marks guide your cuts and assembly. Use a sharp pencil for neat, easy-to-see lines.
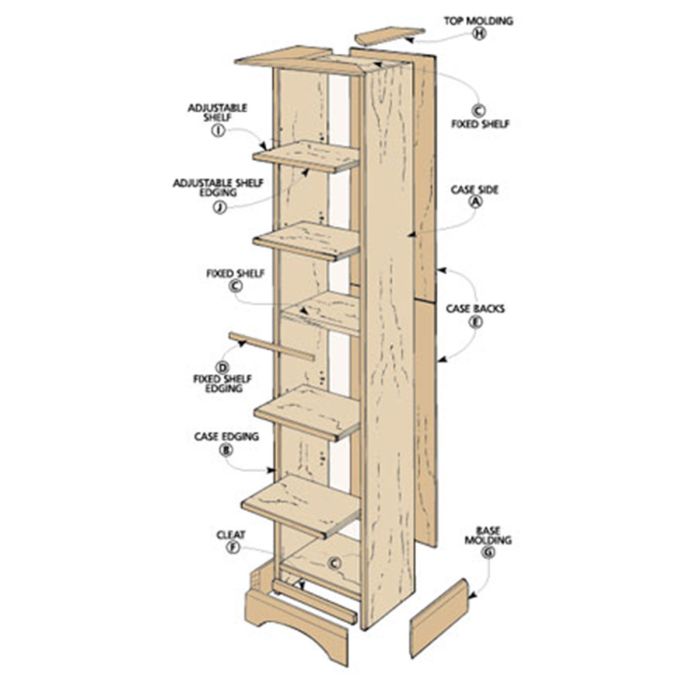
Credit: www.woodpeck.com
Preparing The Workspace
Preparing your workspace is the first step in making a bookshelf square. A clean and organized area helps you work safely and efficiently. It also makes measuring and assembling easier. This section shows how to prepare your workspace before starting.
Clear The Area
Remove all items from your work area. Clear enough space to move around comfortably. Sweep or vacuum to avoid dust and dirt. A clean floor prevents slipping and keeps your materials safe. Clear space reduces distractions and mistakes.
Gather Materials
Collect all tools and materials before you start. Get a measuring tape, carpenter’s square, screws, and wood pieces. Have a pencil and level ready for marking and checking. Keeping everything nearby saves time. It also helps you stay focused on the task.
Set Up A Stable Surface
Use a flat, sturdy table or workbench. A stable surface keeps the wood steady. It prevents wobbling that can cause errors. Place clamps to hold pieces if needed. Good support helps you align the bookshelf perfectly square.
Measuring And Marking
Measuring and marking are the first steps to make a bookshelf square. Precise measurements help avoid mistakes later. Marking clear points guides your cuts and assembly. Careful work here saves time and materials. Follow these steps to get accurate results.
Check Panel Dimensions
Start by measuring each panel’s length and width. Use a tape measure for accuracy. Write down each dimension clearly. Check if panels match the planned size. Small size differences can cause the shelf to be uneven. Make sure all panels are flat and smooth.
Mark Reference Points
Mark key points on the panels where cuts or joints will go. Use a pencil with a sharp tip for fine lines. Draw lines lightly to adjust if needed. Mark edges and corners carefully. These points help align the panels later. Double-check measurements before marking.
Use The Carpenter’s Square
Place the carpenter’s square at the corners of each panel. This tool helps check if corners form perfect 90-degree angles. Adjust marks if the corner is not square. A square corner is vital for a balanced bookshelf. Keep the square steady while marking lines. This ensures your bookshelf stays straight during assembly.
Assembling The Bookshelf
Assembling the bookshelf is a key step to ensure it stands square and strong. Taking time to align and secure parts correctly makes a big difference. Focus on each step carefully for the best results.
Aligning Panels
Start by placing the panels on a flat surface. Check that edges match perfectly at corners. Use a carpenter’s square to confirm right angles. Adjust panels until they form straight lines. This helps prevent a crooked bookshelf.
Applying Adhesive
Apply wood glue along the edges that meet. Use a small brush or a spreader for even coverage. Avoid using too much glue to prevent messy joints. The adhesive adds strength and holds panels firmly together.
Securing With Clamps
Place clamps around the glued edges to hold panels tight. Tighten clamps just enough to keep parts in place. Leave clamps on for the glue to dry fully. Clamping ensures the bookshelf stays square as it sets.
Checking For Square
Checking for square is an important step in building a bookshelf. It helps ensure the frame is even and strong. A square bookshelf looks better and fits well in any space. This process involves simple tools and careful measuring. Let’s explore how to check for square.
Using The Carpenter’s Square
A carpenter’s square is a common tool for checking right angles. Place the square inside each corner of the bookshelf frame. The edges should touch both sides perfectly. If there is a gap, the corner is not square. Adjust the frame until the square fits snugly in all corners.
Measuring Diagonals
Measure the length of both diagonals across the bookshelf frame. Use a tape measure for accuracy. The two diagonal measurements should be the same. If one diagonal is longer, the frame is not square. This method helps check the entire frame, not just corners.
Adjusting Misalignment
Fix small errors by gently moving the frame parts. Loosen screws or clamps a little. Shift the frame until the carpenter’s square fits well and diagonal lengths match. Tighten screws and recheck the square. Repeat this process until the bookshelf is perfectly square.

Credit: www.papernstitchblog.com
Finalizing The Build
Finalizing the build is an important step to ensure your bookshelf is square and sturdy. This stage helps the structure stay strong for years. It also improves the look by smoothing rough edges. Careful attention now makes a big difference later.
Tightening Fasteners
Start by checking all screws, bolts, and nails. Tighten each fastener with the right tool. Avoid over-tightening to prevent damage to the wood. Secure fasteners keep the bookshelf steady and square. Check corners and joints for any looseness.
Letting Adhesive Dry
Allow the glue or adhesive to dry fully. Follow the drying time on the product label. Avoid moving or using the bookshelf during this time. Proper drying makes the bookshelf stronger. It also helps hold the right shape without warping.
Sanding Edges
Use fine-grit sandpaper to smooth all edges and surfaces. Sand gently to avoid removing too much material. Sanding removes splinters and rough spots. It gives the bookshelf a clean, finished look. Take time to sand corners and joints carefully.
Frequently Asked Questions
How Do I Check If My Bookshelf Is Square?
Use a carpenter’s square or measure diagonals. If the diagonals are equal, the bookshelf is square and properly aligned.
What Tools Are Needed To Make A Bookshelf Square?
You need a carpenter’s square, measuring tape, clamps, and a drill. These tools help measure, hold, and adjust the frame accurately.
How Can I Fix A Bookshelf That’s Not Square?
Loosen screws and adjust the frame until diagonals match. Then tighten screws firmly to maintain the square shape.
Why Is It Important To Make A Bookshelf Square?
A square bookshelf ensures stability, proper alignment, and prevents leaning. It also improves the overall appearance and functionality.
Conclusion
Making a bookshelf square takes patience and simple steps. Use a level and measure carefully to keep corners right. Check each side often to avoid mistakes. Small adjustments can make a big difference. A square bookshelf looks better and holds items safely.
Keep practicing, and your skills will improve. Building with care brings good results every time. Your bookshelf will stand strong and neat. Enjoy the process and take pride in your work.