Do you have a growing collection of stuffed animals and nowhere to put them all? Imagine giving each one its own cozy bunk bed, making your room look neat and fun at the same time.
You can create a special little home for your favorite plush friends with just a few simple materials. In this guide, you’ll discover easy steps to build a bunk bed that fits your style and space perfectly. Ready to turn your stuffed animals into the happiest sleepers ever?
Let’s get started!
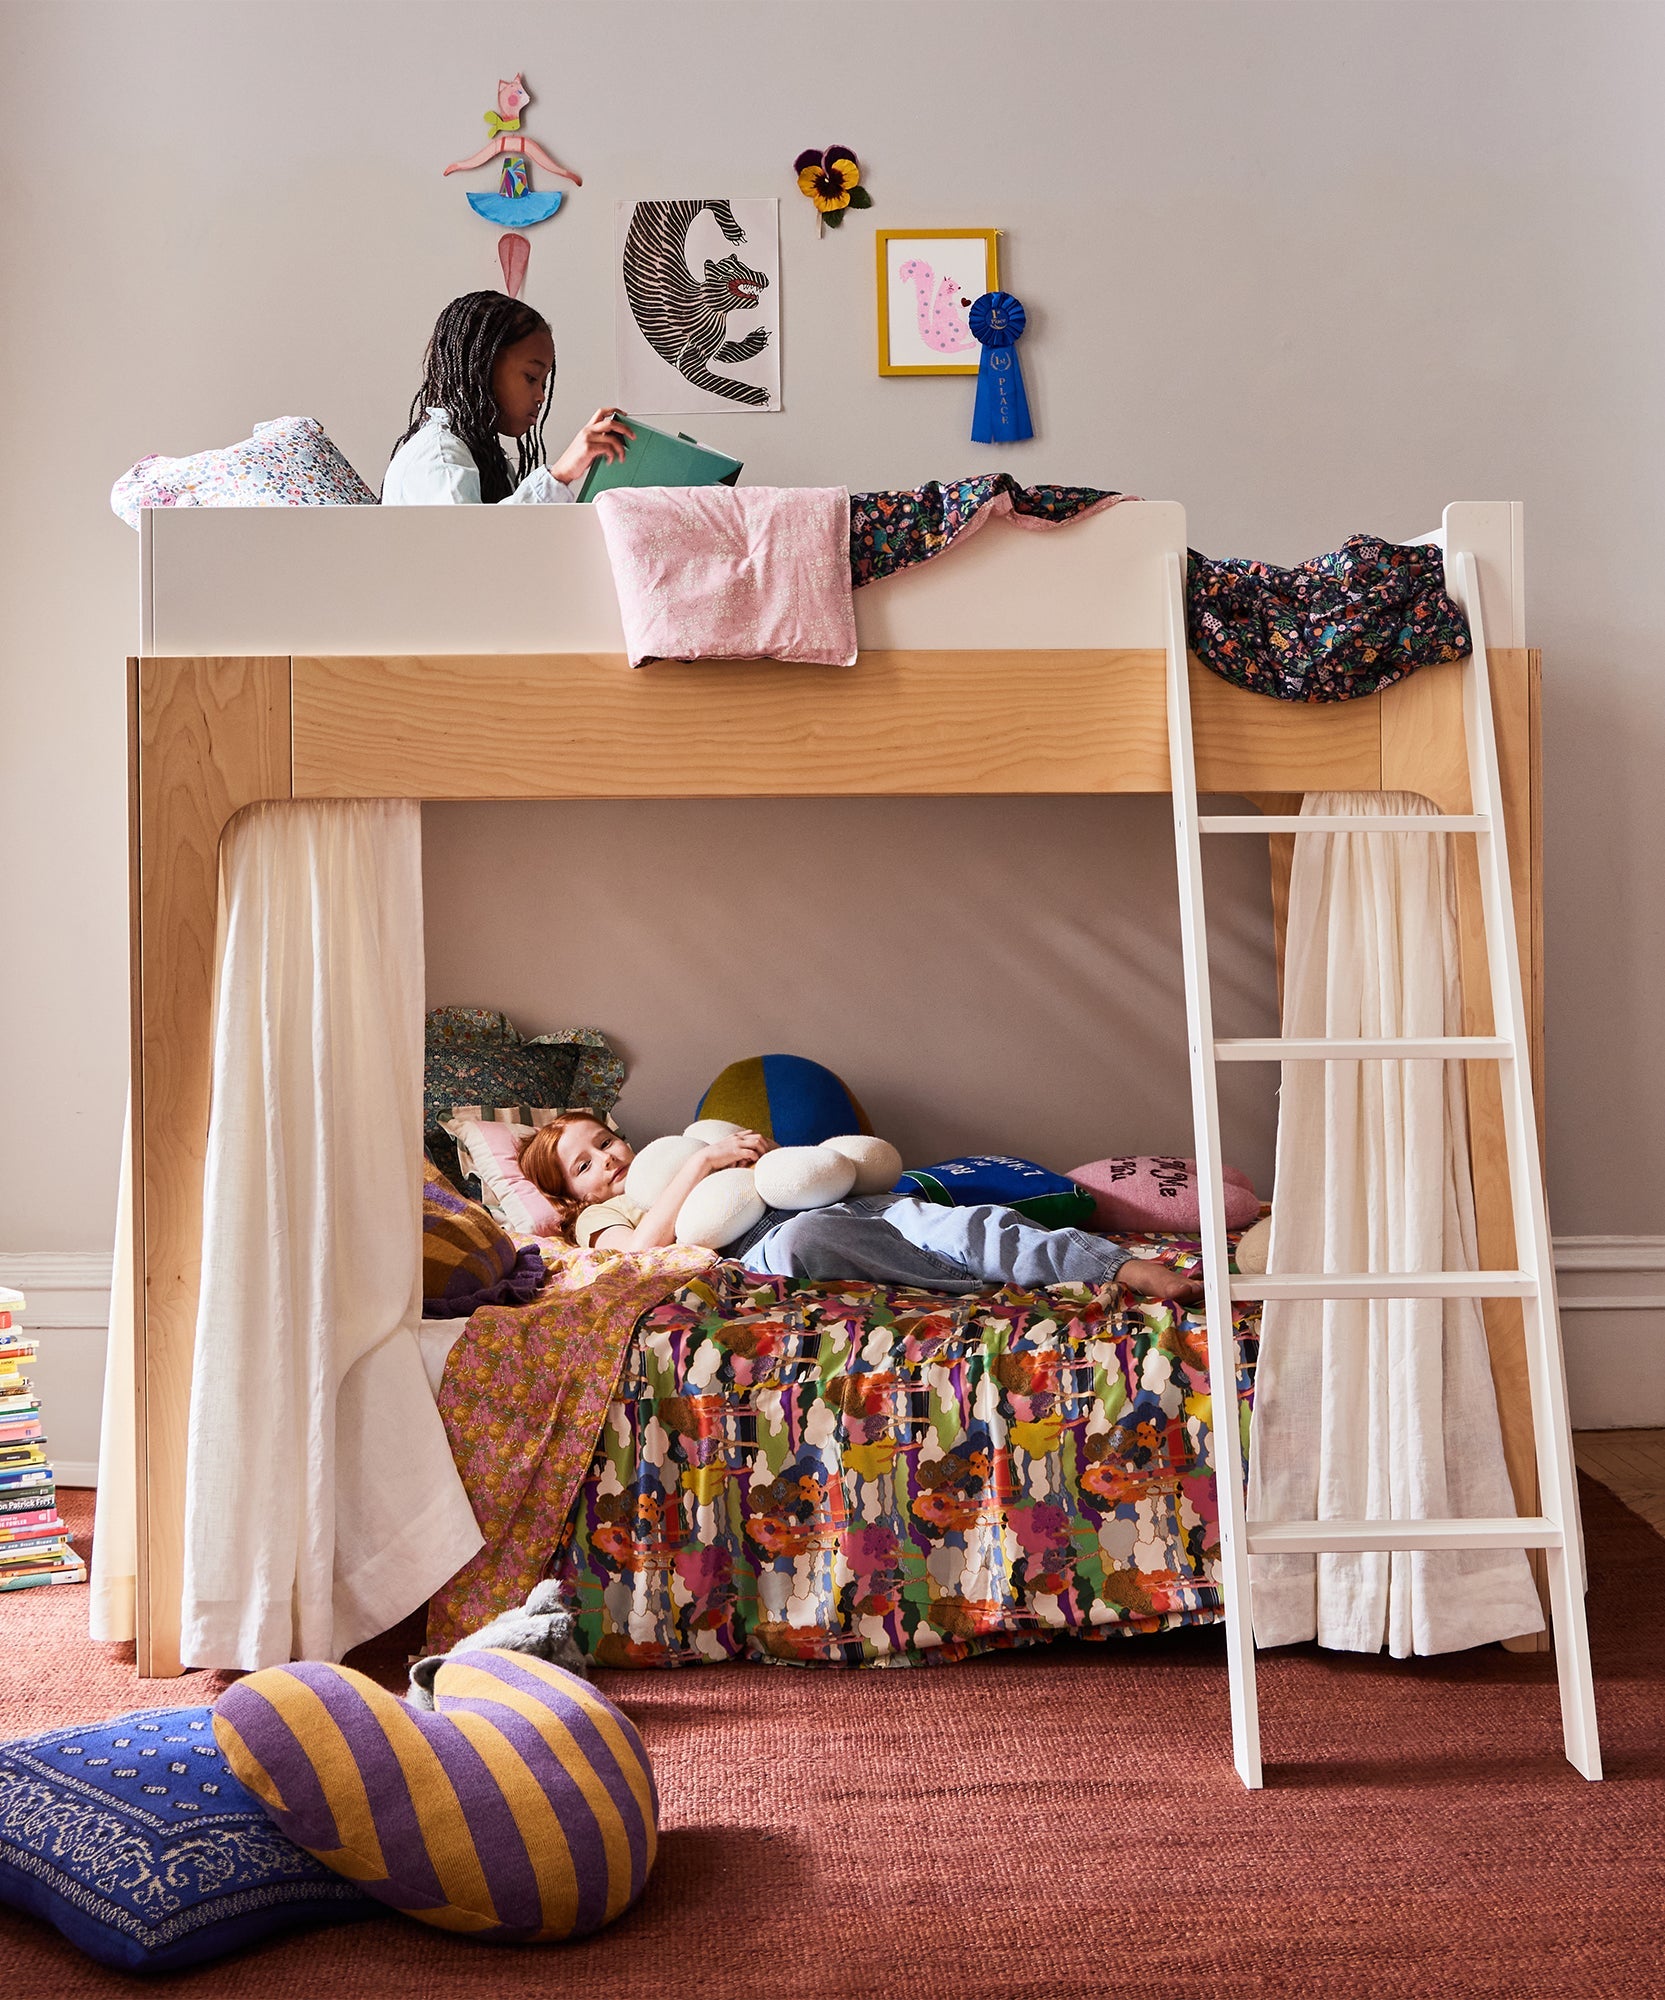
Credit: oeufnyc.com
Materials Needed
Gathering the right materials is the first step to making a bunk bed for your stuffed animals. Choosing quality wood and having the proper tools helps create a sturdy and safe bed. You also need some extra supplies to complete the project smoothly.
Wood Types And Sizes
Use softwood like pine for easy cutting and light weight. Choose boards that are smooth and free from knots. For the frame, 1×4 inch boards work well. For slats, use thinner 1×2 inch pieces. The length depends on your stuffed animals’ size. Sand the wood to avoid splinters.
Tools Required
Prepare a saw to cut the wood to size. A drill helps make holes for screws. Use a screwdriver or drill bit to drive screws. A measuring tape ensures precise cuts. A square tool keeps corners at right angles. Sandpaper smooths rough edges.
Additional Supplies
Grab wood screws to hold parts together. Use wood glue for extra strength. Paint or stain adds color and protects wood. Pick brushes or rags for applying finish. Use clamps to hold pieces while glue dries. Safety gear like goggles and gloves keeps you safe.
Planning Your Bunk Bed
Building a bunk bed for your stuffed animals starts with good planning. This step ensures the bed fits your toys perfectly. It also helps create a safe and fun sleeping space for them. Taking time to plan saves effort later.
Think about space, size, and style before you begin. Planning makes your project easier and more enjoyable.
Measuring Your Stuffed Animals
First, measure your stuffed animals carefully. Use a ruler or tape measure. Check their height and width while lying down. Measure the biggest ones to ensure they fit well. Add extra space for comfort and easy placement.
Write down these measurements. They guide your design and size choices.
Design Ideas
Choose a design that suits your style and space. Simple bunk beds work best for beginners. You can add small ladders or rails to the bed. Think about colors and decorations to make it fun. Use materials that are light and easy to handle.
Sketch your ideas on paper. Visual plans help avoid mistakes later.
Safety Considerations
Safety matters even for stuffed animals. Make sure edges are smooth to avoid scratches. Use nails or screws carefully and hide them well. Check that the bed is stable and won’t tip over. Avoid small parts that could fall off and get lost.
Double-check your work before placing the toys on the bed.
Cutting And Preparing Wood
Cutting and preparing wood is the first important step in making a bunk bed for your stuffed animals. It sets the base for a strong and safe structure. Taking time to measure, cut, and smooth the wood helps create a neat and sturdy bed. Careful preparation makes the building process easier and the final product better.
Marking Measurements
Start by measuring the wood pieces according to your design. Use a pencil and a ruler to mark the exact lengths. Double-check the marks before cutting. Clear, straight lines guide your cuts and prevent mistakes. Mark all parts, such as bed posts, rails, and slats. Precision here saves time later.
Safe Cutting Techniques
Always cut wood on a stable surface. Use clamps to hold the wood steady. Choose a saw that fits your skill level, such as a hand saw or a jigsaw. Cut slowly and follow the marked lines. Keep fingers away from the blade. Wear safety glasses to protect your eyes. Safety is key to avoid accidents.
Sanding And Smoothing Edges
After cutting, sand the edges to remove splinters and rough spots. Use medium-grit sandpaper first, then a finer grit for a smooth finish. Sand all sides of each piece. Smooth edges keep your stuffed animals safe from scratches. Sanding also helps paint or finish stick better. Take your time for the best results.
Assembling The Frame
Assembling the frame is the most important step in making a bunk bed for your stuffed animals. The frame gives the bed its shape and strength. A strong frame keeps the bed stable and safe for your toys. This section guides you through building the base, constructing the bunk levels, and securing the whole structure.
Building The Base
Start by cutting the wood pieces for the base. Use four long pieces for the sides and two shorter ones for the ends. Join the pieces to form a rectangle. Make sure the corners are square for a solid base. Use screws to hold the parts tightly together. The base should sit flat on the floor.
Constructing The Bunk Levels
Next, build the levels where the stuffed animals will rest. Cut slats that fit across the base frame. Space the slats evenly to support the stuffed animals well. Attach the slats with screws or nails. Repeat for the upper bunk, using supports to raise it above the base. The height depends on how tall your stuffed animals are.
Securing The Structure
Secure the frame by adding vertical posts at each corner. These posts connect the base and upper bunk. Use strong screws to fix the posts firmly in place. Check that the frame does not wobble. Add corner braces if needed for extra strength. Tight connections ensure the bunk bed stays safe for playtime.
Adding Details
Adding details makes the bunk bed special and fun for your stuffed animals. Small touches bring the bed to life. They make it look neat and safe. These details also show your care and creativity. Let’s explore easy ways to add style and function.
Painting And Finishing
Choose bright or soft colors for the bunk bed. Paint helps protect the wood. Use non-toxic paint for safety. Let each layer dry well before the next. You can also add patterns or shapes. Simple stripes or polka dots look great. Finish with a clear coat to keep paint fresh. This step makes the bed smooth and nice to touch.
Adding Railings
Railings keep stuffed animals from falling off. Use thin wood strips or small dowels for railings. Attach them firmly to the bed frame. Make sure spaces between rails are small. This keeps little toys safe and secure. Paint railings the same or a different color. Railings add a real bunk bed feel. They also give your stuffed friends a cozy space.
Creating Ladders Or Steps
A ladder or steps help stuffed animals climb up. Use small wooden sticks or flat pieces for ladder rungs. Attach them at an angle to the bed side. Steps can be wider and more stable. Fix steps with glue or small nails. Paint or decorate the ladder to match the bed. This detail makes the bed look complete. It invites play and imagination for kids.
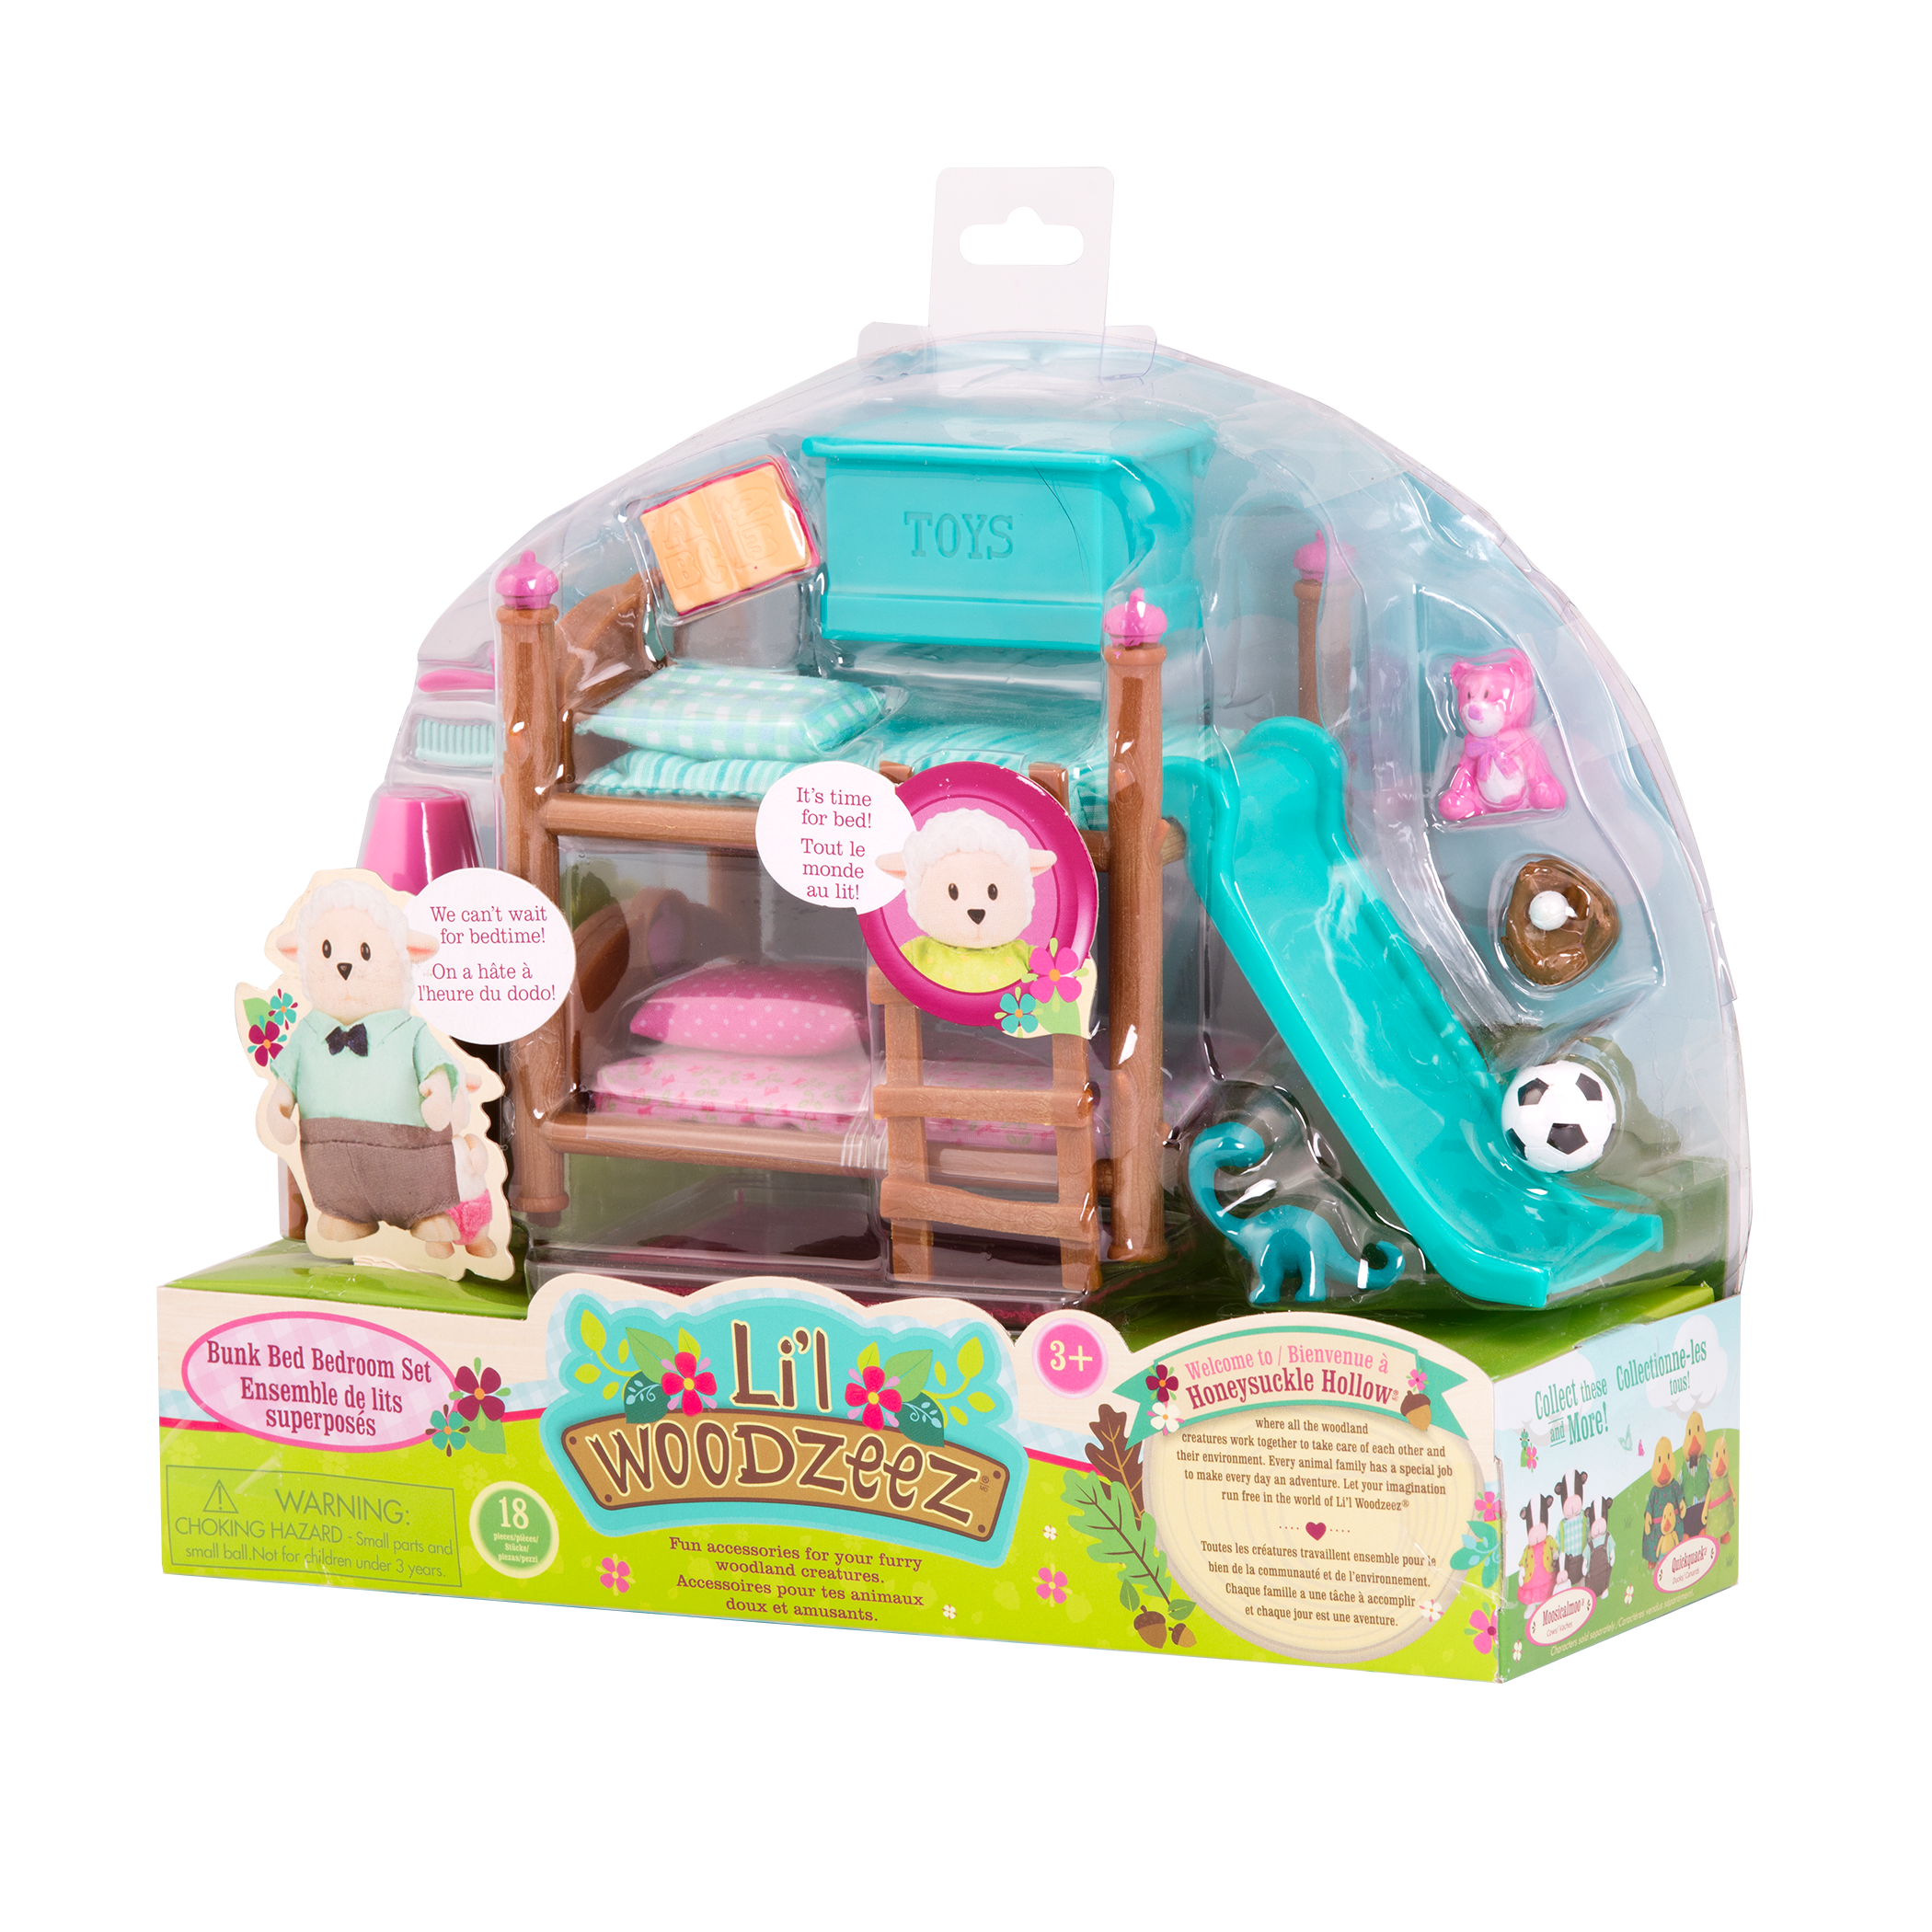
Credit: woodzeez.com
Organizing Stuffed Animals
Organizing stuffed animals helps keep your space neat and fun. It makes finding your favorite toy easy. A well-organized bunk bed for stuffed animals also looks great in any room. You can enjoy your collection more and keep it safe from dust.
Arranging By Size Or Theme
Sort stuffed animals by size to fit them neatly on the bunk bed. Place the bigger ones on the bottom bunk. Smaller toys go on the top for a balanced look. Another idea is to group them by theme. Keep all animals from the same story or color together. This method makes your display interesting and easy to explore.
Maintenance Tips
Check your stuffed animals regularly for dust. Use a soft brush or cloth to clean them gently. Avoid strong cleaners that can damage the fabric. Wash the removable covers if possible. Keep the bunk bed in a dry place to stop mold and smell. Regular care helps your toys last longer and stay fresh.
Creative Display Ideas
Use small baskets or boxes on the bunk bed to separate toys. Add labels to help find favorites quickly. Arrange animals in playful poses to bring the display to life. Use fairy lights or stickers to decorate the bunk bed frame. These simple touches make the space inviting and unique.
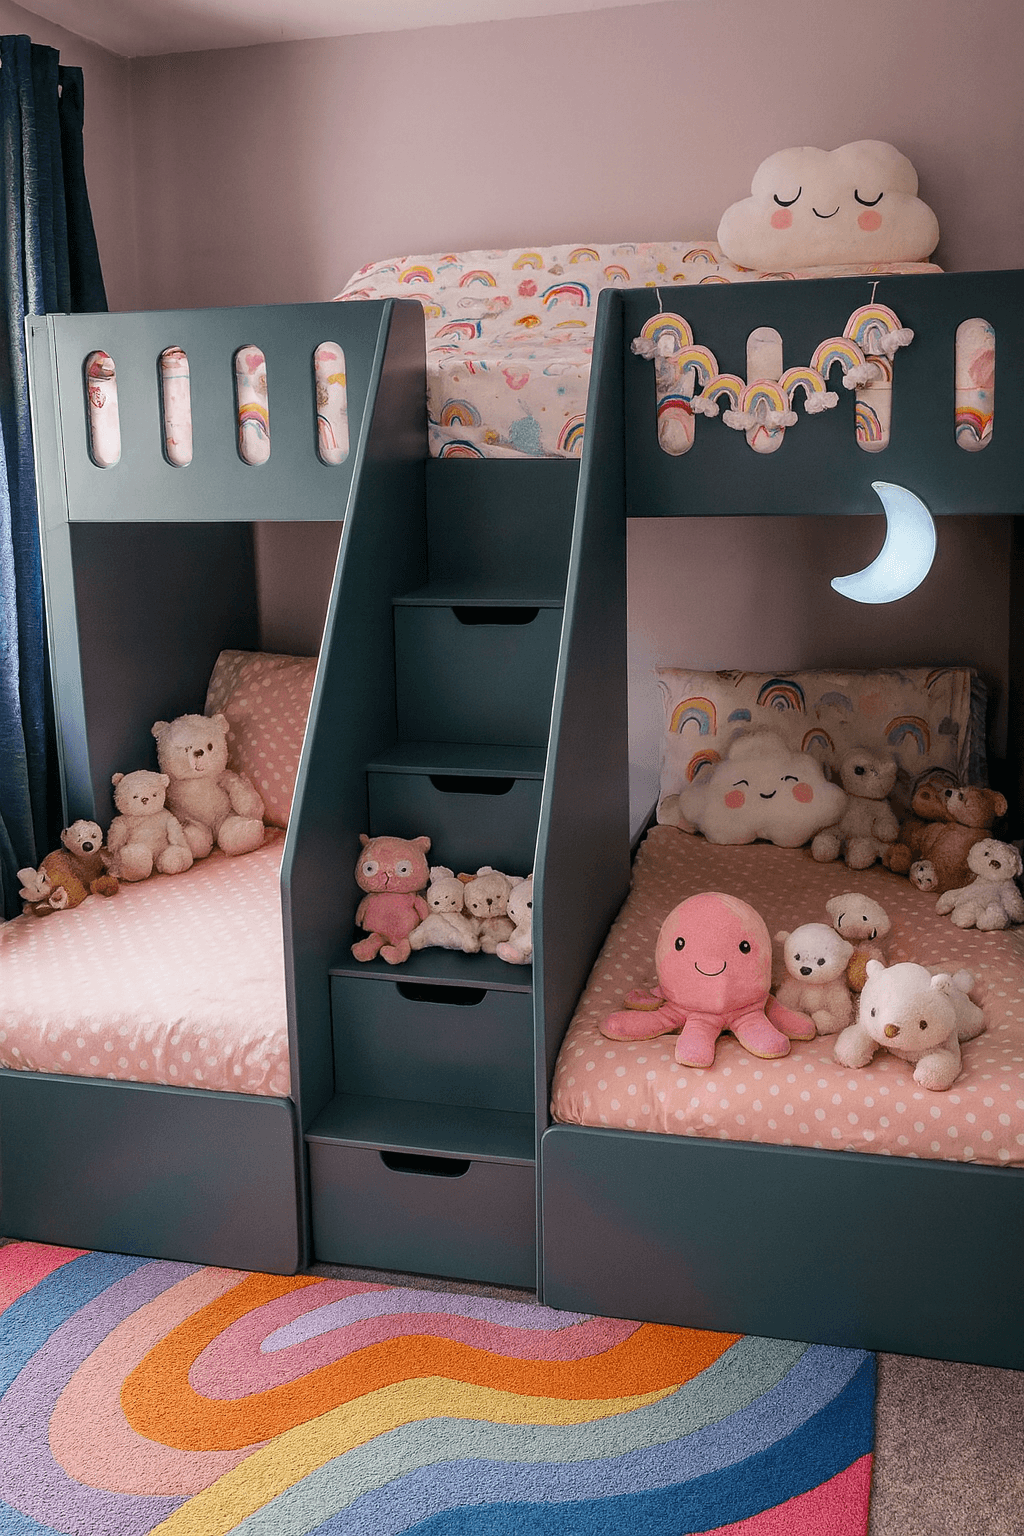
Credit: funkybunkbeds.com
Frequently Asked Questions
How Do I Start Making A Bunk Bed For Stuffed Animals?
Begin by choosing sturdy materials like wood or cardboard. Measure the size of your stuffed animals. Sketch a simple design with two stacked beds. Gather tools like glue, nails, or screws. Follow safety precautions while assembling the bed frame.
What Materials Work Best For Stuffed Animal Bunk Beds?
Wood and thick cardboard are ideal materials. They provide stability and durability for the bed. Avoid flimsy materials that can easily break. Use non-toxic paints and finishes to ensure safety. Choose materials that are easy to cut and assemble.
How Can I Make The Bunk Bed Safe For Kids?
Smooth all edges and corners to prevent injuries. Use child-safe paint and finishes to avoid toxins. Ensure the bed is sturdy to avoid collapsing. Avoid small detachable parts that can be choking hazards. Supervise young children while they play with the bed.
Can I Customize The Bunk Bed Design?
Yes, customize by adding colors, patterns, or stickers. Include small ladders or railings for realism. Use fabric to make tiny mattresses or pillows. Personalize with your child’s favorite themes or characters. Custom designs make the bed more fun and engaging.
Conclusion
Making a bunk bed for your stuffed animals is fun and simple. You only need a few materials and some patience. This project helps keep toys neat and saves space. Kids can join in and enjoy building it too. Try different designs to fit your room and style.
Your stuffed animals will have a cozy place to rest. Give it a try and see how much fun you have!