Are you ready to create a sturdy, safe, and stylish bunk bed that lasts for years? Making a bunk bed with treated wood is a smart choice because it’s strong and resistant to wear.
But where do you start? You might feel overwhelmed by the tools, measurements, and steps involved. Don’t worry — this guide will walk you through every part of the process, breaking it down into simple, clear instructions. By the end, you’ll have the confidence and know-how to build a bunk bed that fits your space and keeps your loved ones comfortable.
Keep reading to discover how easy and rewarding this project can be!

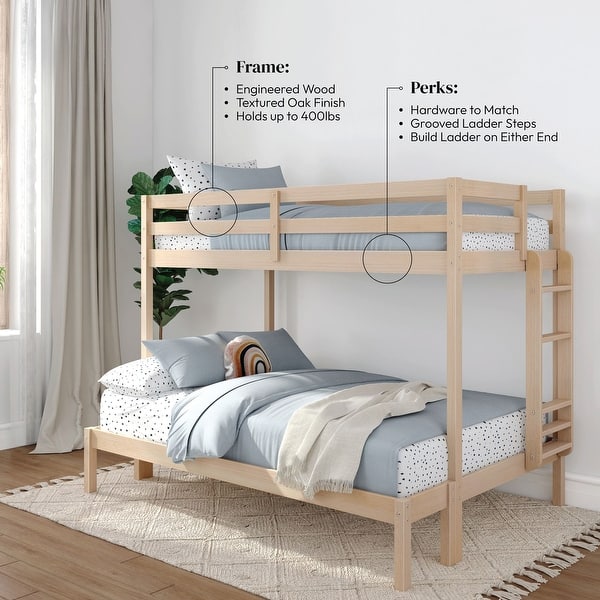
Credit: www.walmart.com
Choosing Treated Wood
Choosing the right treated wood is key for building a strong bunk bed. Treated wood lasts longer and handles wear better than untreated wood. It also helps protect against moisture, insects, and decay. This section explains the types of treated wood, their benefits, and safety tips. Understanding these points makes your bunk bed safe and durable.
Types Of Treated Wood
There are several types of treated wood available. Pressure-treated lumber is the most common. It is soaked in chemicals to resist rot and bugs. Another type is kiln-dried treated wood, which has less moisture. It is less likely to warp or crack. Some treated wood uses safer, modern chemicals. These are better for indoor use. Choose wood with a label showing it is safe for furniture.
Benefits For Bunk Beds
Treated wood increases the bunk bed’s lifespan. It stands up well to spills and humidity. This wood keeps its strength over time. It reduces the risk of damage from pests. Treated wood also helps prevent mold growth. This means the bed stays clean and safe for kids. Using treated wood cuts down repair needs.
Safety Considerations
Check the treatment chemicals before buying wood. Some chemicals can be harmful indoors. Look for wood labeled safe for indoor use. Sand all surfaces to avoid splinters. Seal the wood with a non-toxic finish. This adds extra protection and smoothness. Always wear gloves and a mask when cutting treated wood. Proper safety keeps you and your family safe during building.
Tools And Materials Needed
Building a bunk bed with treated wood requires the right tools and materials. Using proper equipment makes the project easier and safer. Gather everything before starting your work to stay organized and efficient.
Essential Tools
- Measuring tape for accurate dimensions
- Circular saw or hand saw for cutting wood
- Power drill with drill bits for holes and screws
- Screwdriver or impact driver for fastening screws
- Carpenter’s square to ensure right angles
- Clamps to hold pieces while assembling
- Sanding block or electric sander to smooth edges
- Level to check if surfaces are even
Hardware And Accessories
- Treated wood planks and beams for frame and support
- Wood screws of various lengths for strong joints
- Wood glue to reinforce connections
- Corner braces and metal brackets for extra strength
- Bed slats or plywood for mattress support
- Wood filler to cover holes and imperfections
- Wood stain or sealant for protection and finish
Safety Gear
- Safety goggles to protect eyes from dust and debris
- Work gloves to prevent splinters and cuts
- Dust mask to avoid inhaling sawdust
- Ear protection if using loud power tools
- Closed-toe shoes to protect feet from falling objects
Designing Your Bunk Bed
Designing a bunk bed with treated wood starts with a clear plan. Careful design helps build a strong, safe bed. It also makes sure the bed fits well in your space. Think about how many people will use it. Decide the style that suits your room and needs.
Good design saves time and wood. It helps avoid mistakes and makes construction easier. Keep your design simple but strong.
Measuring And Planning
Measure the room where the bunk bed will go. Note the height, width, and length available. Check the ceiling height to leave enough space above the top bunk. Mark the area clearly on paper or with a digital tool.
Plan the bed size based on these measurements. Decide on mattress size: twin, full, or custom. Draw your design to scale. Include all parts like ladder and guardrails. This step guides you during building.
Weight Capacity And Dimensions
Think about who will use the bed. Kids, teenagers, or adults? This affects the wood thickness and structure. Use strong treated wood to support the weight safely.
Set the bed’s weight capacity higher than expected use. This adds safety and durability. Follow standard bunk bed dimensions for comfort and space. Allow room for mattresses and bedding.
Incorporating Safety Features
Safety is the top priority in bunk bed design. Add guardrails on the top bunk on all sides. Make sure the rails are high enough to prevent falls.
Design a sturdy ladder with wide steps. Attach the ladder securely to the bed frame. Check for smooth edges and no sharp corners. Sand all wood surfaces to avoid splinters.
Leave enough space between bunks to sit up comfortably. Keep the bed away from ceiling fans or light fixtures. Plan for strong joints and fasteners to keep the bed stable.
Credit: buybuybaby.bedbathandbeyond.com
Cutting And Preparing Wood
Assembling the frame is the key step in making a bunk bed with treated wood. The frame holds the entire bed structure. It needs to be strong and stable. Follow simple steps to build it right. Use treated wood to resist damage and last longer. This part will guide you through building posts, side rails, and support slats.
Building The Bed Posts
Start by cutting four sturdy posts from treated wood. Each post should be the same height for balance. Sand the edges smooth to avoid splinters. Drill holes carefully for screws to join parts later. These posts act as the main support for the bunk bed. Make sure they stand straight and firm.
Constructing Side Rails
Next, cut side rails to fit between the bed posts. These rails hold the mattress and provide frame stability. Attach the rails to the posts with strong screws. Check that they are level and secure. Side rails must fit tightly to prevent wobbling. Use a carpenter’s square to confirm right angles.
Attaching Support Slats
Finally, add support slats across the side rails. Space the slats evenly for mattress support. Screw each slat firmly into the rails. This step ensures the mattress stays flat and safe. Use enough slats to avoid mattress sagging. Treated wood slats add strength and durability to the frame.
Assembling The Frame
Adding a ladder and guardrails to your bunk bed made from treated wood is important. These features keep the bed safe and easy to use. The ladder helps climb up and down. Guardrails prevent falling while sleeping. Both need strong design and proper installation. Use treated wood to match the bed frame. This keeps the bed sturdy and secure.
Ladder Design And Installation
Choose a ladder design that fits your bunk bed size. Straight or angled ladders work well. Cut the treated wood to the right length. Sand all edges smooth for safety. Attach the ladder to the bed frame using screws. Place the ladder where it is easy to reach. Check the ladder for stability before use.
Guardrail Placement
Guardrails should run along the sides of the top bunk. Leave space for climbing in and out. The guardrails must be tall enough to stop falls. Typically, 5 to 7 inches above the mattress works well. Fix the guardrails firmly to the bed frame. Make sure no gaps are big enough for slipping through.
Securing Safety Features
Use strong screws and brackets to fix ladders and guardrails. Check all connections twice. Tighten loose screws regularly. Test the ladder and guardrails by applying pressure. Ensure everything holds firm without wobbling. Safety is the top priority for bunk beds. Well-secured features protect users during sleep and play.
Adding Ladder And Guardrails
Finishing touches bring your bunk bed project to life. This step ensures safety, durability, and style. Proper finishing protects the wood and improves the bed’s look. Careful inspection guarantees the bed stays strong and safe. Decorating adds personality and comfort to the space.
Sealing And Weatherproofing
Start by applying a quality sealant on all wood surfaces. Sealants protect treated wood from moisture and wear. Use a brush or sprayer for even coverage. Pay close attention to corners and joints. Let the sealant dry completely before use. This step extends the life of your bunk bed.
Inspecting For Stability
Check every bolt, screw, and joint carefully. Tighten any loose hardware to prevent wobbling. Test the bed by applying gentle pressure on different parts. Ensure the ladder and guardrails are secure and stable. Double-check the frame for any cracks or weaknesses. Stability is key for safety and long-term use.
Decorating Ideas
Choose soft bedding to make the bunk bed cozy. Add colorful pillows to brighten the space. Use removable wall decals or stickers for a fun touch. Consider hanging a small reading light on the side. Personal touches make the bed inviting and unique. Let your child help pick decorations for fun.

Credit: www.ana-white.com
Frequently Asked Questions
What Type Of Treated Wood Is Best For Bunk Beds?
Pressure-treated pine is commonly used due to its durability and resistance to insects. It ensures a sturdy and safe bunk bed frame that lasts long.
How To Ensure Safety When Making Bunk Beds With Treated Wood?
Use smooth finishes to avoid splinters, secure all joints tightly, and add guardrails on the top bunk for added protection.
Can Treated Wood Be Used Indoors For Bunk Beds?
Yes, treated wood can be used indoors if it is properly sealed to prevent chemical exposure and maintain air quality.
What Tools Are Needed To Build A Bunk Bed With Treated Wood?
Basic tools include a saw, drill, measuring tape, screwdriver, clamps, and sandpaper for cutting, assembling, and smoothing the wood.
Conclusion
Building a bunk bed with treated wood is a smart choice. It offers strength and lasts a long time. Following clear steps helps you create a safe bed. Take your time and measure carefully before cutting. Always use quality tools for better results.
This project saves money and gives a custom look. Enjoy the satisfaction of making furniture yourself. Your kids will love their new bunk bed. Simple plans lead to great success. Now, you can start building with confidence.