Looking for a creative way to organize your coats without spending a fortune? You might be surprised to learn that your old TV stand can be turned into a stylish and functional coat rack.
Imagine transforming a piece of furniture you already own into something that declutters your space and adds charm to your home. In this guide, you’ll discover simple steps to make a coat rack from a TV stand—no special tools or skills needed.
Ready to give your entryway a fresh new look? Keep reading, and you’ll find out exactly how to do it yourself.
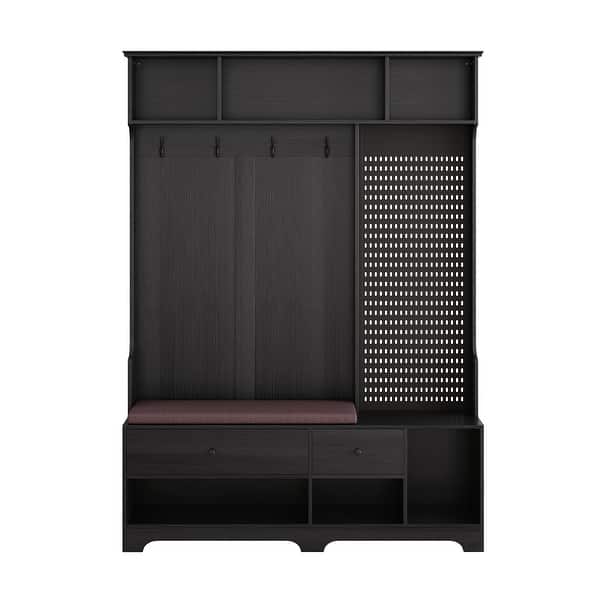
Credit: www.bedbathandbeyond.com
Choosing The Right Tv Stand
Choosing the right TV stand is the first step in making a coat rack. The stand must be sturdy and fit well in your space. This choice affects how your coat rack will look and function. Consider the materials, size, style, and design before starting your project.
Materials And Size
Wood and metal are the best materials for a TV stand coat rack. Wood offers warmth and strength. Metal stands provide a modern look and great durability. The size matters too. Pick a stand tall enough to hold coats without tipping over. Check the width to ensure enough room for hooks and hangers.
Style And Design Considerations
The style of the TV stand sets the tone for your coat rack. Simple designs work well for most homes. Look for clean lines and solid shapes. Avoid stands with glass or delicate parts. A solid, flat top is good for placing small items. Choose a design that matches your room’s décor and personal taste.
Gathering Tools And Supplies
Before starting your project to make a coat rack from a TV stand, gather all the tools and supplies. Having everything ready saves time and avoids interruptions. It also helps you work safely and efficiently. This section lists the essential tools and additional materials you will need for this creative build.
Essential Tools
- Electric drill with drill bits for making holes
- Screwdriver set for tightening screws
- Measuring tape to measure parts accurately
- Level to keep the coat rack straight
- Hammer for light tapping and adjustments
- Sandpaper or sanding block to smooth surfaces
- Safety goggles and gloves for protection
Additional Materials Needed
- Coat hooks or pegs to hang items
- Wood screws or bolts for secure assembly
- Wood glue for extra bonding strength
- Paint or wood finish for a polished look
- Drop cloth or newspaper to protect your workspace
- Clamps to hold pieces together while drying
Preparing The Tv Stand
Preparing the TV stand is the first step in turning it into a coat rack. This process ensures the stand is clean, smooth, and ready for new use. A well-prepared base helps the coat rack last longer and look better. Follow these steps carefully to get the best results.
Cleaning And Disassembling
Start by cleaning the TV stand to remove dust and dirt. Use a damp cloth and mild soap. Make sure to dry it completely. Remove any parts that will not be part of the coat rack. This may include shelves, glass panels, or hardware. Keep screws and pieces you may need later. Disassembling helps to work on the stand easily and safely.
Sanding And Surface Prep
Sanding smooths the surface of the TV stand. Use medium-grit sandpaper first to remove old paint or finish. Then switch to fine-grit sandpaper for a smooth touch. Sand all visible areas where hooks or paint will go. Wipe off dust with a dry cloth after sanding. This step helps the paint or stain stick better and looks neat. Proper surface prep is key to a good finish.
Modifying The Stand For Coat Storage
Modifying a TV stand into a coat rack gives new life to old furniture. It creates useful storage and organizes your space. Simple changes can turn the stand into a place for coats and accessories. Focus on two key modifications: adding hooks and hangers, and creating shelves and compartments. These changes make the stand practical and stylish.
Adding Hooks And Hangers
Start by choosing sturdy hooks that can hold heavy coats. Metal hooks work well and last long. Screw the hooks into the sides or front of the TV stand. Space them evenly to hold multiple coats without crowding. Use hangers designed for hats and scarves. Attach these near the hooks for easy access. This step transforms the stand into a functional coat rack.
Creating Shelves And Compartments
Use the existing shelves in the TV stand for extra storage. Add small bins or baskets to keep gloves and hats organized. If the stand has open spaces, build extra shelves with wood or strong boards. These shelves create compartments for shoes or bags. Label each compartment for quick organization. This modification keeps your entryway tidy and neat.
Painting And Finishing Touches
Painting and finishing touches give your coat rack a polished look. They protect the wood and enhance its appearance. This step lets you customize the rack to match your style and space. A good finish also helps the coat rack last longer and resist wear.
Choosing Paint Or Stain
Pick paint or stain based on the wood and your design. Paint covers the wood completely and offers many color choices. Stain shows the wood grain and adds color without hiding texture. Use water-based paint for easy cleaning and less smell. Oil-based stains work well for deep, rich colors. Test your choice on a small area first.
Sealing And Protecting The Surface
Seal the coat rack to protect it from moisture and scratches. Use a clear polyurethane finish for strong protection. Apply thin coats and let each dry fully before the next. Sand lightly between coats for smoothness. A good seal keeps the paint or stain looking fresh for years. It also makes cleaning easier and prevents damage.
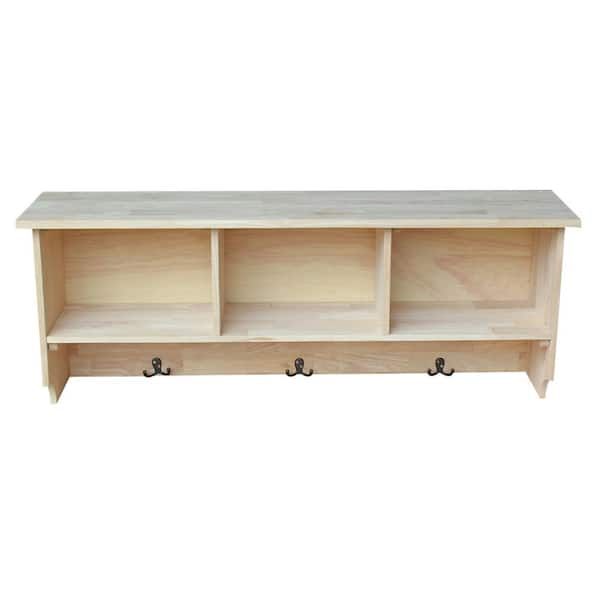
Credit: www.homedepot.com
Installing The Coat Rack
Start by securing hooks or pegs to the TV stand where coats will hang. Ensure they are evenly spaced and tightly fixed. Next, place the stand against the wall to keep it steady and ready for use.
Placement Tips
Choose a spot near your entry or hallway for easy access. Make sure the area has enough space for coats to hang freely. Avoid crowded corners or places with heavy foot traffic. Place the rack where it won’t block doors or windows. Check the wall or floor surface to ensure it can hold the rack securely.
Securing The Rack For Stability
Use screws or bolts to fasten the coat rack firmly. If the TV stand is heavy, place it against a wall for extra support. Attach brackets or anchors to prevent the rack from tipping over. Tighten all connections to keep the structure strong. Test the rack by hanging a few coats to check stability.
Maintaining Your Diy Coat Rack
Keeping your DIY coat rack in good shape makes it last longer. It stays strong and looks nice. Regular care helps avoid damage and wear. Spend a little time every few weeks to keep it neat and safe.
Cleaning Tips
Dust your coat rack often. Use a soft cloth to wipe down surfaces. Avoid harsh chemicals that can damage the finish. A damp cloth with mild soap works well. Dry it fully to stop water spots. Clean hooks and corners carefully to remove dirt.
Periodic Checks And Repairs
Check your coat rack for loose screws or wobbly parts. Tighten screws to keep it stable. Look for cracks or chips in the wood or metal. Fix small problems before they grow. Replace damaged hooks or parts quickly. This keeps the rack safe and strong for daily use.
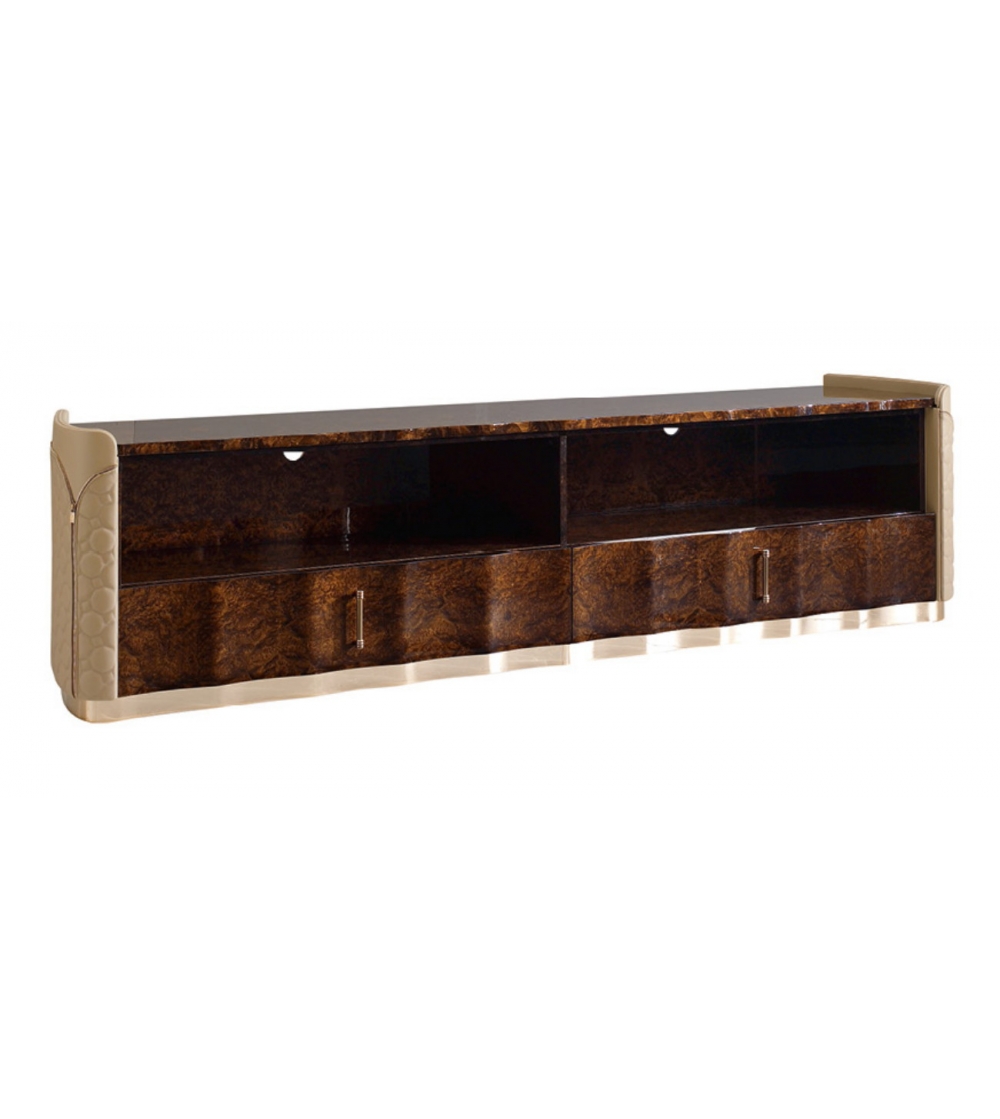
Credit: www.vinciguerrashop.com
Frequently Asked Questions
How Do I Convert A Tv Stand Into A Coat Rack?
To convert a TV stand, remove shelves and add hooks or pegs. Securely attach hooks at suitable heights. Sand and repaint the stand for a fresh look. This DIY project is budget-friendly and upcycles old furniture effectively.
What Tools Are Needed To Make A Coat Rack From A Tv Stand?
You need a drill, screwdriver, measuring tape, screws, hooks, sandpaper, and paint. These tools help modify the stand and install hooks safely. Proper tools ensure stability and a polished finish for your coat rack.
Can Any Tv Stand Be Used For A Coat Rack?
Most sturdy TV stands with a solid frame can be repurposed. Avoid stands with fragile or weak materials. Choose one with enough height and surface area to support coats and accessories.
How Do I Ensure The Coat Rack Is Stable And Safe?
Securely fasten hooks and reinforce the stand’s base if needed. Use wall anchors for extra support if the rack is tall. Stability prevents tipping and ensures the rack holds heavy coats safely.
Conclusion
Creating a coat rack from a TV stand is simple and fun. You save money by reusing old furniture. This project adds style and storage to any room. Just follow the steps carefully and use the right tools. You can customize the coat rack to fit your space.
Try different colors or hooks for a unique look. This idea helps reduce waste and supports DIY skills. Give it a try and enjoy your new, handy coat rack. Small changes make a big difference at home.

