Are you looking for a simple way to add charm and function to your home? Making a coat rack from weathered wood might be exactly what you need.
Imagine turning old, worn wood into a beautiful, sturdy piece that welcomes your guests and organizes your space. In this guide, you’ll discover easy steps to transform weathered wood into a stylish coat rack that fits your style perfectly. Ready to create something unique with your own hands?
Let’s get started!
Gathering Materials
Gathering materials is the first step to create a coat rack from weathered wood. Collecting the right wood and tools helps the project go smoothly. Prepare everything before starting to save time and avoid interruptions.
Choosing Weathered Wood
Pick wood that shows natural wear and texture. Old fence boards, pallets, or barn wood work well. The wood should be dry and free from rot. Rough edges and faded paint add charm to the coat rack. Avoid wood with deep cracks or insect damage. The wood’s color and grain give a unique look to your project.
Essential Tools
Gather basic woodworking tools for cutting and assembling. A saw helps shape the wood pieces. Sandpaper smooths rough spots without removing the weathered look. A drill makes holes for screws and hooks. Screwdrivers tighten screws firmly. A measuring tape ensures accurate cuts and spacing. These tools make building easier and safer.
Additional Supplies
Besides wood and tools, you need hooks to hang coats. Choose sturdy metal hooks or vintage knobs for style. Screws secure hooks and wood parts together. Wood glue adds extra strength to joints. A level keeps the coat rack straight on the wall. Finish with a light sealant to protect the wood without hiding its weathered beauty.
Credit: www.excursionsjordan.com
Preparing The Wood
Preparing the wood is a key step in making a coat rack from weathered wood. Good preparation helps the wood look better and last longer. It also makes the building process easier and safer.
Start by checking the wood for dirt, old paint, or rough spots. Then cut the wood to the right size for your rack. Finally, treat the wood to protect it from damage and wear. Each step shapes the wood to fit your project perfectly.
Cleaning And Sanding
Remove dirt and dust from the wood with a stiff brush. This clears old grime and loose particles. Next, sand the wood to smooth rough surfaces. Use medium-grit sandpaper first, then fine-grit for a soft finish. Sanding helps paint or stain stick better.
Cutting To Size
Measure the wood pieces carefully before cutting. Mark the wood with a pencil to guide your cuts. Use a saw to cut along the marks. Cut slowly and steadily for clean edges. Proper sizing ensures the coat rack fits your space well.
Treating The Wood
Apply a wood preservative to protect against rot and insects. Let the wood dry completely after treatment. Then, use a sealant or varnish to guard against moisture. This keeps the wood strong and looking good over time.
Designing Your Coat Rack
Designing your coat rack is an important step before you start building. A good design makes the rack practical and attractive. It also uses the weathered wood in a way that shows its unique character. Think about the space where you will place the rack. This helps decide the size and style.
Keep the design simple. The goal is to create a sturdy rack that holds coats and hats well. Planning carefully saves time and materials later. Focus on how many hooks you need and how to arrange them for easy use.
Deciding On Layout
Start by choosing the shape of your coat rack. It can be a straight board or have multiple levels. A horizontal layout works well in narrow spaces. Vertical designs fit better in small corners.
Consider the height of the rack. Hooks should be easy to reach for all users. Leave enough space between hooks to avoid crowding. Sketch your layout on paper to see how it looks.
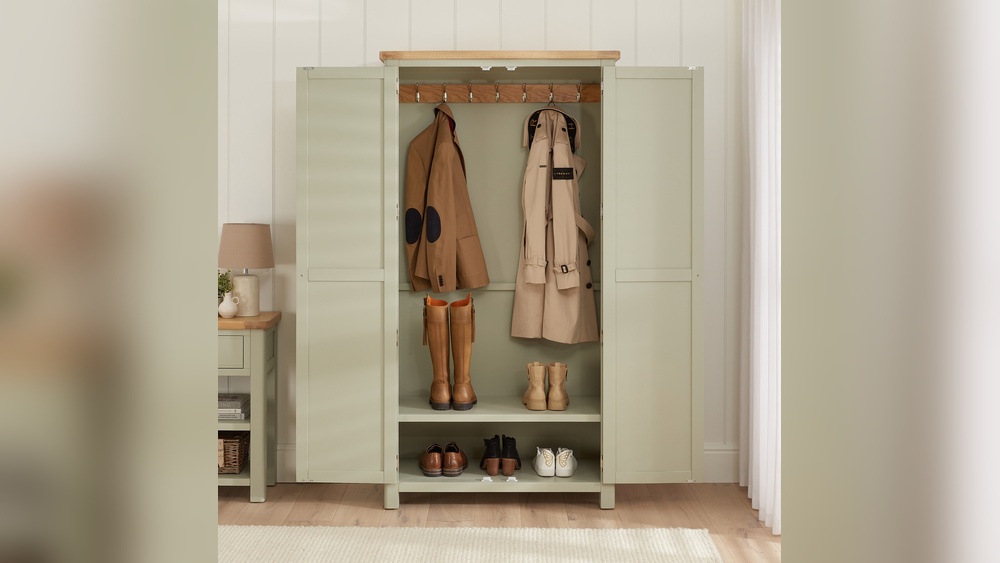
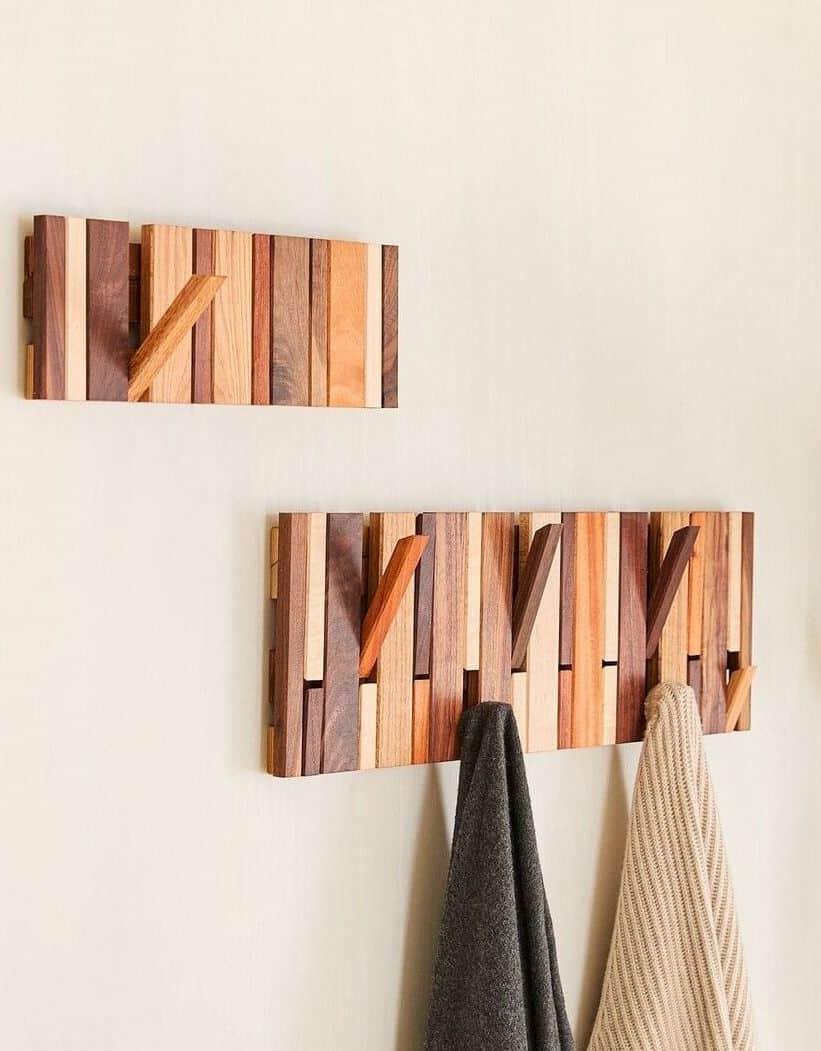
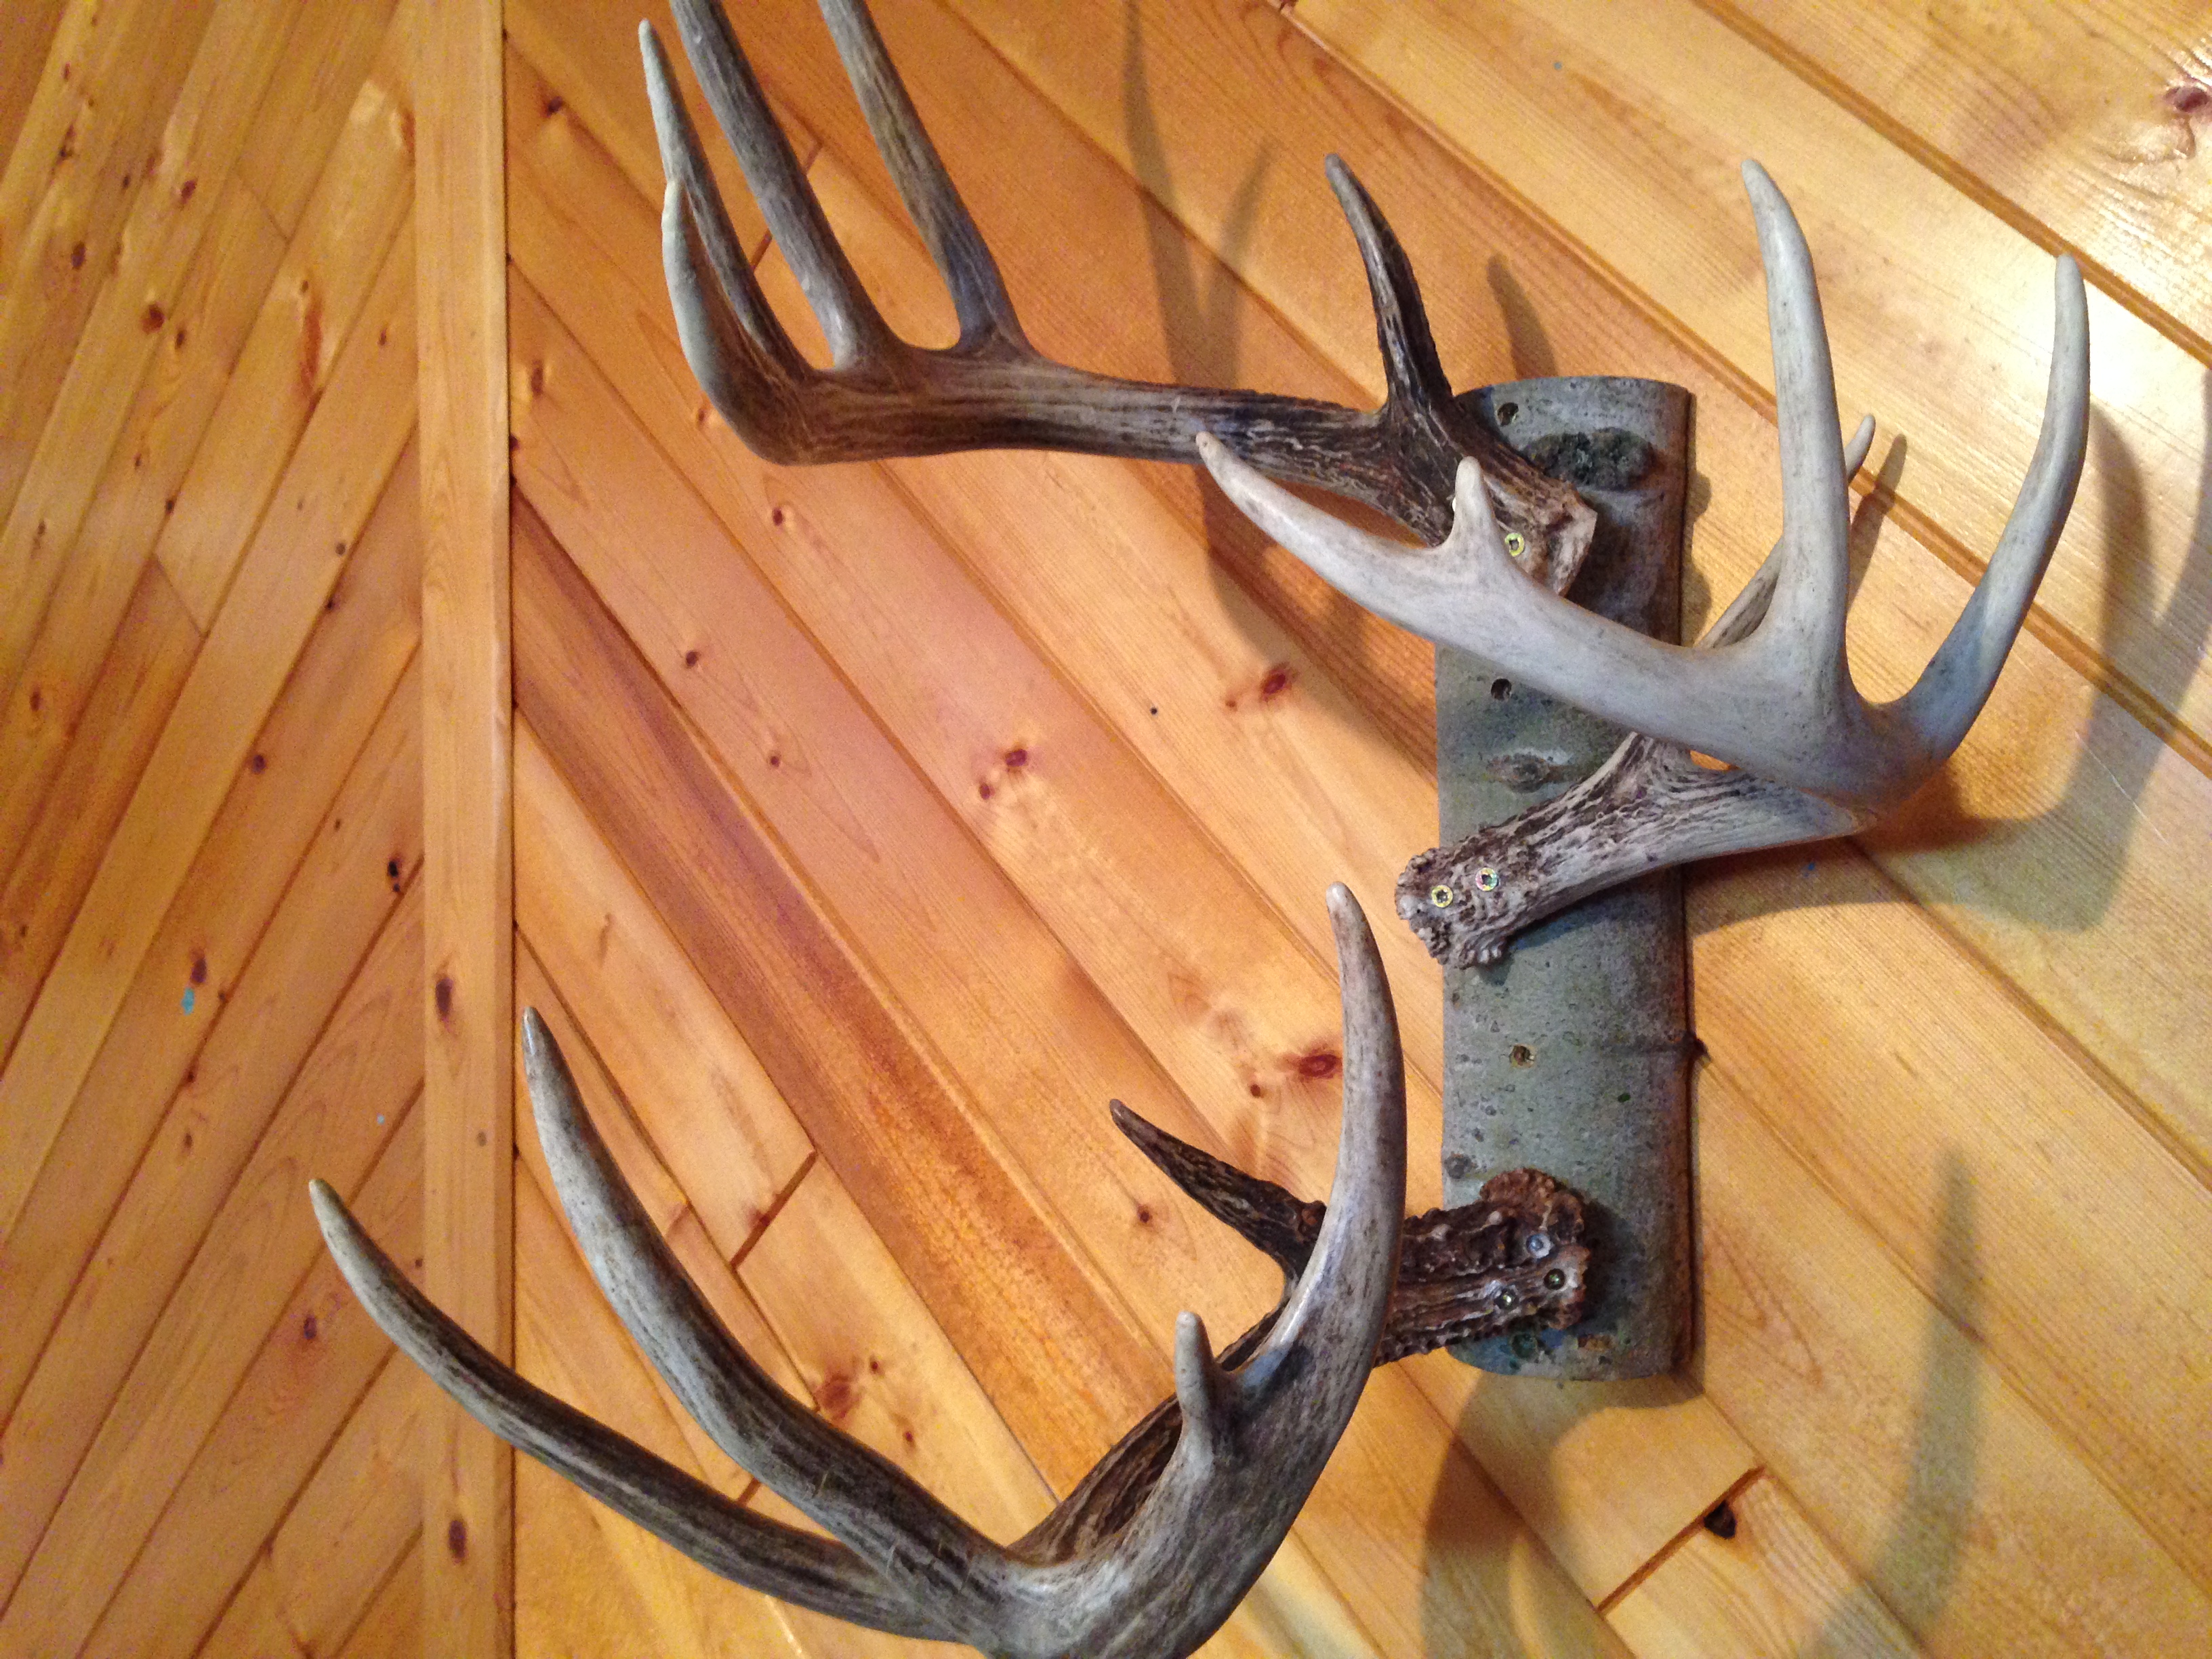
Selecting Hook Types
Hooks come in many styles and materials. Metal hooks add strength and a rustic look. Wooden hooks match the weathered wood for a natural feel. Choose hooks that can hold heavy coats and bags.
Pick simple shapes for easy hanging. Rounded hooks prevent clothes from slipping off. Avoid sharp or thin hooks that may damage fabric. Test a few hooks to find the best fit for your design.
Marking Hook Placement
Use a pencil to mark hook spots on the wood. Measure carefully to keep hooks evenly spaced. Start from the edges and work toward the center. Ensure marks line up straight for a neat appearance.
Double-check the height of each mark. Consider different users like children or adults. Adjust the placement to make the rack functional for everyone. Clear markings help avoid mistakes when attaching hooks.
Credit: www.discoverhumboldt.com
Assembly Process
The assembly process is key to making a sturdy coat rack from weathered wood. Follow each step carefully to build a practical and beautiful rack. This guide breaks down the main tasks for easy completion.
Attaching Hooks
Choose hooks that fit the style of the wood. Mark spots evenly along the wood plank. Use screws to fasten each hook firmly. Tight hooks hold coats well and last longer. Double-check all hooks are secure before moving on.
Mounting The Wood
Select a strong wall space for your rack. Use a level tool to keep the wood straight. Drill holes in the wall matching the wood’s holes. Insert wall anchors to support heavy coats. Screw the wood plank tightly to the wall.
Ensuring Stability
Test the rack by gently pulling on it. Check if the wood or hooks move or wobble. Tighten screws or anchors if needed. Add brackets under the wood for extra support. A stable rack holds many coats without damage.
Finishing Touches
Finishing touches bring your coat rack to life. They protect the wood and add style. These steps make your project last longer and look great. Pay attention to each detail to ensure a perfect finish.
Applying Sealant
Sealant protects weathered wood from moisture and dirt. Choose a clear, water-resistant sealant for the best results. Use a brush to apply a thin, even coat over the entire surface. Let the first coat dry completely before applying a second one. This step helps keep your coat rack strong and clean.
Adding Decorative Elements
Decorative elements give your coat rack a personal touch. Try metal hooks, rope accents, or painted designs. Keep decorations simple to highlight the natural beauty of the wood. Attach hooks firmly to hold heavy coats. Small details can make your rack unique and charming.
Maintenance Tips
Clean your coat rack regularly with a soft cloth. Avoid harsh chemicals that can damage the wood finish. Check hooks and screws often and tighten them as needed. Apply a fresh coat of sealant every year. Proper care keeps your coat rack looking fresh and strong for years.

Credit: mocfv.org
Frequently Asked Questions
What Tools Are Needed To Make A Coat Rack From Weathered Wood?
You need a saw, drill, screws, sandpaper, measuring tape, and wall anchors. These tools help cut, smooth, and securely mount the rack for durability.
How Do You Prepare Weathered Wood For A Coat Rack?
Clean the wood with a brush and mild soap. Sand it smoothly to remove rough patches and splinters before assembly.
Can I Customize The Size Of My Weathered Wood Coat Rack?
Yes, measure your wall space first. Cut the wood to fit your desired length and height for perfect customization.
What Finish Should I Use On Weathered Wood Coat Racks?
Use a clear sealant or wood oil. This protects the wood and enhances its natural weathered look without hiding the texture.
Conclusion
Making a coat rack from weathered wood is simple and fun. It saves money and gives your space a unique look. You only need a few tools and some old wood. The natural texture of weathered wood adds charm and character.
This project fits well in any home style. Try it yourself and enjoy a useful, handmade piece. Small efforts bring big rewards. Why buy when you can create? Your coat rack will last and tell a story. Give your old wood a new purpose today.