Are you tired of cluttered coats and scarves spilling out of your closet? Imagine opening your closet and instantly finding a neat, organized space where every coat has its place.
Making a coat rack inside your closet is easier than you think, and it can transform how you store your outerwear. In this guide, you’ll discover simple steps to create a sturdy, stylish coat rack that fits perfectly in your closet.
Keep reading, and you’ll soon enjoy a tidier, more functional closet that saves you time and frustration every day.
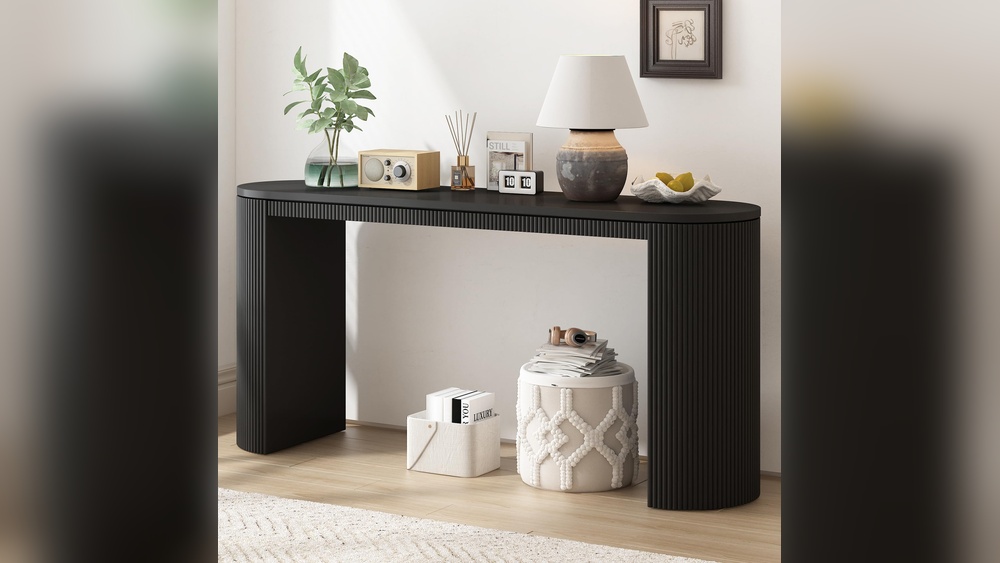
Credit: tribesigns.com
Choosing The Right Closet Space
Choosing the right closet space is the first step in making a coat rack inside your closet. The space must be practical and easy to reach. Picking the best spot saves time and keeps your coats organized. A well-chosen area fits your needs and makes the closet look neat.
Assessing Available Space
Start by measuring your closet’s dimensions. Note the height, width, and depth. Check for any shelves or rods that might block the rack. Look for empty walls or unused corners. This helps find a spot with enough room for coats.
Considering Closet Layout
Look at how your closet is arranged. Find areas with easy access and no clutter. Think about how many coats you will hang. Check if the area allows for hanging without blocking other items. A simple layout makes the coat rack more useful.
Selecting The Best Location
Pick a spot near the closet door or entrance. This makes grabbing coats quick and simple. Avoid areas with poor lighting or tight spaces. Choose a place that keeps coats neat and easy to see. The right location keeps your closet tidy and functional.
Materials And Tools Needed
Creating a coat rack in your closet is a smart way to save space. Before starting, gather the right materials and tools. This preparation helps your project go smoothly. It also ensures a sturdy and useful rack. Below are the key tools and materials you need to build your coat rack.
Essential Tools
- Measuring tape to get exact dimensions
- Power drill for making holes and driving screws
- Screwdriver to tighten screws securely
- Level to keep the rack straight and balanced
- Pencil for marking spots on the wall
- Stud finder to locate strong support inside the wall
- Safety goggles to protect your eyes while working
Recommended Materials
- Wood plank or board for the rack base
- Coat hooks or pegs to hang coats
- Wood screws to attach hooks and secure the rack
- Wall anchors if mounting on drywall without studs
- Sandpaper to smooth rough wood edges
- Paint or wood stain to finish and protect the wood
Optional Accessories
- Small shelf above hooks for hats or small items
- Decorative knobs for a unique look
- Cushioned pads for the hooks to prevent damage
- Label tags to organize different coats or items
- Hooks in various sizes for bags and keys
Designing Your Coat Rack
Designing your coat rack is an important step in organizing your closet. A well-designed rack saves space and keeps your coats neat. Choose a style that fits your closet size and your needs. Think about how many coats you have and what else you want to store.
Consider the look you want. A simple design works well in small spaces. For larger closets, more complex racks with shelves can be useful. The goal is to make your closet tidy and easy to use.
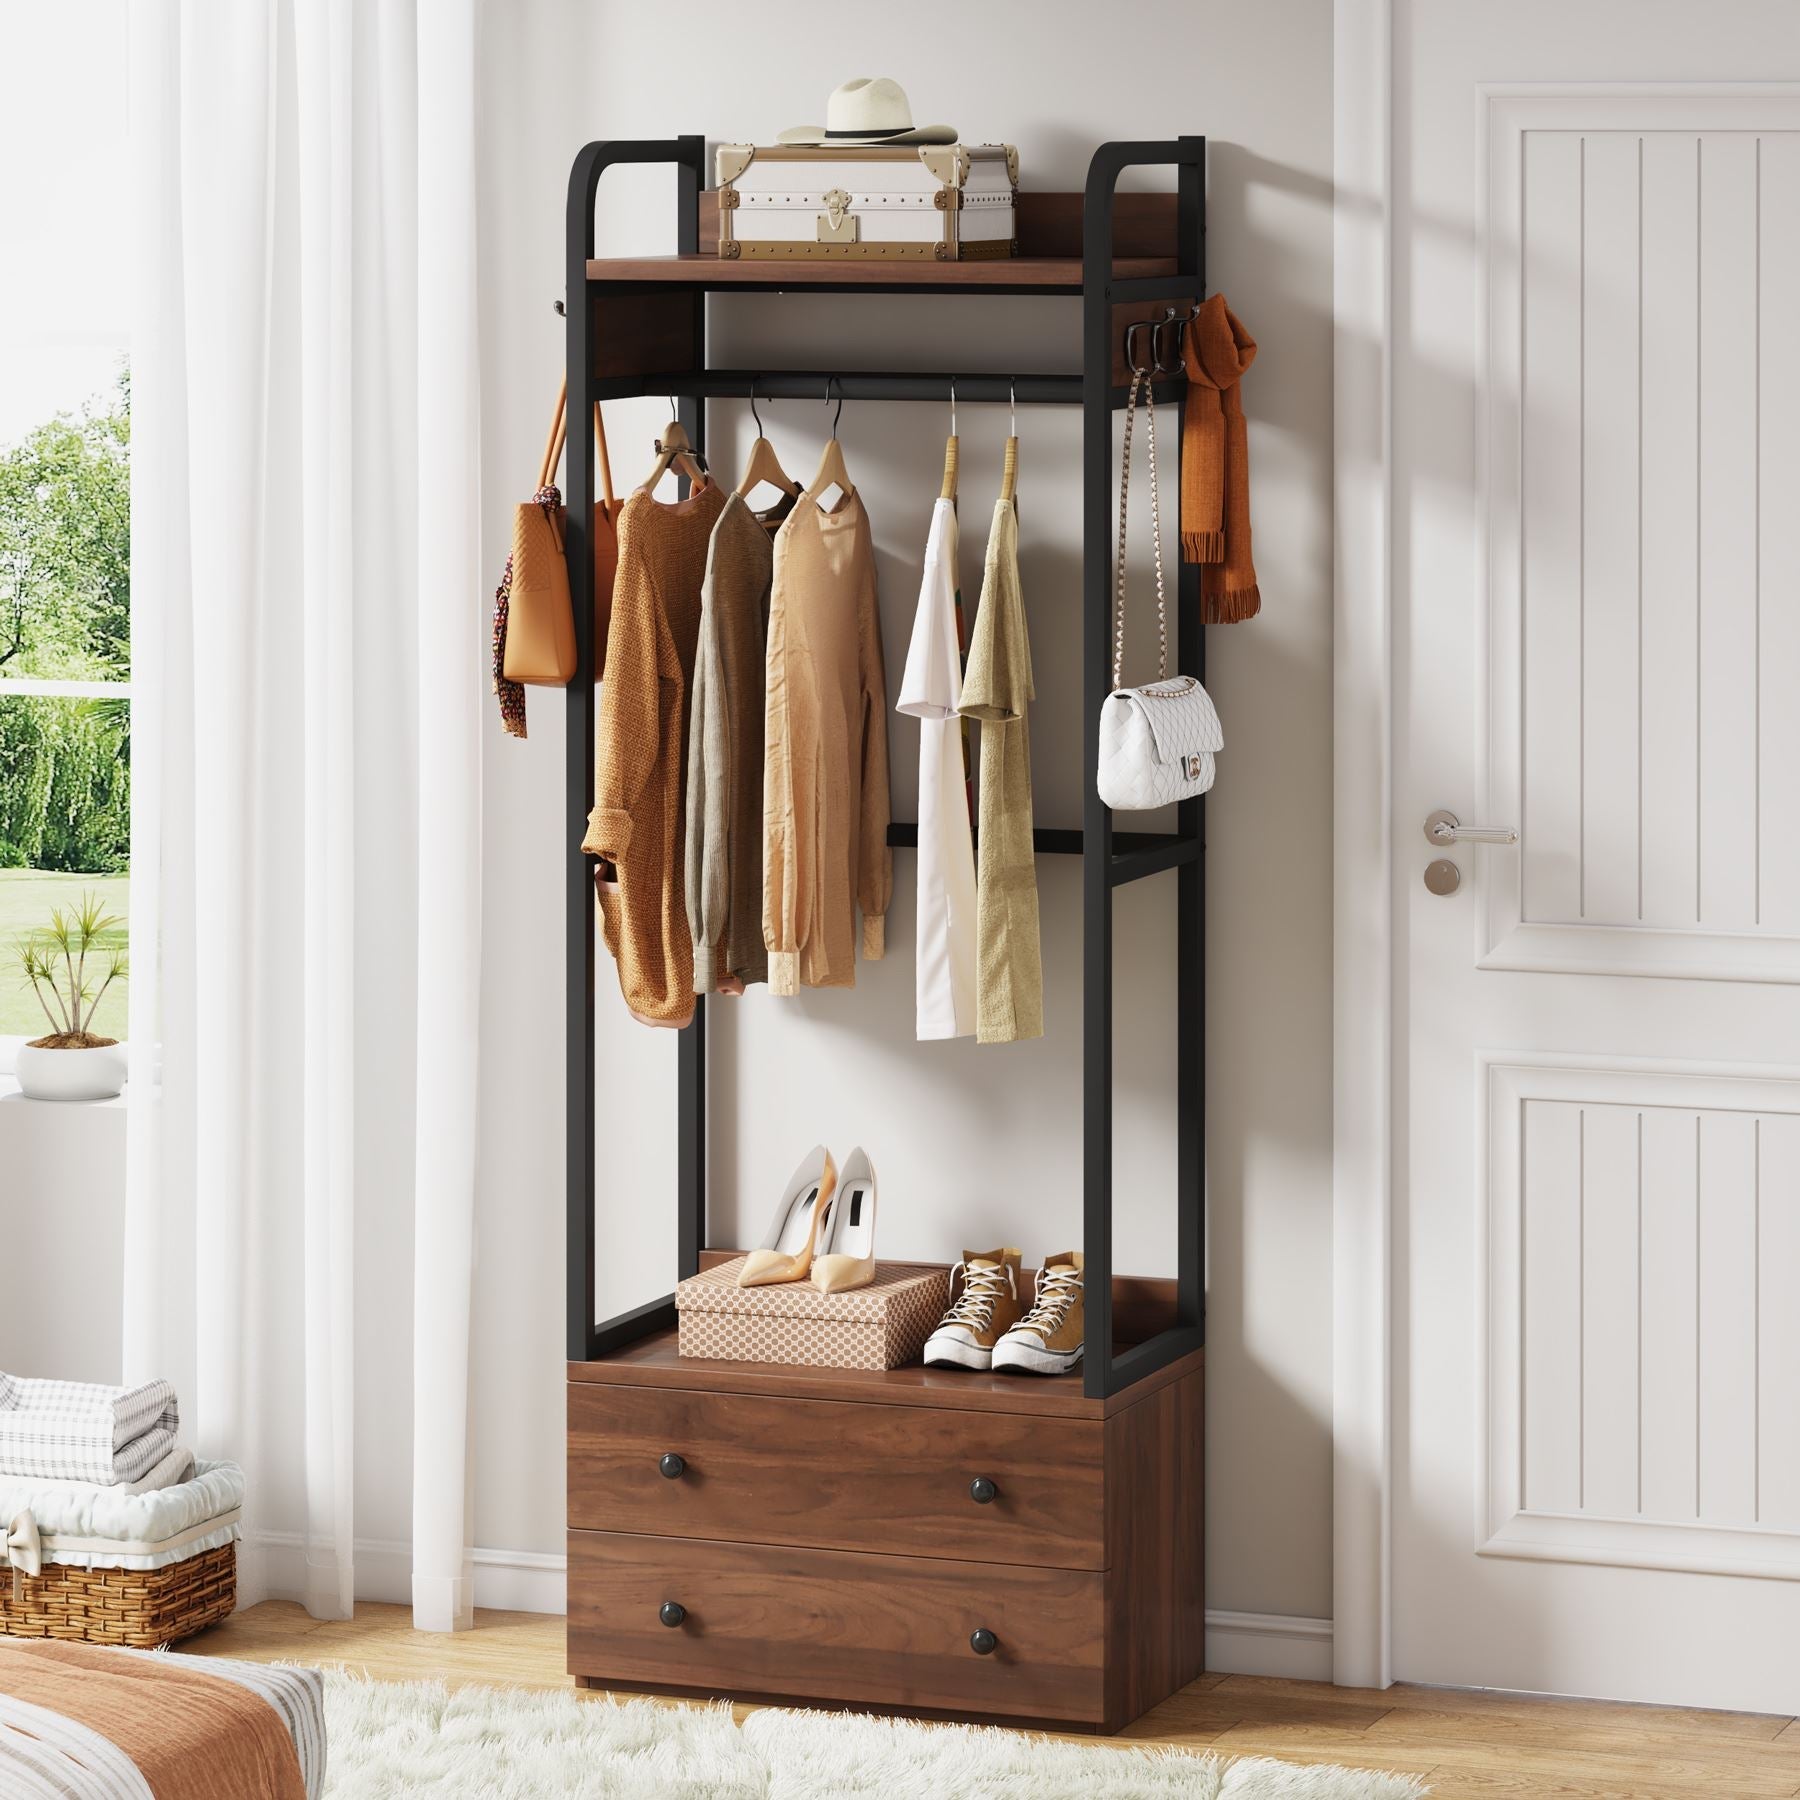
Simple Wall-mounted Racks
Wall-mounted racks are easy to install and save floor space. They fit well in small closets. Use sturdy hooks or bars to hold coats. Choose materials like wood or metal for durability. You can space hooks apart to hang multiple coats. These racks keep coats visible and easy to grab.
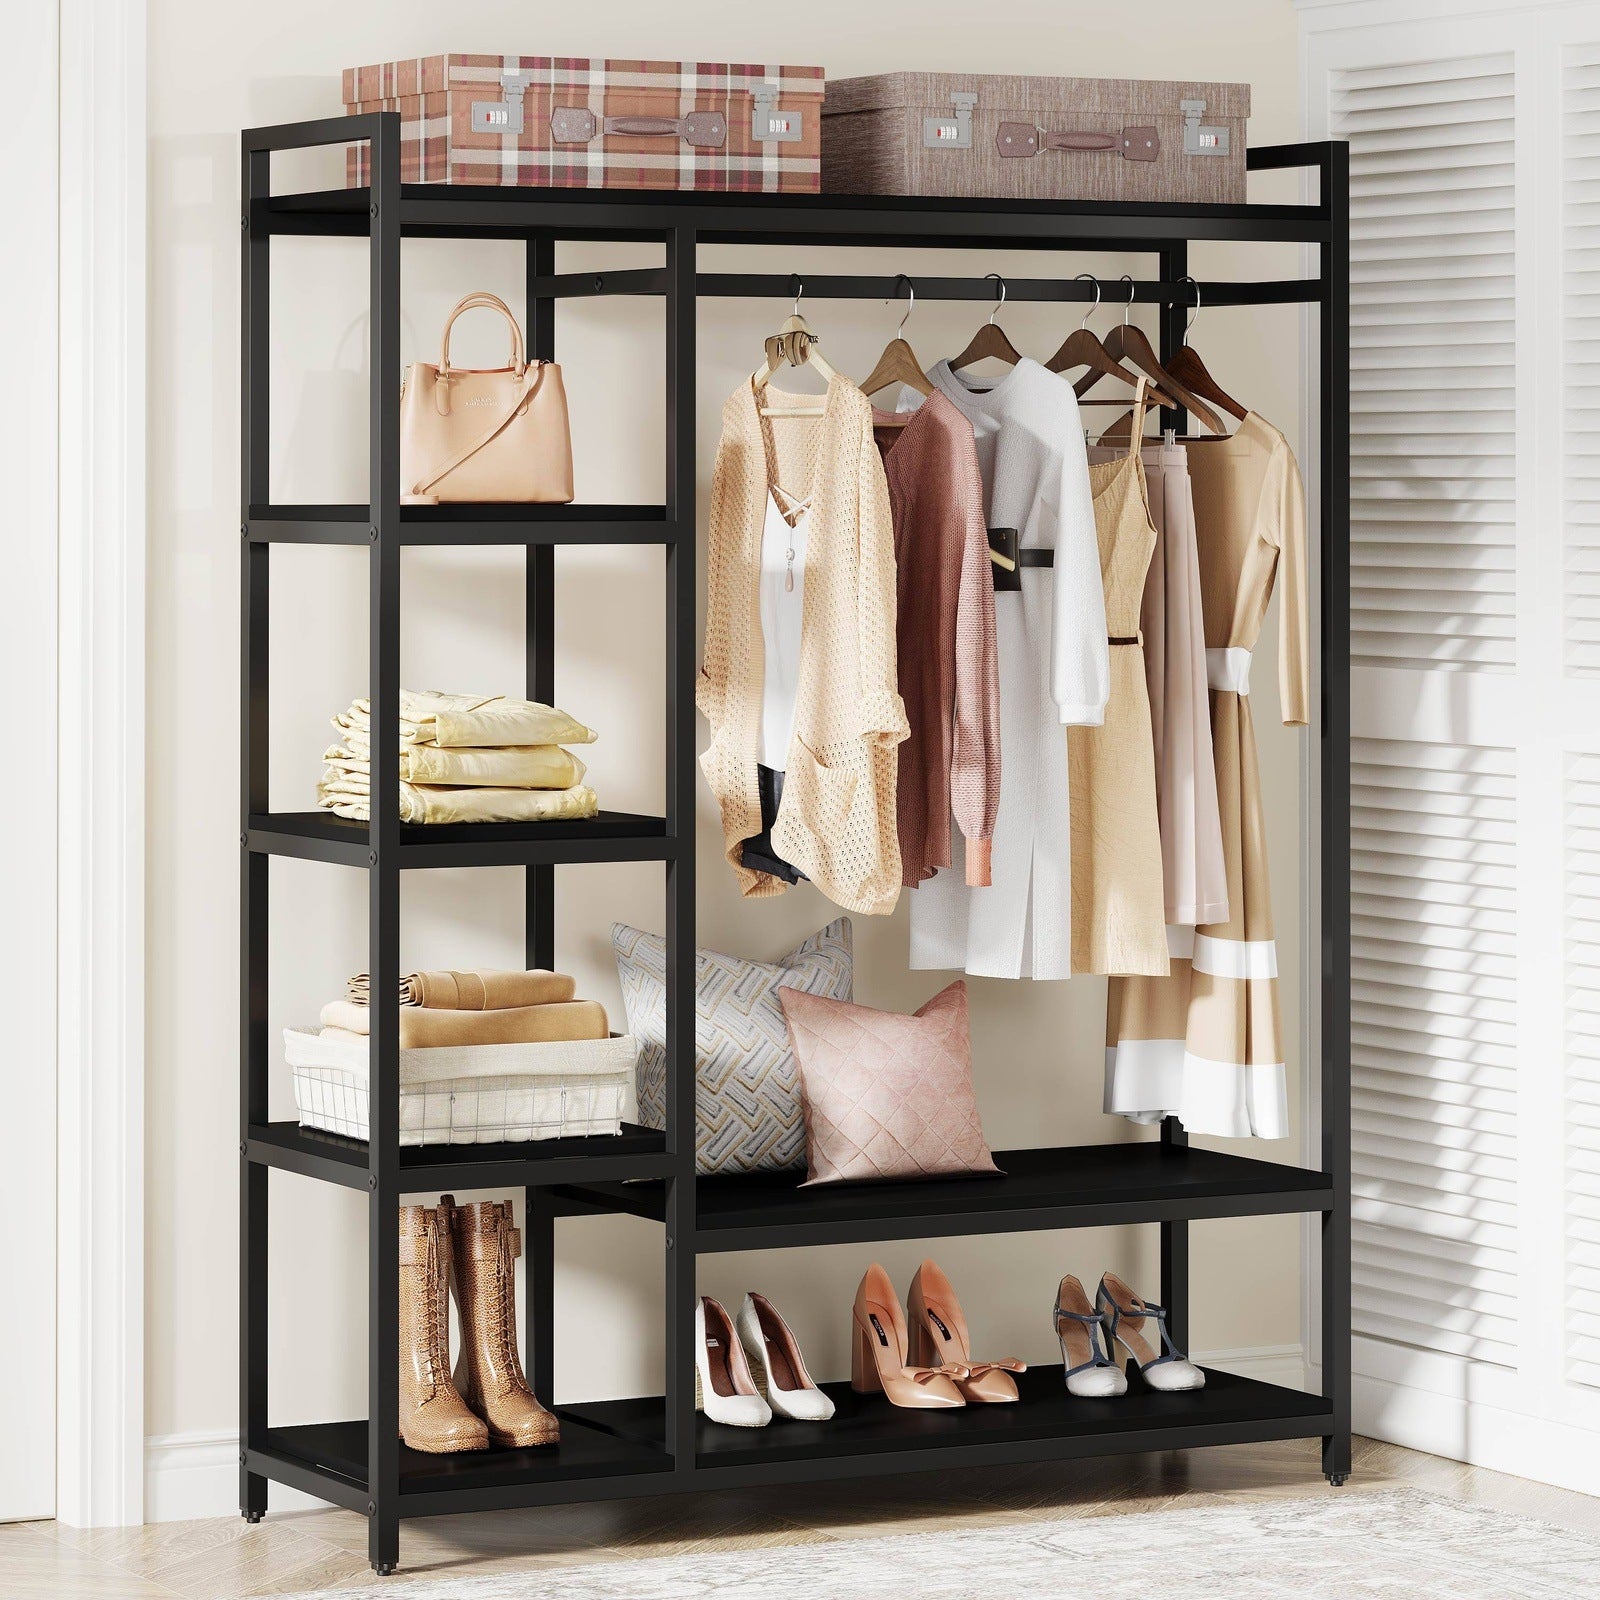
Freestanding Options
Freestanding coat racks do not need wall space. They are good for larger closets or rooms. These racks often have a base and several hooks or arms. You can move them around as needed. Choose a stable design to avoid tipping. Some freestanding racks also have shelves or baskets below for extra storage.
Incorporating Hooks And Shelves
Hooks are essential for hanging coats, bags, and hats. Place hooks at different heights for better use. Shelves add space for hats, gloves, or shoes. Use small shelves to keep items neat. Combining hooks and shelves makes your rack more useful. Choose materials that match your closet style. This design helps keep everything organized in one place.
Credit: tribesigns.com
Step-by-step Assembly Guide
Building a coat rack inside your closet makes organizing easy. Follow this simple guide to assemble your new rack correctly. Each step helps you create a sturdy, useful space for coats and bags. Take your time and enjoy the process.
Measuring And Marking
First, measure the closet wall where you want the coat rack. Use a tape measure for accuracy. Mark the spots for hooks or mounts with a pencil. Space the marks evenly to fit all your coats. Double-check measurements to avoid mistakes.
Installing Mounts And Hooks
Next, attach the mounts to the marked spots. Use a drill or screwdriver to secure them tightly. Make sure mounts are level to keep hooks straight. After mounts, screw in the hooks firmly. Check that each hook can hold weight without moving.
Finishing Touches
Finally, clean the area around the rack. Remove pencil marks with an eraser or cloth. Test the rack by hanging coats or bags. Adjust hooks if they feel loose or uneven. Enjoy your new organized closet space.
Maximizing Closet Storage
Maximizing closet storage makes every inch count. A coat rack in your closet helps keep coats neat and easy to reach. Organizing your closet well also saves time and reduces clutter. Small changes can create big space benefits.
Using Vertical Space
Use the full height of your closet by adding hooks or racks on the walls. Hang coats and bags higher to free up floor space. Shelves above the rack can hold hats and gloves. This way, you keep items off the ground and easy to find.
Adding Multi-purpose Elements
Choose coat racks that also hold other items. Some racks have shelves or baskets for shoes and scarves. You can also add small hooks for keys or umbrellas. Multi-use racks help reduce the need for extra furniture.
Maintaining Organization
Keep your closet tidy by sorting items regularly. Group coats by season or type on the rack. Use labels or color codes to find things faster. Clear spaces help you see what you have and avoid clutter.
Safety And Maintenance Tips
Safety and maintenance are important for a coat rack in a closet. Proper care keeps the rack strong and lasting longer. It also prevents accidents and damage. Follow simple tips to keep your coat rack safe and neat.
Weight Limits And Support
Know the weight limit of your coat rack. Do not hang heavy items beyond this limit. Use strong screws and anchors for better support. Check the rack regularly for loose parts. Tighten screws to avoid accidents. A well-supported rack holds coats safely and lasts longer.
Cleaning And Upkeep
Clean your coat rack often to prevent dust and dirt build-up. Use a soft cloth and mild cleaner. Avoid harsh chemicals that can damage the material. Dry the rack after cleaning to stop rust or wood damage. Keep the closet area tidy to protect the rack from damage.
Troubleshooting Common Issues
Look for signs of wear like cracks or bending. Fix small problems early to avoid bigger damage. Replace broken hooks or parts quickly. If the rack wobbles, check the wall anchors and screws. Repair or reinforce weak spots to keep it safe. Regular checks prevent unexpected failures.

Credit: www.amazon.com
Frequently Asked Questions
What Materials Do I Need To Make A Coat Rack In A Closet?
You need wooden boards, screws, hooks, a drill, a measuring tape, and wall anchors. Choose sturdy materials for durability.
How Do I Choose The Best Spot For A Closet Coat Rack?
Select an empty wall or door inside the closet. Ensure it’s easily accessible and won’t block other storage spaces.
Can I Install A Coat Rack Without Drilling Holes?
Yes, use adhesive hooks or tension rods for a no-drill option. However, these may hold less weight than drilled racks.
How Much Space Should I Leave Between Hooks?
Leave 6 to 8 inches between hooks. This spacing prevents coats from overlapping and keeps the closet organized.
Conclusion
Making a coat rack in your closet saves space and keeps things neat. You only need a few tools and simple steps. This project fits small or large closets. It helps you find coats quickly and keeps your area tidy.
Try this easy DIY to add more storage. Small changes make a big difference in your home. Start today and enjoy a clutter-free closet tomorrow.