Looking for a unique way to add character to your home? Imagine turning something unexpected into a practical, eye-catching coat rack.
Using deer legs might sound unusual, but it’s a creative project that can transform your space and spark conversations. If you want a coat rack that stands out and shows off your personal style, this guide is made just for you.
Keep reading, and you’ll discover how easy and rewarding it can be to create a one-of-a-kind piece that’s both functional and full of rustic charm.
Materials Needed
Creating a coat rack out of deer legs needs the right materials. These materials make the project easier and give a strong, unique rack. Gather everything before you start to work smoothly and safely.
Selecting Deer Legs
Choose deer legs that are clean and free of damage. Look for legs with intact bones and firm joints. Avoid legs that feel soft or show cracks. Fresh, well-preserved legs last longer and hold weight better. You can find these from hunters or taxidermists. Make sure they are dry and not smelly.
Additional Supplies
Besides deer legs, you need wood or metal for the base. Screws and strong glue help to fix parts firmly. Sandpaper smooths rough edges on the legs. Paint or varnish protects the wood and deer legs. Hooks or knobs attach to hang coats easily. Wear gloves and a mask to stay safe while working.
Preparing The Deer Legs
Preparing the deer legs is the first step in making a unique coat rack. Proper care ensures the legs look good and last long. You need to clean, treat, trim, and shape them carefully. This process makes the legs safe and sturdy for use as hooks.
Cleaning And Treating
Start by removing any dirt, blood, or debris from the deer legs. Use cold water and a soft brush for gentle cleaning. Avoid harsh chemicals that can damage the natural look. After cleaning, treat the legs with a wood preservative or sealant. This protects them from pests and decay. Let the legs dry fully before moving to the next step.
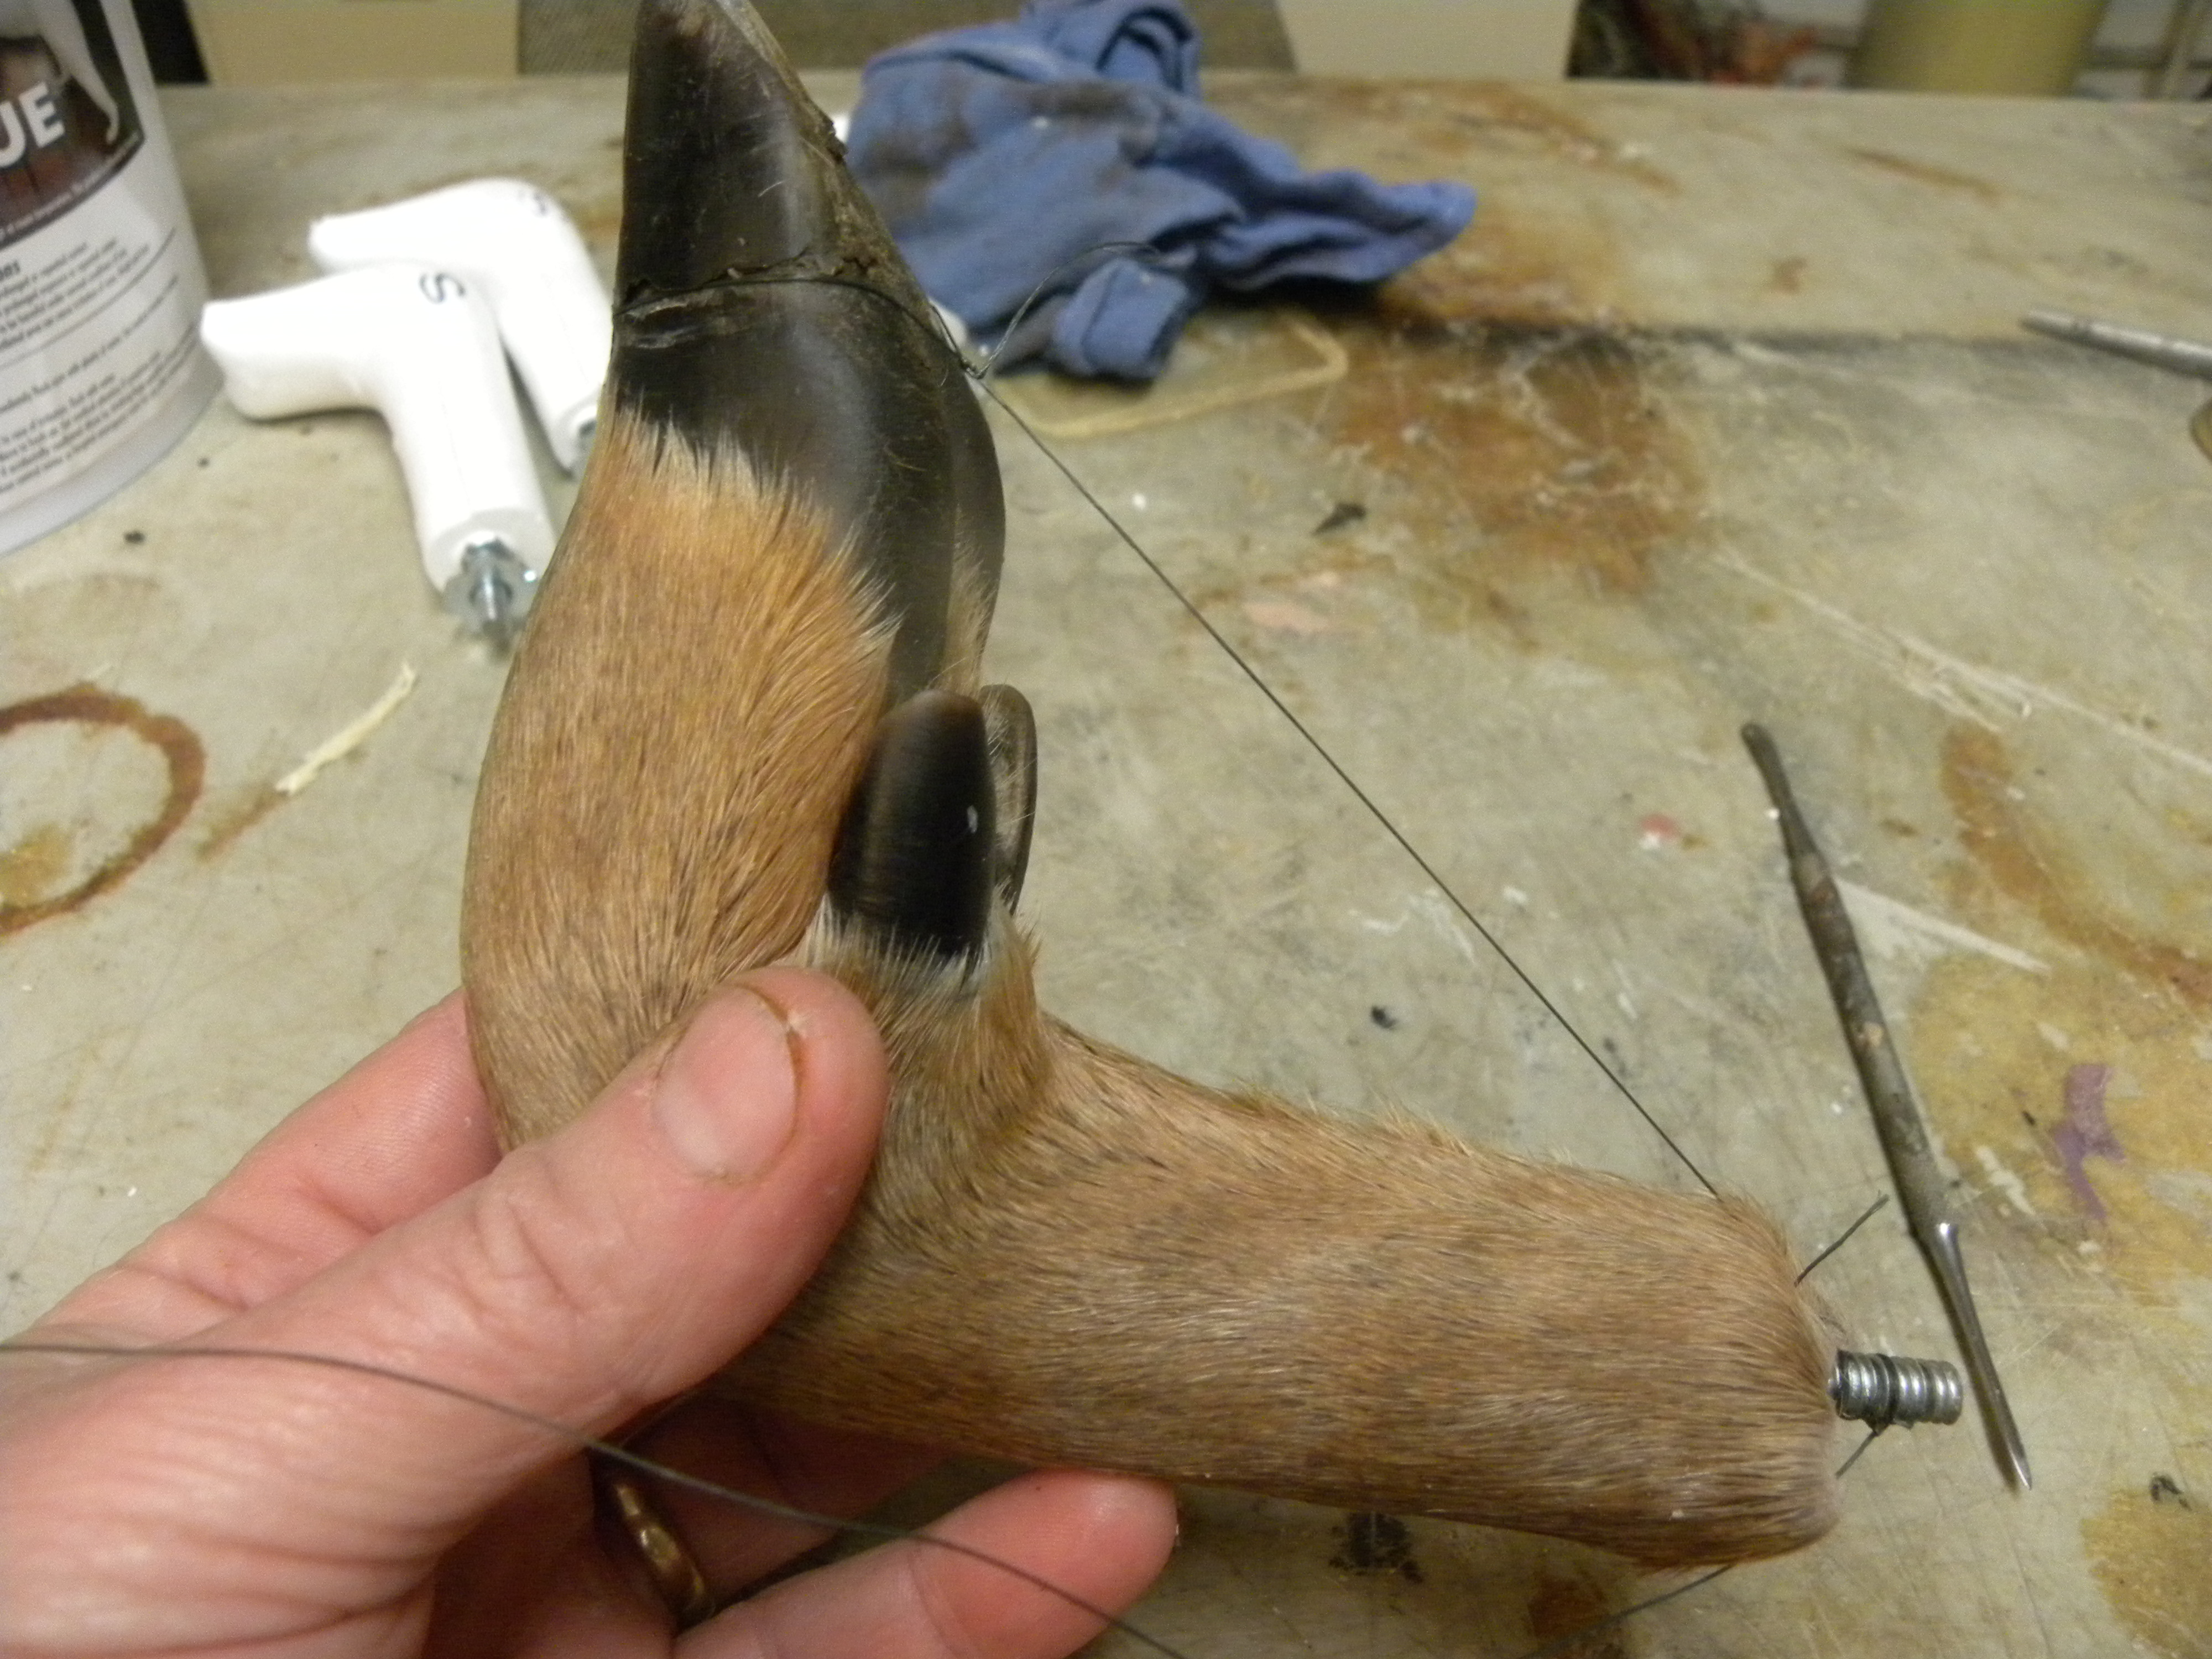
Trimming And Shaping
Trim any excess fur or tissue from the legs with sharp scissors. Shape the legs to create smooth, even surfaces. Use sandpaper to remove rough edges and splinters. Pay attention to the points where you will attach hooks or mount the legs. Proper trimming and shaping improve both safety and appearance.
Designing Your Coat Rack
Designing your coat rack from deer legs is a creative and fun process. It lets you make a unique piece for your home. Careful design helps the rack look good and work well. Focus on the shape and where the hooks will go. This helps keep coats and bags organized and easy to reach.
Think about how many coats you want to hang. Also, consider the space where the rack will stand. These details guide your design choices. Balance style and function to make a strong, useful rack.
Choosing The Layout
Start by deciding the overall shape of your rack. You can arrange the deer legs vertically or horizontally. Vertical layouts save floor space and look tall. Horizontal layouts offer more hanging spots in a compact area. Think about the style of your room. Match the rack’s shape to the room’s feel. Sketch your ideas on paper to see how they look. Choose a layout that fits your needs and space well.
Planning Hook Placement
Hooks hold coats, hats, and bags. Place them where items hang freely without touching the floor. Space hooks evenly to avoid crowding. Place some hooks higher for long coats. Add lower hooks for children’s coats or bags. Attach hooks securely to deer legs for strong support. Try hanging items on your mock setup. Adjust hook spots until everything fits well. Good hook placement makes the rack practical and neat.

Credit: www.youtube.com
Assembling The Coat Rack
Assembling the coat rack is the most important step. It turns raw deer legs into a useful item. Careful assembly ensures stability and style. Follow clear steps to join parts and add hooks. This section guides you through the process.
Joining The Legs
Start by selecting the strongest deer legs. Cut them to even lengths for balance. Use wood glue on the ends for a firm bond. Clamp the legs together and let the glue dry. Add screws for extra strength through the glued areas. Drill pilot holes first to avoid splitting the wood. Arrange the legs in a tripod or square shape. This gives the rack a steady base to hold coats. Sand rough edges for a smooth finish.
Adding Hooks And Fixtures
Choose sturdy hooks that can hold heavy coats. Attach hooks evenly around the rack for balance. Use screws or bolts to fix hooks securely. Place hooks at different heights for convenience. Check each hook for strength before use. Add a top fixture or shelf for extra storage. Paint or varnish the rack to protect the wood. Let everything dry completely before using the rack.
Finishing Touches
Finishing touches make your deer leg coat rack look great and last longer. They improve the texture and protect the wood. These steps create a smooth, polished surface that feels good to touch. They also keep the coat rack safe from damage and wear.
Take time with these final steps. They add beauty and strength to your project.
Sanding And Polishing
Start by sanding the deer legs with fine-grit sandpaper. This removes rough spots and splinters. Sand in the direction of the wood grain for a smooth finish. Use a soft cloth to wipe away dust after sanding.
Next, apply a wood polish or natural oil. This brings out the wood’s natural color and shine. Polish gently with a clean cloth until the surface feels smooth and looks bright.
Applying Protective Coating
Choose a clear protective coating like varnish or polyurethane. This guards the wood against moisture and scratches. Apply the coating evenly with a brush or cloth. Let it dry fully before adding a second layer.
Two or three coats work best for strong protection. Lightly sand between coats for an even surface. The coating keeps your coat rack looking new for years.
Credit: taxidermytalk.com
Mounting And Display
Mounting and displaying your coat rack made from deer legs is important. It ensures the rack is safe and looks good. Proper mounting keeps the rack steady and supports the weight of coats and bags. Displaying it well adds charm to your space and highlights your creative work.
Wall Attachment Options
Choose strong wall anchors for heavy racks. Use screws that fit the anchors well. Attach brackets to the back of the deer legs for extra support. Consider French cleats for easy hanging and removal. Drill holes carefully to avoid damaging the wood. Test the rack’s stability before hanging coats.
Placement Tips
Place the rack near the door for easy access. Avoid spots with high moisture to protect the wood. Keep it at a height that suits all users. Leave space around the rack so coats hang freely. Position it where it adds style to the room. Think about lighting to make the rack stand out.
Maintenance Tips
Maintaining your coat rack made from deer legs keeps it strong and looking nice. A little care goes a long way. Follow simple steps to keep it clean and prevent damage. This extends the life of your unique rack and keeps it safe to use.
Cleaning The Rack
Dust the rack often using a soft cloth. Avoid harsh chemicals that can harm the wood or finish. Use a damp cloth with mild soap for deeper cleaning. Dry it quickly to stop moisture damage. Clean the hooks and legs carefully to keep their natural look.
Preventing Wear And Tear
Place the rack away from direct sunlight to avoid fading. Do not overload it with heavy items. Check for loose parts regularly and tighten screws if needed. Use felt pads on the bottom to protect floors. Treat the wood with oil or wax every few months to keep it healthy.

Credit: roots-revived.com
Frequently Asked Questions
How Do You Prepare Deer Legs For A Coat Rack?
Clean and dry the deer legs thoroughly. Remove any flesh or fat. Sand the surface smooth. Seal with a protective finish to prevent damage and enhance appearance.
What Tools Are Needed To Make A Deer Leg Coat Rack?
You need a saw, drill, sandpaper, screws, and a protective finish. Optional tools include clamps and a measuring tape for precision.
How To Securely Attach Deer Legs To A Wall?
Use heavy-duty wall anchors and screws. Drill pilot holes in the deer legs. Mount them firmly to ensure they hold coats safely.
Can Deer Leg Coat Racks Support Heavy Coats?
Yes, properly prepared and mounted deer legs can support heavy coats. Ensure secure installation for maximum strength and durability.
Conclusion
Making a coat rack from deer legs is a unique and creative project. It adds charm and nature’s touch to any space. The steps are simple and fun to follow. You can customize the rack to fit your style and needs.
This craft also helps recycle natural materials, making it eco-friendly. Try this project to enjoy a new, rustic piece in your home. It’s a great way to show your creativity and love for nature. Give it a shot—you might love the result!