Are you looking to add a charming touch to your dollhouse? Making a dollhouse bunk bed is a fun and simple project that can bring your miniature world to life.
Whether you’re a beginner or have some crafting experience, this guide will walk you through easy steps to create a sturdy and stylish bunk bed your dolls will love. Keep reading, and you’ll discover tips and tricks that make the process smooth and enjoyable—from choosing materials to the final finishing touches.
By the end, you’ll have a unique piece that adds both function and flair to your dollhouse. Let’s get started!
Materials Needed
Gathering the right materials makes building a dollhouse bunk bed easier. Using simple items helps create a sturdy and charming piece for your dollhouse. Each material plays a key role in the bed’s look and strength.
Prepare all items before starting your project. This saves time and avoids interruptions. Keep materials clean and ready to use.
Wood Pieces
Choose thin wood strips or balsa wood for the bed frame. They are light and easy to cut. Make sure pieces are smooth and straight for better assembly.
Wood Glue
Use strong wood glue to join parts firmly. It dries clear and holds well. Avoid glue that takes too long to dry.
Sandpaper
Sandpaper smooths rough edges and surfaces. Use fine grit for a clean finish. This prevents splinters and helps paint stick better.
Paint And Brushes
Select non-toxic paint in your favorite colors. Small brushes work best for detailed areas. Paint adds charm and protects the wood.
Miniature Mattress Materials
Soft fabric and small foam pieces create tiny mattresses. Choose colors and patterns that match your dollhouse style. Sewing or gluing fabric is simple for beginners.
Cutting Tools
Use a craft knife or small saw for precise cuts. Always cut on a safe surface. Sharp tools make clean cuts but handle with care.
Choosing The Right Design
Choosing the right design for your dollhouse bunk bed is important. It sets the style and size of the bed. A good design makes the bed look real and fit well inside the dollhouse. It also helps you build the bed with ease. Think about the space and the dolls you have. This will guide your design choice.
Consider The Size And Scale
The size must match the dollhouse rooms. Measure the height, width, and depth carefully. The bunk bed should not block doors or windows. Keep the scale true to your dolls. A bed too big or small looks odd. Accurate size makes the bed look natural.
Choose A Style That Matches
Pick a style that fits your dollhouse theme. Classic, modern, or rustic styles work well. Simple designs are easier to build. Look for designs with clean lines and clear shapes. A matching style adds charm to your dollhouse.
Pick Materials For Easy Building
Choose materials that are easy to cut and glue. Wood, cardboard, or foam board work well. Light materials keep the bed sturdy but light. Avoid heavy or hard-to-handle materials. The right materials save time and effort.
Think About Safety And Stability
Design the bed to be stable for play. Avoid tall or thin parts that break easily. Strong joints and supports add safety. A stable bunk bed lasts longer during playtime. Safety makes the bed fun and worry-free.
Cutting The Wood Pieces
Cutting the wood pieces is the first important step in making a dollhouse bunk bed. Precise cuts ensure that all parts fit well together. This step needs careful measuring and steady hands. Proper cutting saves time and makes assembly easier.
Use a ruler and pencil to mark the wood pieces clearly. Each piece should match the size needed for your dollhouse bunk bed design. Take your time to avoid mistakes.
Choosing The Right Wood
Select thin plywood or balsa wood for easy cutting. These woods are light and simple to handle. Avoid thick or hard wood, as it is harder to cut accurately.
Measuring And Marking
Measure twice, cut once. Draw straight lines with a ruler. Mark each piece with clear labels to avoid confusion later.
Using The Right Tools
A small saw or craft knife works best for cutting dollhouse wood. Use a cutting mat to protect surfaces. Always cut slowly and carefully for clean edges.
Cutting The Pieces
Follow your markings precisely. Hold the wood firmly while cutting. Smooth the edges with sandpaper to prevent splinters and improve fit.
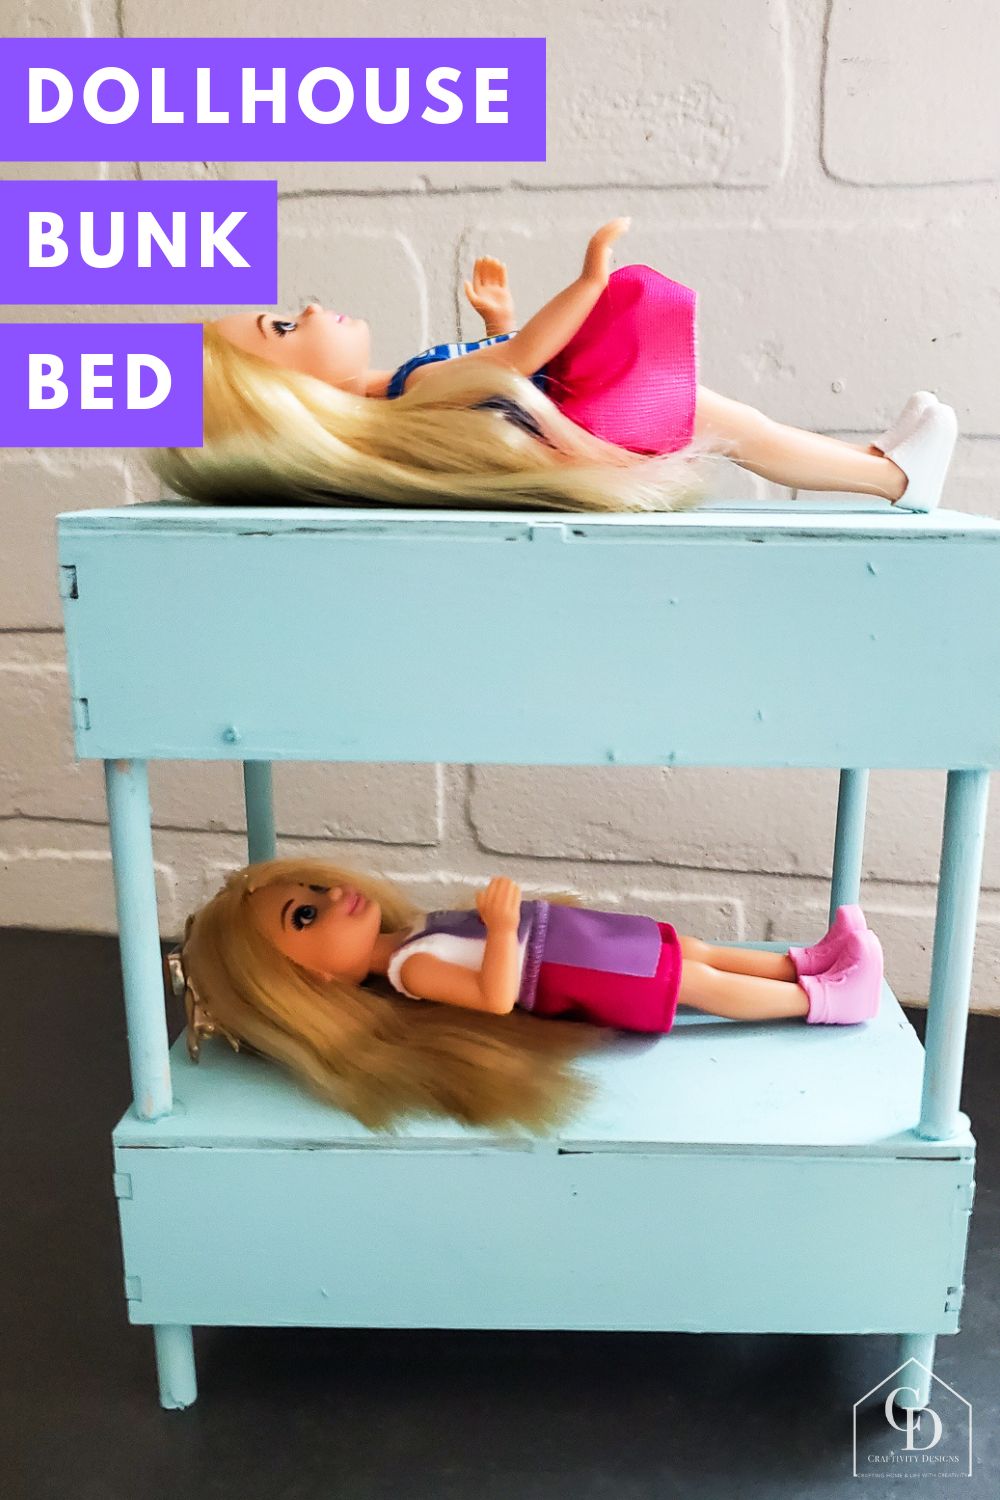
Credit: craftivitydesigns.com
Assembling The Frame
Assembling the frame is the key step in making a dollhouse bunk bed. This part gives the bed its shape and strength. Careful assembly ensures the bed stays sturdy and lasts long. Follow the steps closely to build a strong base for your bunk bed.
Preparing The Wooden Pieces
Start by gathering all wooden pieces needed for the frame. Sand the edges smooth to avoid splinters. Check the pieces match the size in your plan. Clean off any dust before assembly.
Joining The Side Panels
Attach the side panels using wood glue and small nails. Hold the pieces tightly until the glue sets. Make sure the panels are straight and aligned properly. This forms the main support for the bed.
Adding The Support Beams
Fix the support beams between the side panels. These beams hold the mattress platform. Use screws for a stronger hold. Measure carefully to place beams evenly for balance.
Securing The Ladder Frame
Build the ladder frame separately with small wooden strips. Attach it to the bunk bed frame firmly. Check that it is safe and stable for play. A well-fixed ladder completes the structure.
Adding The Ladder And Rails
Adding the ladder and rails to your dollhouse bunk bed gives it a finished look. These parts also make the bed look safe and real. The ladder lets the dolls climb to the top bunk easily. The rails keep them from falling off. Both are simple to build and attach.
Creating The Ladder Steps
Start by cutting small pieces of wood for the ladder steps. Each step should be the same size for balance. Use thin strips for the ladder sides. Glue the steps evenly between the sides. Let the glue dry well before moving on.
Attaching The Ladder To The Bed
Place the ladder at one end of the bunk bed. Check the angle so it looks natural. Use small nails or strong glue to fix the ladder. Make sure it is steady and will not fall off. Hold it in place until it is secure.
Building The Safety Rails
Cut thin strips of wood to make rails for the top bunk. The rails should be tall enough to stop dolls from falling. Attach the rails along the long sides of the top bunk. Use glue or tiny nails for a firm hold. Check the rails are even and straight.
Sanding And Finishing
Sanding and finishing are important steps in making a dollhouse bunk bed. They make the wood smooth and safe for play. Finishing protects the wood and gives it a nice look. Take your time with these steps to get the best results.
Sanding The Wood
Start sanding with medium-grit sandpaper. This removes rough spots and splinters. Sand all surfaces evenly. Use gentle pressure to avoid damaging the wood. After that, switch to fine-grit sandpaper. It smooths the wood for a soft finish. Wipe away dust with a dry cloth before moving on.
Choosing The Right Finish
Pick a finish that is safe for children. Water-based paints or clear varnishes work well. They dry fast and have low odor. Avoid finishes with strong chemicals. Test your finish on a small piece of scrap wood first. This helps you see the color and texture.
Applying The Finish
Use a small brush for better control. Apply thin and even layers. Let each layer dry fully before the next. Lightly sand between coats to keep the surface smooth. Apply two or three coats for best protection. Finish with a final dry wipe to remove dust.
Painting And Decorating
Painting and decorating your dollhouse bunk bed brings it to life. It adds personality and charm. This step lets you match the bed with the dollhouse style. Simple colors or bright designs both work well. Use safe, non-toxic paints for best results.
Small details make a big difference in the final look. Think about the bedding, patterns, and tiny accessories. These touches create a cozy and inviting feel. Decorating is fun and lets you show your creativity.
Choosing The Right Paint
Select acrylic paint for easy use and quick drying. It sticks well to wood and plastic surfaces. Pick colors that fit the dollhouse theme. Soft pastels for a classic look or bold hues for something lively. Avoid thick paint that can hide fine details.
Adding Patterns And Designs
Use small brushes to paint stripes, dots, or flowers. Stencils help make neat and even shapes. Tape can create straight lines for a polished look. Patterns add charm and make the bunk bed unique. Keep designs simple for a clean finish.
Decorating With Accessories
Include tiny pillows, blankets, or rugs to enhance realism. Use fabric scraps or felt for soft bedding. Glue small buttons or beads for buttons or knobs. Miniature toys or books add a playful touch. Accessories complete the cozy bunk bed scene.
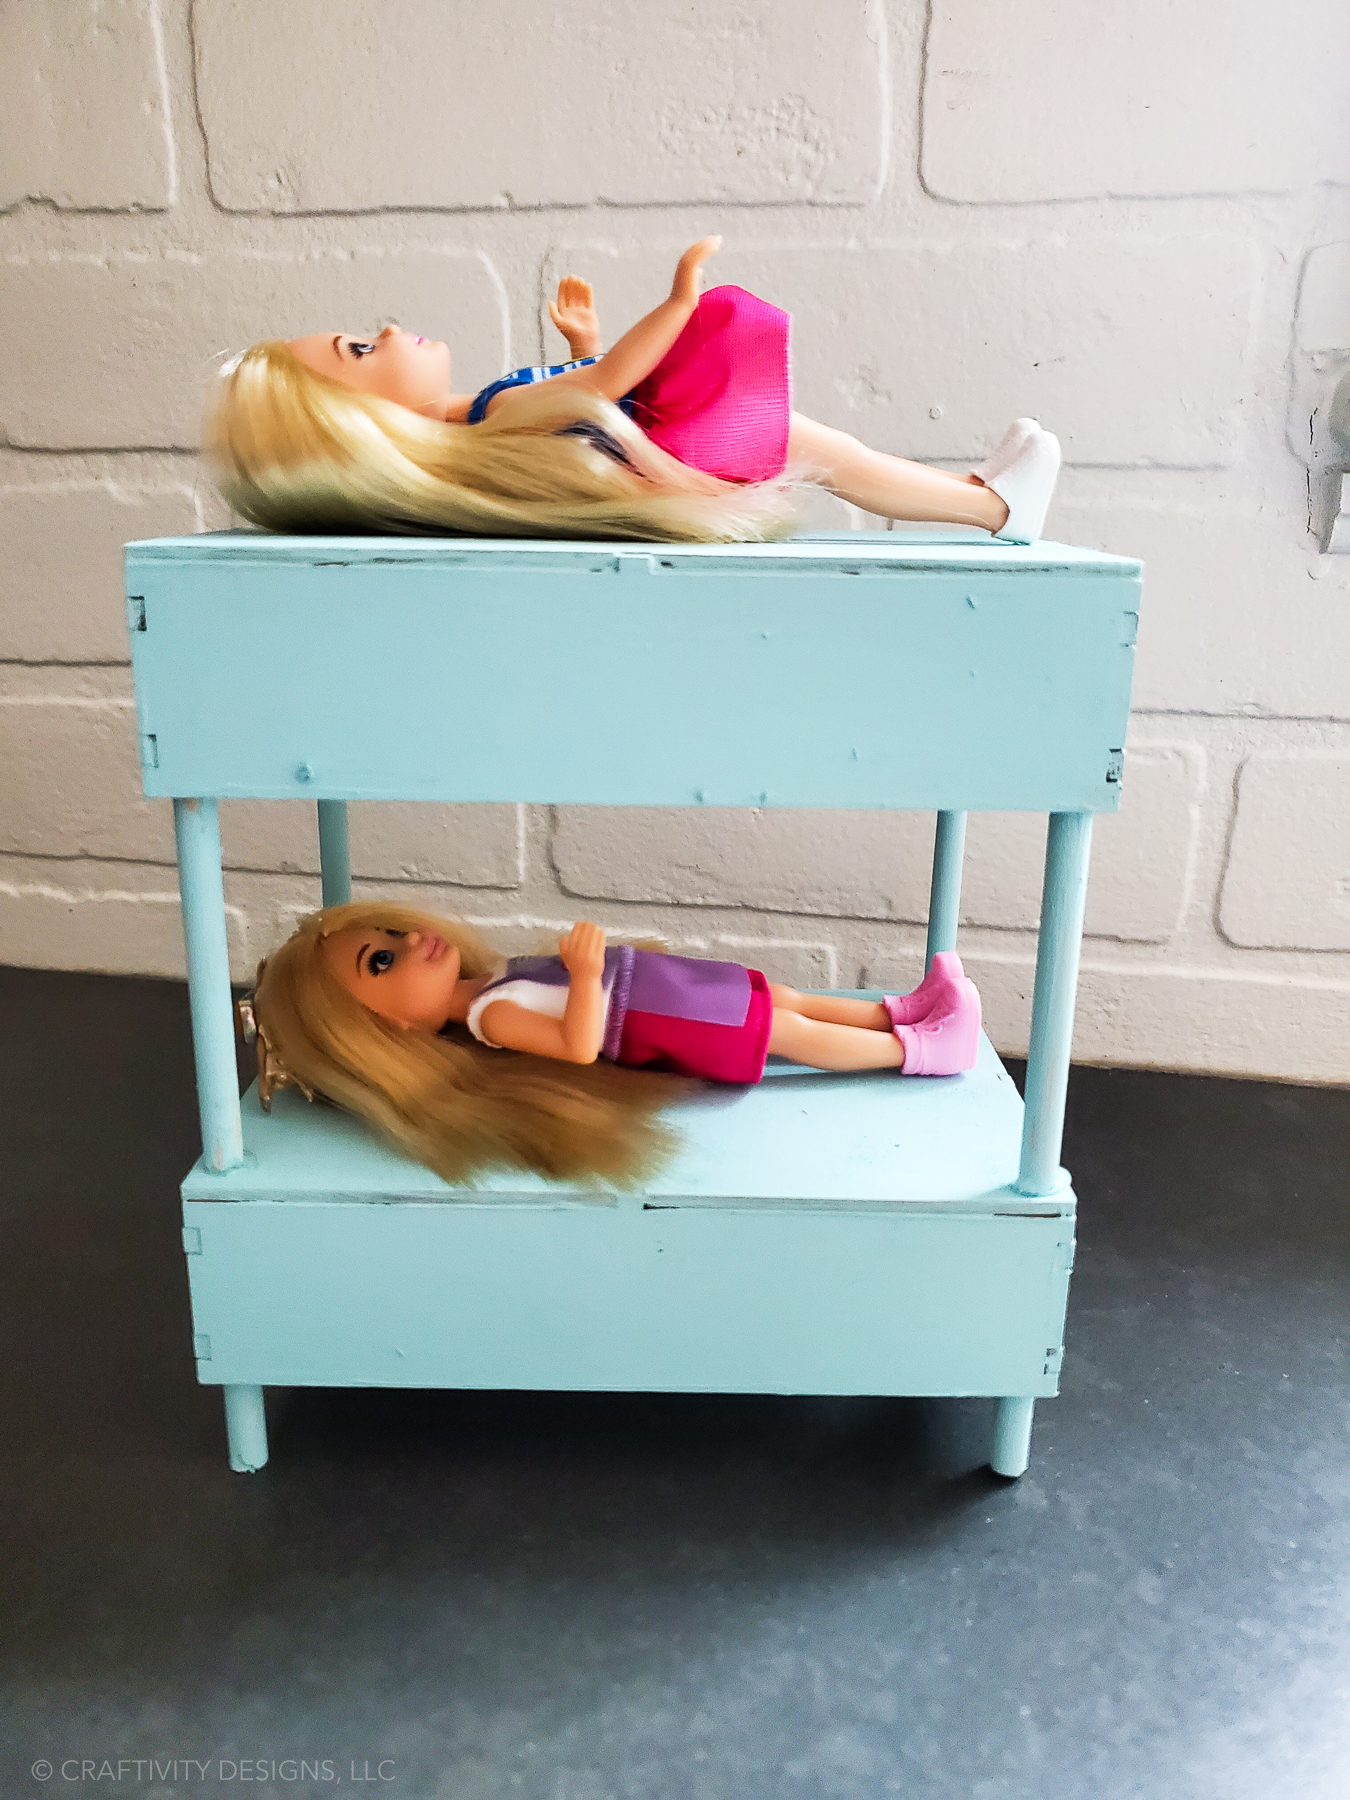
Credit: craftivitydesigns.com
Tips For Safety And Durability
Making a dollhouse bunk bed is fun and creative. Safety and durability matter most. A strong bunk bed lasts longer and stays safe for play. Use these tips to build a sturdy and secure dollhouse bunk bed.
Use Quality Materials
Choose wood or plastic that is strong and smooth. Avoid materials that easily break or splinter. Smooth edges prevent cuts and injuries during play. Check for any weak spots before starting.
Secure All Joints
Glue and tiny nails keep parts together firmly. Test each joint to avoid wobbling or falling. Tight connections stop the bed from shaking or breaking. Strong joints make the bunk bed safe to move.
Sand Rough Edges
Sandpaper or a nail file smooth sharp corners and edges. Rough parts can hurt tiny hands. Smooth surfaces improve the look and feel of the bed. Take time to sand every piece well.
Use Non-toxic Paint
Choose paints safe for children and dolls. Avoid paints with harmful chemicals or strong smells. Non-toxic paint protects kids and the environment. Apply thin layers to prevent drips and lumps.
Test Stability Regularly
Check the bed often while building. Press down gently on the top bunk. Ensure it does not tip or lean. Fix any loose parts quickly. Stability keeps the dollhouse bed safe for play.
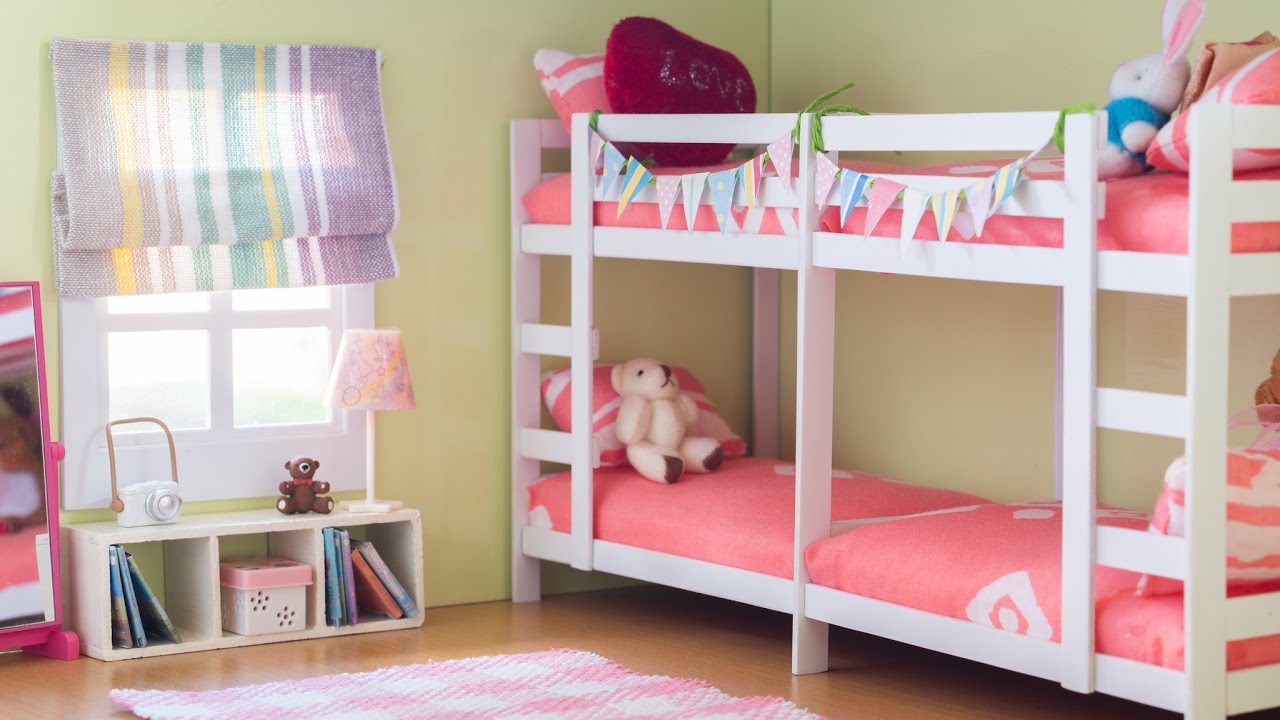
Credit: www.youtube.com
Frequently Asked Questions
What Materials Are Needed To Make A Dollhouse Bunk Bed?
You need wood or sturdy cardboard, glue, small nails, paint, and sandpaper. Optional tools include a saw and clamps for precision.
How Do I Measure For A Dollhouse Bunk Bed?
Measure the dollhouse room dimensions first. Then, plan the bunk bed size to fit comfortably inside.
What Is The Easiest Way To Assemble A Dollhouse Bunk Bed?
Cut all pieces accurately, sand edges smooth, then glue and nail parts carefully. Let it dry fully before painting.
Can I Customize The Dollhouse Bunk Bed Design?
Yes, you can add ladders, railings, or paint it in different colors. Personal touches make it unique.
Conclusion
Building a dollhouse bunk bed can be fun and simple. You only need a few materials and some patience. Follow the steps carefully to get the best results. This project adds charm and space to any dollhouse. Kids and adults enjoy creating and playing with it.
Try different colors or styles to make it unique. Keep practicing, and your skills will grow. Enjoy your new dollhouse bunk bed every day!