Looking for a simple, stylish way to organize your coats and save space? You’re in the right place.
Making a dowel coat rack is easier than you think, and it can add a personal touch to your home. Imagine having a custom rack that fits perfectly in your entryway, ready to hold all your jackets and bags. In this guide, you’ll discover step-by-step instructions that anyone can follow, even if you’re new to DIY projects.
Keep reading, and by the end, you’ll have the skills to create a functional and beautiful coat rack that’s all your own.

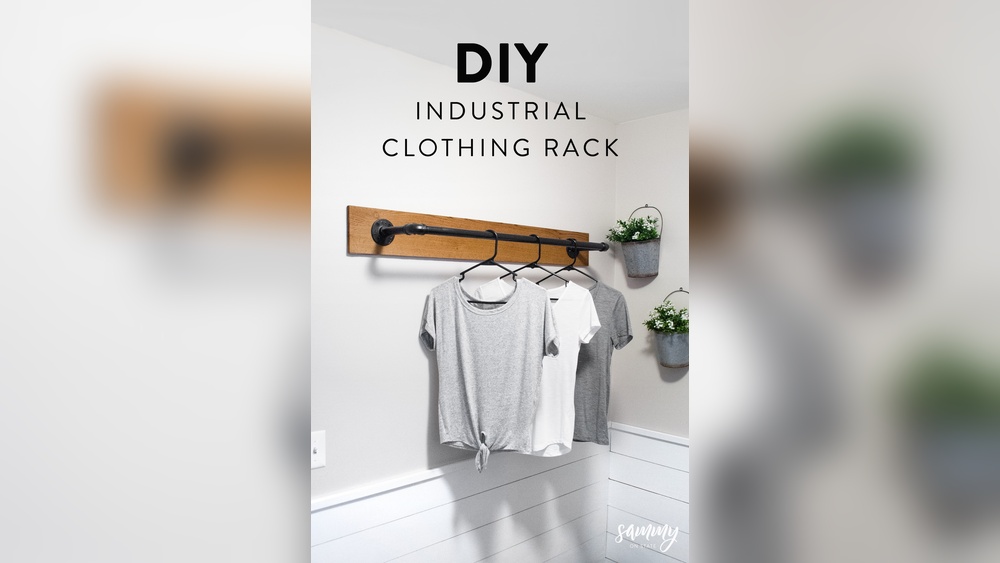
Credit: stylebyemilyhenderson.com
Materials And Tools Needed
Building a dowel coat rack needs the right materials and tools. Good choices make the project easier and the final rack strong. This section covers what you need to buy and prepare before starting.
Selecting The Right Dowels
Choose wooden dowels that are smooth and sturdy. Hardwood dowels last longer and hold weight better. Pick dowels with a diameter of about 1 inch. Length depends on how big your coat rack will be. Sand the dowels to remove rough edges and splinters.
Additional Supplies
You will need wood glue for strong joints. Screws help secure the dowels to the base. Use wall anchors if you mount the rack on drywall. Finish with paint or wood stain for protection and style. Keep some wood filler handy to cover holes or gaps.
Essential Tools
A drill is necessary for making holes and driving screws. A saw helps cut dowels to the right length. Use a measuring tape and pencil for accurate markings. Sandpaper smooths rough surfaces and edges. A screwdriver or power driver speeds up assembly.
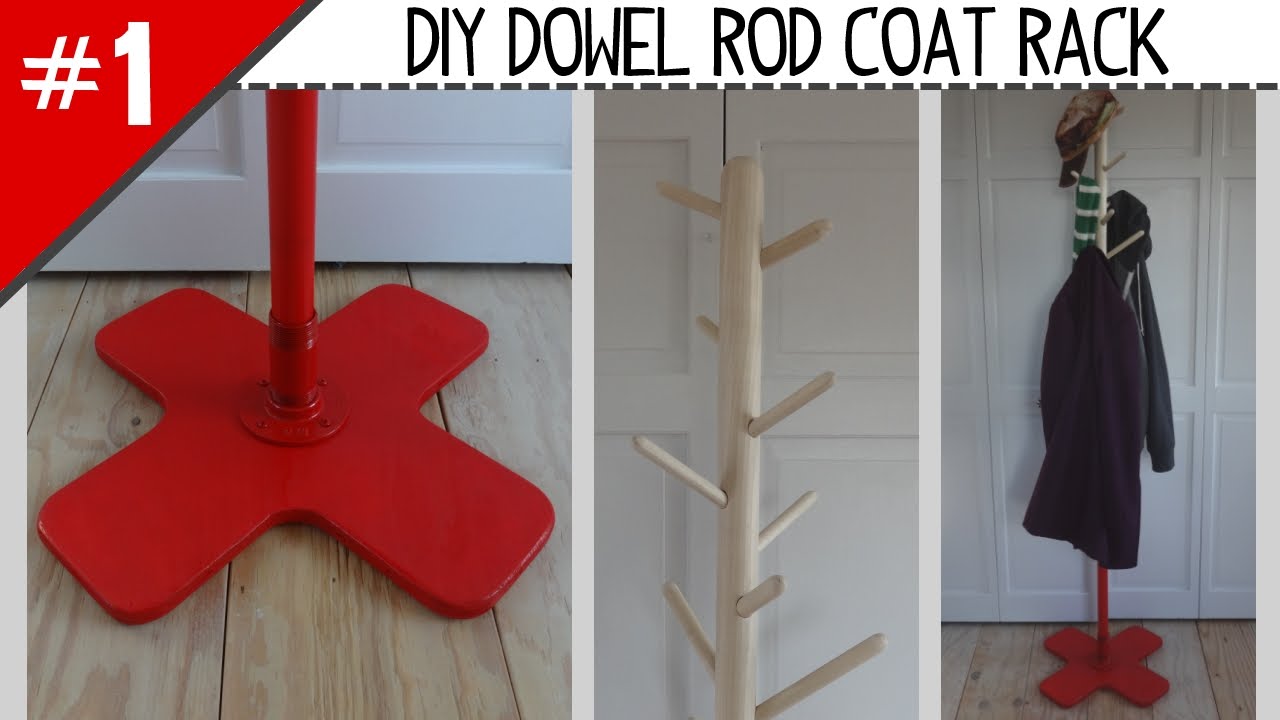
Credit: www.youtube.com
Designing Your Coat Rack
Designing your dowel coat rack is the first step to creating a useful and stylish piece. A well-thought design makes your rack both practical and attractive. Consider your space and how many coats you need to hang. Your design will guide the materials and tools you use.
Focus on size, hook placement, and finish. These details will shape the final look and function of your coat rack. Keep your design simple and suited to your needs.
Choosing The Size And Shape
Measure the space where you want to place your coat rack. Choose a size that fits comfortably without crowding the wall. A longer rack holds more coats but needs more space. Shorter racks work well in small areas.
Pick a shape that matches your room style. A straight, horizontal rack is classic and easy to build. You can also try a curved or angled design for a modern touch. Keep shapes simple for easier construction.
Planning Hook Placement
Space hooks evenly to avoid crowding. Each hook should have enough room for coats to hang freely. A good rule is to place hooks 6 to 8 inches apart. Position hooks at a height that everyone can reach easily. Consider the average height of users to decide this.
Think about the number of hooks you need. More hooks hold more items but can look busy. Fewer hooks keep the rack neat but may limit use.
Selecting A Finish
Choose a finish that protects the wood and fits your style. Clear varnish shows the wood’s natural color and grain. Paint adds color and can match room decor. Stain gives the wood a rich tone while showing the grain.
Use finishes that are easy to clean and durable. This keeps your coat rack looking good for a long time. Test the finish on a small wood piece before applying it to the whole rack.
Cutting And Preparing Dowels
Cutting and preparing dowels is a key step in making your dowel coat rack strong and neat. Dowels need to be cut carefully to the right size. Then, you must smooth the edges to avoid splinters. Taking time here saves problems later. This part of the project sets the base for a great coat rack.
Measuring And Marking
Start by measuring the length needed for each dowel. Use a tape measure for exact marks. Mark each piece clearly with a pencil. Check your marks twice before cutting. Accurate measuring ensures all dowels fit well in the rack.
Safe Cutting Techniques
Use a saw designed for wood to cut the dowels. Hold the dowel firmly to keep it steady. Cut slowly and follow the pencil marks. Wear safety goggles to protect your eyes. Keep fingers away from the blade for safety.
Sanding For Smoothness
After cutting, use sandpaper to smooth the edges. Sand all sides until the surface feels even. This step removes splinters and rough spots. Smooth dowels look better and are safer to handle. Sanding also helps paint or finish stick well.
Assembling The Rack
Assembling the dowel coat rack is a simple process that brings all parts together. This step turns your materials into a useful rack. Careful assembly ensures the rack is strong and ready to hold coats.
Follow each step carefully for the best results. Take your time and check each connection.
Joining Dowels Together
Start by aligning the dowels end to end. Use wood glue on the ends for a strong bond. Press the dowels firmly together. Let the glue dry completely before the next step. For extra strength, use small screws or dowel pins. These help keep the dowels from moving or pulling apart.
Attaching Hooks
Choose the spots where you want the hooks. Mark the dowels lightly with a pencil. Pre-drill small holes to avoid splitting the wood. Screw the hooks into the holes by hand. Make sure each hook is tight and secure. Space the hooks evenly for balance and good use.
Ensuring Stability
Check the entire rack for any loose parts. Tighten screws and secure joints as needed. Place the rack on a flat surface to test balance. Add rubber pads or small blocks under the base if it wobbles. This keeps the rack steady and safe to use. Proper stability prevents accidents and extends rack life.
Finishing Touches
Finishing touches bring your dowel coat rack to life. They protect the wood and improve its look. Small steps make a big difference. These final actions ensure your rack lasts and fits your style perfectly.
Painting Or Staining
Choose paint or stain to match your room. Paint adds color and hides wood grain. Stain shows the wood’s natural beauty. Use a brush or cloth for smooth coverage. Let each coat dry fully before adding another.
Sealing For Durability
Seal the rack to protect it from water and wear. Use clear polyurethane or varnish for a hard finish. Apply thin layers with a clean brush. Allow drying time between coats. This step keeps your rack strong and lasting.
Mounting On The Wall
Find wall studs to support the rack’s weight. Use screws and anchors for firm attachment. Measure carefully to keep the rack level. Secure each screw tightly to avoid wobbling. Your rack is ready to hold coats and bags safely.
Tips For Customization
Customizing your dowel coat rack makes it unique and fits your needs better. You can change its look and function with simple ideas. These tips help you create a rack that matches your style and space perfectly.
Adding Decorative Elements
Paint the dowels with bright or soft colors. Use patterns like stripes or dots for a fun look. Attach small wooden shapes or stickers for extra charm. Sand the wood smooth for a polished finish. Try natural wood stain for a rustic style. These touches make your coat rack stand out.
Incorporating Additional Storage
Add small shelves above the dowels for keys or hats. Fix baskets below the rack to hold gloves or scarves. Use hooks on the sides to hang bags or umbrellas. Attach a small mirror to check your look before leaving. These storage options keep your space tidy and organized.
Adjusting For Different Spaces
Measure your wall space before building the rack. Make shorter or taller racks to fit small or large walls. Use fewer dowels in tight areas for a simple design. Create corner racks to save room in narrow spaces. Adjust the distance between dowels for different coat sizes. This helps your rack fit any room easily.
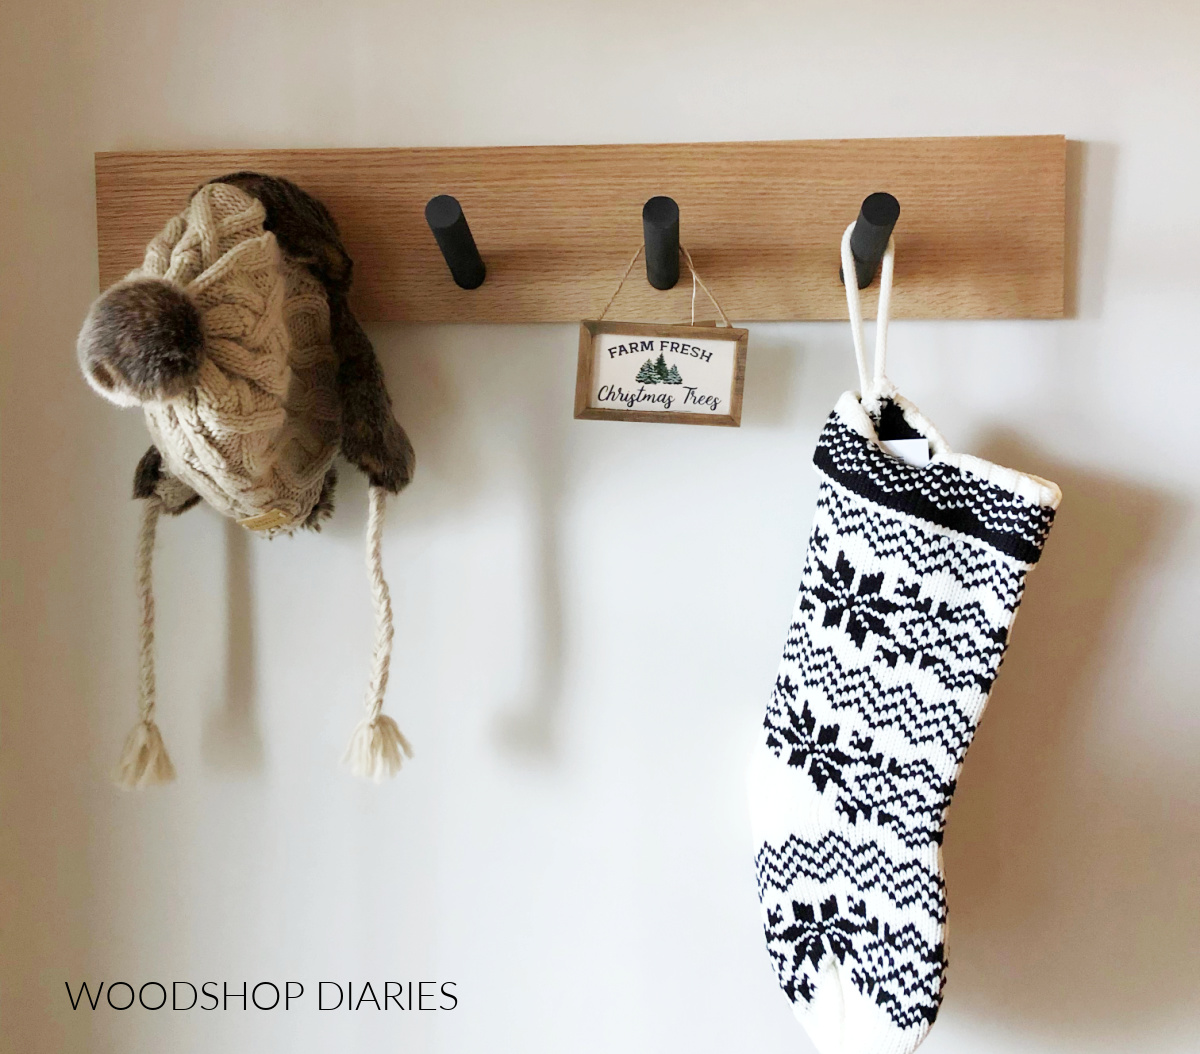
Credit: www.woodshopdiaries.com
Frequently Asked Questions
What Materials Are Needed To Make A Dowel Coat Rack?
You need wooden dowels, a wooden base, wood glue, screws, and a drill. Sandpaper and paint or stain are optional for finishing. These materials are affordable and easy to find at hardware stores or online.
How Do I Choose The Right Dowel Size For A Coat Rack?
Choose dowels that are thick and strong enough to hold coats, typically ¾ to 1 inch in diameter. Length depends on your desired rack size. Ensure the dowels can support weight without bending or breaking.
Can I Customize The Design Of A Dowel Coat Rack?
Yes, you can customize the dowel length, spacing, and number of hooks. Paint or stain the wood to match your decor. Adding decorative elements or mounting options enhances both style and function.
How Do I Securely Attach Dowels To The Base?
Drill pilot holes in the base to prevent splitting. Use wood glue and screws for a strong hold. Clamp the dowels while drying to ensure they stay in place firmly.
Conclusion
Making a dowel coat rack is simple and fun. You only need a few materials and tools. This project adds style and storage to any room. You can customize it to fit your space and taste. It also saves money compared to buying one.
Enjoy the process and feel proud of your work. Try different designs to find what suits you best. A dowel coat rack is a useful and attractive home addition. Start your project today and organize with style.