Are you tired of cluttered entryways and misplaced coats? Imagine having a stylish, sturdy farmhouse coat rack that not only organizes your space but also adds a warm, rustic charm to your home.
Making your own farmhouse coat rack is easier than you think, and it’s a project you’ll be proud to show off. In this guide, you’ll discover simple steps and handy tips to create a coat rack that fits your style and needs perfectly.
Ready to transform your space and bring a touch of farmhouse coziness into your home? Let’s get started!
Materials Needed
Gathering the right materials is the first step to build a farmhouse coat rack. Quality supplies ensure your project lasts long and looks great. Choose simple, sturdy items that match the rustic style.
Wood Planks
Select solid wood planks for the rack base. Pine or oak works well for a farmhouse look. Cut the wood to your desired length and width.
Coat Hooks
Pick metal or wooden hooks to hang coats. Space them evenly along the wood plank. Ensure they are strong enough to hold heavy jackets.
Screws And Nails
Use screws to attach the hooks firmly to the wood. Nails help join wood pieces if your design has multiple parts. Pick sizes that fit your materials well.
Sandpaper
Sandpaper smooths rough edges on the wood. It prepares the surface for painting or staining. Choose medium-grit sandpaper for best results.
Paint Or Wood Stain
Paint or stain adds color and protects the wood. Pick a shade that fits your farmhouse style. Use a brush to apply evenly.
Drill And Screwdriver
A drill makes holes for screws quickly and cleanly. A screwdriver tightens screws securely. Both tools make assembly easier and faster.
Choosing The Wood
Choosing the right wood is the first step to making a farmhouse coat rack. The wood affects the rack’s strength, look, and feel. Picking the best type of wood helps your coat rack last longer and look great in your home.
Wood comes in many types and qualities. Each type has its own color, texture, and hardness. Knowing these differences makes your project easier and more successful.
Hardwood Vs Softwood
Hardwood comes from trees that lose leaves each year. It is strong and lasts a long time. Oak and maple are common hardwoods for furniture.
Softwood comes from evergreen trees. It is lighter and easier to cut. Pine is a popular softwood for farmhouse style.
Wood Grain And Texture
Wood grain shows the pattern of the wood fibers. It can be straight, wavy, or knotty. A clear grain gives a smooth look. Knots add a rustic, natural feel.
Texture means how the wood feels. Some woods are rough, others smooth. Choose the texture that fits your farmhouse style best.
Wood Color And Finish
Wood color ranges from pale white to deep brown. Lighter wood can brighten a room. Dark wood adds warmth and richness.
Finishing the wood with stain or paint can change its color. It also protects the wood from wear and tear.
Durability And Maintenance
Durable wood stands up to heavy coats and daily use. Hardwoods usually last longer than softwoods.
Some woods need more care. Regular cleaning and occasional sealing keep the wood looking good.
Tools Required
Building a farmhouse coat rack needs some basic tools. These tools help cut, shape, and assemble the wood. Having the right tools makes the process easier and faster. You will create a sturdy and beautiful coat rack with less effort.
Measuring Tape
A measuring tape is essential for accurate measurements. Measure wood pieces carefully to fit the space and design. Precise cuts depend on exact measurements.
Saw
A saw cuts the wood into the right sizes. A hand saw or a power saw works well. Choose the saw based on your comfort and tool availability.
Drill
A drill makes holes for screws and hooks. It ensures strong joints and easy assembly. Use a drill bit that matches the screw size.
Screwdriver
A screwdriver helps to fasten screws tightly. It keeps the coat rack sturdy and durable. Use a manual or electric screwdriver for faster work.
Sandpaper
Sandpaper smooths rough wood edges and surfaces. It prevents splinters and improves the finish. Use fine-grit sandpaper for a polished look.
Wood Glue
Wood glue adds extra strength to joints. It holds pieces firmly during and after assembly. Use glue made for wood for the best bond.
Clamps
Clamps hold wood pieces together while glue dries. They keep the rack steady and aligned. Use adjustable clamps for different wood sizes.
Preparing The Wood
Preparing the wood is the first step in making a farmhouse coat rack. It sets the base for a strong and beautiful rack. Careful preparation helps the wood last longer and look better. Follow simple steps to get your wood ready for building.
Measuring And Cutting
Start by measuring the wood pieces you need. Use a tape measure for accurate length. Mark the wood clearly with a pencil. Cut the wood using a saw that fits your skill level. Cut slowly to keep straight edges. Proper cuts make assembly easier and the rack sturdier.
Sanding For Smooth Finish
Sanding removes rough spots and splinters from the wood. Use medium-grit sandpaper first to smooth large areas. Then switch to fine-grit paper for a soft touch. Sand all sides and edges evenly. This step prepares the wood for painting or staining. It also protects hands from scratches when using the rack.
Assembling The Coat Rack
Assembling the farmhouse coat rack is a simple and fun step. This part brings all the pieces together. You will see your project take shape quickly. Follow the steps carefully for a sturdy and attractive rack.
Attaching The Backboard
Start by placing the backboard flat on a clean surface. Align the edges with the frame of the coat rack. Use a drill to make pilot holes for the screws. This helps prevent the wood from splitting. Secure the backboard using wood screws. Tighten them until the board is firmly attached. Check that the backboard sits flush with the frame. This creates a strong base for the hooks.
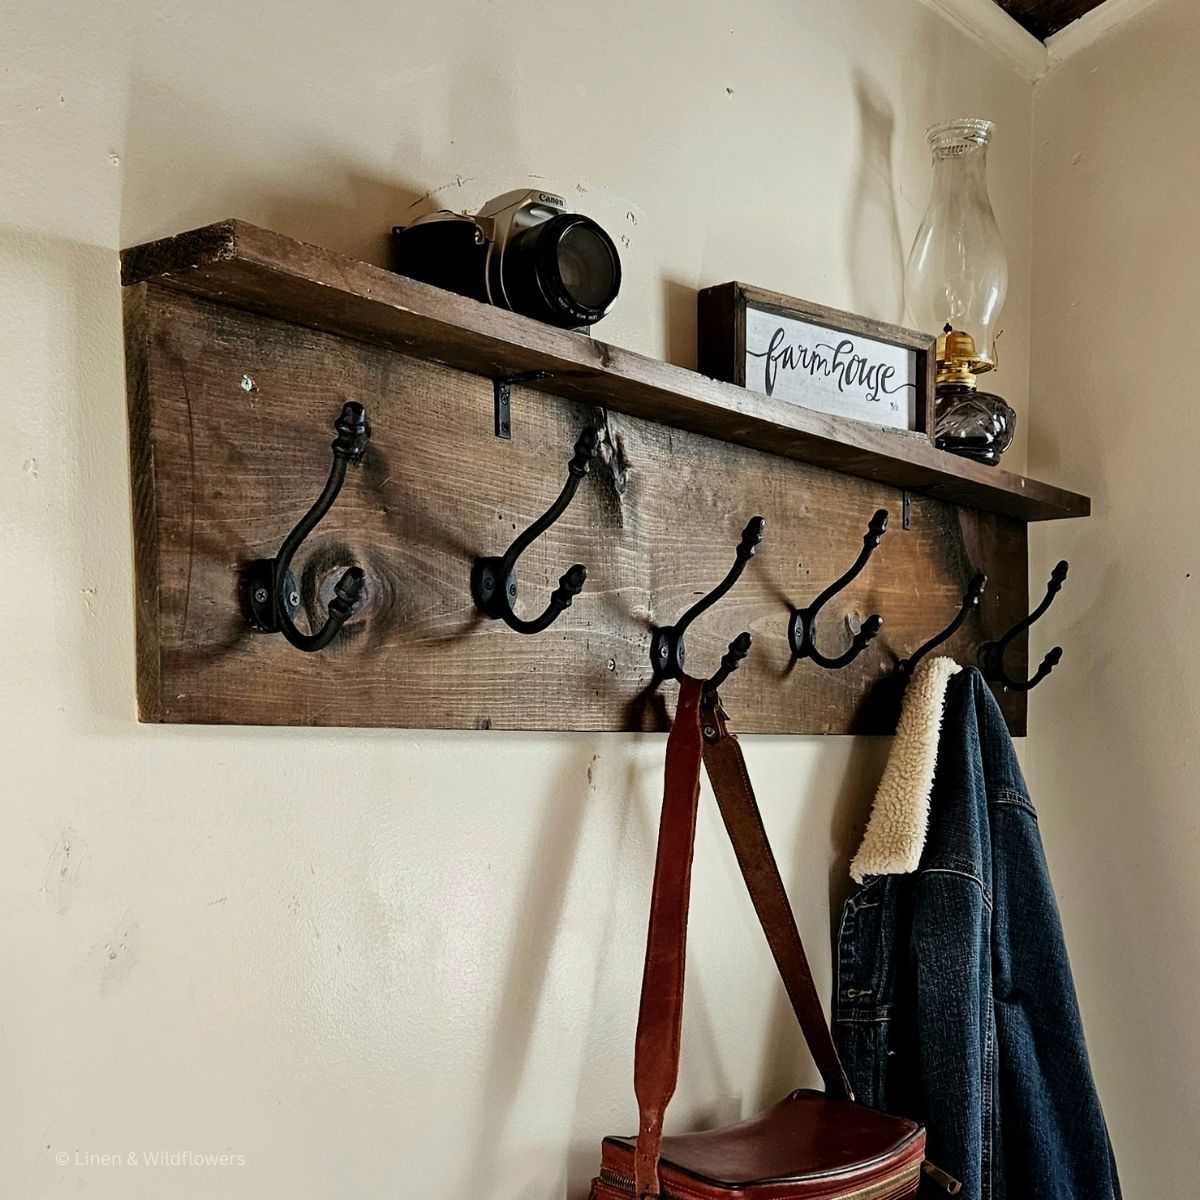
Adding The Hooks
Choose hooks that fit the farmhouse style. Mark the spots evenly along the backboard. Use a pencil to make small dots where each hook will go. Drill small holes at these marks to guide the screws. Attach each hook with screws, tightening them by hand or with a screwdriver. Make sure the hooks are straight and secure. Space the hooks well to hold coats, hats, and bags comfortably.
Credit: premazon.com.br
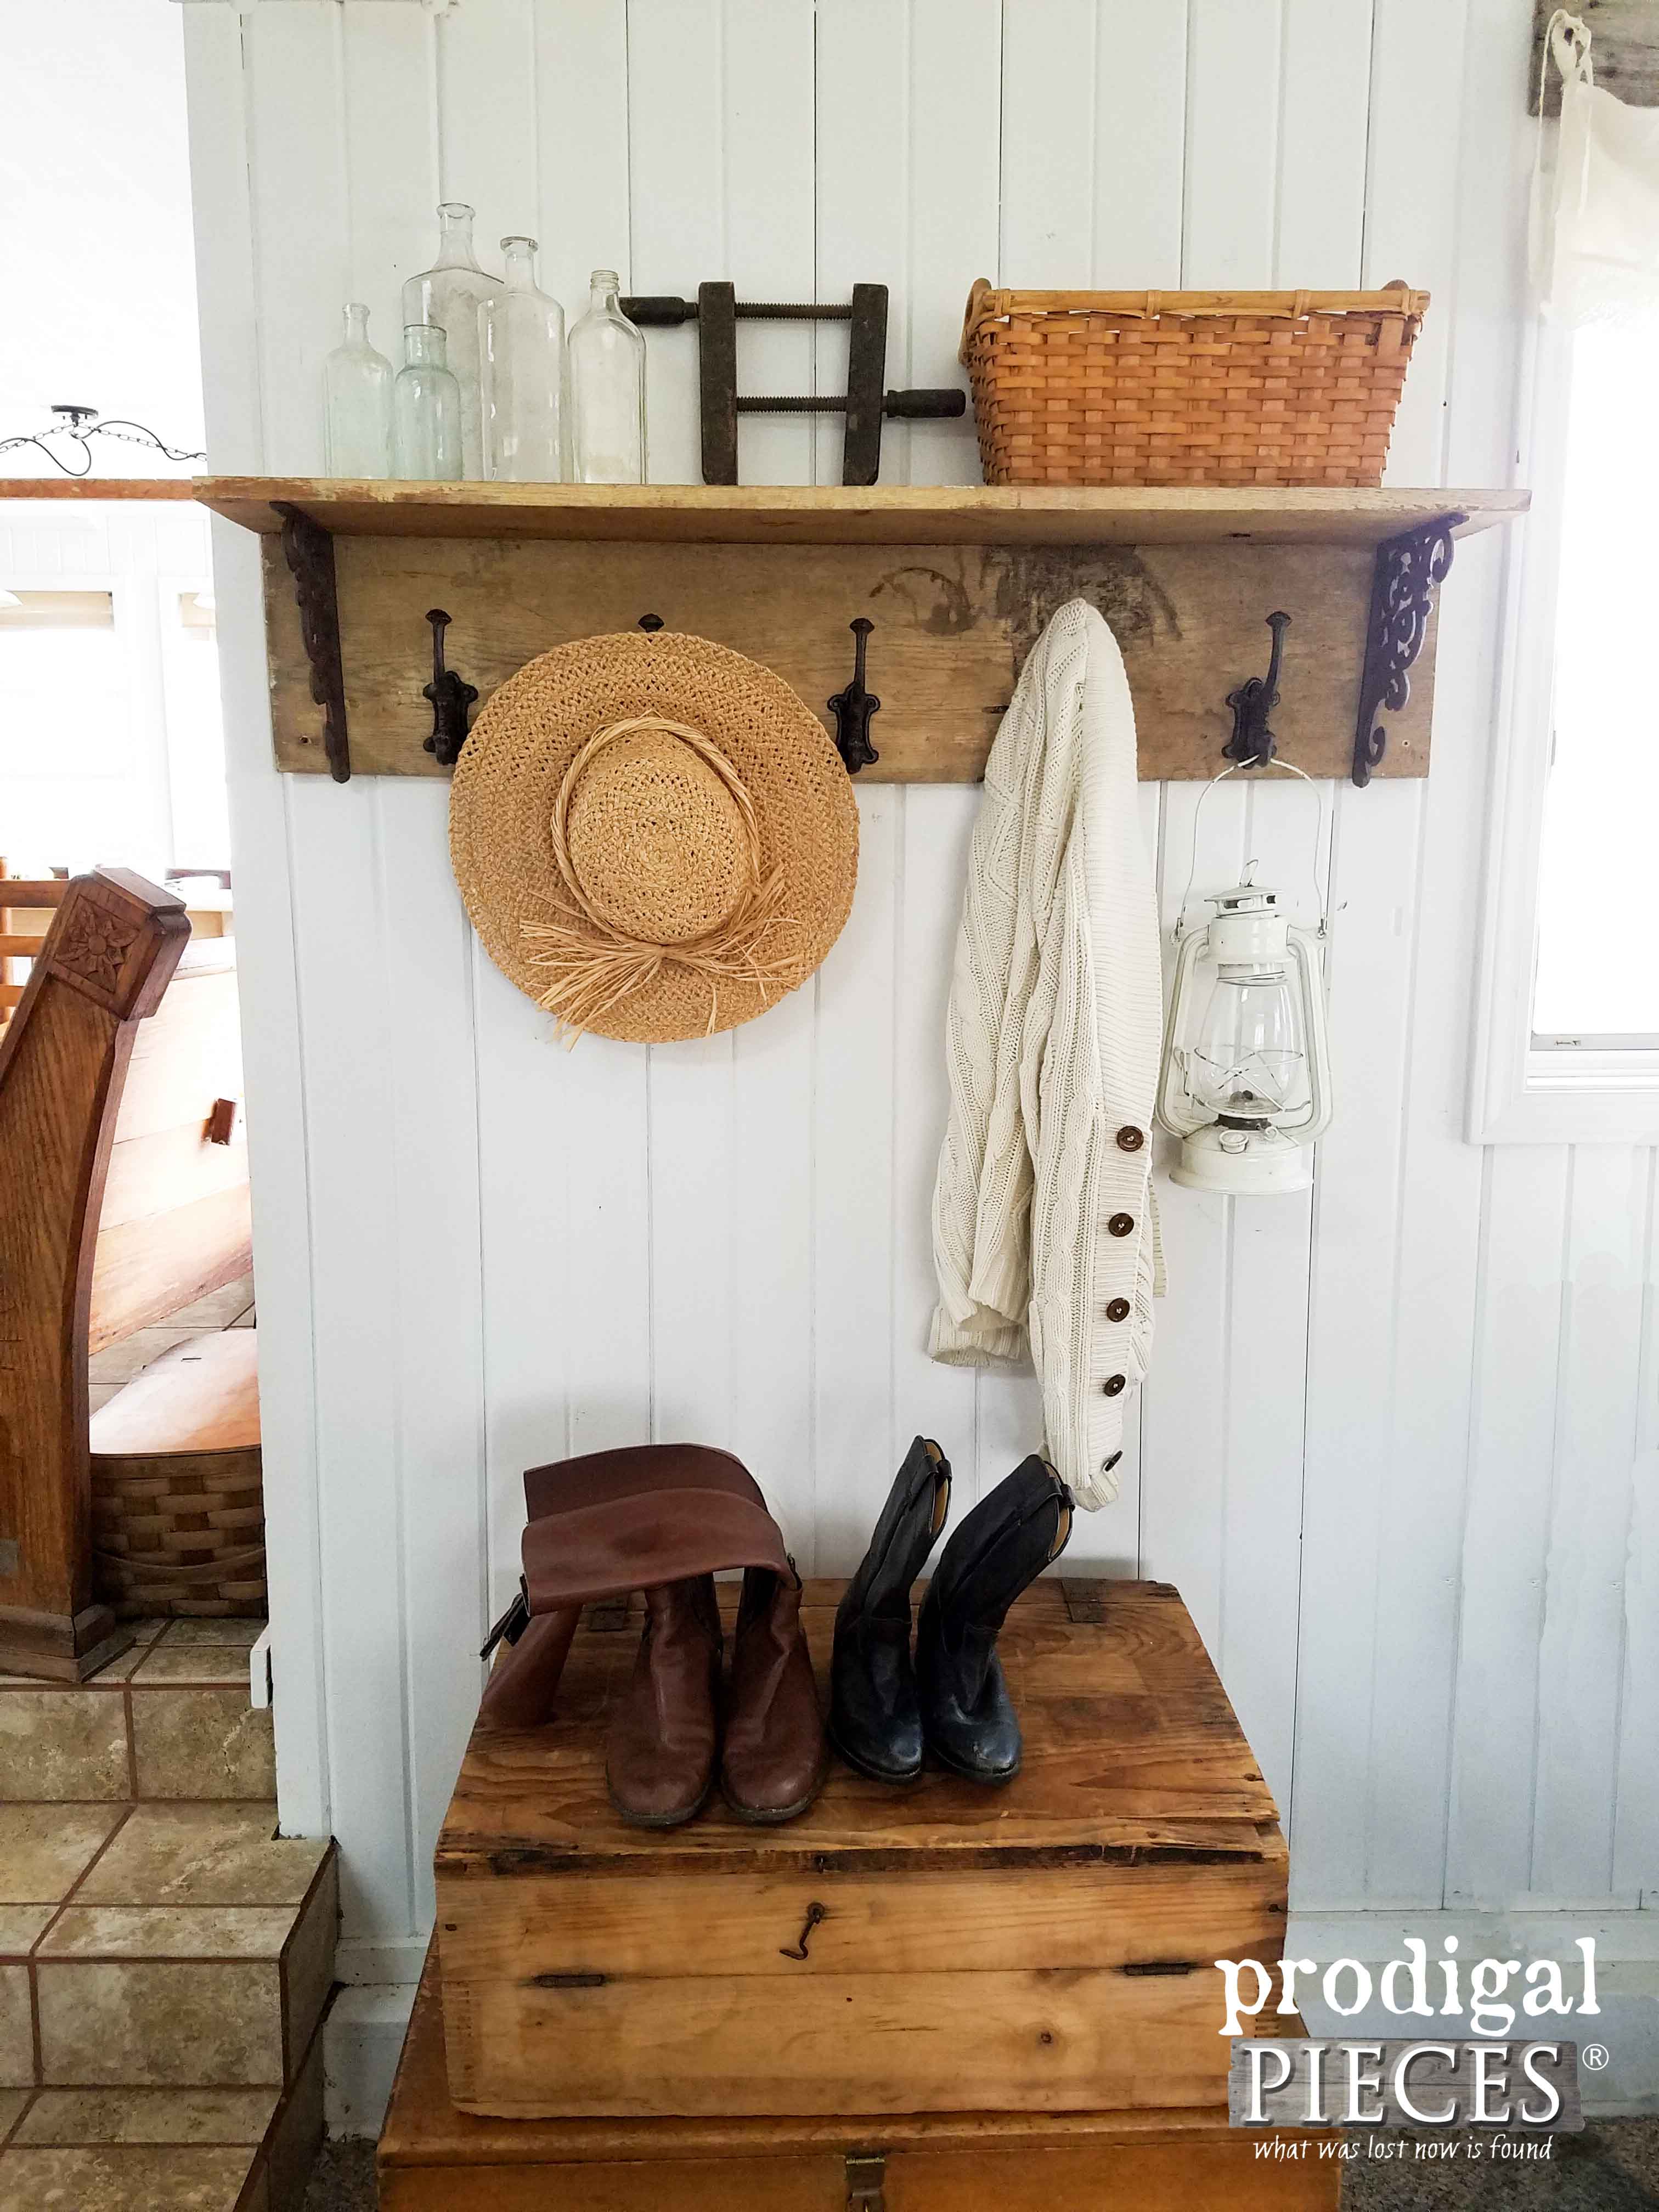
Adding Rustic Details
Adding rustic details brings charm to your farmhouse coat rack. It makes the piece feel warm and inviting. Rustic touches add character and a vintage look. These details create a unique, handmade feel. You do not need fancy tools or skills to achieve this.
Distressing The Wood
Distressing the wood gives it a worn, aged look. Start by sanding some edges and corners. Use coarse sandpaper to roughen the surface. You can also tap the wood with a hammer or chain. This creates small dents and marks. Scrape the surface lightly with a screwdriver or chisel. Be gentle to avoid breaking the wood. The goal is to make the wood look naturally old.
Applying Stain Or Paint
Choose a stain or paint that fits the rustic style. Dark stains show wood grain and add warmth. Apply the stain evenly with a brush or cloth. Wipe off extra stain to keep it light. For paint, pick soft, faded colors like white or gray. Use a dry brush technique to create a worn effect. Let the paint dry, then sand edges slightly. This reveals the wood underneath for a vintage look.
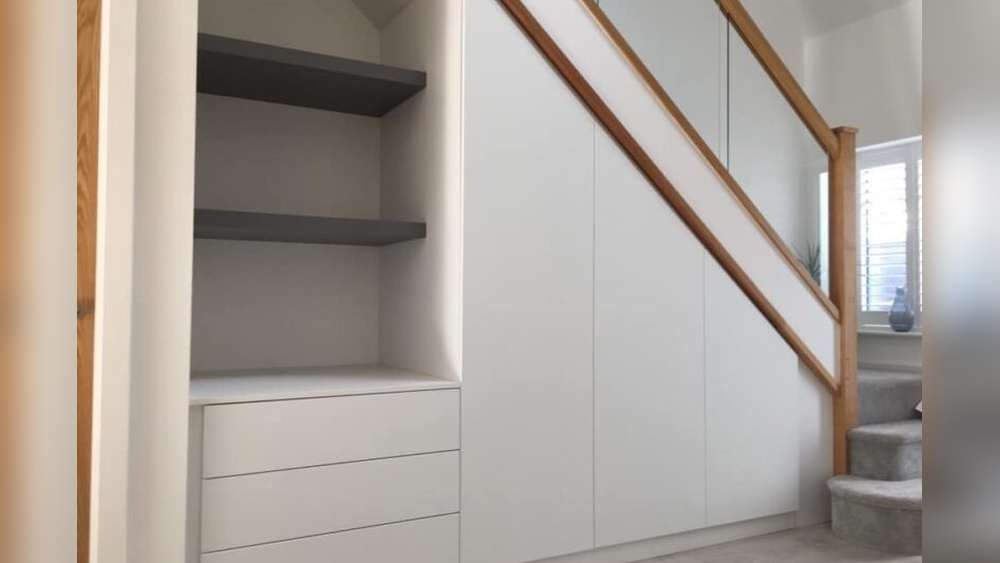
Mounting The Rack
Mounting the farmhouse coat rack is a key step in the project. It gives the rack stability and makes it useful. Proper mounting keeps the rack safe and strong.
Choose a good spot on your wall. Then, use the right tools to secure the rack. This way, it holds coats, hats, and bags without falling.
Choosing The Location
Pick a spot near your door or hallway. This makes it easy to hang coats as you enter. Ensure there is enough space around the rack. Avoid places where it blocks walkways or doors.
Check the wall surface. A solid wall like drywall with studs or wood is best. Avoid thin or weak walls that may not hold weight.
Securing To The Wall
Find the wall studs using a stud finder. Mark the spots where you will attach the rack. Use screws long enough to go into the studs firmly.
Hold the rack in place and drill pilot holes. Screw the rack securely to the wall. Check that it does not wobble or move.
Use wall anchors if you cannot find studs. Anchors give extra support on drywall. This prevents the rack from pulling out over time.
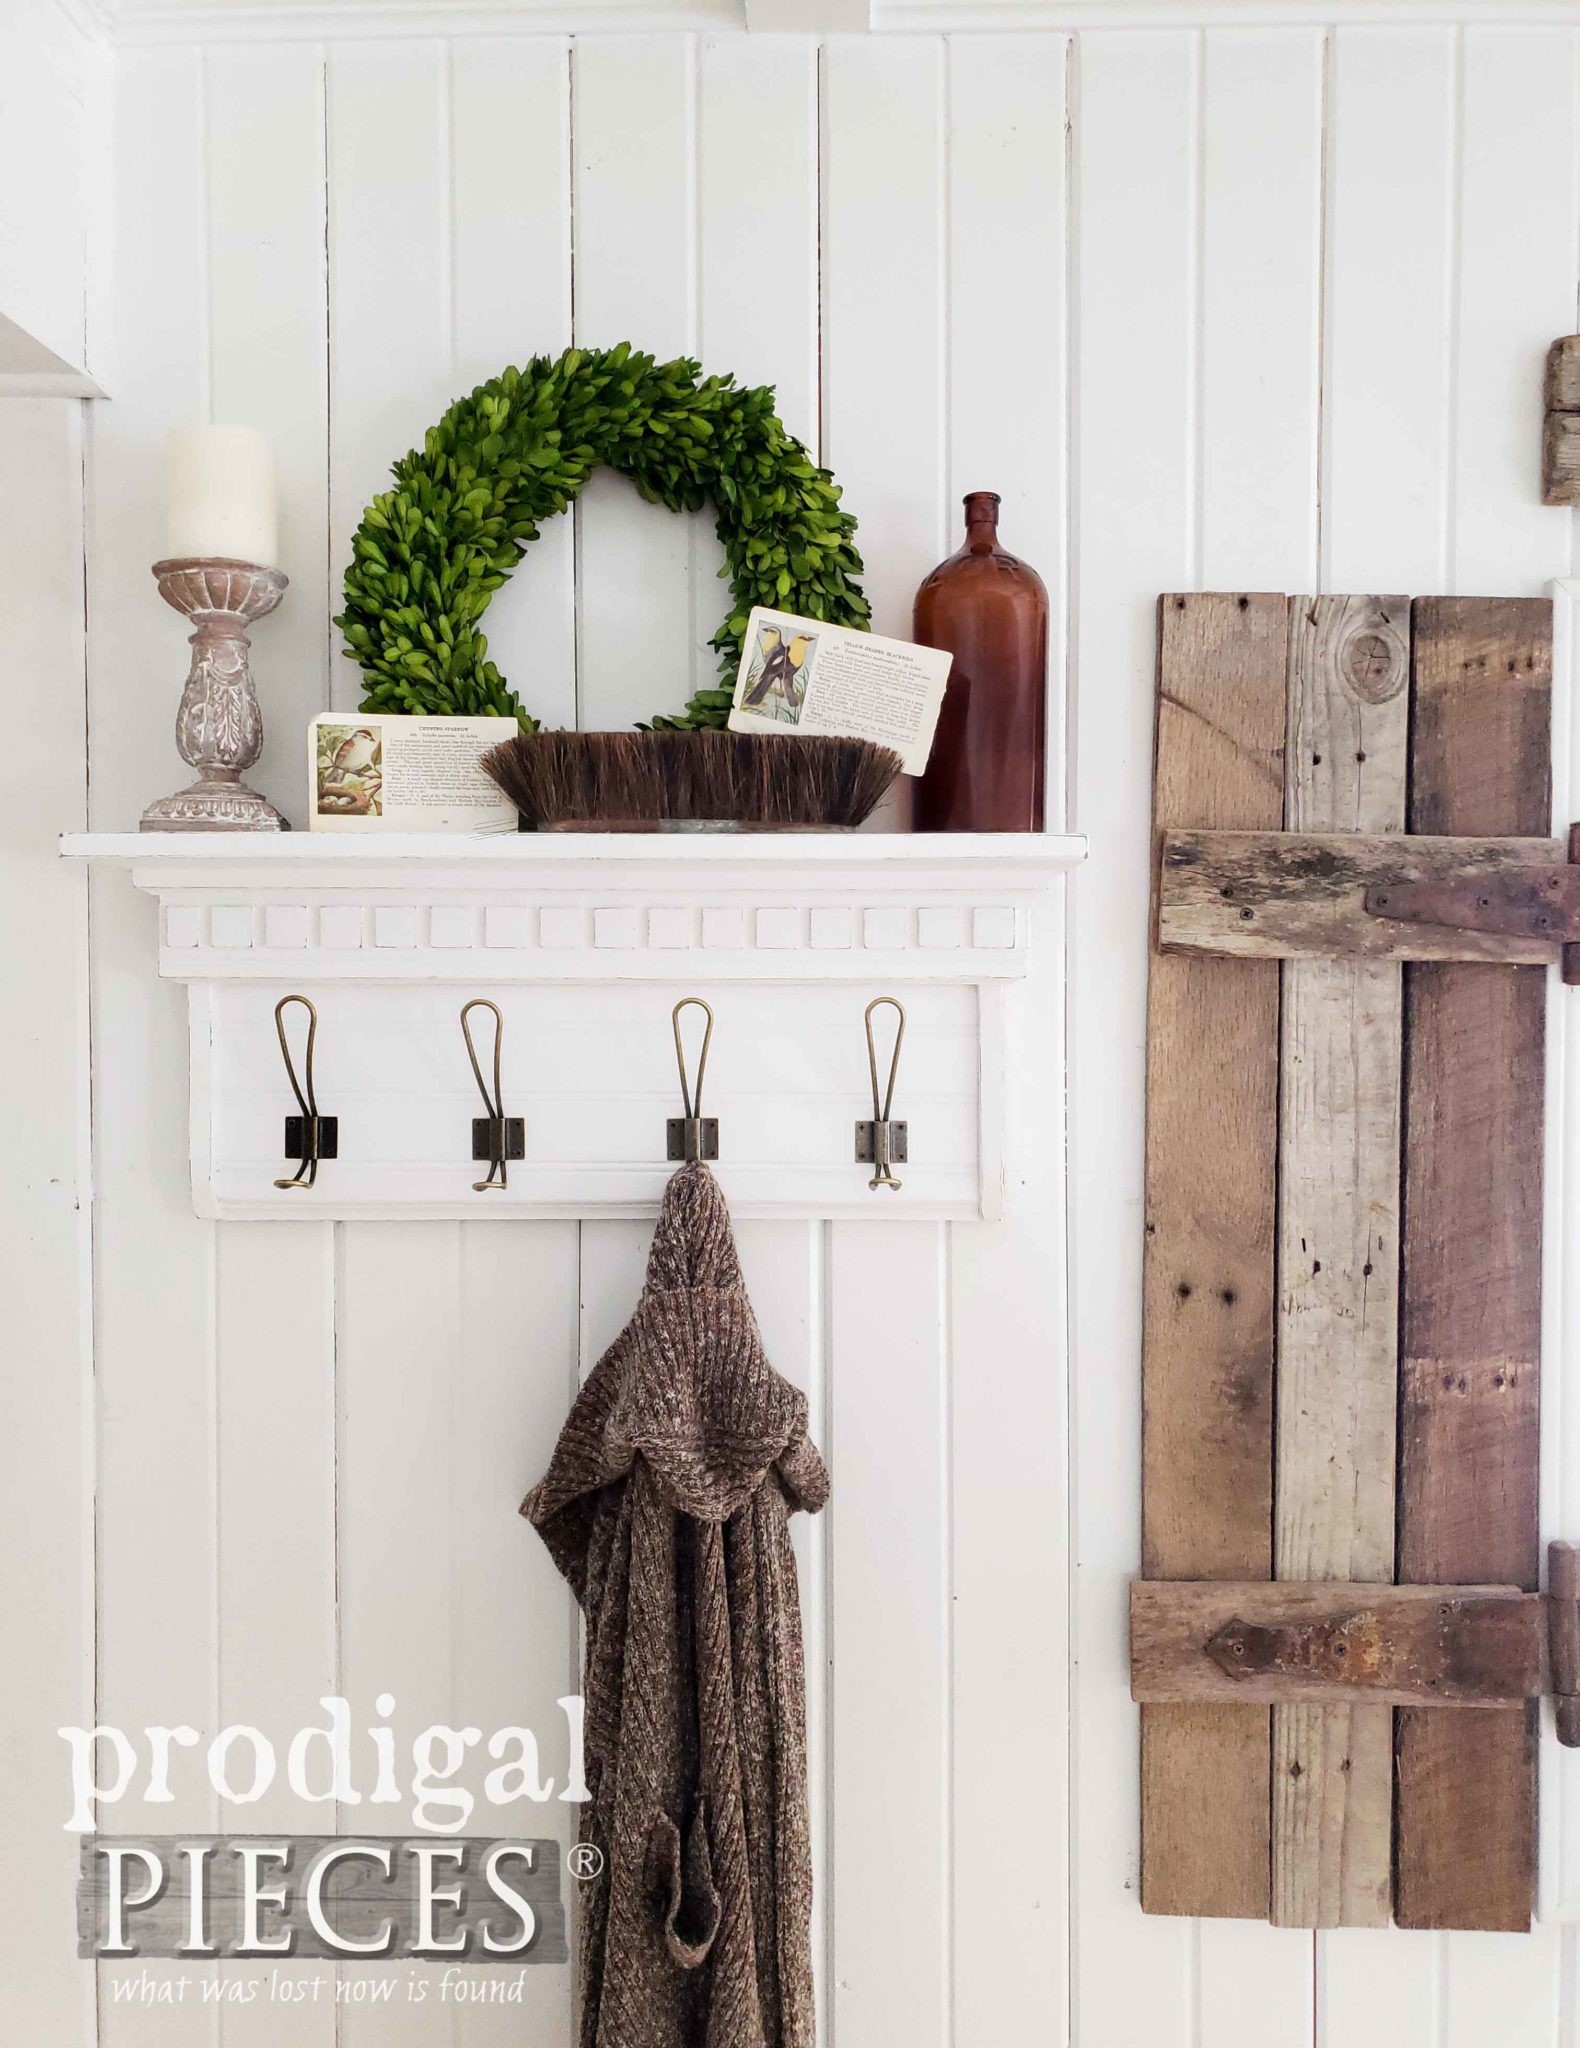
Credit: prodigalpieces.com
Maintenance Tips
Maintaining your farmhouse coat rack keeps it looking fresh and sturdy. Simple care steps protect the wood and metal parts. Follow these tips to extend the life of your rack.
Cleaning The Coat Rack
Use a soft cloth to wipe dust and dirt regularly. Avoid harsh chemicals that can damage the finish. A damp cloth with mild soap works well for deeper cleaning. Dry the rack immediately to prevent moisture damage.
Protecting The Wood
Apply a wood conditioner or oil once every few months. This prevents the wood from drying and cracking. Use products made for the type of wood you chose. Always follow the instructions on the label.
Checking For Loose Hooks
Inspect hooks often to ensure they are tight and secure. Tighten screws with a screwdriver if hooks wobble. Replace any damaged hooks to keep the rack safe to use. Regular checks avoid damage to coats and walls.
Avoiding Excess Weight
Do not hang heavy items that exceed the rack’s weight limit. Overloading can cause hooks to bend or wood to crack. Balance the weight evenly across all hooks. This keeps the rack stable and lasting longer.
Preventing Water Damage
Keep the coat rack away from damp areas or direct water contact. Water can cause wood swelling and metal rust. Place the rack in a dry, well-ventilated space. Use a waterproof sealant on wood for extra protection.
Credit: www.excelcare24.co.uk
Frequently Asked Questions
What Materials Are Needed For A Farmhouse Coat Rack?
You need wood planks, hooks, screws, sandpaper, wood stain, and a drill. These basics help create a sturdy and rustic coat rack. Choose reclaimed wood for an authentic farmhouse look. Quality hooks ensure durability and functionality.
How Do I Attach Hooks To The Coat Rack?
Mark hook positions evenly on the wood plank. Pre-drill holes to prevent wood splitting. Use screws to secure hooks tightly. Ensure hooks face outward for easy hanging. Proper attachment guarantees strong support for coats.
Can I Customize The Coat Rack Size?
Yes, adjust wood plank length to fit your space. Measure the wall area before cutting wood. Add more hooks for extra hanging capacity. Custom sizing helps the rack blend well in your home. Personalize it for perfect functionality.
How To Finish The Wood For A Farmhouse Look?
Sand the wood surface smooth to remove rough edges. Apply wood stain or paint in warm, earthy tones. Let it dry completely before installing hooks. This enhances the rustic, cozy farmhouse aesthetic. Choose finishes that protect wood and add charm.
Conclusion
Creating a farmhouse coat rack adds charm to any home. It uses simple materials and easy steps. This project fits well with rustic or modern decor. You save money and enjoy a fun activity. Plus, you get a useful item for your space.
Try making one to add a personal touch. Your walls will look neat and welcoming. Start with basic tools and follow the guide carefully. Enjoy the process and feel proud of your work. A handmade coat rack makes any room cozier.