Imagine turning an ordinary bookshelf into a secret doorway right in your own home. You can create a hidden room bookshelf that not only saves space but adds a touch of mystery and excitement to your living area.
Whether you want a private study, a cozy reading nook, or a safe spot to store valuables, this guide will show you exactly how to build one step by step. By the end, you’ll have a clever, functional piece that surprises everyone who visits.
Ready to transform your space? Let’s dive in.
Choosing The Right Location
Choosing the right location for your hidden room bookshelf is very important. The spot should fit your needs and space well. A good location makes the room easy to use and keeps it secret. Think about where you want the room and how it will work best in your home.
Assessing Available Space
Start by checking the spaces in your home. Look for areas with enough room for the bookshelf and the hidden door. Measure the height, width, and depth carefully. Spaces near walls or corners often work well. Avoid places with pipes, wires, or vents behind the walls. These can make building the hidden room harder.
Considering Accessibility And Privacy
Think about how easy it is to get to the hidden room. The entrance should be simple to use but not obvious to visitors. Choose a location that offers privacy. It should not be in busy or noisy areas. A quiet corner or a room behind a less-used space can be ideal. Make sure the hidden room feels safe and comfortable for you.
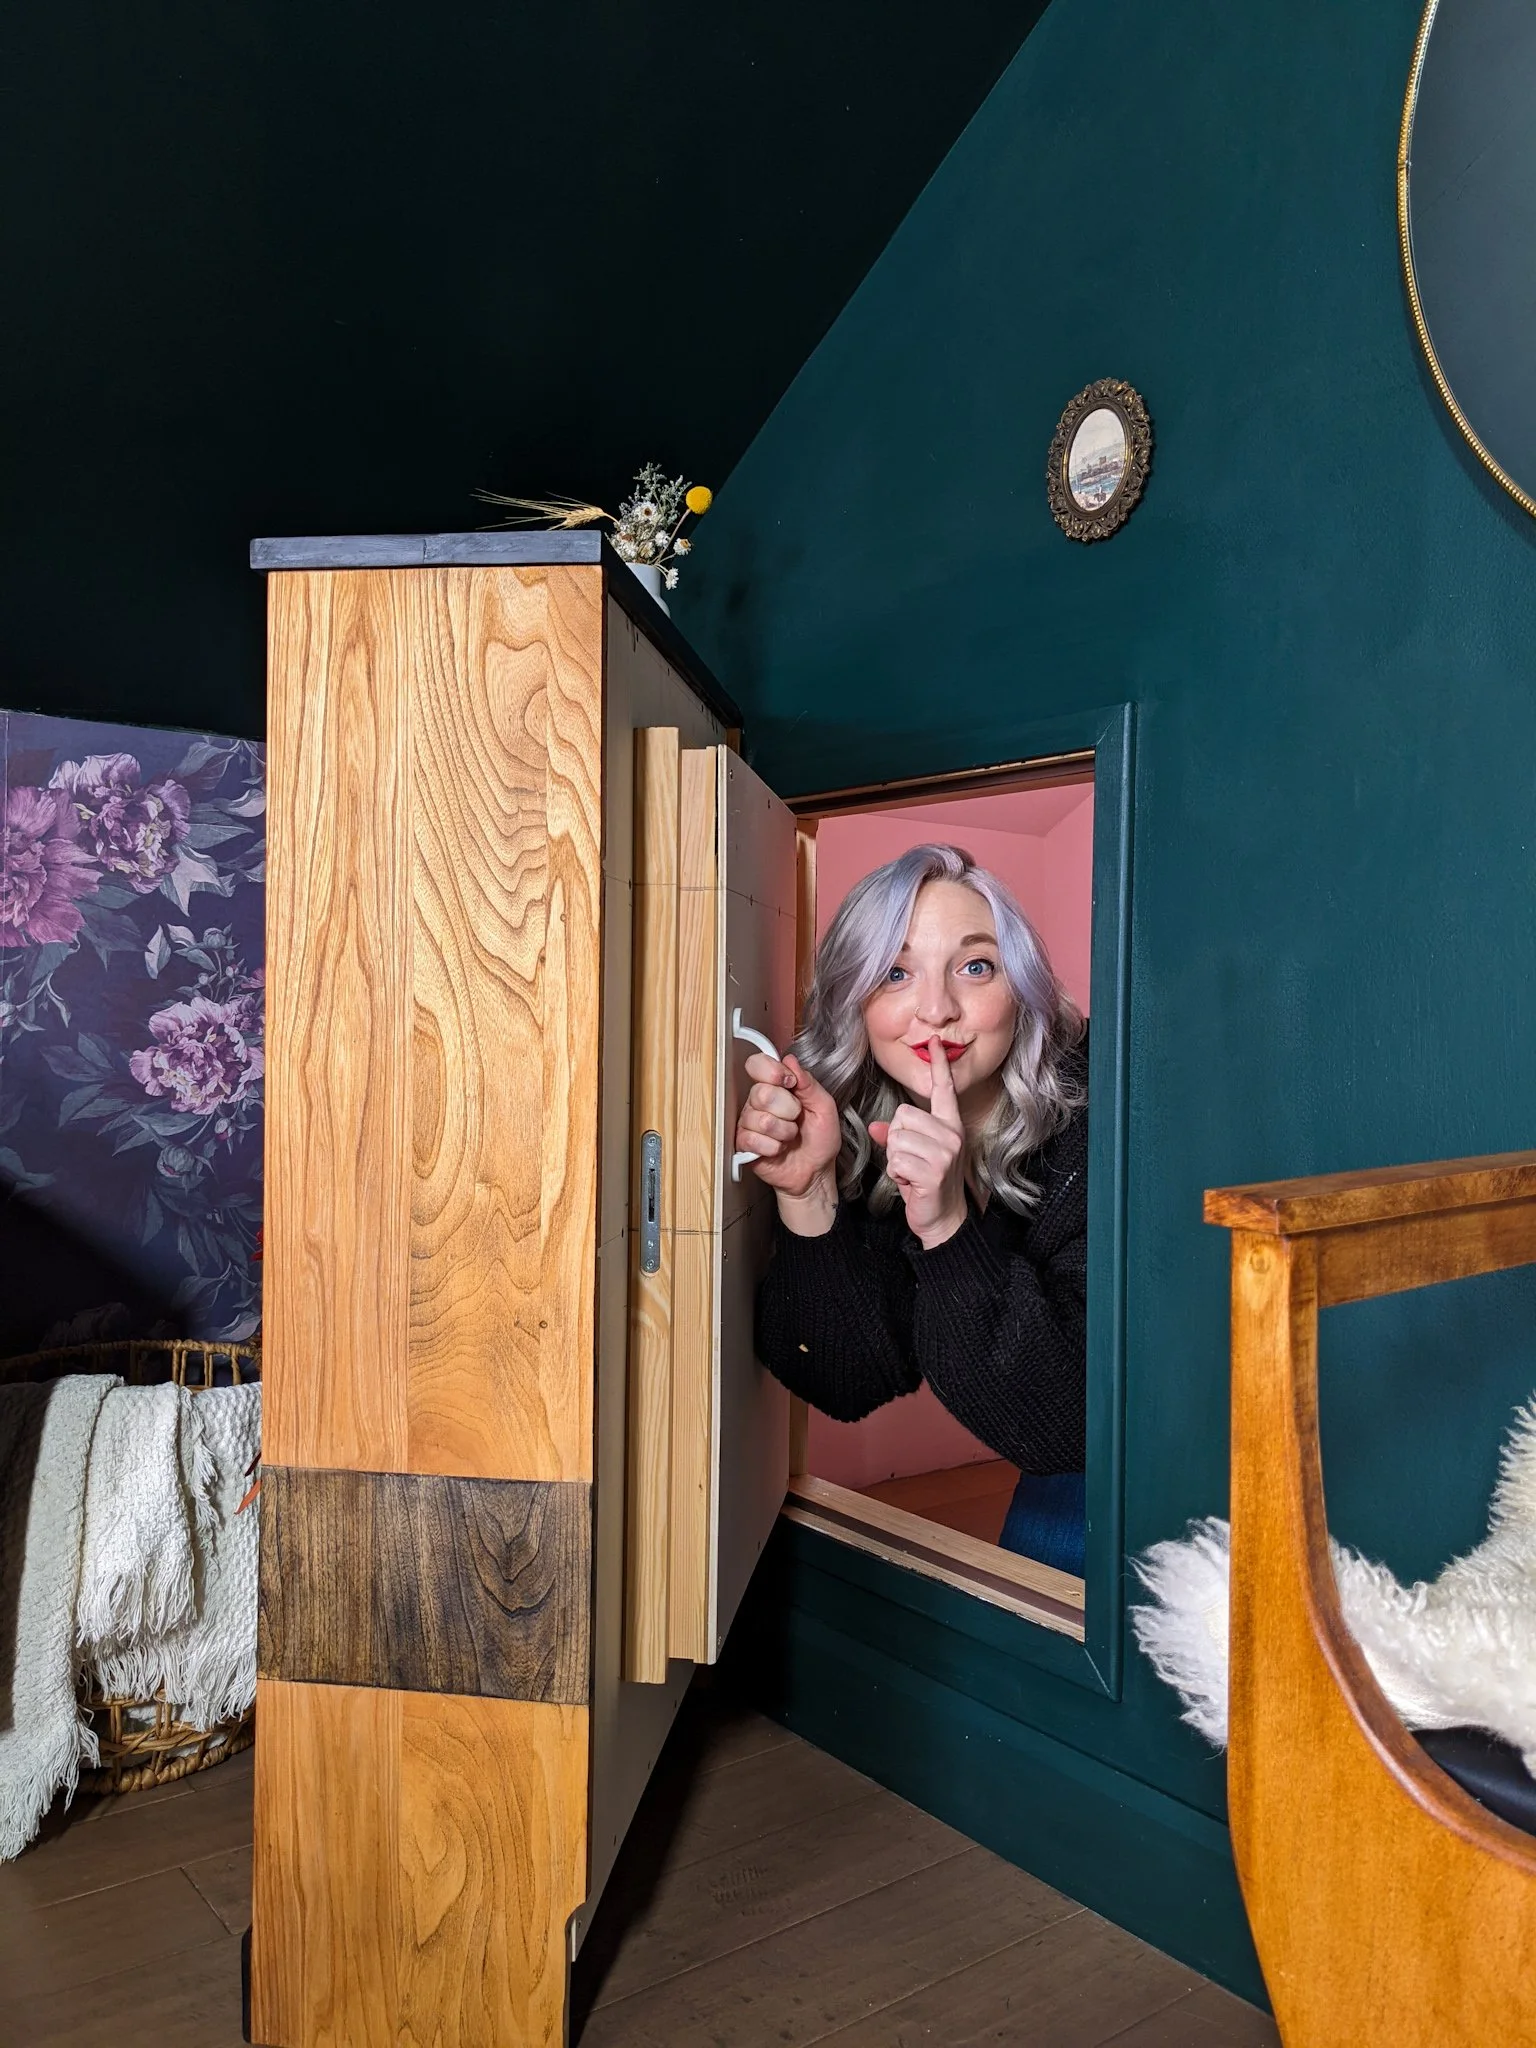
Credit: www.diyinprogress.com
Selecting Materials And Tools
Selecting the right materials and tools is key to building a hidden room bookshelf. The quality of wood and the tools you use affect the strength and look of your project. Planning this step well saves time and effort later. It also helps you avoid mistakes that can cost money.
Choosing Wood Types
Pick wood that is strong and easy to work with. Pine is a popular choice because it is soft and affordable. Oak is harder and lasts longer but costs more. Birch offers a smooth finish and looks good painted. Consider the room’s style before choosing wood. Make sure the wood is dry to prevent warping. Check for knots or cracks that may weaken the structure.
Essential Tools Checklist
Gather all tools before starting the build. A saw is needed to cut wood pieces to size. A drill helps to make holes and drive screws. Use a screwdriver for smaller screws and adjustments. Measuring tape ensures accurate cuts and fitting. Sandpaper smooths rough edges for a clean finish. Clamps hold wood steady during assembly. A level keeps shelves straight and even. Safety gear like gloves and goggles protects you while working.
Designing The Bookshelf Door
Designing the bookshelf door is a crucial step in making a hidden room bookshelf. It must look natural and open smoothly. The door should blend perfectly with the rest of the bookshelf. Careful design keeps the secret safe and adds style to your room.
Choosing the right type of hinges and matching the door design with your room’s decor is important. These details make the hidden door both functional and attractive.
Incorporating Concealed Hinges
Concealed hinges keep the door’s movement smooth and invisible. They hide behind the door and frame. This hides any sign of a door on the bookshelf. Choose hinges strong enough to hold the door’s weight. Soft-close hinges add a quiet, gentle close. These hinges protect the secret and improve the user’s experience.
Blending With Existing Decor
The bookshelf door should match the room’s style. Use the same wood, color, and finish as other shelves. Keep the shelves on the door lined up with the fixed shelves. Avoid any handles or knobs that stand out. Use hidden magnets or push-to-open latches instead. This makes the door look like a normal part of the bookshelf.
Building The Frame
Building the frame is the first major step in creating a hidden room bookshelf. This frame will support the entire structure and ensure it is strong and stable. Careful planning and precise work are important here.
The frame must fit perfectly in the space you want to use. It should also hold the weight of the shelves and books. Follow these steps to build a solid frame for your hidden bookshelf.
Measuring And Cutting Wood
Start by measuring the space where the bookshelf will go. Write down the height, width, and depth. Measure twice to avoid mistakes.
Choose wood that is strong and smooth. Common choices are pine or plywood. Use a saw to cut the wood according to your measurements. Make sure cuts are straight and clean.
Label each piece after cutting. This will help you keep track during assembly. Sand the edges lightly to remove splinters.
Assembling The Structure
Lay out the wood pieces on a flat surface. Begin by attaching the sides to the top and bottom pieces. Use wood screws or nails for strong joints.
Check that the frame is square by measuring diagonals. Adjust if needed before tightening all screws. Add support beams inside the frame for extra strength.
Use clamps to hold pieces in place while screwing. This keeps everything aligned and stable. Your frame should now look like a box ready for shelves.
Installing The Bookshelf Door
Installing the bookshelf door is a key step in creating your hidden room. This part needs care to ensure the door works well and stays hidden. A well-installed door blends perfectly with the rest of the bookshelf. It must open smoothly without gaps or sticking points. Follow the steps below for best results.
Mounting Hinges And Hardware
Choose strong hinges that can hold the door’s weight. Attach them to the door first. Mark the hinge spots on the bookshelf frame. Use a level to keep hinges straight. Screw the hinges securely into the frame. Add any special hardware, like magnetic catches, for extra hold. Check that all screws are tight and the door feels stable.
Aligning For Smooth Operation
Close the door gently to check its fit. Look for even gaps around the edges. Adjust hinge screws to move the door slightly if needed. Make sure the door swings open and closes easily. Test several times to confirm smooth movement. The door should feel natural and not require force. Proper alignment hides the secret entrance perfectly.
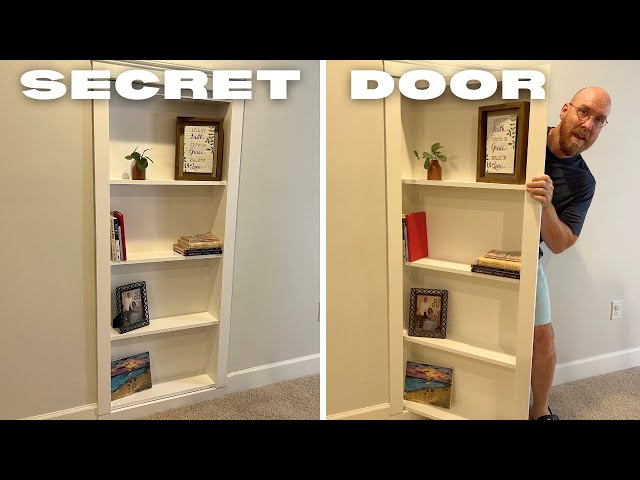
Credit: www.youtube.com
Adding Shelves And Storage
Adding shelves and storage is a key step in building a hidden room bookshelf. Shelves hold books and other items. Storage spaces keep things neat and organized. This section helps you create shelves that fit your needs and use space well.
Customizing Shelf Sizes
Measure the items you want to store first. Books come in different heights and widths. Make shelves tall enough for large books and short for small ones. Adjust shelf depth for thick books or decorations. Custom shelves make the hidden room useful and stylish.
Maximizing Storage Space
Use the full height of the bookshelf by adding many shelves. Leave small gaps between shelves to avoid wasted space. Add storage boxes or baskets for loose items. Use corners and sides for small shelves or hooks. Smart storage keeps the hidden room tidy and functional.
Finishing Touches
The finishing touches bring your hidden room bookshelf to life. These details give character and style. They also protect the wood and help it last longer.
Focus on painting, staining, and adding small decorative elements. These steps make your project look complete and polished.
Painting And Staining
Choose paint or stain that matches your room’s decor. Paint offers a smooth, colorful finish. Stain shows the natural wood grain and adds warmth.
Use a brush or roller to apply thin, even coats. Let each coat dry before adding the next. This prevents drips and uneven color.
Protect your finish with a clear sealant. It guards against scratches and moisture. A sealed surface stays beautiful for years.
Adding Decorative Elements
Small details make a big difference. Add trim or molding around the edges for a classic look. These accents create a polished frame for your bookshelf.
Consider installing vintage or stylish handles on the door. They add charm and make the hidden door easy to open.
Lighting inside or around the bookshelf adds ambiance. LED strips are easy to install and use little power.
Personal touches make your hidden room shelf unique. Use artwork, plants, or small objects to decorate shelves.

Credit: www.reddit.com
Ensuring Security And Safety
Building a hidden room bookshelf is exciting, but safety must come first. Protecting your secret space keeps your belongings safe. It also prevents accidents around the moving parts of the bookshelf. Taking steps to secure the room and ensure safety helps you enjoy your new space without worry.
Focus on strong locks and smart safety measures. These elements work together to make your hidden room both secure and safe to use.
Installing Locks And Latches
Choose sturdy locks for your hidden bookshelf door. Deadbolt locks offer good security and are hard to tamper with. Magnetic locks work well if you want the door to stay closed without visible hardware. Install latches that hold the door firmly in place when closed. Make sure the locking system is easy to use but hard to detect. Test the locks several times to confirm they work smoothly. Proper installation is key to keeping the secret room safe.
Safety Precautions
Check the bookshelf door’s edges for sharp corners. Sand down any rough spots to avoid cuts. Ensure the door moves smoothly on its hinges or tracks. Lubricate moving parts regularly to prevent sticking. Install a safety stop to avoid the door slamming shut. Keep the area around the bookshelf clear to prevent tripping. Use soft lighting inside the hidden room to avoid dark corners. Plan an emergency exit route in case you get stuck inside. These steps make the hidden room safer for everyone.
Maintenance Tips
Maintaining your hidden room bookshelf is key to keeping it functional and attractive. Small efforts can extend its life and ensure smooth operation. This section covers simple maintenance tips to protect your investment and keep the secret room working well.
Regular Cleaning
Dust and dirt can build up on the bookshelf and hinge areas. Use a soft cloth to wipe all surfaces weekly. Avoid harsh chemicals that can damage wood or paint. Clean the moving parts gently to prevent dust from blocking the mechanism. Keep the area around the bookshelf free of debris to allow smooth movement.
Checking For Wear And Tear
Look closely at the hinges and screws for signs of loosening or rust. Tighten loose screws with a screwdriver carefully. Watch for cracks or splits in the wood that could affect strength. Inspect the locking mechanism to ensure it works smoothly and safely. Fix small problems early to avoid costly repairs later.
Frequently Asked Questions
What Materials Are Needed To Build A Hidden Room Bookshelf?
You need wood panels, hinges, screws, a latch, a power drill, and paint. Quality materials ensure durability and smooth operation.
How Do You Create A Secret Door In A Bookshelf?
Attach the bookshelf to a pivot hinge, allowing it to swing open. Ensure it fits snugly for a seamless look.
Can A Hidden Bookshelf Room Be Diy-friendly?
Yes, with basic carpentry skills and proper tools, most can build it. Follow detailed plans for best results.
How Much Space Is Required For A Hidden Bookshelf Room?
You need enough clearance for the door to open fully, usually 3-4 feet. Measure carefully before building.
Conclusion
Building a hidden room bookshelf adds charm and function to your space. It creates a secret spot for books and more. The process is simple when you follow clear steps. Take your time and enjoy crafting something unique. This project fits many home styles and needs.
Try it out to add a special touch to your room. A hidden bookshelf can be both fun and useful. Keep your space neat and your books safe. Start your project today and see the results!