Are you looking to save space and add fun to your home? Making a house bunk bed might be the perfect solution.
Imagine giving your kids a cozy, creative place to sleep and play, all while freeing up room for other activities. In this guide, you’ll discover simple steps to build a sturdy, stylish bunk bed that fits your space and style.
Whether you’re a beginner or handy with tools, you’ll find easy-to-follow tips that make the process smooth and rewarding. Ready to transform your room and create a special spot your family will love? Keep reading to learn how to make a house bunk bed from start to finish.

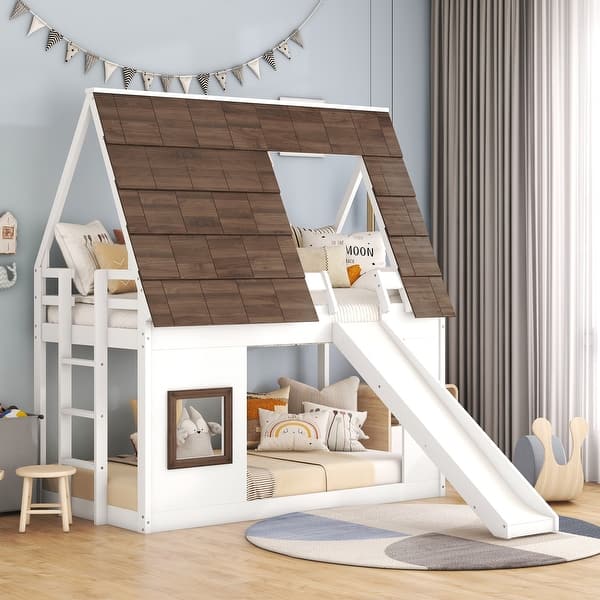
Credit: www.amazon.com
Choosing The Right Design
Choosing the right design for a house bunk bed is key to making it both functional and safe. The design should fit the room well and match your needs. A good design saves space and adds style to the bedroom. Think about how the bed will be used and who will use it. This helps pick the best design for your home.
Assessing Space And Room Layout
Start by measuring the room carefully. Note the height, width, and length available for the bunk bed. Check for windows, doors, and furniture that may block the bed. Leave enough space to move around safely. Think about ceiling height. Tall beds need more headroom. This step prevents problems during and after building.
Selecting Bed Dimensions
Choose bed sizes that fit the users comfortably. Twin beds work for kids and small rooms. Full or larger beds suit teens and adults. Consider mattress thickness and frame size. Make sure the top bunk has enough space above. Include space for safety rails. Keep ladder size and position in mind. Proper dimensions create a cozy and safe sleeping area.
Picking Style And Materials
Decide on a style that matches the room’s look. Simple, modern designs fit most rooms. Rustic or classic styles add charm. Use strong materials like solid wood or metal. These provide durability and safety. Choose finishes that resist scratches and stains. Light colors make small rooms feel bigger. The right style and materials make the bunk bed last longer and look great.
Gathering Tools And Materials
Building a house bunk bed starts with gathering the right tools and materials. This step is crucial for a smooth building process. Having everything ready saves time and avoids frustration. It also helps keep the project safe and organized.
Essential Tools Checklist
Collect these basic tools before starting. A power drill is necessary for quick and strong screws. A saw is needed to cut wood to size. A tape measure ensures accurate measurements. Sandpaper smooths rough edges. A screwdriver helps with smaller screws. Clamps hold pieces firmly in place. A level guarantees the bed is even and safe.
Material Selection Tips
Choose wood that is strong and durable. Pine and oak are good options. Select boards that are free of cracks and knots. Use quality screws and bolts for sturdy joints. Pick a non-toxic paint or finish for safety. Consider the mattress size before buying wood. This ensures the bed fits well in your room.
Safety Gear To Use
Wear safety glasses to protect your eyes. Use ear protection when cutting or drilling. Gloves help prevent splinters and cuts. A dust mask stops you from breathing in sawdust. Dress in clothes that cover your arms and legs. Keep a first aid kit nearby for emergencies.
Preparing The Workspace
Preparing the workspace is the first step to building a sturdy house bunk bed. A clean and organized area helps you work faster and safer. Taking time to set up your workspace well will save effort later. This part focuses on clearing the area, setting up workbenches, and organizing tools and supplies.
Clearing The Area
Remove all furniture and objects from the workspace. A wide, open space makes it easier to move around. Sweep or vacuum the floor to avoid slips and trips. Good lighting helps you see details clearly. Clear space reduces distractions and helps keep your focus.
Setting Up Workbenches
Place sturdy workbenches near the workspace’s center. Workbenches give a flat, stable surface to cut and assemble parts. Arrange benches so you can walk around easily. Keep benches clean and free of clutter. Use clamps or vices to hold wood pieces steady.
Organizing Tools And Supplies
Gather all tools and materials before starting. Sort tools by type and size for quick access. Use containers or toolboxes to keep small items together. Place screws, nails, and bolts in separate labeled boxes. Organizing tools reduces time spent searching for items.
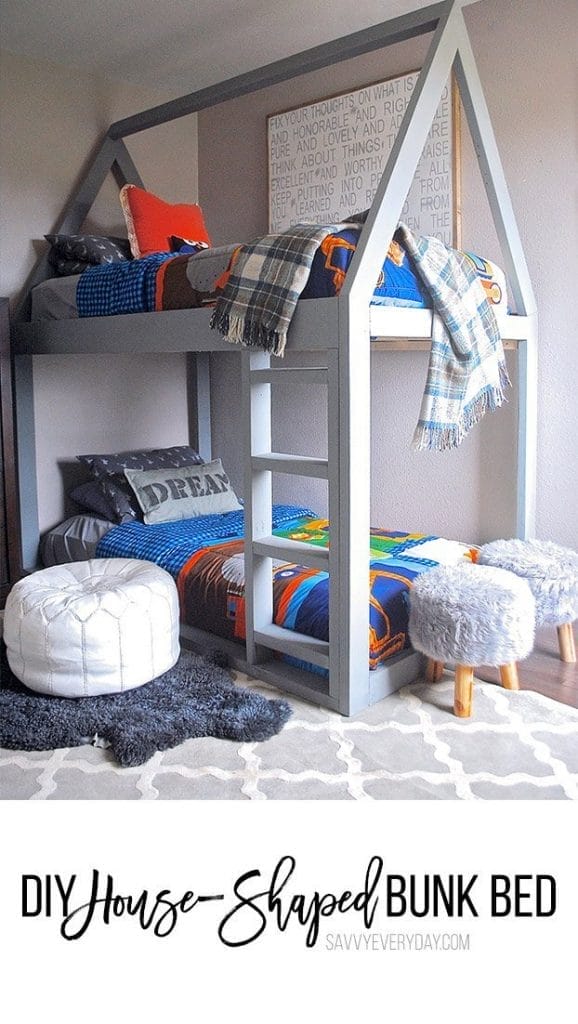
Credit: buybuybaby.bedbathandbeyond.com
Building The Frame
Building the frame is the first big step in making a house bunk bed. The frame holds everything together and keeps the bed safe. You need strong wood and careful measuring. Follow these steps to create a solid base for your bunk bed.
Cutting Lumber To Size
Start by choosing good quality wood. Pine or oak works well. Measure all pieces carefully using a tape measure. Mark each piece clearly with a pencil. Cut the lumber using a saw. Keep the cuts straight and smooth. This helps the pieces fit together tightly.
Assembling The Base Structure
Lay out the cut pieces on the floor. Arrange them as shown in your plan. Start with the outer frame. Use wood glue on the edges for extra strength. Fit the pieces together like a puzzle. Make sure the frame is square and even.
Securing Joints And Supports
Use screws to hold the joints firmly. Drill pilot holes first to avoid splitting the wood. Add corner braces for more support. Attach center supports under the bed slats. Check all joints again for tightness. A strong frame keeps the bunk bed safe and stable.
Constructing The Ladder And Guardrails
Constructing the ladder and guardrails is a key step in making a safe bunk bed. These parts help prevent falls and make climbing easier. Careful planning and sturdy materials ensure the bed stays secure.
Designing A Safe Ladder
Choose strong wood for the ladder frame. Make sure the rungs are wide and flat for good footing. Space the rungs evenly, about 10 to 12 inches apart. Attach the ladder at a slight angle for easier climbing. Sand all edges smooth to avoid splinters. Test the ladder by applying weight before final installation.
Attaching Guardrails For Safety
Guardrails stop sleepers from falling out of the top bunk. Use thick, solid wood pieces at least 5 inches high. Attach guardrails on all open sides of the top bunk. Secure them tightly with screws or bolts. Leave no gaps larger than 3.5 inches to protect small children. Check guardrails often for loose parts and tighten as needed.
Finishing Touches
Finishing touches bring your house bunk bed to life. They make it safe, smooth, and beautiful. These steps complete your project and prepare it for use. Small details can make a big difference in comfort and look.
Sanding And Smoothing Surfaces
Start by sanding all wooden parts. Use medium-grit sandpaper to remove rough spots. Follow with fine-grit sandpaper for a smooth finish. Sand edges and corners carefully to avoid splinters. Clean dust with a dry cloth before moving on.
Applying Paint Or Stain
Choose paint or stain that suits your room’s style. Use a brush or roller for even coverage. Apply thin coats to avoid drips and bubbles. Let each coat dry fully before adding the next. Paint adds color, while stain shows natural wood beauty.
Adding Mattress Supports
Place sturdy slats or a solid board inside the bed frame. Ensure supports fit tightly and hold weight well. Space slats evenly to prevent mattress sagging. Secure supports with screws for strong stability. This step keeps the mattress safe and comfortable.
Ensuring Safety And Stability
Building a bunk bed requires careful attention to safety and stability. A strong, secure bed keeps everyone safe and comfortable. Check every part to avoid accidents. A stable bunk bed lasts longer and holds weight well.
Double-checking Fastenings
Fastenings hold the bunk bed together. Tighten all screws, bolts, and nails securely. Use a screwdriver or wrench to check every connection. Loose fastenings cause wobbling and can be dangerous. Inspect fastenings regularly to keep the bed steady.
Testing Weight Capacity
Know the maximum weight your bunk bed can hold. Test the bed by applying pressure gradually. Sit and climb on it carefully to check stability. Avoid overloading the bed to prevent damage. Use strong materials to support weight safely.
Maintaining The Bunk Bed
Keep the bunk bed in good condition by regular checks. Look for cracks or loose parts often. Clean the bed to prevent dust buildup. Tighten any loose screws immediately. Proper maintenance extends the bed’s life and ensures safety.
Credit: www.navigatingparenthood.com
Frequently Asked Questions
How Do I Build A Sturdy House Bunk Bed?
To build a sturdy bunk bed, use strong hardwood like oak or maple. Secure all joints tightly with screws and brackets. Reinforce corners with metal brackets for extra stability. Always follow safety guidelines to ensure the bed supports weight safely.
What Tools Are Needed To Make A Bunk Bed?
Essential tools include a drill, saw, measuring tape, screwdriver, and sander. You may also need clamps and a level for accuracy. Having the right tools makes the building process easier and ensures precise assembly.
How Much Time Does Making A Bunk Bed Take?
Building a bunk bed typically takes 8-12 hours, depending on skill level. Preparation, cutting, assembly, and finishing all require careful attention. Beginners may need extra time to measure and fit parts correctly.
What Safety Features Should A House Bunk Bed Have?
Include guardrails on the top bunk to prevent falls. Secure ladders firmly and ensure smooth edges to avoid injuries. Use non-toxic finishes and check weight limits for safe use by children.
Conclusion
Building a house bunk bed can save space and add fun. Follow clear steps for a safe and sturdy design. Choose good materials and measure carefully before cutting. Take your time and double-check each part you make. A well-built bunk bed lasts for many years.
Enjoy the extra room and cozy sleeping spots. Making it yourself brings pride and a personal touch. Try it today and see how easy it can be!