Are you looking for a unique way to organize your books and add charm to your space? A plate rack bookshelf might be exactly what you need.
It’s simple to build, stylish, and perfect for showing off your favorite reads. Imagine having a bookshelf that not only holds your books but also becomes a conversation starter. In this guide, you’ll discover easy steps to create your own plate rack bookshelf, even if you’re new to DIY projects.
Ready to transform your room and impress your guests? Let’s get started!

Credit: www.ebay.com
Materials And Tools Needed
Building a plate rack bookshelf starts with the right materials and tools. Choosing good wood and having the right tools makes your project easier. This section explains what you need for a strong and beautiful bookshelf.
Wood Selection Tips
Pick wood that is strong and smooth. Pine is a cheap and easy choice. Oak and maple are harder and last longer. Avoid wood with many knots or cracks. These can weaken your shelf. Make sure the wood pieces are straight and even. Sand the wood well to get a smooth finish. This helps the paint or stain stick better.
Essential Tools List
You need some basic tools to build your bookshelf. A saw cuts the wood to size. A drill makes holes for screws. Sandpaper smooths rough edges. Use a measuring tape to check lengths. A square tool helps keep corners straight. Screwdrivers or a power driver fasten the pieces together. Clamps hold the wood while you work. Safety goggles protect your eyes during cutting and drilling.
Designing Your Plate Rack Bookshelf
Designing a plate rack bookshelf starts with clear planning. A good design makes the project easier and the shelf more useful.
Think about where you will place the shelf. Consider the space available and what you want to store. This helps in choosing the right size and layout.
Choosing The Right Dimensions
Measure the wall space carefully. The shelf should fit well without crowding the room. Standard shelves are usually 24 to 36 inches wide.
The height depends on what items you want to store. Plates need vertical space, while books may need more height. Keep the depth around 10 to 12 inches for most plates.
Planning Shelf Spacing
Space between shelves is important. Plates need enough room to stand or lie flat. A gap of 8 to 10 inches works well for most plates.
For books, the gap should match book height. Plan for taller shelves if you want to add bigger books later. Adjustable shelves offer flexibility.
Cutting And Preparing The Wood
Cutting and preparing the wood is a key step in building your plate rack bookshelf. Getting this right makes assembly easier and ensures a strong, neat final product. This step needs focus and careful handling of tools. Proper preparation helps avoid mistakes later on.
Measuring And Marking
Start by measuring the wood pieces carefully. Use a tape measure and mark each piece clearly with a pencil. Double-check all measurements before cutting. Mark straight lines using a ruler or a square tool. Clear marks guide your cuts and keep pieces uniform.
Safe Cutting Techniques
Wear safety goggles and gloves before cutting wood. Use a stable surface and clamp the wood securely. Cut slowly and follow your marked lines closely. Use the right saw for the job, like a handsaw or circular saw. Keep fingers away from the blade at all times. Proper cutting reduces splinters and mistakes.
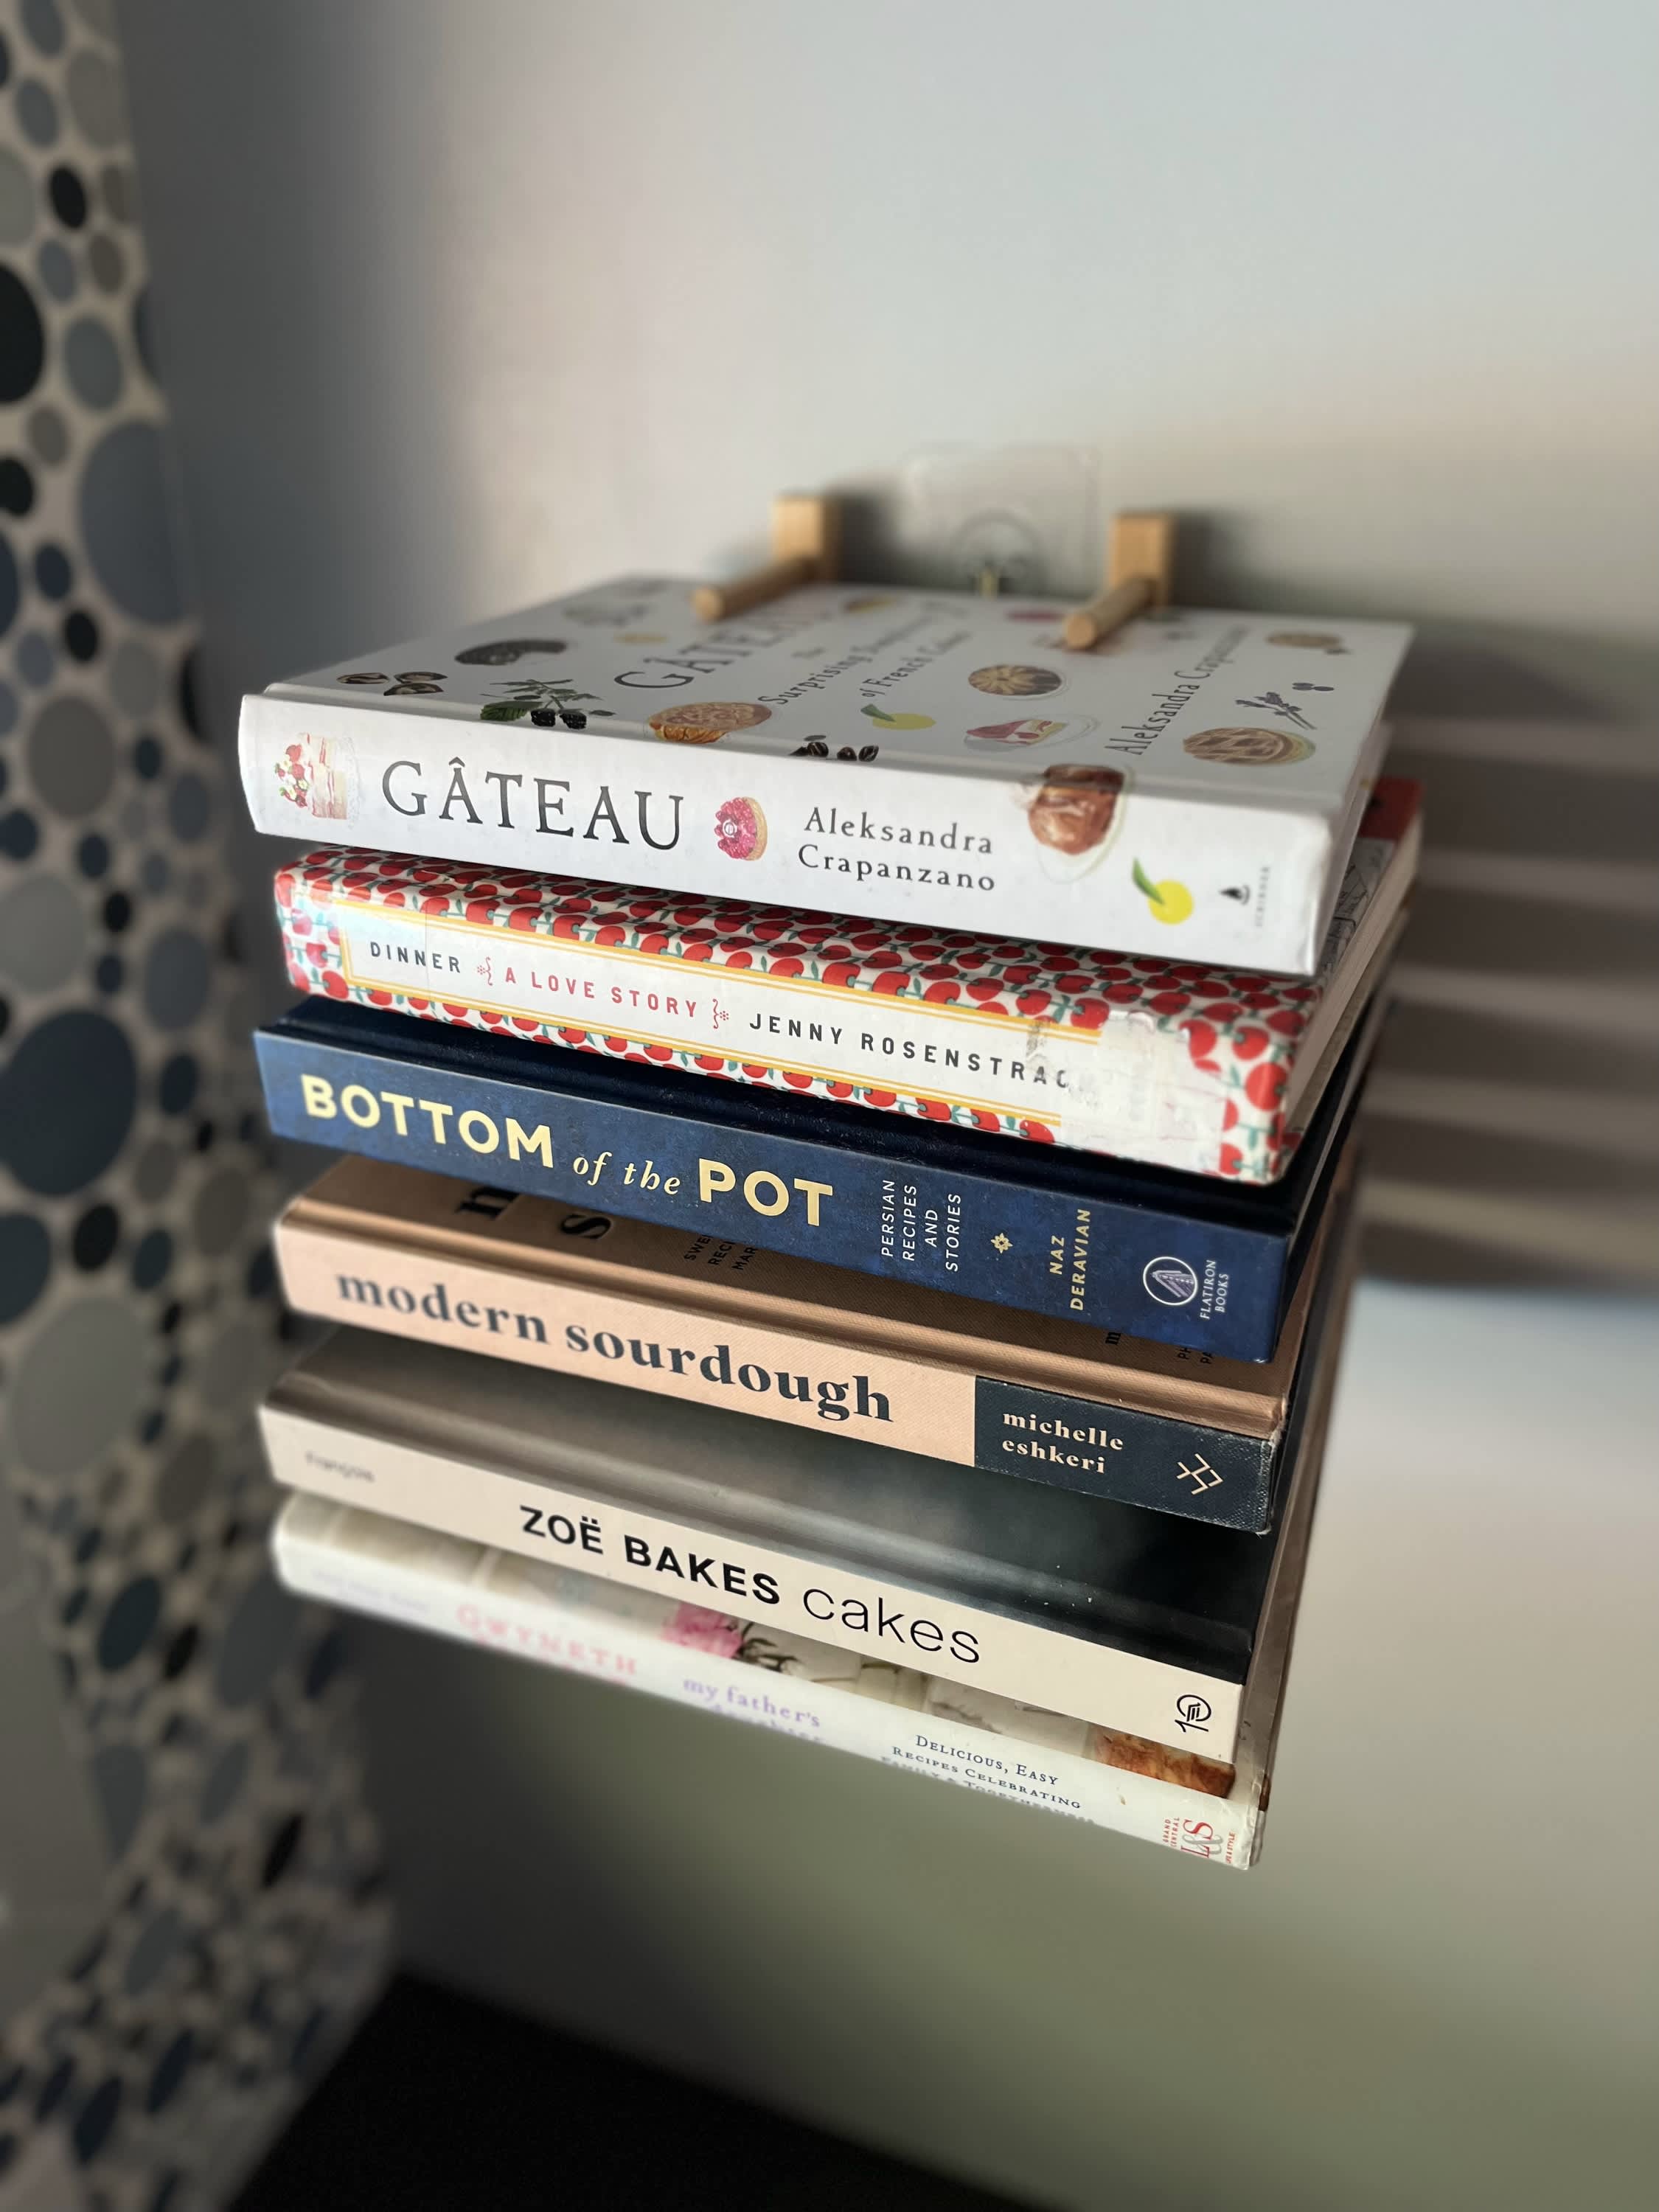
Credit: www.thekitchn.com
Assembling The Frame
Assembling the frame is the first big step in building your plate rack bookshelf. This part creates the basic shape and support. A strong frame keeps the shelf steady and safe for your books and plates.
Take your time here. Measure twice, cut once. Make sure all pieces fit well before joining them. A well-made frame makes the rest of the project easier and more enjoyable.
Joining Techniques
Use wood glue to hold pieces together firmly. Apply glue on the edges before fitting parts. This adds strength without visible screws.
Next, use nails or screws to secure the joints. Pre-drill small holes to avoid wood splitting. Choose screws that match the wood thickness for a tight hold.
Corner clamps help keep the frame square while joining. Hold the parts in place until glue dries. This ensures straight edges and strong corners.
Securing The Structure
After joining, check the frame for wobble or gaps. Use a carpenter’s square to confirm right angles. Adjust before the glue sets.
Add corner braces or metal brackets inside the frame. These give extra support and prevent twisting. Screw them tightly into the wood.
Sand all joints smooth to remove rough edges. This step helps paint or finish stick better. It also makes the frame safe to handle.
Adding Shelf Supports
Adding shelf supports is a key step in making a plate rack bookshelf. The supports hold the plates and books securely. Without strong supports, the shelf may wobble or the plates could slip.
This part needs careful work to make sure everything fits well. The supports also give the shelf a neat look. Below, learn how to create slots for plates and ensure stability.
Creating Slots For Plates
Start by measuring the thickness of your plates. Mark the same width on the shelf supports. Use a saw or chisel to cut shallow slots. These slots hold the plates upright.
Keep the slots even and straight. Space them evenly across the shelf. The slots prevent plates from sliding sideways. They also help display plates nicely.
Ensuring Stability
Use strong wood or metal brackets for shelf supports. Attach them firmly to the shelf and side panels. Check the shelf is level before fixing supports.
Add screws or nails to secure the supports tightly. Test the shelf by placing a few plates or books. Adjust supports if there is any wobble. Stable supports keep your plates safe and your shelf durable.
Sanding And Finishing
Sanding and finishing are key steps in making a plate rack bookshelf. These steps give the wood a smooth feel and protect it from damage. Proper sanding removes rough spots and splinters. Finishing adds color and seals the wood to keep it looking good for years.
Sanding For Smoothness
Start with coarse sandpaper to remove rough edges. Move the paper along the wood grain, not across it. Use medium grit sandpaper next to smooth the surface further. Finish with fine grit for a soft, even texture. Wipe the dust away with a damp cloth before finishing.
Applying Paint Or Stain
Choose paint or stain that suits your room’s style. Apply a thin coat with a brush or cloth. Let it dry fully. Add a second coat for stronger color or protection. Use a clear sealant if you want extra durability and shine.
Mounting And Placement Tips
Mounting and placing your plate rack bookshelf correctly ensures safety and style. Proper installation keeps the shelf sturdy. Smart placement highlights your favorite items and saves space. Follow these tips for the best results.
Wall Mounting Options
Choose strong wall anchors for heavy loads. Use screws that fit the rack’s mounting holes. Studs offer the best support. Use a stud finder to locate them. For drywall, use toggle bolts or molly bolts. These hold more weight than regular anchors. Drill pilot holes to avoid wall damage. Level the rack before tightening screws. Check the rack’s stability after mounting. Adjust if it feels loose or uneven.
Best Locations For Display
Place the rack where it is easy to see and reach. Near the dining area works well. Kitchens also make a good spot. Avoid direct sunlight to protect books from fading. Keep away from damp places to prevent damage. Make sure the area has enough wall space. Leave room for opening and closing plates. Think about eye level for easy access and viewing. Arrange items by size or color for a neat look.
Maintaining Your Bookshelf
Maintaining your plate rack bookshelf is key to keeping it strong and beautiful. Regular care helps it last longer and stay safe for your books. Follow simple steps to clean and repair your shelf. This keeps the wood fresh and the structure steady. A well-maintained shelf looks great in any room.
Cleaning Guidelines
Dust the shelf often with a soft cloth. Avoid wet cloths as water can damage the wood. Use a dry or slightly damp cloth for tough spots. Keep the shelf away from direct sunlight to prevent fading. Clean spills immediately to stop stains. A gentle wood cleaner can help if dirt builds up.
Repair And Upkeep
Check screws and joints regularly. Tighten loose screws to keep the shelf stable. Look for cracks or chips in the wood. Small cracks can be fixed with wood filler. Sand rough spots lightly before applying finish. If the finish wears off, apply a fresh coat of varnish or paint. This protects the wood and keeps it looking new.
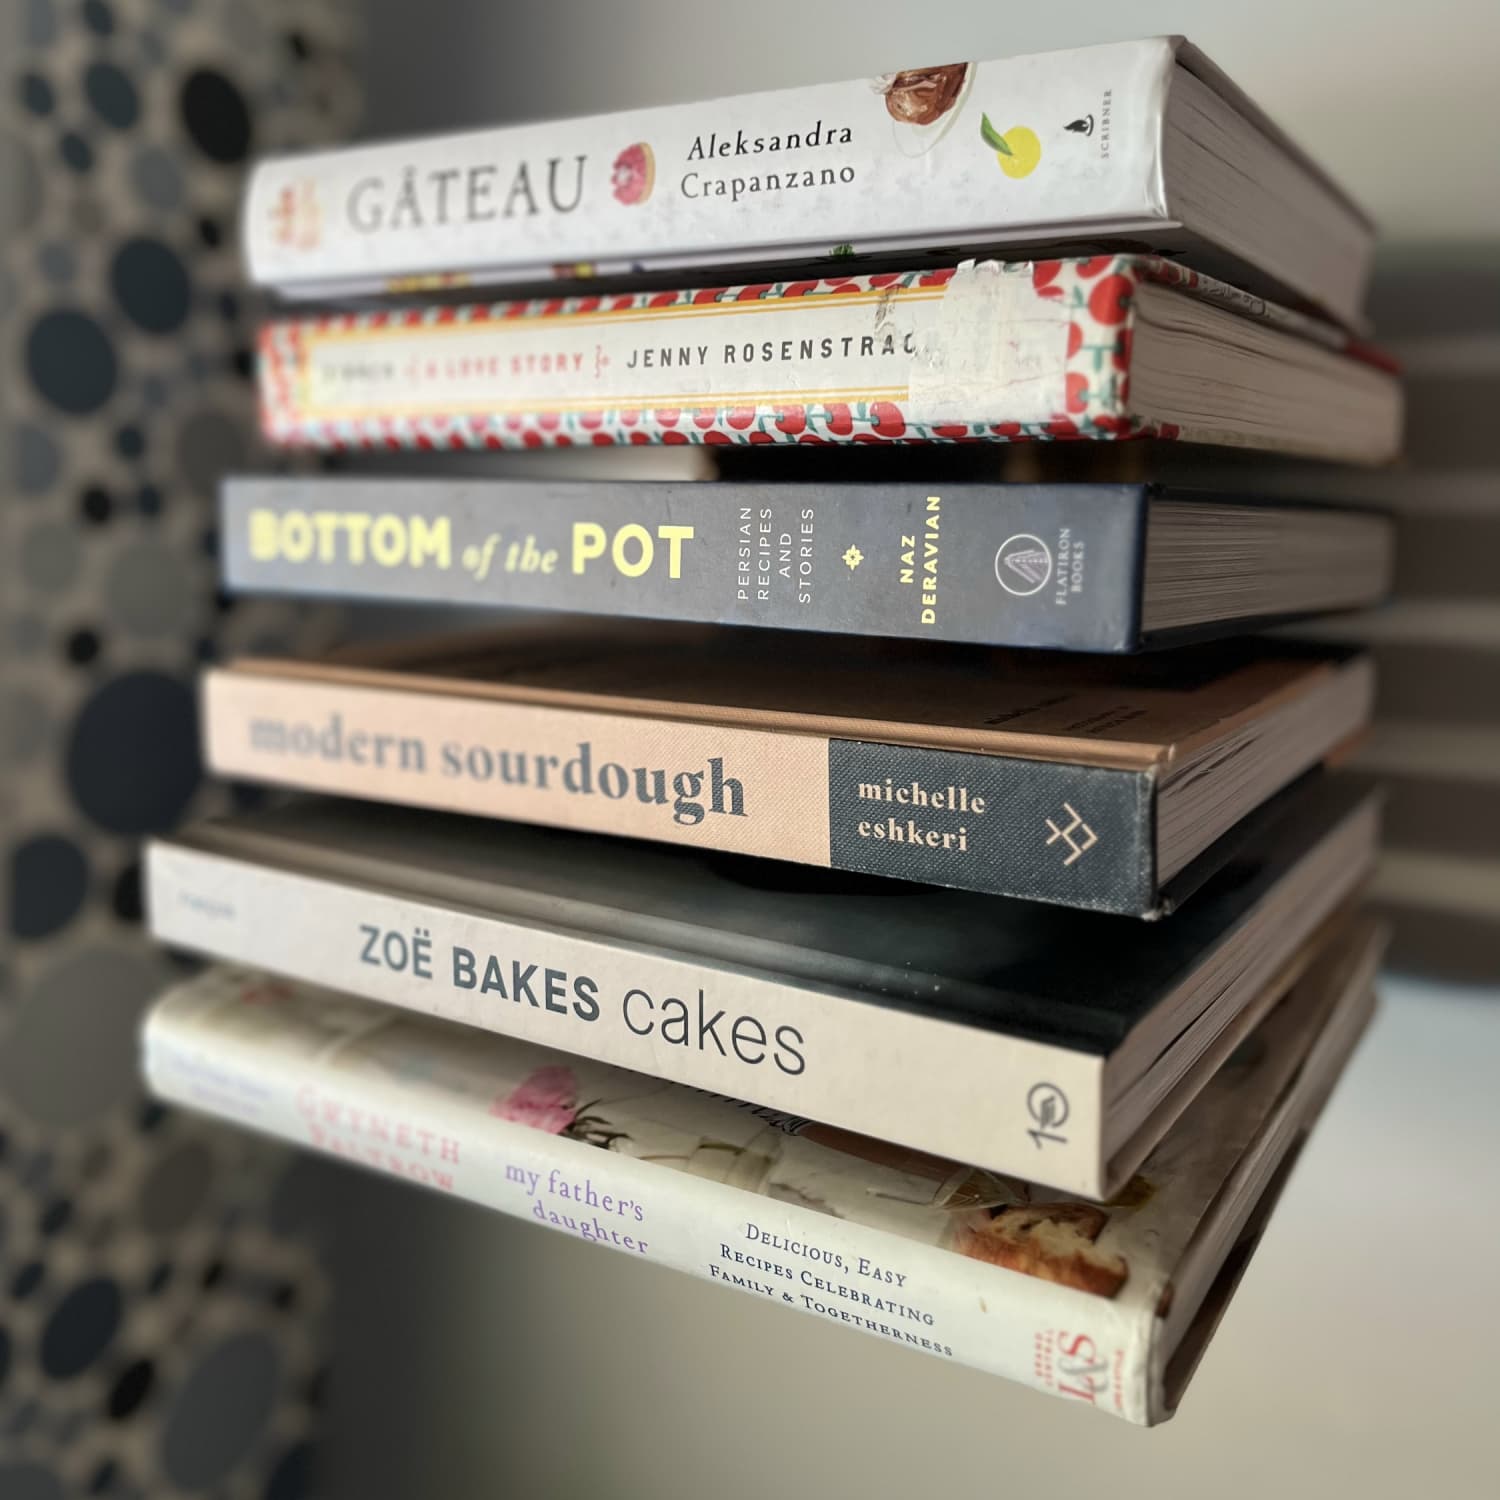
Credit: www.thekitchn.com
Frequently Asked Questions
What Materials Are Needed For A Plate Rack Bookshelf?
You need wood planks, screws, wood glue, sandpaper, paint or stain, and mounting hardware. Choose quality wood for durability. Also, prepare basic tools like a saw, drill, and screwdriver for assembly.
How Do I Design A Plate Rack Bookshelf?
Measure your space and decide shelf dimensions. Plan slots to hold books securely. Sketch the design with slots spaced evenly for book sizes and plate rack style.
Can I Customize The Plate Rack Bookshelf Size?
Yes, customize the size to fit your space and book collection. Adjust shelf width, height, and slot spacing. Customization ensures your bookshelf suits your room and style perfectly.
How Do I Finish The Plate Rack Bookshelf?
Sand all surfaces smoothly. Apply paint or stain evenly for protection and aesthetics. Seal with clear varnish for durability. Finish enhances the wood’s look and lifespan.
Conclusion
Building a plate rack bookshelf is simple and fun. You only need a few tools and some wood. Follow the steps carefully and take your time. This project adds charm and storage to any room. It also gives you a chance to create something unique.
Enjoy the process and be proud of your work. A handmade shelf brings warmth and style to your home. Give it a try and see the difference it makes.