Are you ready to transform your space with a bookshelf that looks like it belongs in a high-end store? Making a realistic bookshelf isn’t just about stacking wood—it’s about creating a piece that feels authentic and adds personality to your room.
Whether you want to showcase your favorite books or add a stylish touch to your home, this guide will walk you through simple steps that anyone can follow. By the end, you’ll have the skills to build a bookshelf that not only holds your books but also impresses everyone who sees it.
Let’s get started and make your bookshelf dreams a reality!
Choosing The Right Materials
Choosing the right materials is key for a realistic bookshelf. The materials affect strength, look, and feel. Good choices make the project easier and the result better.
Focus on wood types and tools needed. Both play a big role in the outcome. Use materials that are easy to work with and fit your style.
Selecting Wood Types
Wood type changes how the bookshelf looks and lasts. Pine is soft and easy to cut. It’s great for beginners. Oak is strong and lasts long but is harder to work with. Plywood is smooth and stable. It won’t warp easily. Choose wood with a good grain and few knots. This gives a clean, polished look. Pick wood that matches your room style. Lighter wood for bright spaces. Dark wood for cozy rooms.
Tools And Supplies Needed
Basic tools make building easier. You need a saw to cut wood pieces. A drill helps join parts with screws. Sandpaper smooths rough edges. A measuring tape keeps sizes correct. Clamps hold wood while you work. Wood glue adds strength to joints. Paint or stain finishes the look. Buy quality tools for safety and ease. Keep supplies ready before starting. This saves time and frustration.
Designing Your Bookshelf
Designing a bookshelf starts with clear planning. It helps you build a sturdy and useful piece. A well-thought design makes your bookshelf look realistic and fit perfectly.
Focus on the size and shape of the space where you want the bookshelf. Then, decide how many shelves and compartments you need for your books and items.
Measuring Space And Dimensions
Measure the wall or corner where the bookshelf will go. Use a tape measure to get width, height, and depth. Write down these numbers carefully. Check for any obstacles like vents or switches. Leave enough space for easy access and cleaning.
Sketching The Layout
Draw a simple sketch of your bookshelf on paper. Mark the total height, width, and depth. Divide the space into shelves and sections. Think about shelf height for different book sizes. Include extra space for decorations or storage boxes. This sketch guides your building process and keeps your work organized.
Cutting And Preparing Wood
Cutting and preparing wood is the first step in building a realistic bookshelf. It ensures your shelves fit perfectly and look professional. Taking time here helps avoid problems later.
Choosing the right wood and cutting it carefully sets a strong foundation. You need sharp tools and a clear plan. Measuring twice and cutting once is key.
Safe Cutting Techniques
Wear safety goggles and gloves to protect yourself. Use a stable work surface to keep wood steady. Mark your cutting lines clearly with a pencil. Cut slowly to avoid mistakes and splinters. Keep your fingers away from the blade at all times. Use clamps to hold the wood down while cutting. Check your tools before starting to ensure they work well.
Sanding And Smoothing Edges
After cutting, edges may feel rough or sharp. Sand all edges with medium-grit sandpaper first. Then use fine-grit sandpaper for a smooth finish. Sand in the direction of the wood grain. Wipe away dust with a clean cloth after sanding. Smooth edges help the bookshelf look neat and last longer. Sanding also prepares the wood for painting or staining.
Credit: www.realhomes.com
Assembling The Frame
Assembling the frame is the first big step in making a realistic bookshelf. It forms the base that holds everything together. Taking time here makes the rest easier and stronger.
Focus on straight lines and right angles. A solid frame keeps the bookshelf balanced and safe to use.
Joining Techniques
Choose the right joints for your frame. Butt joints are simple but less strong. Use screws or nails to hold pieces tightly.
Dovetail and mortise-and-tenon joints offer better strength. These joints fit like puzzle pieces. They lock boards together without extra support.
Use wood glue with any joint. It adds extra hold and stops wobbling. Clamp the pieces until glue dries fully.
Ensuring Stability
Check the frame for square corners using a carpenter’s square. Uneven sides cause problems later. Adjust before moving on.
Add corner braces or metal brackets for extra strength. Place them inside corners to hide them. This keeps the frame rigid and safe.
Test the frame by pressing gently on each side. It should feel solid and not move. Fix any weak spots before adding shelves.
Adding Shelves And Supports
Adding shelves and supports is key to building a realistic bookshelf. Shelves hold your books, so they must be strong and well spaced. Supports keep shelves steady and prevent sagging. Proper planning ensures your bookshelf looks good and lasts long.
Spacing For Different Book Sizes
Books come in many sizes. Tall books need more space than small ones. Measure your tallest book first. Leave extra room for easy access and air flow. Standard spacing is about 12 inches for most books. For large art books or albums, increase spacing to 15 inches. Use adjustable shelves for flexibility. This way, you can change shelf height as your collection grows.
Securing Shelves Properly
Strong shelves need good support. Use brackets or shelf pins to hold shelves firmly. Attach supports to wall studs for safety. If shelves are wide, add center supports to stop bending. Use screws, not nails, for a solid hold. Check shelf level before tightening. A well-secured shelf keeps your books safe and your bookshelf stable.
Finishing Touches
Finishing touches bring your bookshelf to life. They protect the wood and improve its look. The right finish makes the bookshelf last longer and feel smooth to touch. Choose options that suit your style and needs. The final steps are simple but important.
Painting And Staining Options
Painting adds color and hides wood imperfections. Use a primer first for better paint grip. Choose water-based paint for easy cleaning. Staining shows the wood grain and adds warmth. Pick a stain shade that matches your room decor. Apply thin coats and wipe off extra stain. Let each coat dry fully before the next one.
Applying Protective Coatings
Protective coatings guard the wood from scratches and spills. Polyurethane is a popular choice for strong protection. Use a brush or spray to apply it evenly. Let the first coat dry, then sand lightly for smoothness. Apply a second coat for better durability. Wax or oil finishes offer a natural look but less protection. Choose coatings based on the shelf’s use and location.
Placing And Styling Your Bookshelf
Placing and styling your bookshelf can change the look of any room. The right spot makes your bookshelf stand out and stay useful. Styling brings personality and warmth to your space. Both steps work together to make your bookshelf a great part of your home.
Optimal Placement Tips
Choose a spot with good light but avoid direct sunlight. This keeps books safe from fading. Place the bookshelf near where you read or relax. It makes grabbing books easy and natural. Keep some space around the bookshelf to avoid a crowded look. Walls that need a focal point are perfect for bookshelves. Check the floor’s strength for heavier shelves to prevent damage.
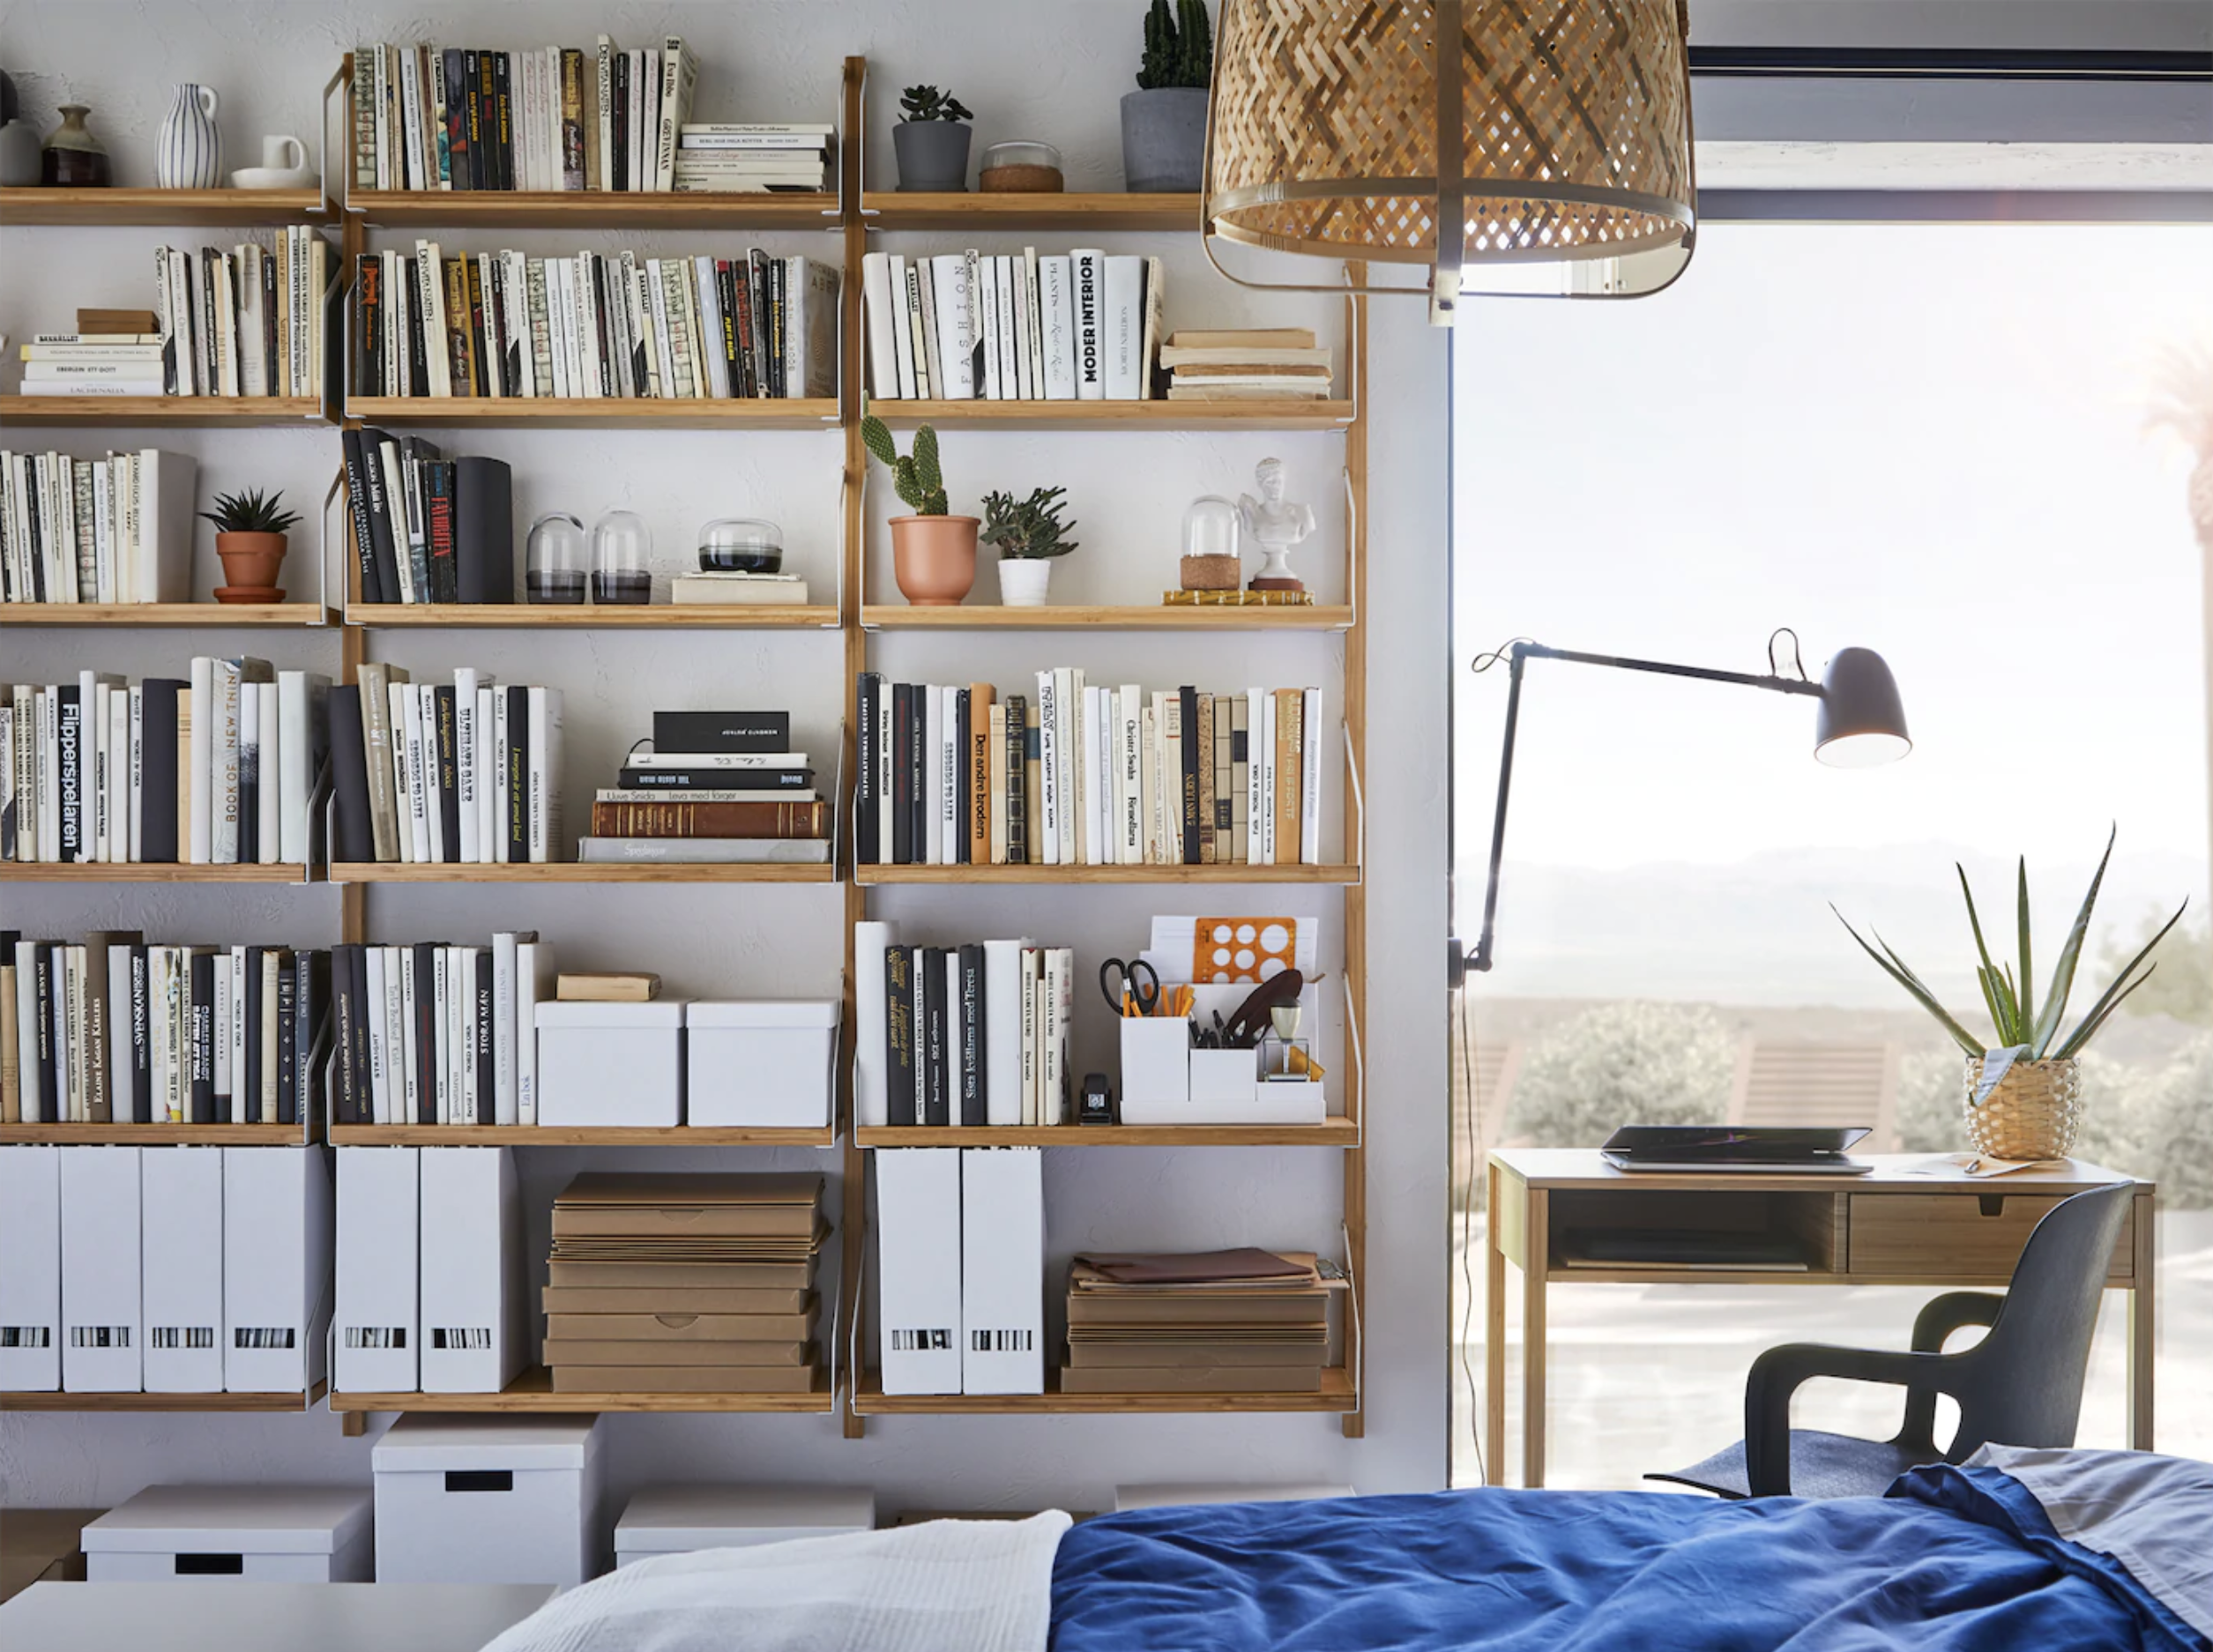
Decorating For Visual Appeal
Mix books with decorative items like plants or small art pieces. Use different book sizes to create a balanced look. Arrange some books vertically and others horizontally. Leave some empty space to avoid clutter. Choose colors that match the room’s style for a smooth flow. Add personal items to make the shelf feel warm and inviting. Change decorations seasonally to keep the look fresh and exciting.

Credit: www.demco.com

Credit: tailorwoodhaven.com
Frequently Asked Questions
What Materials Are Best For A Realistic Bookshelf?
Wood, plywood, and MDF are ideal for a realistic bookshelf. They provide durability and a natural appearance. Choose hardwood for a premium look. Use quality screws and wood glue for strong joints. Finishing with paint or stain enhances realism and protects the wood.
How Do I Make Bookshelf Shelves Sturdy?
Use thick wood boards, at least ¾ inch thick. Add support brackets or cleats underneath shelves. Secure shelves tightly to side panels with screws. Avoid overloading shelves to maintain stability. Proper assembly ensures shelves remain strong and functional over time.
Can I Customize The Bookshelf Size Easily?
Yes, customizing size is simple by adjusting wood dimensions. Measure your space carefully before cutting materials. Modify shelf height and width to fit your needs. Custom sizing improves functionality and ensures the bookshelf fits perfectly in your room.
What Finishing Techniques Make A Bookshelf Look Realistic?
Sanding smooths the wood surface for a polished look. Apply wood stain or paint for color and protection. Use clear varnish or polyurethane for a glossy finish. Distressing techniques add character and an aged appearance. Proper finishing enhances realism and durability.
Conclusion
Building a realistic bookshelf is simple with the right steps. Use good materials and measure carefully. Take your time to cut and assemble pieces. Painting or staining helps make it look real. Add details like books and decor for charm.
This project brings both function and style to your space. Enjoy the satisfaction of creating something useful and nice. Keep practicing to improve your skills every time. A handmade bookshelf makes any room feel warm and welcoming.
