Are you looking to add a warm, cozy touch to your home? A rustic bookshelf might be just what you need.
Imagine a beautiful, handcrafted shelf that not only holds your favorite books but also brings charm and character to any room. In this guide, you’ll discover simple steps to create your own rustic bookshelf, even if you’re new to woodworking.
By the end, you’ll have a unique piece that reflects your style and makes your space truly inviting. Ready to get started? Let’s dive in!
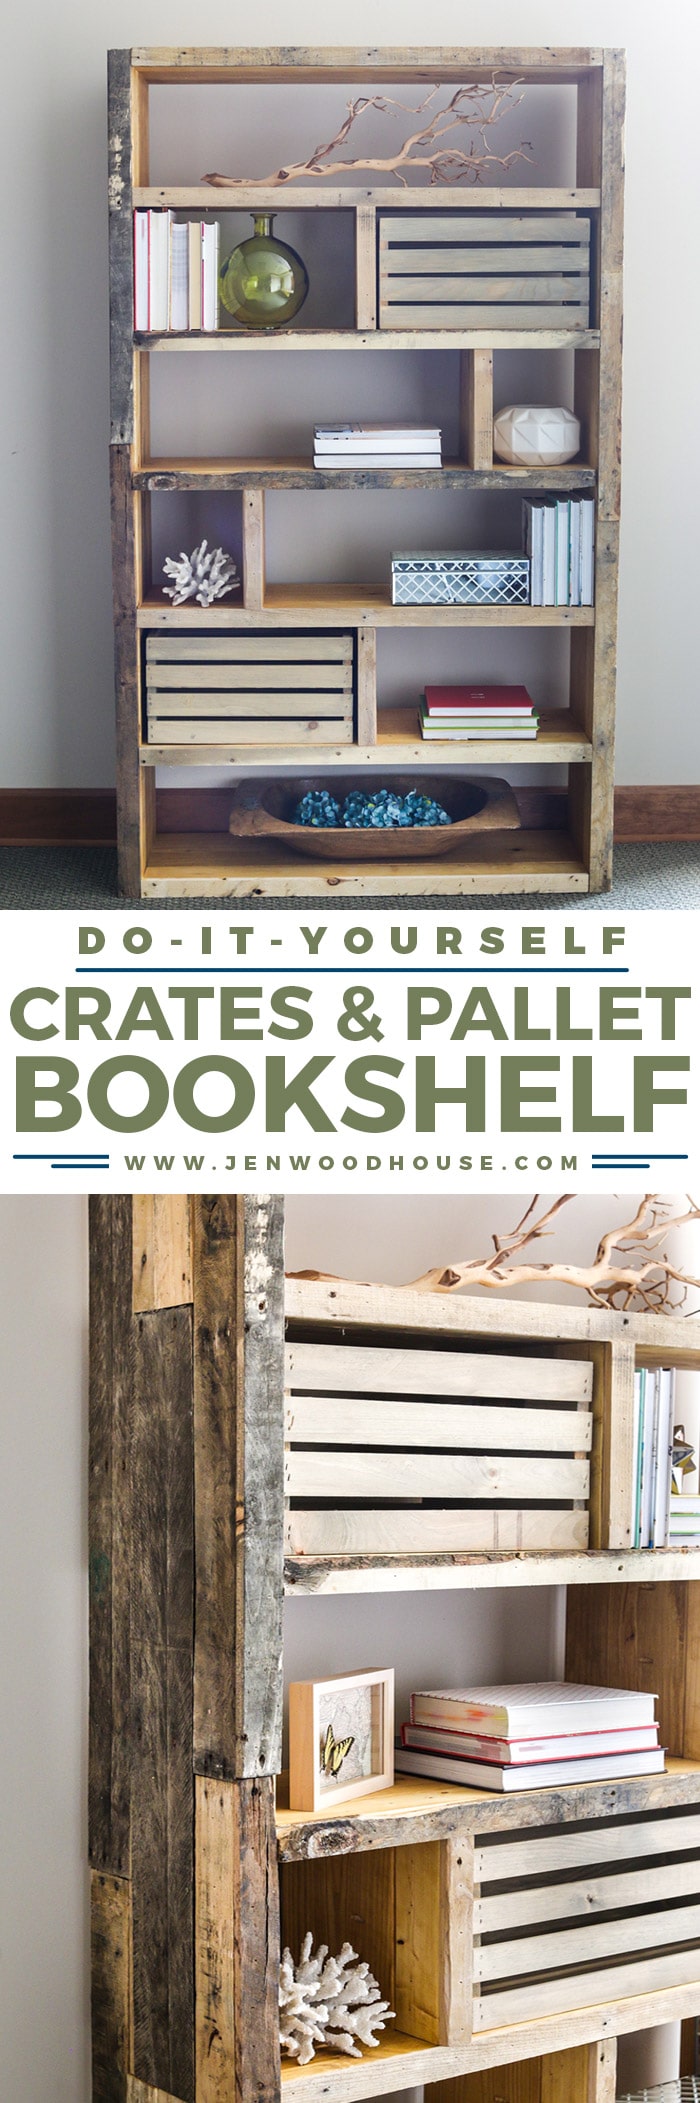
Credit: jenwoodhouse.com
Choosing The Right Wood
Choosing the right wood is the first step to making a beautiful rustic bookshelf. The wood type affects the look, feel, and durability of your project. Pick wood that fits the rustic style and suits your budget. Raw, natural textures and grains add charm and character.
Rustic wood often shows knots, cracks, and rough edges. These details create a warm, cozy feel. The wood should be strong enough to hold books and last a long time. Let’s explore the best wood types, where to find them, and how to prepare the wood for your shelf.
Types Of Wood For Rustic Look
Pine is soft, easy to work with, and affordable. It has visible knots and a warm tone. Cedar resists insects and decay, perfect for long-lasting shelves. Oak is hard and strong, with a rich grain that fits rustic styles well. Reclaimed wood offers unique textures and history. It often has weathered edges and natural color changes. Each wood type gives a different rustic feel. Choose based on your style and budget.
Where To Source Materials
Local lumber yards offer fresh and affordable wood options. Look for pieces with natural imperfections. Reclaimed wood can be found at salvage yards or old barns. Online marketplaces sometimes sell rustic wood planks. Check for good quality and untreated wood. Avoid wood with too many cracks or rot. Visiting local sawmills may give access to custom cuts. Choose wood that fits your size and style needs.
Wood Preparation Tips
Start by cleaning dirt and dust off the wood. Sand rough surfaces lightly to keep natural texture. Remove loose bark and splinters with a scraper. Cut wood pieces to the right size using a saw. Seal the wood with a clear finish to protect it. Use wood stain for a deeper rustic color if desired. Let the wood dry completely before assembly. Proper preparation ensures your shelf looks great and lasts long.

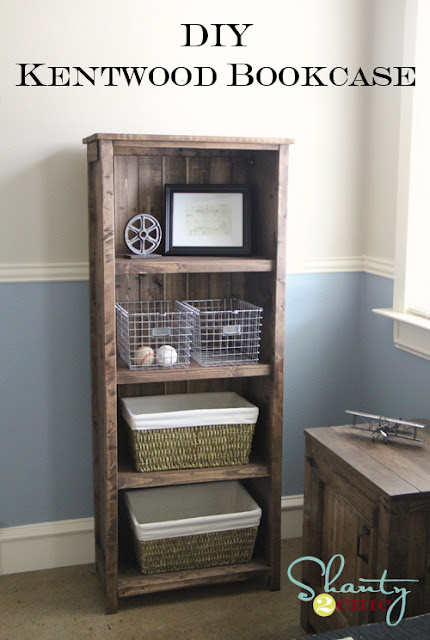
Credit: www.ana-white.com
Tools And Supplies Needed
Building a rustic bookshelf is a rewarding project. Having the right tools and supplies makes the work easier and the result better. Prepare everything before you start. It helps avoid interruptions and keeps your work smooth.
Essential Tools List
- Measuring tape – for accurate dimensions
- Pencil – to mark cuts and drill spots
- Hand saw or circular saw – to cut wood pieces
- Drill with bits – for making holes and driving screws
- Screwdriver – to tighten screws by hand
- Sandpaper or power sander – to smooth rough edges
- Clamps – to hold wood firmly while working
- Square – to check right angles
Optional Accessories
- Wood glue – adds extra strength to joints
- Wood stain or paint – to finish and protect wood
- Paintbrush or cloth – for applying stain or paint
- Putty knife – to fill holes with wood filler
- Wood filler – covers nail holes or cracks
- Level – ensures shelves are perfectly flat
Safety Gear Recommendations
- Safety glasses – protect eyes from dust and debris
- Work gloves – protect hands from splinters and cuts
- Dust mask – prevents inhaling sawdust
- Ear protection – reduces noise from power tools
Designing Your Bookshelf
Designing your rustic bookshelf sets the tone for your entire project. It helps you create a piece that fits your space and style perfectly. Start with a clear idea of what you want. Think about the room where the bookshelf will stand and how it will be used.
Keep your design simple and practical. Rustic style often means natural wood and a handmade look. Focus on strong lines and rough textures. This approach makes your bookshelf both beautiful and durable.
Simple Rustic Styles
Rustic styles use raw, natural materials. Wood with knots and grain shows character. Choose boards that look a little rough or aged. Avoid smooth or polished finishes. Simple designs with open shelves work well. Add small details like visible screws or metal brackets. These touches highlight the rustic feel.
Measuring And Planning
Measure your space carefully. Know the height, width, and depth allowed. Use a tape measure and write down numbers. Plan for some extra space around the bookshelf. Draw a rough sketch to visualize the shape. Plan shelf placement to hold your books and items. Accurate measuring prevents mistakes and saves wood.
Customizing Shelf Sizes
Not all books are the same size. Customize shelf height to fit your collection. Leave space for tall books or decorations. Adjustable shelves add flexibility over time. Decide how many shelves you need. Balance the number of shelves with the strength of wood. Custom shelves make your rustic bookshelf unique and useful.
Step-by-step Assembly
Building a rustic bookshelf is simple if you follow each step carefully. This section guides you through the assembly process. You will learn how to cut, smooth, and join the wood pieces. These steps make sure your bookshelf looks great and lasts long.
Cutting The Wood
Start by measuring the wood pieces accurately. Use a saw to cut the boards to the right size. Cut shelves, sides, top, and bottom panels. Make clean, straight cuts for a good fit. Wear safety glasses to protect your eyes during cutting.
Sanding And Smoothing
Use sandpaper to smooth the wood surfaces. Start with coarse grit to remove rough edges. Then switch to finer grit for a smooth finish. Sand all sides and corners well. This step helps the wood look nice and removes splinters.
Joining Pieces Together
Align the wood pieces to form the frame. Use wood glue on edges for a strong hold. Secure the parts with nails or screws. Check that the bookshelf is square and level. Let the glue dry completely before moving on.
Adding Rustic Finishes
Adding rustic finishes brings charm and character to your bookshelf. It turns plain wood into a warm, cozy piece. Rustic finishes highlight natural textures and imperfections. These details make each bookshelf unique and inviting.
Staining And Painting
Choose stains that show wood grain clearly. Darker stains add a vintage look. Lighter stains keep it natural and bright. Painting can add color and personality. Use soft, muted tones like white or gray for rustic style. Apply paint lightly to let wood texture show through.
Distressing Techniques
Distressing gives wood an aged, worn look. Use sandpaper to rub edges and corners. Small dents and scratches add character. Try hitting the wood gently with a hammer or chain. These marks create a lived-in feel. Avoid overdoing it. The goal is subtle wear, not damage.
Protective Coating Options
Seal your rustic finish to protect it. Use clear wax for a soft, matte look. Polyurethane adds strong protection and shine. Choose water-based polyurethane for easy cleanup. Apply thin coats and sand lightly between coats. A good seal keeps your bookshelf looking good for years.
Mounting And Placement
Mounting and placing your rustic bookshelf correctly ensures it stays safe and looks great. Proper placement helps balance the room and highlights your bookshelf’s charm. This section covers easy ways to mount or place your shelf for the best effect.
Wall Mounting Tips
Choose a strong wall, like one made of wood or brick. Use a stud finder to find the studs behind the drywall. Secure the shelf brackets directly into these studs for stability.
Use heavy-duty screws and wall anchors made for your wall type. Check the shelf level with a spirit level before tightening screws. This keeps your bookshelf straight and neat.
Keep the shelf height reachable and safe. Avoid mounting too high to prevent accidents. Leave space above for decorations or lighting.
Free-standing Setup
Place your bookshelf on a flat, stable floor surface. Avoid uneven or slippery floors to stop wobbling. Use small rubber pads under the legs for extra grip.
Position the shelf against a wall for support, even if it is free-standing. This adds safety and prevents tipping. Leave enough room to access books easily.
Measure the area first. Make sure the shelf fits and does not block doors or windows. A well-placed shelf helps keep the room open and inviting.
Decorating Your Bookshelf
Mix books with decorative items for a cozy look. Use small plants, candles, or framed photos. These add warmth and personality to the shelf.
Place heavier items on the bottom shelves. This keeps the shelf stable and balanced. Use the top shelves for lighter, smaller pieces.
Keep some space empty to avoid a cluttered look. This makes your rustic bookshelf stand out as a centerpiece.
Troubleshooting Common Issues
Building a rustic bookshelf can be very rewarding. Yet, some common problems may arise during or after assembly. Knowing how to fix these issues keeps your project sturdy and lasting. Here are simple solutions to frequent troubles you might face.
Fixing Wobbly Shelves
Wobbly shelves often come from loose screws or uneven surfaces. Tighten all screws firmly with a screwdriver. Check if the bookshelf stands on a flat floor. Place small shims under uneven legs to stabilize the base. Adding corner braces inside the shelf frame can also reduce movement. These steps help keep shelves steady and safe.
Handling Wood Splits
Wood splits appear when the wood dries too fast or is hit hard. Fill small cracks with wood glue or wood filler. Clamp the wood tightly while the glue dries for best results. For bigger splits, use a thin wood patch glued over the crack. Sand the area smooth once dry to hide repairs. Prevent future splits by sealing wood with varnish or paint.
Maintaining Durability
Rustic bookshelves need care to stay strong. Avoid placing heavy items on thin shelves. Regularly check for loose joints and tighten screws. Apply wood polish or wax to protect the surface from moisture. Keep the bookshelf away from direct sunlight or damp places. These habits extend the life of your rustic bookshelf.
Credit: www.ana-white.com
Frequently Asked Questions
What Materials Are Needed To Make A Rustic Bookshelf?
To make a rustic bookshelf, you need reclaimed wood, wood screws, sandpaper, wood stain, and a drill. These materials create a sturdy, vintage look. Choose rough, natural wood for authenticity. Also, gather safety gear like gloves and goggles for protection during construction.
How Long Does It Take To Build A Rustic Bookshelf?
Building a rustic bookshelf typically takes 4 to 6 hours. This includes measuring, cutting, sanding, assembling, and staining the wood. Drying time for stain or paint may add extra hours. The time varies based on skill level and design complexity.
What Tools Are Essential For Building A Rustic Bookshelf?
Essential tools include a saw, drill, screwdriver, measuring tape, and sander. A level and clamps help ensure stability and accuracy. These basic tools allow you to cut, assemble, and finish the bookshelf efficiently and safely.
Can I Customize The Size Of My Rustic Bookshelf?
Yes, you can customize the rustic bookshelf size easily. Adjust measurements based on available space and storage needs. Custom sizing ensures the bookshelf fits your room perfectly and holds your items securely.
Conclusion
Building a rustic bookshelf can be simple and fun. Use basic tools and wood to create your own style. Take your time and enjoy each step. This project adds charm to any room. It also gives you a sense of pride.
Try customizing it with different stains or decorations. Soon, you will have a unique bookshelf made by your hands. Keep practicing, and your skills will grow. Start now and bring warmth to your space.