Are you tired of cluttered spaces and searching for the perfect place to keep your books? Building your own simple bookshelf can be easier than you think.
Imagine having a sturdy, stylish shelf that fits your space perfectly and shows off your favorite reads. In this guide, you’ll discover clear, step-by-step instructions that anyone can follow—even if you’ve never built anything before. Ready to transform your room and organize your books with a project you’ll actually enjoy?
Let’s get started!
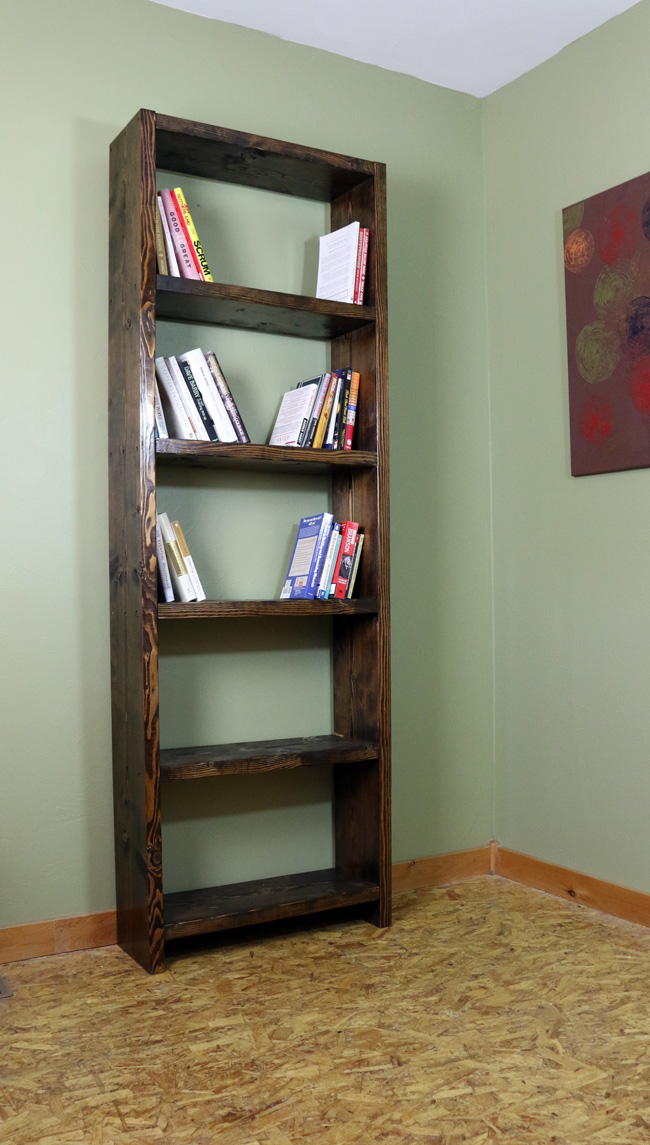
.JPG)
Credit: www.adventuresofadiymom.com
Materials And Tools Needed
Building a simple bookshelf is a fun project. The right materials and tools make the job easier. This section covers what you need to get started. Clear instructions help you prepare well. Having everything ready saves time and effort.
Choosing The Right Wood
Pick wood that is strong and smooth. Pine and plywood are good choices for beginners. Pine is affordable and easy to work with. Plywood offers a clean, flat surface. Avoid wood with many knots or cracks. These can weaken your bookshelf.
Essential Tools List
You need basic tools for cutting and assembling. A saw cuts the wood to size. A drill makes holes for screws. Use a screwdriver to fasten parts together. A measuring tape ensures precise cuts. Sandpaper smooths rough edges. A level keeps shelves straight. These tools make your work neat and safe.
Optional Supplies For Finishing
Finishing supplies improve the look and protect wood. Wood stain adds color and highlights the grain. Clear varnish protects against scratches and spills. Paint gives a fresh, colorful touch. Brushes or rags help apply these finishes evenly. Use painter’s tape to keep lines clean. These extras make your bookshelf last longer and look great.
Planning Your Bookshelf
Planning your bookshelf is the first step to a successful build. It helps you avoid mistakes and saves time. Careful planning ensures your bookshelf fits the space and holds your books well. Start by thinking about the size and style you want.
Determining Shelf Size
Measure the space where the bookshelf will go. Note the height, width, and depth available. Consider the number of books you want to store. Leave extra space for future books or decorations. Choose a size that fits the room and your needs.
Sketching A Basic Design
Draw a simple picture of your bookshelf on paper. Mark the overall height and width. Add lines for each shelf level. This sketch helps you see the shape and size clearly. It also guides you during cutting and assembling.
Selecting Shelf Style
Pick a style that matches your room decor. Open shelves show your books and items nicely. Closed shelves protect books from dust but need doors. Floating shelves save floor space and look modern. Choose a style that suits your taste and space.
Cutting The Wood Pieces
Cutting the wood pieces is the first step in building a simple bookshelf. This step sets the size and shape of your shelf parts. Careful cutting makes the assembly easier and the shelf stronger. Take your time to measure and cut each piece accurately. This way, the bookshelf will fit together neatly and look great.
Measuring And Marking
Start by measuring each piece of wood. Use a tape measure for accuracy. Mark the length with a pencil and a square tool. The square helps make straight lines across the wood. Double-check your measurements before cutting. Mark all pieces clearly to avoid confusion later.
Safe Cutting Techniques
Always wear safety glasses to protect your eyes. Use a sharp saw for clean cuts. Clamp the wood to a stable surface to stop it from moving. Cut slowly and follow your marked lines. Keep your fingers away from the saw blade. Take breaks if your hands get tired.
Preparing The Pieces For Assembly
After cutting, check each piece for rough edges. Sand the edges with fine-grit sandpaper until smooth. Clean off dust with a dry cloth. Arrange the pieces by size and shape. This helps speed up the assembly process. Now, your wood is ready to build the bookshelf.
Assembling The Frame
Assembling the frame is the first big step in building your simple bookshelf. This step creates the basic shape that holds everything together. Focus on making strong connections between parts. A solid frame means a sturdy bookshelf.
Joining Side Panels And Shelves
Start by placing the side panels upright. These will hold the shelves in place. Position each shelf between the side panels at the spots you marked. Make sure the shelves are level and straight. Tight joints keep the frame from wobbling or breaking.
Using Screws And Nails
Use screws for a strong, lasting hold. Pre-drill holes to avoid splitting the wood. Insert screws through the side panels into the shelves. Nails can add extra support but are less secure alone. Drive nails at an angle for better grip.
Ensuring Stability
Check the frame for any gaps or loose parts. Tighten screws if you find any movement. Use a carpenter’s square to verify corners are right angles. A stable frame will support weight evenly and last longer. Test by gently shaking the frame before moving on.
Sanding And Smoothing
Sanding and smoothing are key steps in building a simple bookshelf. This process removes rough edges and splinters. It helps the wood look clean and feel nice to touch. Proper sanding prepares the wood for painting or staining. It also makes the bookshelf last longer and look better.
Choosing The Right Sandpaper
Pick sandpaper with the right grit for your wood. Start with medium grit, around 80 to 120, to remove rough spots. Use fine grit, 220 or higher, for a smooth finish. Avoid skipping grits to prevent scratches. Soft woods need gentler sanding than hard woods.
Tips For Even Sanding
Sand with the grain of the wood, not against it. Use steady, even strokes to keep the surface flat. Change sandpaper when it wears out to keep sanding effective. Use a sanding block or sponge for flat areas. For corners, sand carefully to avoid rounding them too much.
Cleaning Dust Off
Remove dust after sanding to get a clean surface. Use a brush or cloth to wipe the wood. A damp cloth can help pick up fine dust particles. Clean wood holds paint and stain better. Make sure the wood is dry before the next step.
Finishing Touches
Finishing touches make your bookshelf look complete and protect it. These steps help your shelf last longer. They also give it a nice look. Take your time with these final steps for best results.
Applying Paint Or Stain
Choose paint or stain based on your room style. Paint gives a bright, solid color. Stain shows the wood grain and adds warmth. Use a brush or cloth to apply evenly. Let it dry fully before moving on.
Adding Protective Coating
Apply a clear protective coat to guard the surface. It keeps the paint or stain safe from scratches and water. Use polyurethane or varnish for strong protection. Apply thin layers and let each dry well. This step helps your bookshelf stay beautiful longer.
Attaching Back Panel And Supports
Attach a back panel to add strength and keep books in place. Use thin plywood or hardboard for the back panel. Secure it with nails or screws along the edges. Add extra supports under shelves if needed. This step makes your bookshelf steady and safe.
Placing And Organizing
Placing and organizing your simple bookshelf is key to making it both useful and attractive. The right spot can enhance your room’s look. Proper arrangement helps you find books fast. Keeping the shelf tidy keeps it lasting longer.
Choosing The Best Location
Pick a spot with good light but not direct sun. Too much sun can damage books. Find a place where the shelf fits well without blocking pathways. Avoid damp or very humid areas to protect your books.
Near a reading chair or desk works well. This makes grabbing a book easy. The shelf should feel like part of the room, not an afterthought.
Arranging Books And Decor
Sort books by size, color, or type. This helps create a neat look. Place taller books on the bottom shelves for stability. Mix books with small decor pieces to add interest.
Use bookends to keep books upright. Leave some space for future books or decorations. Keep heavy items on lower shelves to avoid tipping.
Maintaining Your Bookshelf
Dust your bookshelf regularly to avoid buildup. Check for loose screws or wobbly parts. Tighten them to keep the shelf safe.
Rearrange books every few months to keep it fresh. Remove any damaged books or papers. A clean shelf invites more reading and enjoyment.
Credit: www.diypete.com
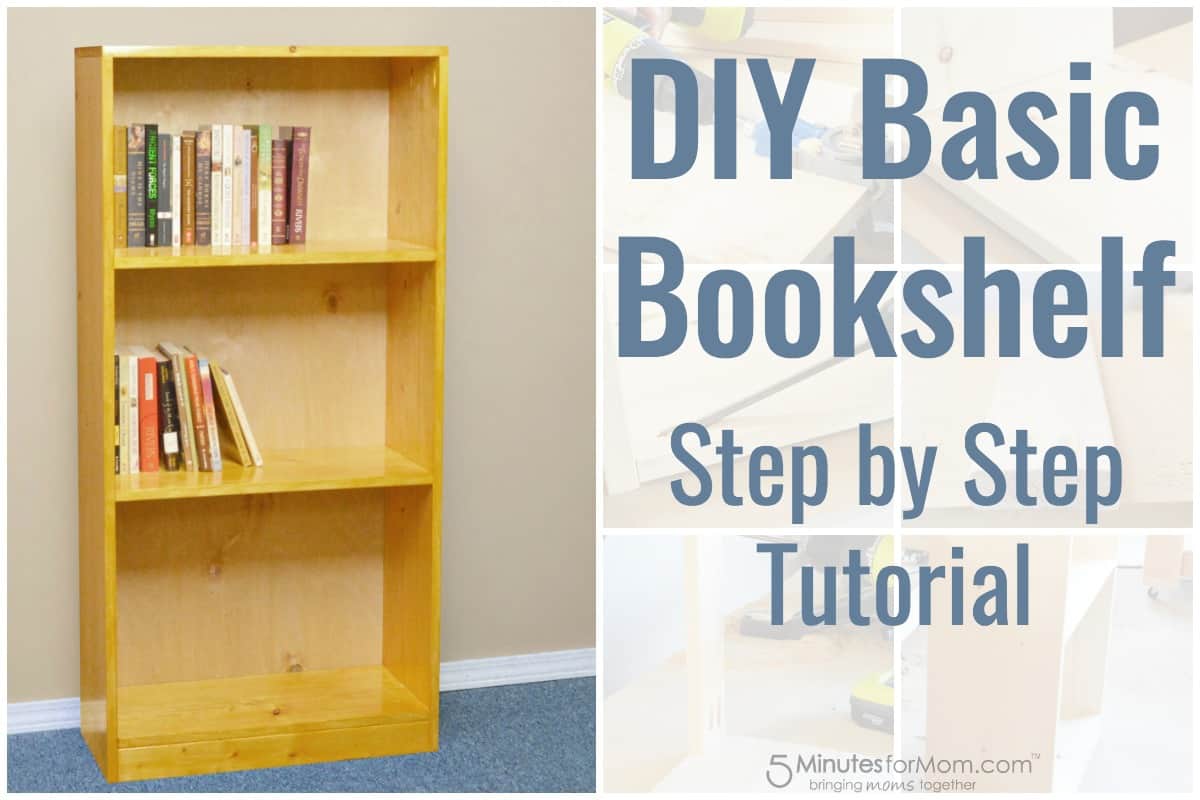
Credit: www.5minutesformom.com
Frequently Asked Questions
What Materials Are Needed For A Simple Bookshelf?
You need wood boards, screws, wood glue, sandpaper, and paint or stain. Basic tools include a saw, drill, screwdriver, and measuring tape. These materials ensure a sturdy and functional bookshelf.
How Long Does It Take To Build A Simple Bookshelf?
Building a simple bookshelf usually takes 2 to 4 hours. This depends on your skill level and the complexity of the design. Proper preparation and following instructions can make the process faster and easier.
Can Beginners Build A Bookshelf Without Experience?
Yes, beginners can build a bookshelf by following step-by-step guides. Start with simple designs and use basic tools. Patience and careful measuring help achieve good results even without prior experience.
How Can I Customize My Bookshelf Design?
You can customize by choosing different wood types, colors, and sizes. Adding decorative trims or adjustable shelves increases functionality and style. Personal touches make your bookshelf unique and fit your space perfectly.
Conclusion
Building a simple bookshelf can be a fun and useful project. You only need basic tools and materials. Step by step, you create something both practical and personal. It fits any room and holds your favorite books. Plus, you can paint or decorate it your way.
Try making one to enjoy the pride of doing it yourself. A small effort brings big rewards. Simple, sturdy, and made by you. Why not start today?
