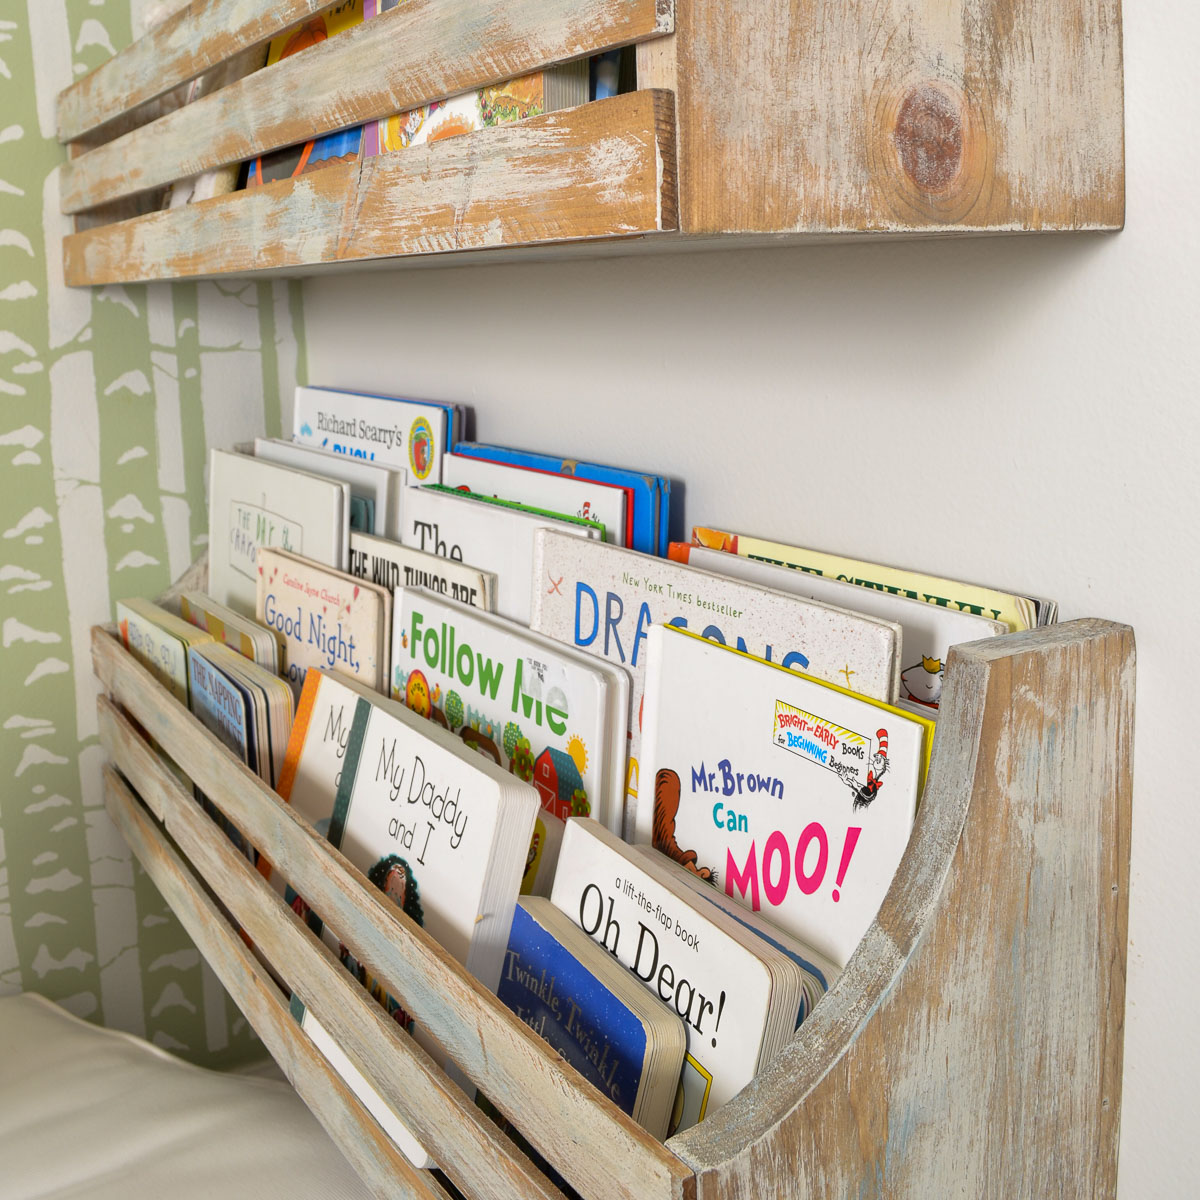
Are you tired of cluttered spaces and looking for a stylish way to organize your books? A wall mounted bookshelf could be the perfect solution for you.
Not only does it save floor space, but it also adds a modern touch to any room. Imagine having your favorite books displayed right where you can see them, making your space feel cozy and inviting. In this guide, you’ll discover simple steps to create your own wall mounted bookshelf—no special skills needed.
Keep reading, and soon you’ll have a beautiful, practical addition to your home that you built yourself.
Materials And Tools
Building a wall mounted bookshelf starts with choosing the right materials and tools. This step is important for a sturdy and attractive shelf. Using the correct wood type and tools will make the project easier and the result better.
Choosing The Right Wood
Wood choice affects the shelf’s strength and look. Pine is a good option. It is light, affordable, and easy to work with. Oak or maple are stronger and last longer. They are good for heavy books. Plywood is also popular. It is stable and less likely to warp. Choose wood that fits your budget and style.
Essential Tools Needed
Basic tools make the work smoother. A saw is needed to cut the wood pieces. A drill helps to make holes for screws. Sandpaper smooths rough edges. A level ensures the shelf is straight on the wall. Screws and a screwdriver hold the pieces together. A tape measure helps with exact cuts. These tools are easy to find and use.
Optional Accessories
Some accessories improve the shelf’s look and function. Wood stain or paint adds color and protects the wood. Brackets provide extra support for heavy loads. Wall anchors secure the shelf to drywall. Decorative end caps or molding give a finished look. These extras are not required but add value to the project.
Credit: refreshliving.us
Planning Your Bookshelf
Planning your wall mounted bookshelf is the first step to a successful project. Careful preparation ensures the shelf fits perfectly and holds your books safely. This process starts with understanding your wall space and ends with choosing the best mounting method. Taking time in this phase saves effort later and gives you a shelf you will enjoy for years.
Measuring Wall Space
Begin by measuring the wall area where the shelf will hang. Use a tape measure for accuracy. Note the height, width, and any obstacles like light switches or power outlets. Consider the space above and below the shelf for easy access. Mark these measurements on paper to guide your design.
Designing Shelf Dimensions
Decide how many books you want to store and their sizes. Choose shelf length and depth to hold your collection comfortably. A depth of 8 to 12 inches usually works well. The height between shelves depends on the tallest books. Keep shelves evenly spaced for a balanced look.
Selecting Mounting Style
Pick a mounting style that suits your wall type and shelf weight. Options include brackets, floating mounts, or cleats. Floating shelves look clean but need strong wall anchors. Brackets provide extra support and are easier to install. Match mounting hardware to the shelf material for safety.
Cutting And Preparing Wood
Cutting and preparing wood is the first big step in making a wall mounted bookshelf. It shapes the wood to fit your space perfectly. This step needs care and attention to detail. Good preparation helps the bookshelf look neat and last long.
Take your time here. Measure twice, cut once. Smooth edges make the wood safe and nice to touch. Let’s explore how to measure, cut, and finish the wood for your shelf.
Measuring And Marking
Start by measuring the wood pieces you need. Use a tape measure for exact lengths. Mark the cut lines clearly with a pencil. Double-check your marks. Make sure they match your shelf design.
Mark straight lines using a ruler or a square. This keeps cuts clean and accurate. Good measuring avoids mistakes and wasted wood.
Cutting Techniques
Choose the right saw for your wood type and thickness. A handsaw works well for small pieces. A circular saw is faster for long cuts. Cut slowly along the pencil marks. Keep your hand steady and firm.
Wear safety goggles and gloves. Protect yourself from wood dust and sharp edges. Smooth, straight cuts make assembly easier and the shelf stronger.
Sanding And Finishing
After cutting, sand the edges and surfaces. Use medium-grit sandpaper first. Then finish with fine-grit for smoothness. Sanding removes splinters and rough spots.
Wipe away dust with a clean cloth. Apply wood finish, paint, or sealant to protect the wood. This step improves look and durability. Let each coat dry fully before the next step.

Credit: www.youtube.com
Assembling The Shelf
Assembling the shelf is the step where your wall-mounted bookshelf starts to take shape. This process involves joining wood pieces, securing the structure firmly, and adding support brackets. Each part must fit well to ensure the shelf is strong and stable. Follow these simple steps to build a shelf that lasts.
Joining Wood Pieces
Begin by aligning the wood pieces according to your design. Use wood glue on the edges for a strong bond. Press the pieces together and hold them with clamps. Let the glue dry completely before moving on. For extra strength, drill pilot holes and insert screws. This keeps the pieces from shifting and adds durability.
Securing The Structure
After joining, check the shelf for any gaps or weak points. Tighten screws as needed to make the frame solid. Sand the edges to smooth out rough spots. This step helps the shelf look neat and prevents splinters. Make sure the shelf is square by measuring the corners. A sturdy structure holds books safely without wobbling.
Adding Support Brackets
Support brackets add strength to your shelf on the wall. Choose brackets that match the shelf size and style. Position them evenly along the shelf bottom or sides. Use a level to ensure the brackets are straight. Secure the brackets with screws into wall studs for safety. Proper support stops the shelf from sagging under weight.
Mounting The Bookshelf
Mounting the bookshelf on your wall is an important step. It keeps the shelf stable and safe. Proper mounting prevents accidents and holds your books securely. This part needs care and the right tools. Follow these simple steps to mount your bookshelf correctly.
Locating Wall Studs
Find the wooden studs behind your drywall. Use a stud finder tool for accuracy. Studs provide strong support for heavy shelves. Mark the stud locations lightly with a pencil. Avoid mounting only on drywall as it may fail.
Drilling And Anchoring
Drill holes where you marked the studs. Use a drill bit size that fits your screws. Insert wall anchors if you cannot hit studs. Anchors keep the shelf steady on drywall. Screw the brackets tightly to the wall for firm hold.
Leveling The Shelf
Place the shelf on the mounted brackets. Use a level tool to check if it is even. Adjust the shelf until it sits perfectly flat. A level shelf looks neat and prevents items from sliding. Tighten any loose screws after leveling.

Credit: createdbyv.com
Finishing Touches
Finishing touches make your wall-mounted bookshelf look complete and polished. These steps protect the wood and add style. Simple efforts here improve your shelf’s life and appearance.
Painting And Staining
Choose paint or stain to match your room’s style. Paint offers bright, solid color options. Stain shows the wood’s natural grain and adds warmth. Use a brush or cloth to apply evenly. Let it dry fully before moving on.
Sealing For Durability
Seal the surface to protect against scratches and moisture. Clear sealers like polyurethane or varnish work well. Apply thin coats with a brush, letting each dry. This step helps your shelf stay strong and beautiful longer.
Decorating Ideas
Add small plants, photos, or decorative items to personalize your shelf. Use bookends to keep books neat and add style. Layer objects of different sizes for visual interest. Keep decorations simple to avoid clutter.
Safety Tips
Safety is very important when making a wall mounted bookshelf. Many accidents happen because people ignore basic safety rules. Follow simple safety tips to protect yourself and your home. These tips help you use tools correctly and mount the shelf securely. They also guide you on how much weight the shelf can hold safely.
Using Tools Safely
Always wear safety glasses to protect your eyes. Use gloves to avoid cuts and splinters. Keep your workspace clean to prevent trips and falls. Read tool manuals before starting. Handle power tools with care and never rush your work. Turn off tools when not in use.
Ensuring Secure Mounting
Find studs in the wall for strong support. Use a stud finder for accurate locating. Use screws designed for wall mounting. Avoid using nails alone; they are not strong enough. Double-check that the shelf is level before fixing it. Test the shelf’s stability after mounting.
Weight Capacity Considerations
Know the weight limit of your wall and shelf. Heavy items need stronger supports and screws. Do not overload the shelf with too many books. Spread the weight evenly across the shelf. Regularly check the shelf for signs of wear or damage. Replace or repair if you see cracks or looseness.
Frequently Asked Questions
What Materials Do I Need For A Wall Mounted Bookshelf?
You need wood boards, screws, wall anchors, a drill, a level, and brackets. Choose sturdy wood for durability. Ensure anchors fit your wall type for secure mounting.
How Do I Mount A Bookshelf On Drywall Safely?
Use wall anchors rated for the shelf’s weight. Locate studs with a stud finder. Drill pilot holes and attach brackets tightly. Avoid overloading the shelf to prevent damage.
What Tools Are Essential For Building A Bookshelf?
Essential tools include a drill, screwdriver, level, measuring tape, saw, and pencil. These tools help ensure precise cuts, proper alignment, and secure assembly of the bookshelf.
How Do I Choose The Right Location For My Bookshelf?
Select a sturdy wall away from moisture and direct sunlight. Ensure enough space for books and easy access. Consider aesthetics and room layout for the best placement.
Conclusion
Building a wall-mounted bookshelf is a simple and fun project. It saves space and keeps your books organized. You only need a few tools and some basic skills. Take your time to measure and install it carefully. This shelf adds style and function to any room.
Enjoy your new, neat space for books and decor. Try it yourself and see how easy it can be.
