Your entryway is the first thing you and your guests see every day. Imagine having a stylish bench that not only gives you a cozy spot to sit but also hides away clutter like shoes, bags, and scarves.
Sounds perfect, right? Creating your own entryway bench with storage is easier than you think. In this guide, you’ll discover simple steps and clever tips to build a piece that fits your space and style. Ready to transform your entryway into a neat, welcoming area?
Let’s get started!
Choosing The Right Bench Design
Choosing the right bench design is key to making a useful and stylish entryway bench with storage. The bench should fit your space and style while providing enough storage for your needs. Understanding different bench types, materials, and measurements helps you create the perfect piece.
Types Of Entryway Benches
Entryway benches come in many styles. Some have open shelves for shoes. Others include closed cabinets or drawers for hidden storage. Storage benches with lift-up tops offer a simple way to keep items inside. Choose a style that matches your home and holds what you need.
Selecting Materials
Wood is a popular choice for entryway benches. It is strong and looks warm. Pine, oak, and walnut are common woods. Metal benches add an industrial feel and are very durable. Upholstered benches provide comfort but need easy-to-clean fabric. Pick materials that suit your style and last long.
Measuring Your Space
Measure your entryway carefully before building. Note the width, height, and depth available. Leave enough space to walk and open doors. A bench too big makes the area crowded. Too small, and it won’t be useful. Accurate measurements help create a bench that fits well and looks balanced.
Gathering Tools And Supplies
Before building your entryway bench with storage, gathering the right tools and supplies is key. This step ensures the project goes smoothly and stays safe. Knowing what you need helps avoid delays and frustration. Prepare all items in one place for easy access while working.
Essential Tools
Start with basic woodworking tools. A saw is necessary to cut wood pieces to size. Use a drill to make holes and drive screws. A tape measure helps get exact measurements. Sandpaper or a power sander smooths rough edges. Clamps hold pieces steady during assembly. A screwdriver is useful for tightening screws by hand.
Materials Checklist
Choose sturdy wood for the bench frame and storage box. Plywood works well for the seat and sides. Pick screws and nails that fit the wood thickness. Use wood glue for extra strength. Paint or stain adds color and protects the surface. Consider hinges if your bench has a lid. Soft-close hinges improve safety and comfort.
Safety Gear
Protect yourself with proper safety gear. Safety glasses shield your eyes from dust and debris. Work gloves protect your hands from splinters and cuts. Wear a dust mask when sanding or cutting wood. Hearing protection helps during loud tool use. Keep your workspace clean to avoid accidents.
Preparing The Wood
Preparing the wood is an important step in making an entryway bench with storage. It helps create strong, smooth pieces that fit together well. Taking time to prepare the wood carefully will make your project look better and last longer.
Cutting To Size
Start by measuring the wood pieces you need. Use a tape measure and pencil to mark the cuts clearly. Cut the wood with a saw, following the marks closely. Straight cuts help the bench parts fit perfectly. Take your time for accurate cuts.
Sanding Surfaces
After cutting, sanding makes the wood smooth. Use sandpaper or a sanding block. Sand all surfaces, edges, and corners. This removes rough spots and splinters. Smooth wood feels nice and prevents injuries. Sanding also helps paint or stain stick better.
Pre-drilling Holes
Pre-drill holes before screwing pieces together. This prevents the wood from splitting. Use a drill bit smaller than the screws. Mark the spots where screws will go. Drill straight and steady to keep holes clean. Pre-drilling saves time and keeps wood strong.
Credit: www.vicentetorns.com
Assembling The Bench Frame
Assembling the bench frame is the main step in making your entryway bench with storage. This part shapes the bench and holds everything together. Taking time here ensures your bench is strong and lasts long.
Building The Base
Start by cutting four wooden legs of equal length. Attach them using two long wooden boards on each side. Make sure the boards fit tightly between the legs. Use screws to secure the boards to the legs. Check with a square tool that corners are right angles. This base will support the whole bench, so keep it steady and square.
Constructing The Seat
Cut a flat wooden board to fit on top of the base. It should be slightly larger than the frame. Sand the edges to make them smooth and safe. Attach the seat board to the base using screws. Place screws evenly for strong hold. This seat will also cover the storage area underneath.
Adding Support Pieces
Add extra wooden slats inside the base for more strength. Place them across the width under the seat. Secure these slats with screws on both ends. These supports stop the seat from bending under weight. Double-check all screws are tight before moving on.
Creating Storage Compartments
Creating storage compartments in your entryway bench adds both function and style. It helps keep your space tidy and organized. Storage compartments allow you to store shoes, bags, or seasonal items neatly out of sight. This section explains how to design and build these compartments effectively.
Designing Storage Space
Start by measuring the bench dimensions carefully. Decide how much space you want for storage inside. Divide the area into sections for different items. Use simple boxes or cubbies for easy access. Keep the design balanced and practical. Make sure the compartments fit your daily needs.
Installing Hinges Or Drawers
Choose between a hinged lid or pull-out drawers. Hinges work well for a top-opening bench. Attach sturdy hinges to the lid and base. For drawers, install smooth sliding tracks. Check that drawers open easily and fully. Use handles that match your bench style for a neat look.
Securing The Storage
Secure the storage compartments to avoid accidents. Use screws to fasten hinges or drawer slides tightly. Add safety catches or locks if needed. Ensure the lid stays open safely without falling. Test the storage for strength and stability before use.
Finishing Touches
Finishing touches bring your entryway bench to life. They add style and comfort. These final steps protect the wood and make the bench inviting. Small details make a big difference in the overall look and feel.
Painting Or Staining
Choose paint or stain that matches your decor. Paint gives a solid, colorful look. Stain shows the natural wood grain. Use a brush or roller for an even coat. Let each layer dry well before adding another. A clear sealant protects the finish from wear and tear.
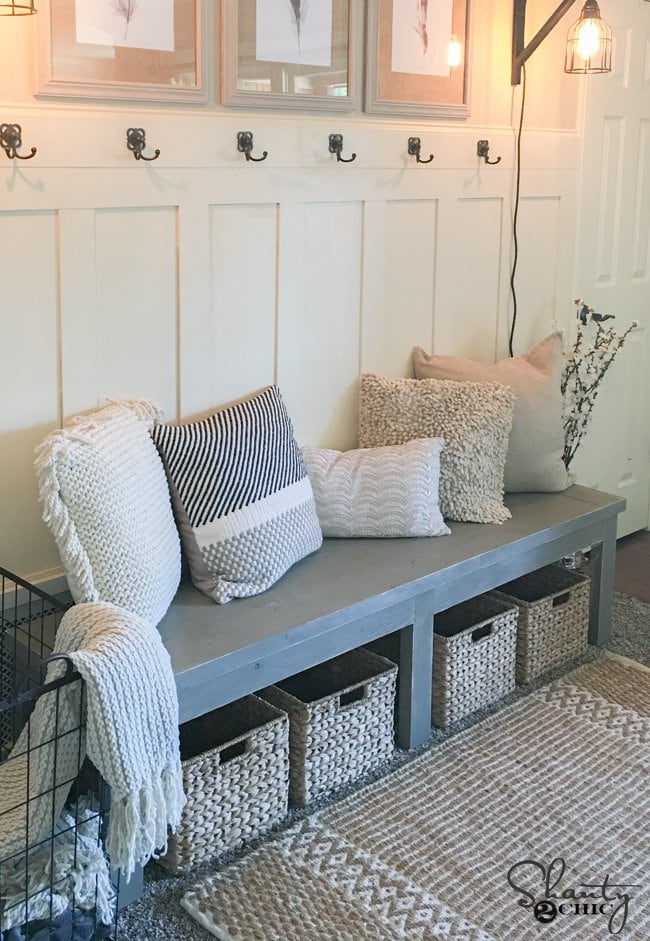
Adding Cushions
Cushions make the bench more comfortable. Pick fabric that is easy to clean. Measure the bench to get the right cushion size. Add foam padding for extra softness. Secure the cushion with ties or non-slip pads. Cushions also add a splash of color or pattern.
Attaching Hardware
Hardware adds both function and charm. Use handles or knobs for easy opening of storage. Choose metal or wood hardware that fits your style. Attach with screws for a secure hold. Check that all pieces are level and aligned. Good hardware improves usability and completes the look.
Maintaining Your Bench
Maintaining your entryway bench with storage helps keep it useful and good-looking. Regular care prevents damage and keeps the bench safe for daily use. Small efforts can save you money and time later. Follow these simple steps to care for your bench.
Cleaning Tips
Dust the bench often with a soft cloth. Wipe spills quickly to avoid stains. Use mild soap and water for sticky spots. Avoid harsh chemicals that can damage the wood or finish. Dry the bench well after cleaning to stop moisture damage.
Periodic Repairs
Check the bench for loose screws or nails. Tighten or replace them to keep the bench steady. Look for cracks or chips in the wood. Fill small cracks with wood filler to stop them from growing. Sand rough spots gently to keep the surface smooth and safe.
Extending Longevity
Keep the bench away from direct sunlight to prevent fading. Avoid placing it near heat sources that dry out the wood. Use seat cushions to protect the surface from scratches. Reapply wood finish or paint every few years. This shields the bench and keeps it looking fresh.
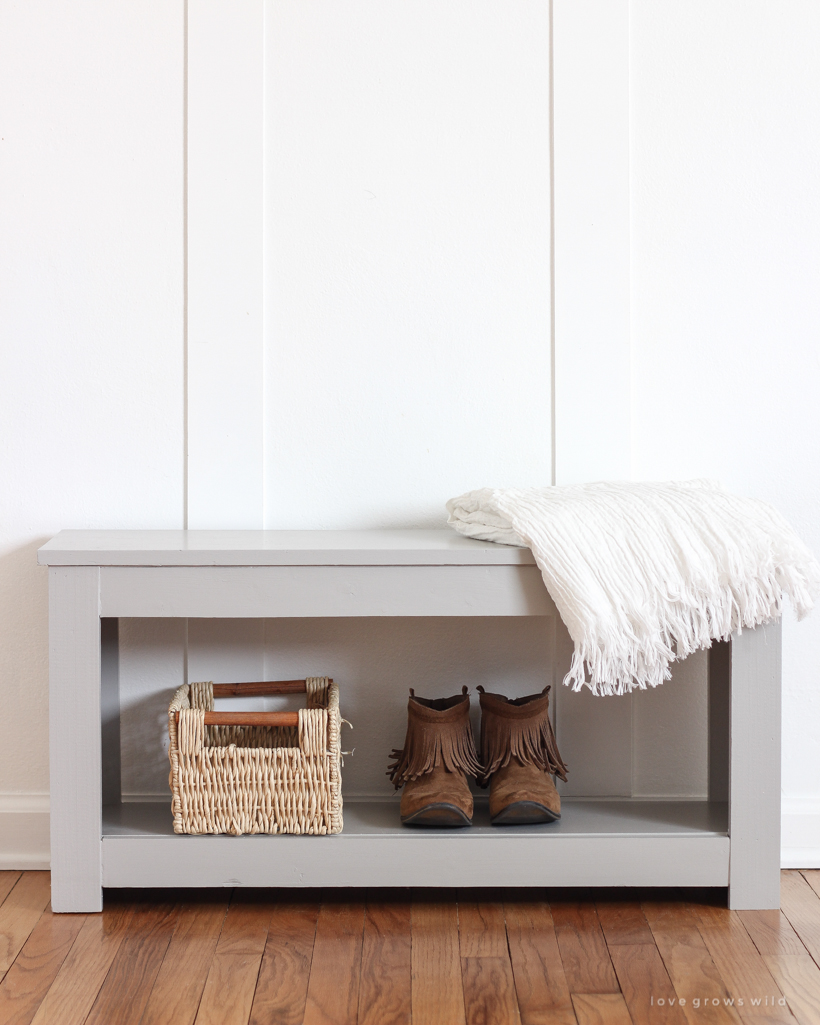
Credit: lovegrowswild.com

Credit: www.youtube.com
Frequently Asked Questions
What Materials Are Best For An Entryway Bench With Storage?
Wood like pine or oak is ideal for durability and style. Use sturdy hinges and screws for secure storage compartments. Choose materials that match your home décor for a cohesive look.
How Do I Add Storage To My Entryway Bench?
Incorporate a hinged seat that lifts to reveal storage. Add baskets or bins inside for organized space. Shelves or cubbies under the bench also maximize storage efficiently.
Can I Build An Entryway Bench With Basic Tools?
Yes, basic tools like a saw, drill, and screwdriver are enough. Follow clear plans and measure carefully for accurate cuts. Safety gear is essential to ensure a safe building process.
How Long Does It Take To Make An Entryway Bench?
It typically takes 4 to 6 hours for beginners. Experienced DIYers may finish within 2 to 3 hours. Time varies depending on design complexity and drying times for finishes.
Conclusion
Creating an entryway bench with storage adds style and function to your home. You save space and keep things tidy. The project is simple and rewarding. Use basic tools and materials you already have. Personalize it with paint or cushions to fit your style.
Enjoy a neat entryway that welcomes guests warmly. Small efforts make a big difference in your space. Start building today and see the change!