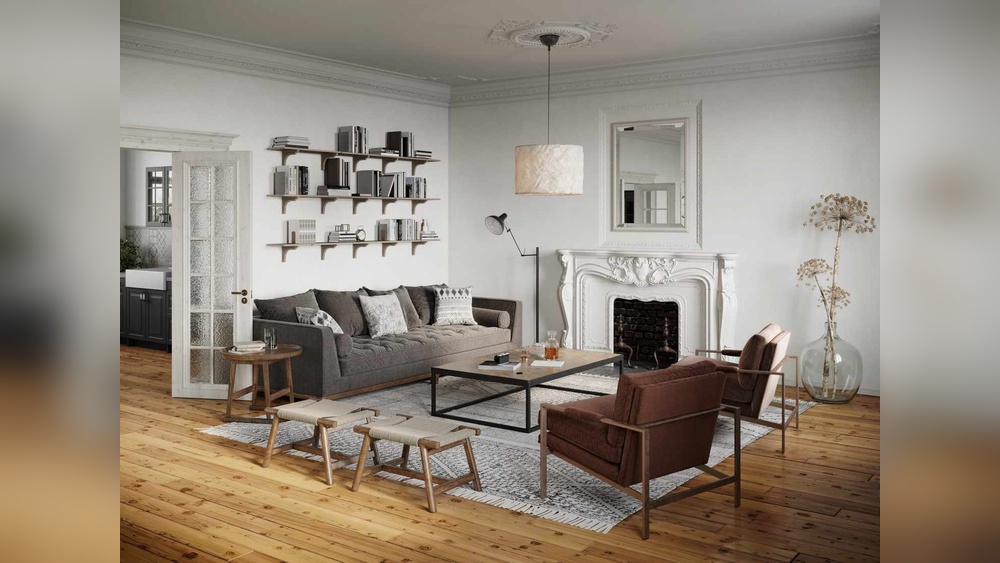
Imagine coming home to a space that’s not only stylish but also perfectly organized. A built-in entryway bench does just that—it gives you a cozy spot to sit while putting on your shoes and clever storage to keep clutter out of sight.
If you’ve ever wished for a more functional and inviting entryway, this guide will show you exactly how to build your own. You’ll discover simple steps that anyone can follow, even if you’re not a woodworking expert. Ready to transform your entryway into a welcoming, practical space?
Let’s get started!
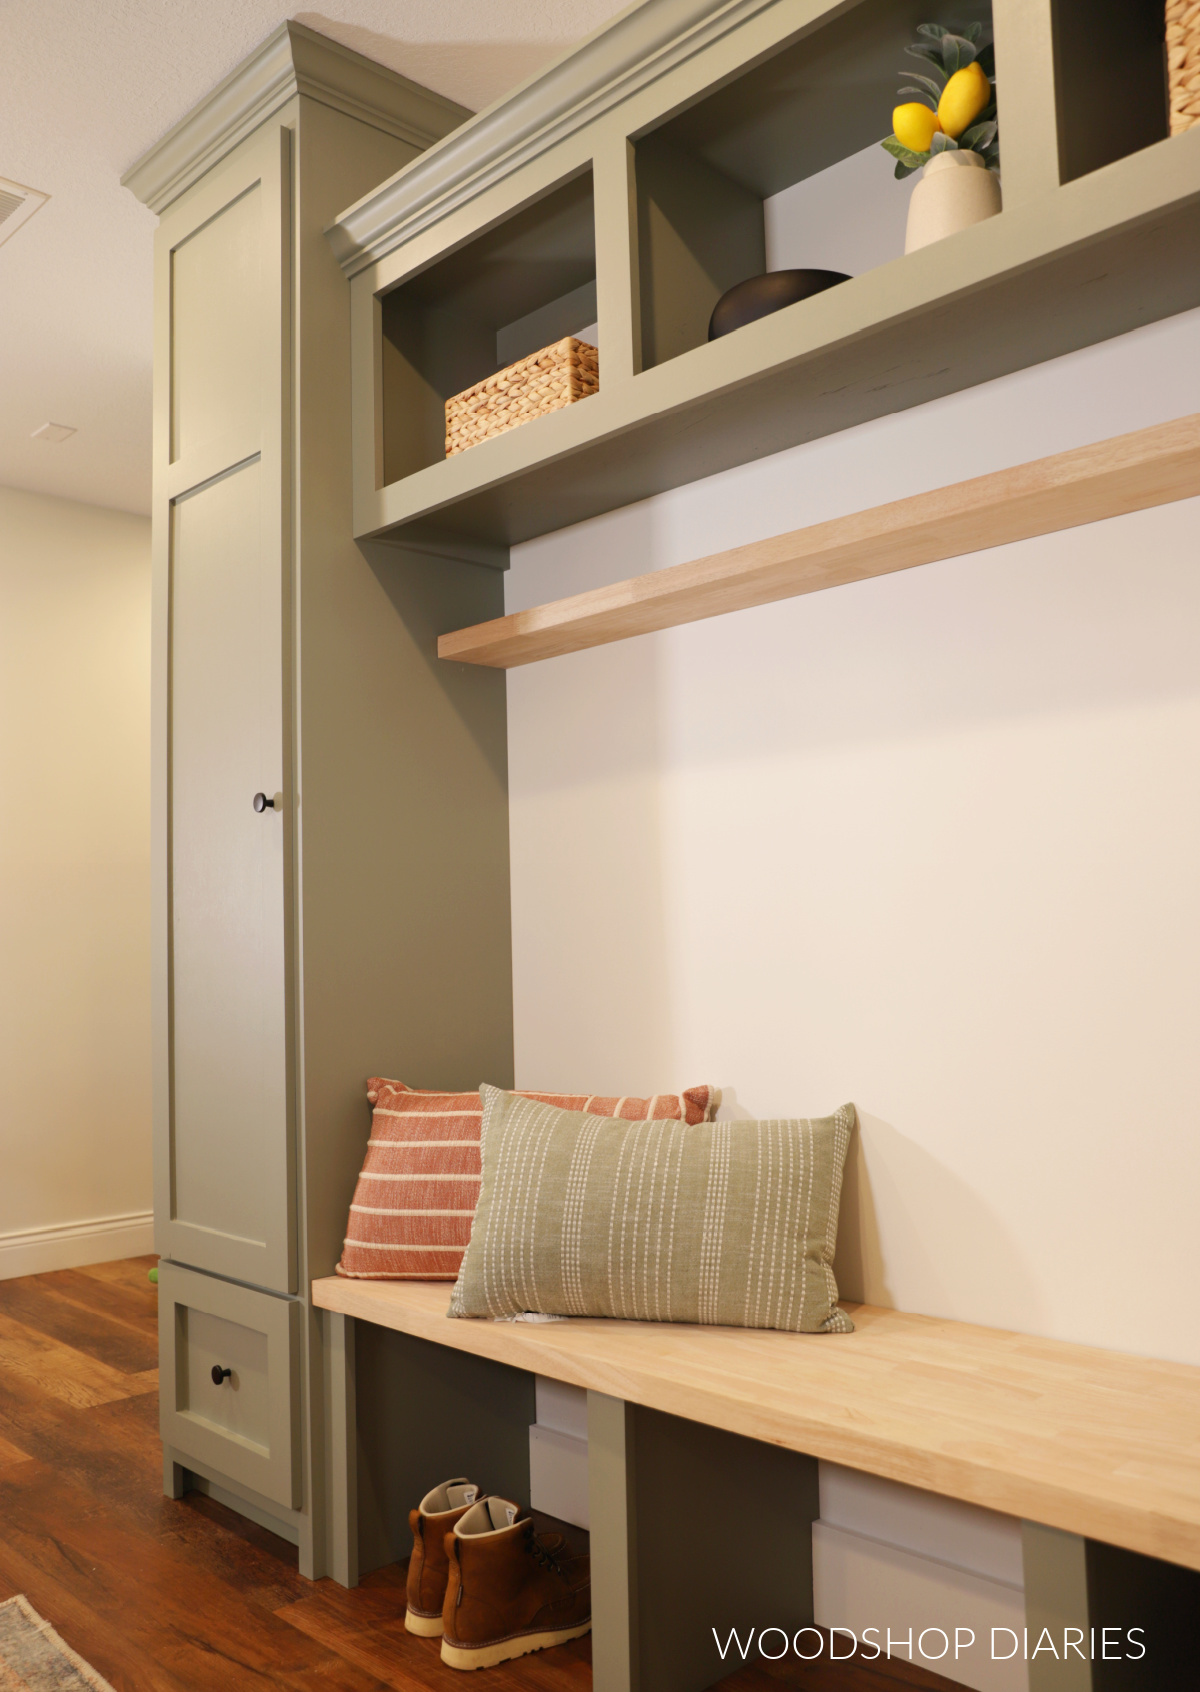
Credit: www.woodshopdiaries.com
Planning Your Entryway Bench
Planning your entryway bench is the first step toward a useful and beautiful space. Thoughtful planning makes building easier and ensures your bench fits well. Start by thinking about your needs and the style of your home. A well-planned bench offers storage, seating, and charm all in one spot.
Careful decisions about location, size, and materials create the perfect bench. Let’s explore how to plan each part for the best results.
Choosing The Right Location
Select a spot near your door for easy access. The bench should not block walkways or doors. Look for a wall or corner that feels natural for seating. Consider the flow of traffic and available space. A bench that fits the entryway makes the area more inviting and practical.
Measuring The Space
Measure the width, height, and depth of the chosen area. Take note of nearby obstacles like light switches or vents. Leave room for opening doors or cabinets. Accurate measurements help avoid building a bench that is too big or small. Write down all dimensions before you start cutting wood.
Selecting Materials
Choose wood that matches your home’s style and lasts long. Pine and oak are common, strong choices. Consider paint or stain to protect the bench and add color. Use screws and brackets made for furniture to ensure stability. Pick cushions or fabric that clean easily for comfort and style.
Tools And Supplies Needed
Building a built-in entryway bench needs the right tools and supplies. Having everything ready helps the work go smoothly. It saves time and avoids frustration. This section covers the tools, hardware, and wood types to gather before you start.
Essential Tools
- Measuring tape for exact dimensions
- Power drill for drilling and screwing
- Saw to cut wood pieces
- Level to check even surfaces
- Screwdriver set for tightening screws
- Clamps to hold pieces in place
- Sandpaper or electric sander for smooth edges
- Pencil to mark measurements
Recommended Hardware
- Wood screws of various lengths
- Brackets for extra support
- Hinges if the bench has a storage lid
- Wood glue for stronger joints
- Handles or knobs for storage access
- Finish nails for trim pieces
Types Of Wood To Use
Choose wood that suits your style and budget. Pine is affordable and easy to work with. Oak is strong and durable but costs more. Maple offers a smooth finish and lasts long. Birch has a light color and is easy to paint. Consider wood that fits your room’s look and how much wear the bench will face.
Preparing The Workspace
Preparing the workspace is the first step to building a built-in entryway bench. A clean and safe area helps you work faster and with fewer mistakes. It also protects your tools and materials from damage. Take time to get your space ready before starting any cutting or assembly.
Clearing The Area
Remove all furniture and objects from the workspace. This gives you enough room to move and work comfortably. Sweep the floor to clear dust and dirt. A tidy area prevents accidents and helps you find tools easily. Keep only the materials and tools you need nearby.
Setting Up Safety Measures
Wear safety glasses and gloves to protect your eyes and hands. Place a fire extinguisher within reach. Make sure your workspace has good lighting. Check that power cords are not in walkways to avoid tripping. Use ear protection if you operate loud tools. Safety makes your project smoother and injury-free.
Credit: www.reddit.com
Building The Frame
Building the frame is the first big step in making your built-in entryway bench. It creates the strong base that holds everything up. A solid frame means your bench will last many years. Follow these simple steps to build a sturdy and neat frame for your bench.
Cutting The Wood Pieces
Start by measuring the space where the bench will go. Cut the wood pieces to fit these exact measurements. Use a saw to make straight, clean cuts. Cut the side panels, bottom support, and back frame pieces. Label each piece to avoid confusion during assembly.
Assembling The Base
Lay the cut pieces on a flat surface. Attach the bottom support to the side panels first. Use wood screws for a firm hold. Check that everything fits square and straight. Add the back frame pieces to connect the sides. Tighten all screws but avoid splitting the wood.
Securing The Frame To The Wall
Place the frame in its final position against the wall. Find the wall studs with a stud finder. Drill pilot holes through the back frame into the studs. Use long screws to fix the frame securely to the wall. This step ensures the bench will not move or tip over.
Adding The Seat And Storage
Adding the seat and storage to your built-in entryway bench makes it both useful and stylish. A strong seat offers a cozy spot to sit while putting on shoes. Storage keeps the area neat and organized. This section explains how to install the seat and create practical storage compartments.
Installing The Bench Seat
Start by cutting a wooden board to fit the bench frame. Sand the edges smooth for safety and comfort. Attach the seat to the frame using screws or wood glue. Make sure it is secure and level. You can add a cushion later for extra comfort.
Creating Storage Compartments
Measure the space below the seat to plan your storage. Divide the area into sections using wooden panels. Attach these panels to the frame to form compartments. These compartments help keep shoes and bags organized. Paint or stain the compartments to match the bench.
Adding Shelves Or Drawers
Choose shelves or drawers based on your storage needs. Shelves work well for open storage and easy access. Drawers hide clutter and keep items out of sight. Build or buy shelves and drawers to fit your compartments. Install sliding tracks for drawers to open smoothly.
Finishing Touches
The finishing touches make your built-in entryway bench look complete and polished. These steps protect the wood and add style. Pay close attention to details for the best results.
Sanding And Smoothing
Start by sanding the entire bench surface. Use fine-grit sandpaper to remove rough spots. Smooth edges and corners carefully. This step prepares the wood for paint or stain. Clean off dust with a soft cloth before the next step.
Painting Or Staining
Choose paint or stain based on your style. Paint offers a solid, colorful look. Stain highlights the natural wood grain. Apply thin, even coats and let them dry fully. Use a sealant to protect the finish from wear and tear.
Attaching Cushions Or Upholstery
Add comfort with cushions or upholstery. Measure the bench seat to fit perfectly. Use fabric that is durable and easy to clean. Attach cushions with Velcro, snaps, or ties for easy removal. Upholstered seats bring warmth and a cozy feel.
Maintaining Your Bench
Maintaining your built-in entryway bench keeps it looking fresh and lasting longer. Regular care prevents damage and wear. It also keeps the bench safe and comfortable for daily use. Simple steps make a big difference over time.
Cleaning Tips
Dust your bench often to stop dirt buildup. Use a soft cloth or duster for gentle cleaning. Wipe spills immediately with a damp cloth to avoid stains. Avoid harsh cleaners that can damage wood or paint. For wood benches, use a mild soap mixed with water. Dry the surface well after cleaning to prevent moisture damage.
Repair And Upkeep
Check your bench regularly for loose screws or nails. Tighten any that feel wobbly to keep the bench stable. Fill small cracks or holes with wood filler to prevent further damage. Sand rough spots lightly before repainting or staining. Replace damaged parts like cushions or hardware as needed. Regular upkeep extends your bench’s life and keeps it safe to use.

Credit: buildsbykristen.com
Frequently Asked Questions
What Materials Are Needed To Build An Entryway Bench?
You need wood boards, screws, wood glue, sandpaper, paint or stain, and cushions. Optional tools include a saw, drill, and level. Quality materials ensure durability and a polished look.
How Long Does It Take To Build A Built-in Bench?
Building a bench typically takes 4 to 6 hours. Time varies based on skill level and design complexity. Allow extra time for drying paint or stain.
Can I Add Storage To A Built-in Entryway Bench?
Yes, adding storage is easy. Incorporate hinged seats or open cubbies below the bench. This maximizes space and keeps your entryway organized.
What Is The Best Wood For An Entryway Bench?
Hardwoods like oak, maple, or birch are durable and attractive. Softwoods like pine are budget-friendly but less durable. Choose wood based on style and budget.
Conclusion
Building a built-in entryway bench adds style and function to your home. You create extra seating and smart storage space. The project is simple with the right tools and steps. Take your time and measure carefully for a perfect fit.
Enjoy your new bench every day. It makes your entryway neat and welcoming. Try this project to improve your home’s look and feel.