Are you looking to add a stylish and sturdy piece to your home or workspace? Making an industrial console table might be just what you need.
This project combines wood and metal for a look that’s both modern and timeless. Plus, building it yourself means you can customize the size and finish to fit your exact style. In this guide, you’ll find simple steps and tips that anyone can follow, even if you’re new to woodworking.
Ready to create a unique piece that stands out? Let’s dive in and make your own industrial console table.
Materials Needed
Creating an industrial console table requires specific materials. Choosing the right items ensures durability and style. This guide lists the essential materials to gather before starting your project.
Wood Selection
Select sturdy wood with a natural finish. Oak, pine, or reclaimed wood work well. These types offer strength and add a rustic charm. Measure the wood pieces carefully for the tabletop and shelves. Sand the wood to smooth rough edges.
Metal Components
Metal parts give the table its industrial look. Steel pipes and flanges make strong legs and supports. Black or dark metal fits the style best. Screws and bolts secure the metal parts to the wood. Choose rust-resistant metal for long-lasting use.
Tools Required
Gather tools for cutting, assembling, and finishing. A saw cuts wood to size. A drill makes holes for screws and bolts. Screwdrivers help fasten metal and wood parts. Sandpaper smooths rough surfaces. A measuring tape ensures accuracy. Safety gear protects your hands and eyes.
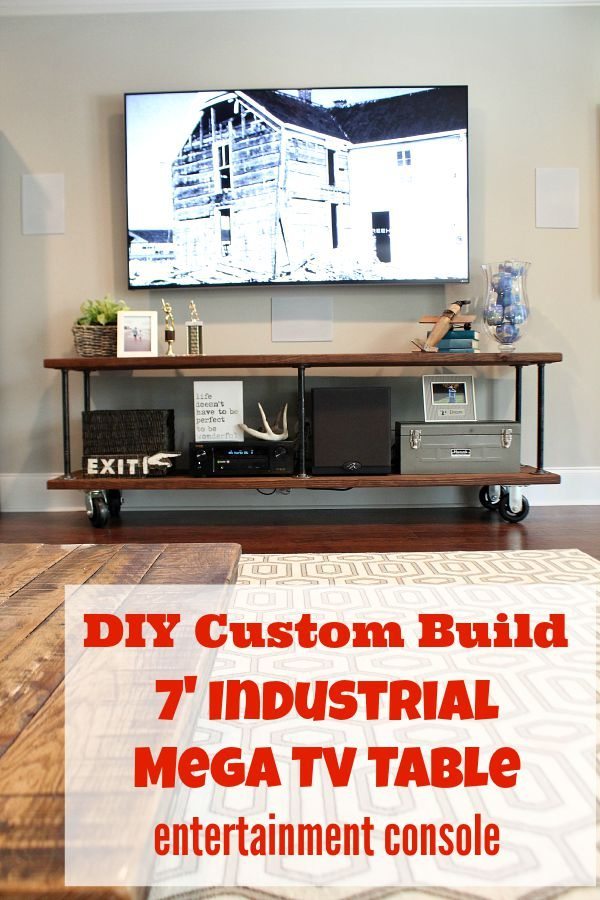
Credit: refreshrestyle.com
Design Planning
Design planning is the first step in making an industrial console table. It sets the foundation for your project. Good planning saves time and materials. It helps you create a table that fits your space and style.
Think about where you want to place the table. Consider the room size and nearby furniture. Planning carefully leads to a more satisfying final product.
Choosing Dimensions
Start by measuring the area for your console table. Note the height, width, and depth that work best. Industrial tables often have sturdy, bold proportions. Balance size with the room’s needs. Avoid making the table too big or small.
Sketching The Layout
Draw a simple sketch of your console table. Include legs, tabletop, and shelves if any. Sketching helps visualize the design. It also shows how parts fit together. Use a pencil to make easy changes as you plan.
Selecting Finishes
Choose finishes that match the industrial style. Metal and wood are popular choices. Think about rough or smooth textures. Dark stains or natural wood tones look great. Finish with a protective coat for durability.
Preparing The Wood
Preparing the wood is the first step in making an industrial console table. Good preparation ensures the wood is strong and smooth. It helps the table look professional and last longer. Take your time to measure, cut, and sand the wood carefully.
Measuring And Cutting
Start by measuring the wood pieces for your table. Use a tape measure and mark the lengths clearly. Cut the wood with a saw along the marks. Cut straight lines to keep edges even. Double-check measurements before cutting to avoid mistakes.
Sanding And Smoothing
After cutting, sand the wood to remove rough spots. Use medium-grit sandpaper first, then fine-grit for a smooth finish. Sand all surfaces, edges, and corners evenly. This step helps paint or stain stick better. Smooth wood feels better to touch and looks nicer.
Assembling The Frame
Assembling the frame is a key step in making an industrial console table. This part gives the table its shape and strength. A strong frame holds everything together well. Take your time to ensure all pieces fit perfectly. Follow clear steps to join wood and attach metal supports. This makes the frame stable and durable.
Joining Wood Pieces
Start by arranging the wood pieces on a flat surface. Match the sides that will connect. Use wood glue on the edges for a tight bond. Clamp the pieces to hold them while drying. Screw the pieces together for extra strength. Make sure corners are square. Check measurements twice before fixing parts.
Attaching Metal Supports
Metal supports add stability to the frame. Place them at corners or along edges. Use screws that fit metal and wood securely. Drill pilot holes to prevent wood from splitting. Tighten screws evenly for a firm hold. Metal supports keep the frame from wobbling. Check that all parts are flush and aligned.
Adding The Tabletop
Adding the tabletop is a key step in building an industrial console table. The tabletop is the surface you will use daily. It must be strong and steady. Choosing the right method to attach it ensures durability. This section guides you through securing and finishing your tabletop.
Securing The Surface
Place the tabletop on the frame carefully. Make sure it fits well and sits flat. Use clamps to hold it in place. Drill pilot holes through the frame into the tabletop. This prevents the wood from splitting. Attach the tabletop with screws. Choose screws long enough to hold tight but not go through the surface. Check for wobbling and adjust if needed.
Finishing Touches
Sand the edges and surface for smoothness. This step removes rough spots and splinters. Apply a coat of clear sealant or varnish. It protects the wood from scratches and spills. Use a brush and work in thin layers. Let each layer dry completely before the next. The finish should highlight the wood’s natural grain. Your tabletop will look polished and last longer.
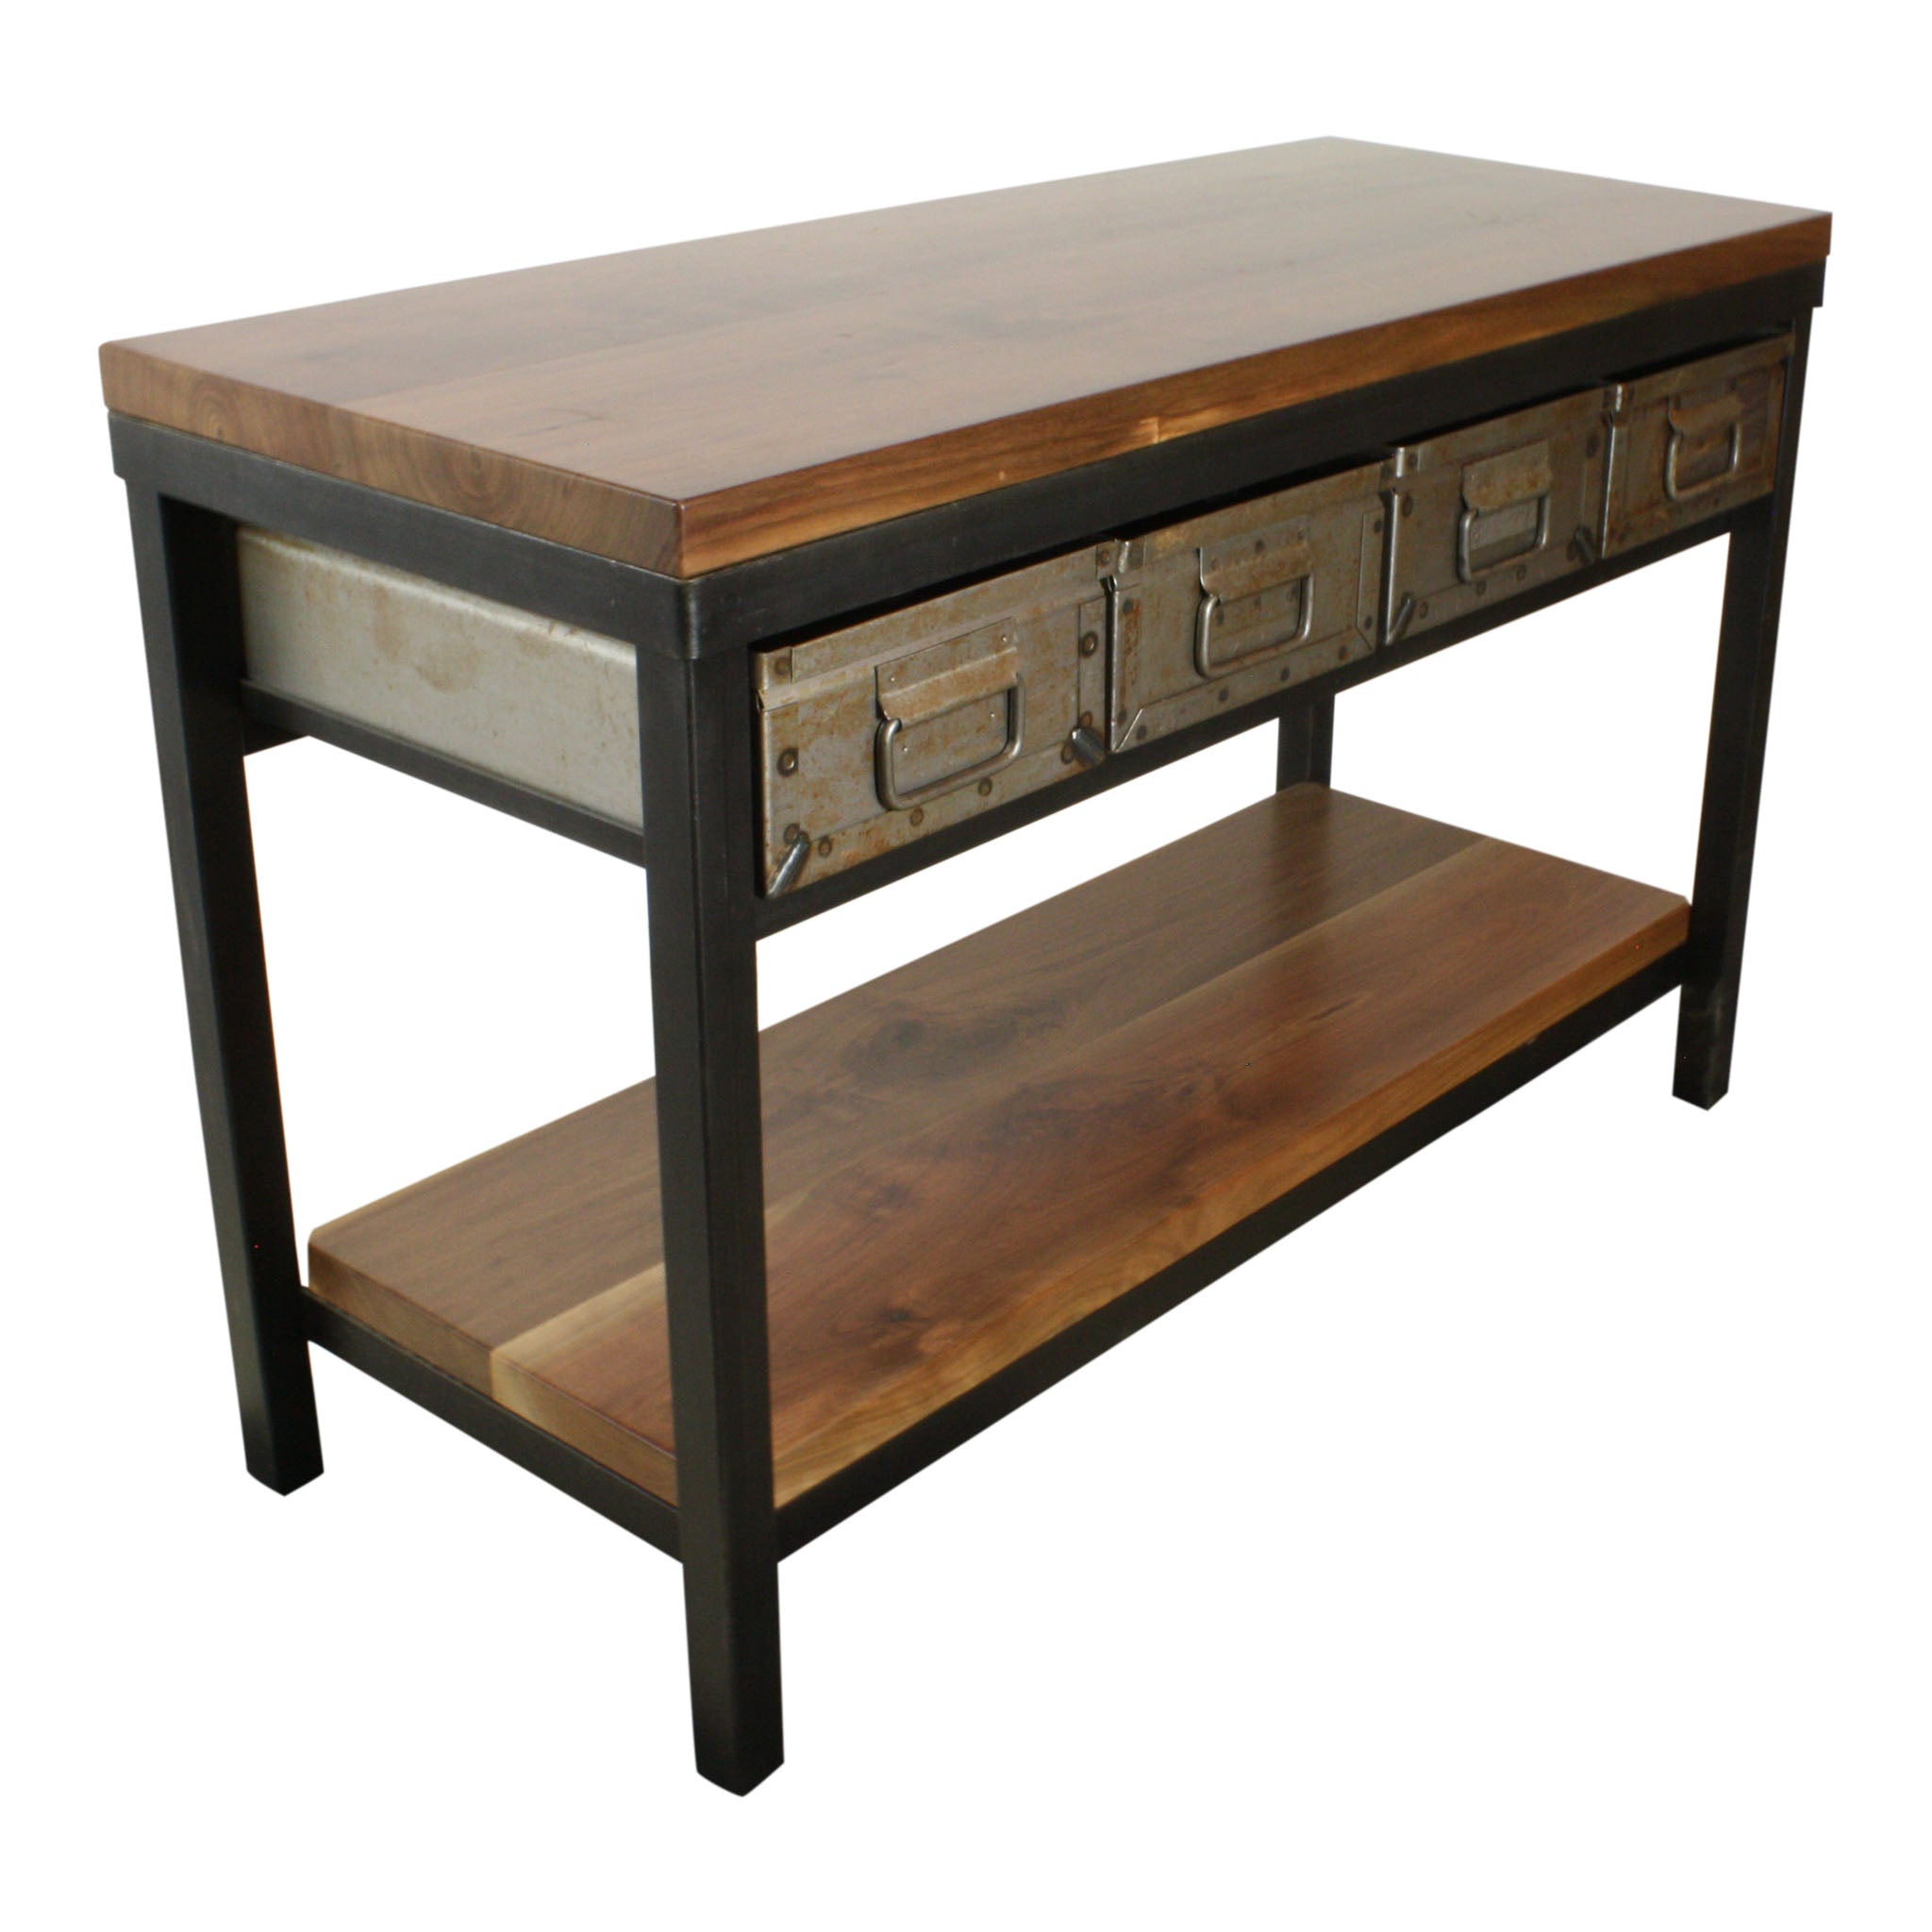
Credit: skicountryantiques.com
Applying Finish
Applying finish to your industrial console table is the final step. It protects the wood and enhances its natural beauty. The right finish makes the table durable and visually appealing. Choose a finish that suits your style and use.
Staining Options
Staining adds color to the wood while showing its grain. You can pick from light, medium, or dark stains. Light stains keep a natural look. Dark stains offer a bold, rich appearance. Gel stains work well for uneven surfaces. Apply stain evenly with a cloth or brush. Let it dry completely before the next step.
Protective Coating
A protective coating guards against scratches and moisture. Polyurethane is a popular choice for durability. Water-based polyurethane dries fast and has low odor. Oil-based polyurethane offers a harder finish but takes longer to dry. Apply thin coats with a brush. Sand lightly between coats for smoothness. This step keeps your table looking new longer.
Final Assembly And Inspection
Maintaining your industrial console table keeps it looking great and lasting long. Simple care and quick fixes help preserve its strong, stylish design. Follow these easy tips to keep your table in top shape.
Cleaning Advice
Dust your table regularly with a soft cloth. Avoid using harsh chemicals that can damage the finish. Use mild soap and water for sticky spots. Dry the surface well to stop rust or wood swelling. Clean metal parts gently to keep their shine.
Repair Suggestions
Check screws and bolts often. Tighten loose parts to keep the table stable. Sand down scratches on wooden areas and apply a fresh coat of finish. For metal scratches, use touch-up paint made for metal. Replace broken parts quickly to avoid bigger damage.
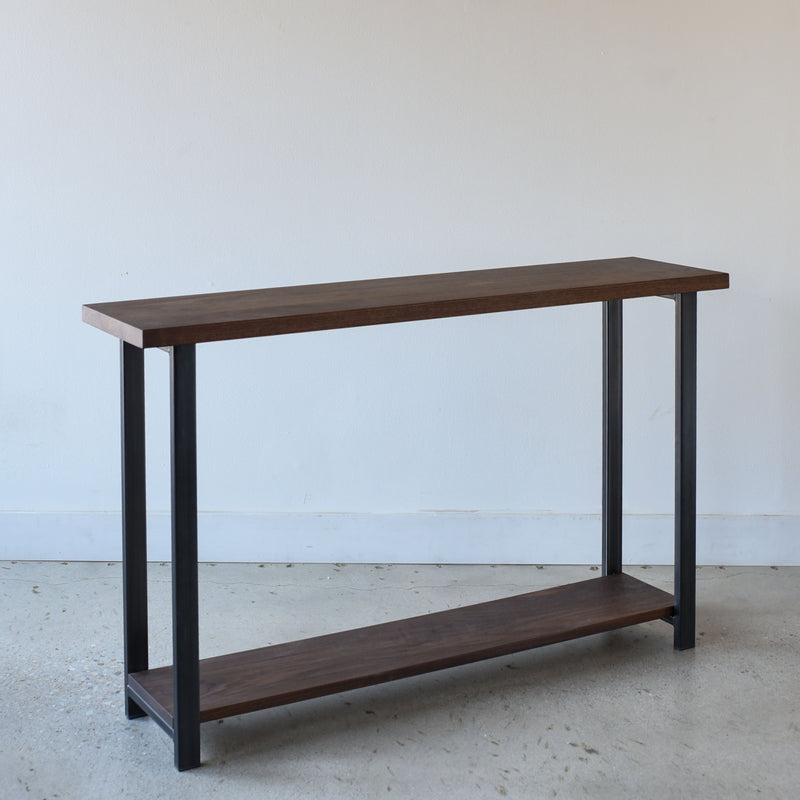
Credit: wwmake.com
Frequently Asked Questions
What Materials Are Needed For An Industrial Console Table?
You need wood planks, metal pipes, screws, and brackets. Choose reclaimed wood for a rustic look. Metal pipes form the frame. Ensure all materials are sturdy and suitable for furniture making.
How Do I Assemble An Industrial Console Table?
Start by building the metal frame with pipes and connectors. Attach the wooden tabletop securely using screws. Sand and finish the wood for durability. Follow a clear step-by-step guide for best results.
Can I Customize The Size Of The Console Table?
Yes, you can adjust the wood and metal pipe lengths. Measure your space before buying materials. Custom sizes fit your room perfectly and enhance the table’s functionality.
What Finish Is Best For Industrial Console Tables?
Use a clear polyurethane or matte varnish. These finishes protect wood and maintain its natural look. Avoid glossy finishes to keep the industrial style authentic.
Conclusion
Building an industrial console table can be simple and fun. Use the right tools and materials for best results. Take your time to measure and cut carefully. Assemble the parts step by step with attention. A sturdy table adds charm to any room.
Enjoy your new piece made by your own hands. This project suits beginners and those with some skills. Try different finishes to match your style. A handmade table brings pride and character to your home. Start today and see what you can create!