Are you tired of clutter and need extra space to organize your books and treasures? What if you could create a stylish bookshelf without spending a lot of money or buying new materials?
You have more resources at home than you think. By using waste materials, you can build a unique, sturdy bookshelf that fits your style perfectly. Imagine turning old boxes, wooden scraps, or unused items into a beautiful piece that brightens your room.
Keep reading, and you’ll discover simple steps to make your own bookshelf easily and creatively. Your home deserves it, and so do you!
Choosing Waste Materials
Choosing the right waste materials is the first step in building a strong, beautiful bookshelf. The materials should be sturdy and easy to work with. It also helps to select items that are safe and clean. This way, you get a durable shelf and keep your space tidy.
Common Household Waste Items
Old crates, cardboard boxes, and plastic containers can be useful. They are light and easy to cut or paint. These items work well for small shelves or decorative pieces. Make sure they are dry and free from damage. Avoid anything too weak or crumbly.
Recyclable Wood And Pallets
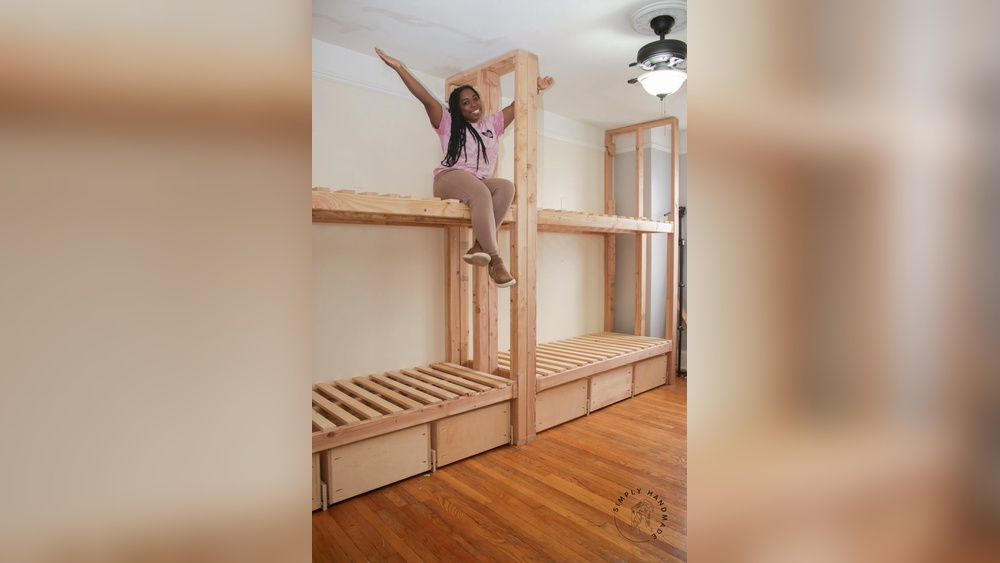
Wood from broken pallets or discarded furniture is perfect for bookshelves. Pallet wood is strong and often available for free. Sand it down to remove splinters and dirt. Cut the pieces to fit your desired shelf size. This wood gives a rustic and natural look.
Repurposing Old Furniture Parts
Use parts of old tables, drawers, or chairs for a unique shelf design. The wood is usually solid and ready to use. Remove nails or screws carefully. Clean and sand the pieces before assembling. This method saves money and adds character to your shelf.
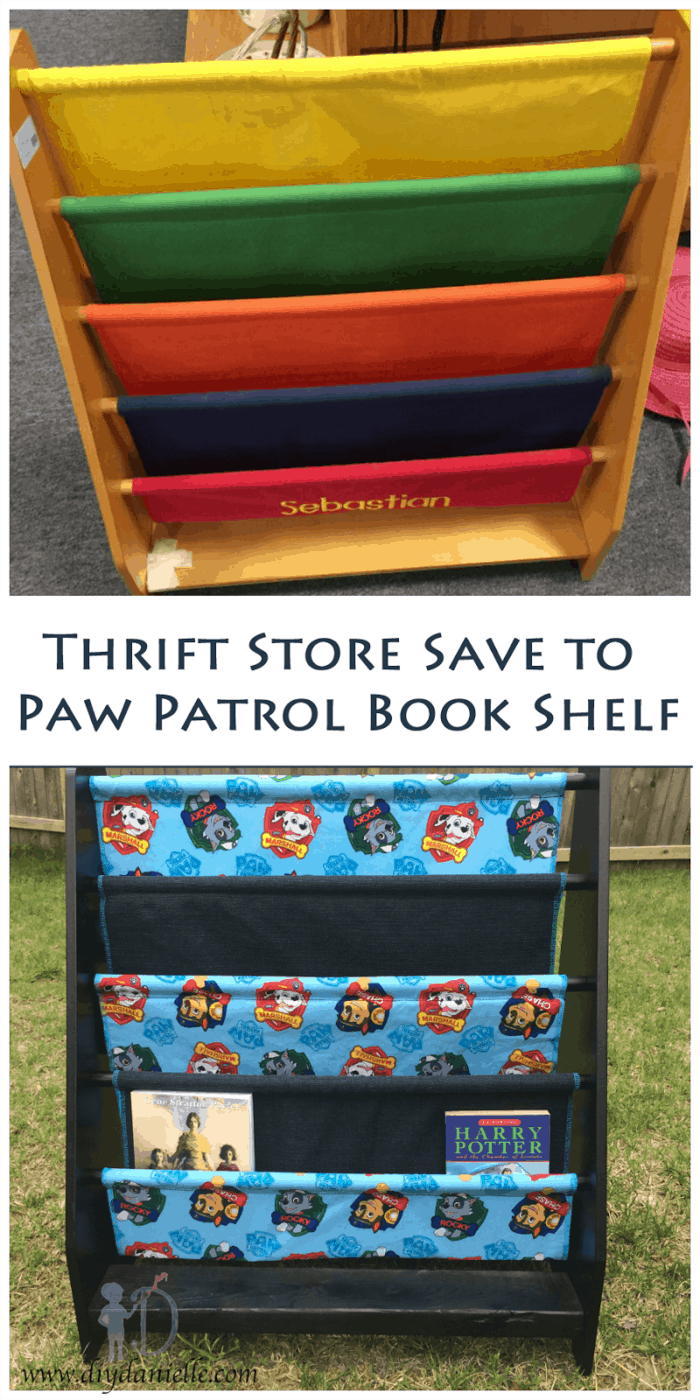
Credit: diydanielle.com
Tools And Supplies Needed
Building a bookshelf at home using waste materials is a smart and eco-friendly project. Before starting, gather the right tools and supplies. This step saves time and helps the work go smoothly.
Many tools are simple and easy to find. Using the correct tools makes cutting, joining, and finishing easier. It also keeps the bookshelf strong and safe.
Basic Hand Tools
Start with a saw to cut wood or other materials. A hammer helps to drive nails or small pins. Screwdrivers are needed for screws; choose both flathead and Phillips types. A measuring tape ensures precise measurements. A square tool keeps corners straight. Sandpaper smooths rough edges and surfaces.
Safety Equipment
Protect your eyes with safety goggles. Wear gloves to avoid splinters and cuts. Use a dust mask to prevent inhaling dust. Ear protection helps when using loud tools. Safety keeps the project safe and pleasant.
Adhesives And Fasteners
Wood glue bonds pieces firmly. Nails and screws hold parts together tightly. Use small brackets or corner braces for extra strength. Choose fasteners that fit the material thickness. Good adhesives and fasteners ensure the shelf lasts long.
Designing Your Bookshelf
Designing your bookshelf is the first step to a successful project. It helps you use waste material well. Good design saves time and effort. It also makes sure the bookshelf looks nice and holds books safely. Take your time to plan carefully.
Think about where you want to place your bookshelf. This helps decide the size and shape. Planning well means your bookshelf fits perfectly in your space.
Determining Size And Shape
Measure the space where the bookshelf will go. Note the height, width, and depth available. Decide how many books or items you want to store. Choose a shape that fits your room style. Rectangular shelves are simple and common. You can also try L-shapes or cubes for a modern look.
Sketching A Simple Plan
Draw a basic sketch of your bookshelf on paper. Use simple lines to show shelves and sides. Mark the measurements you took earlier. This plan helps you visualize the final product. It makes cutting and assembling easier. Keep the design simple to avoid mistakes.
Maximizing Space And Stability
Use vertical space to add more shelves. Make sure shelves are not too far apart. This keeps books from falling or leaning. Attach shelves securely to the sides. Use strong joints or nails for stability. Balance the weight by placing heavier books at the bottom. This prevents the shelf from tipping over.
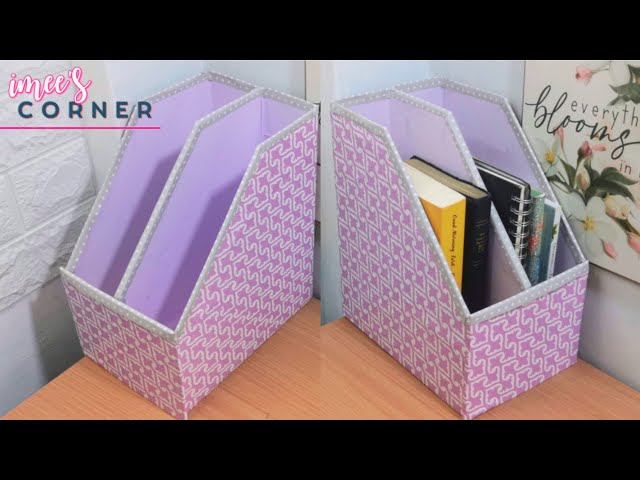
Credit: www.youtube.com
Preparing Materials
Preparing materials is the first step to build a sturdy bookshelf from waste. Good preparation ensures your project lasts long and looks neat. Taking time here saves effort later.
Start by gathering all the waste materials like old wood, pallets, or discarded boards. Check each piece for damage or rot. Only use solid, strong parts for safety.
Cleaning And Sanding
Clean the materials thoroughly to remove dirt and dust. Use a brush or cloth to wipe surfaces. This helps paint or glue stick better.
Sand the wood to smooth rough edges and splinters. Use medium grit sandpaper for best results. Sanding prevents injuries and gives a clean finish.
Cutting To Size
Measure the wood pieces according to your bookshelf design. Mark cutting lines clearly with a pencil. Cut carefully using a saw, following the marks exactly.
Cutting wood to the right size is important. It ensures all parts fit well during assembly. Take your time for accurate cuts.
Treating And Painting
Apply wood treatment to protect against insects and moisture. Use a brush to coat all surfaces evenly. Let it dry fully before the next step.
Paint the wood with your chosen color. Use light, even coats for a smooth look. Paint not only decorates but also adds protection.
Assembly Steps
Building a bookshelf at home from waste materials is rewarding. The assembly steps help create a sturdy and useful piece. Follow each step carefully for best results.
Building The Frame
Start by cutting your waste wood into equal pieces. Arrange them into a rectangle or square shape. Use nails or screws to join corners firmly. Check if the frame is even and stable.
Adding Shelves
Measure the inside width of the frame. Cut boards to fit as shelves inside the frame. Place shelves evenly spaced for good storage. Attach each shelf using nails or screws.
Securing Joints
Apply wood glue to all joints for extra strength. Reinforce corners with brackets or small wooden blocks. Tighten all screws and nails securely. Let glue dry before using the bookshelf.
Finishing Touches
Finishing touches make your homemade bookshelf look neat and last longer. These steps improve the feel and appearance. They protect the wood from damage and wear. The final look depends on these careful details. Let’s explore the key finishing steps to complete your project.
Sanding For Smoothness
Start by sanding the entire bookshelf surface. Use fine-grit sandpaper for a smooth finish. Sand edges and corners carefully to avoid splinters. Wipe off dust with a clean cloth after sanding. Smooth surfaces help paint or coating stick better. This step makes the bookshelf safe and pleasant to touch.
Applying Protective Coating
Choose a protective coating to shield your bookshelf. Options include varnish, paint, or wood oil. Apply the coating evenly with a brush or cloth. Let the first layer dry before applying another. Protective coating guards against moisture and scratches. It also enhances the wood’s natural color and texture.
Decorating Your Bookshelf
Personalize your bookshelf with simple decorations. Use stickers, stencils, or paint designs for style. Add small handles or knobs for a unique look. Consider lining shelves with colorful paper or fabric. Decorations add charm and match your room’s theme. Keep designs minimal for a clean, modern look.
Safety Tips
Safety is very important when making a bookshelf at home using waste materials. It keeps you safe from injuries and health problems. Follow simple safety steps to enjoy your project without harm. Always be alert and careful during every step.
Handling Tools Carefully
Use tools with a steady hand. Keep sharp tools away from children. Hold tools firmly and cut away from your body. Wear gloves to protect your hands. Check tools before use to ensure they are in good condition. Store tools safely after use.
Working In A Well-ventilated Area
Work in a space with fresh air. Open windows or doors to let air flow. This helps reduce dust and fumes from paint or glue. Avoid working in closed rooms. Fresh air keeps your lungs safe and helps you stay focused.
Proper Disposal Of Waste
Throw away waste materials carefully. Separate sharp or dangerous scraps from normal trash. Use a strong bag to hold waste. Do not leave waste where children or pets can reach. Clean your workspace after finishing your project.

Credit: inhabitat.com
Maintaining Your Bookshelf
Maintaining your homemade bookshelf is key to keeping it strong and looking good. Regular care helps it last longer and hold your books safely. Simple steps like cleaning and checking for damage keep your shelf in top shape.
Cleaning And Dusting
Dust gathers quickly on bookshelves. Use a soft cloth or duster to clean the surface. Wipe gently to avoid scratching the wood or material. Clean at least once a week to stop dust build-up. Avoid harsh chemicals; mild soap and water work well for tough spots.
Checking For Damage
Look over your shelf often for signs of wear. Check for cracks, loose nails, or wobbly parts. Early detection stops small problems from growing. Pay close attention to joints and corners where stress is higher. Spotting damage early keeps your shelf safe and stable.
Repairing Minor Issues
Fix small problems as soon as you find them. Tighten loose screws or nails with a screwdriver or hammer. Fill minor cracks with wood filler or glue designed for your material. Sand rough spots lightly to smooth the surface. Quick repairs prevent bigger damage and keep your shelf sturdy.
Frequently Asked Questions
What Waste Materials Are Best For Making A Bookshelf?
Wood pallets, old crates, and discarded plywood are ideal. These materials are sturdy and easy to repurpose. They help reduce waste and save money while creating a functional bookshelf.
How Do I Start Building A Bookshelf From Waste Materials?
Begin by collecting clean, sturdy materials. Measure the space where the bookshelf will go. Plan your design, cut the materials to size, and assemble using screws or nails for stability.
What Tools Do I Need For A Diy Waste Material Bookshelf?
Basic tools include a saw, hammer, screwdriver, measuring tape, and sandpaper. These tools help cut, assemble, and smooth the materials for a safe and attractive bookshelf.
How Can I Ensure My Bookshelf Is Stable And Safe?
Use strong joints like screws or brackets to secure shelves. Sand all edges to avoid splinters. Test the shelf by placing weight gradually to confirm stability before full use.
Conclusion
Creating a bookshelf from waste materials saves money and helps the environment. It also adds a personal touch to your home decor. You can reuse old wood, boxes, or pallets easily. This project needs only basic tools and simple steps.
Try making one yourself and enjoy the pride of DIY work. Small efforts like this make a big difference. Start today and give new life to old things. Your home will look unique and organized. Why buy when you can create?