Are you looking to add a touch of elegance and charm to your bookshelf? Making bookshelf molding yourself is easier than you might think, and it can completely transform the look of your space.
Imagine your bookshelves framed with beautiful molding that highlights your favorite reads and boosts your room’s style. In this guide, you’ll discover simple steps to create custom bookshelf molding that fits your style and budget. Ready to give your shelves the upgrade they deserve?
Let’s dive in and make your bookshelf truly stand out.
Materials And Tools Needed
Creating bookshelf molding requires specific materials and tools. These help ensure clean cuts and a strong finish. Preparing the right supplies makes the project smoother and more enjoyable.
Below are the key materials and tools you need to make bookshelf molding that fits perfectly and looks great.
Choosing The Right Wood
Select wood that matches your room’s style and budget. Pine is soft, easy to cut, and affordable. Oak is hard, durable, and has a nice grain. Poplar is smooth and paints well. Avoid wood that warps or cracks easily. Choose straight boards without knots for best results.
Essential Tools For The Job
You need a miter saw to cut precise angles for molding corners. A measuring tape is necessary for exact length measurements. Use a nail gun or hammer to attach molding to walls. A level ensures the molding stays straight. Sandpaper smooths rough edges for a clean look.
Additional Supplies
Wood glue helps hold pieces together securely. Wood filler covers nail holes and gaps. Paint or stain finishes the molding and matches your décor. Painter’s tape protects walls during painting. Safety glasses and gloves keep you safe during cutting and assembly.
Credit: inhonorofdesign.com
Preparing Your Workspace
Preparing your workspace is an important first step before making bookshelf molding. It helps keep your project smooth and safe. A clean and organized area lets you focus on cutting and installing without distractions. Taking time to prepare also reduces mistakes and accidents. Follow simple steps to get your space ready for work.
Clearing And Organizing
Start by removing all unnecessary items from your workspace. Clear the floor and surfaces to create a large, open area. Organize tools and materials in one spot for easy access. Use containers or boxes to keep small items tidy. A neat space helps you move freely and find what you need quickly.
Safety Precautions
Wear safety gear like goggles and gloves to protect yourself. Check that your tools are in good condition before use. Keep cords and cables away from walkways to avoid tripping. Make sure the area is well-lit and ventilated. Safety measures prevent injuries and ensure a better working experience.
Measuring And Planning
Measuring and planning are the first steps to create bookshelf molding. These steps help avoid mistakes and save materials. Careful measurement ensures the molding fits perfectly. Planning lets you visualize the final look before cutting wood.
Taking Accurate Measurements
Start by measuring the wall space where the bookshelf will go. Use a tape measure and write down the length and height. Measure twice for accuracy. Note any obstacles like outlets or switches. These details affect molding placement. Record measurements clearly to avoid confusion later.
Sketching Your Design
Draw a simple sketch of your bookshelf molding plan. Include the wall dimensions and molding style. Mark where each piece will go. Sketching helps see the overall design. It also shows how much material you need. Keep the drawing clear and easy to read.

Credit: www.youtube.com
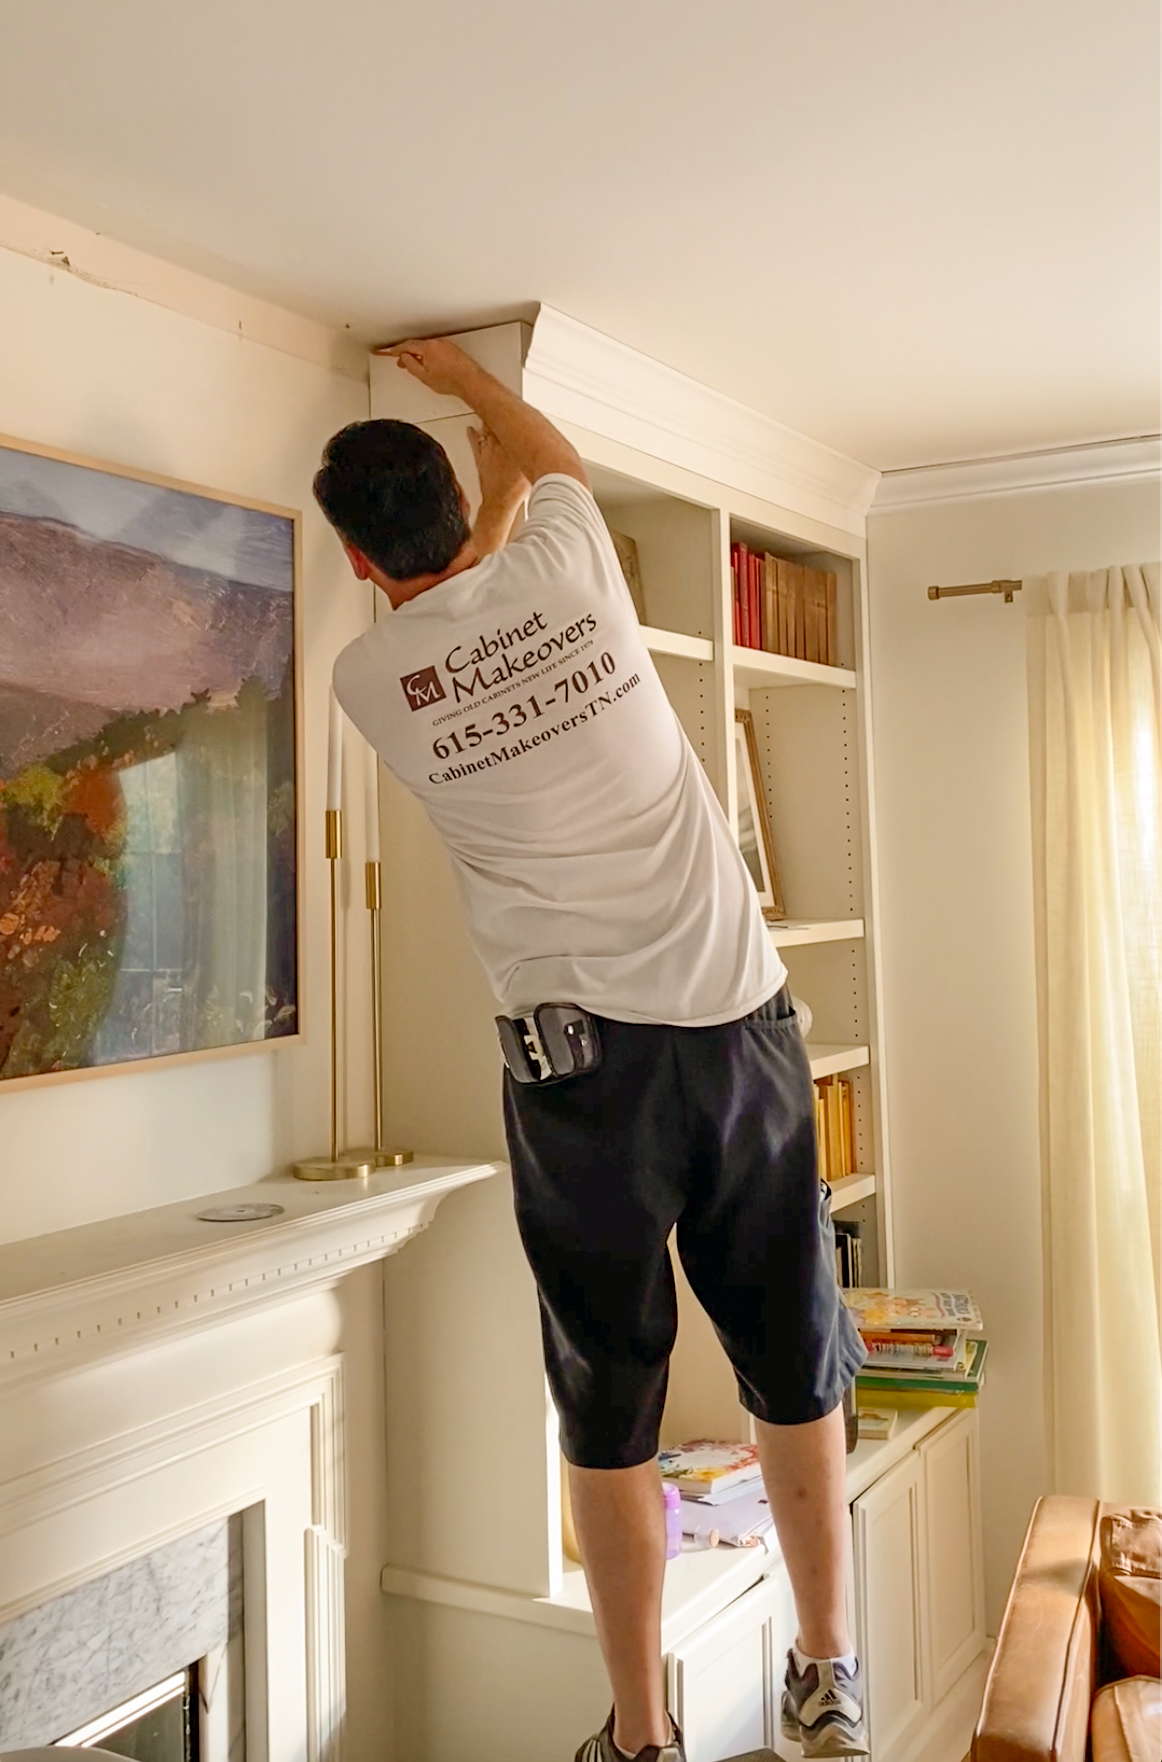
Cutting The Molding Pieces
Cutting the molding pieces is a key step in making bookshelf molding. It ensures the pieces fit perfectly and look clean. Precise cuts prevent gaps and uneven edges. Careful measuring and cutting lead to a smooth installation process.
Marking Cut Lines
Start by measuring the length needed for each molding piece. Use a pencil and a ruler to mark the cut lines clearly. Double-check the measurements before cutting. Draw straight lines to guide the saw. Clear marks help avoid mistakes and save time.
Using A Miter Saw
A miter saw is perfect for making accurate cuts. Set the saw to the correct angle, usually 45 degrees for corners. Hold the molding firmly against the saw fence. Cut slowly and steadily for a clean edge. Always wear safety glasses to protect your eyes.
Sanding Edges
After cutting, sand the edges to remove splinters and rough spots. Use fine-grit sandpaper for a smooth finish. Lightly sand both sides of the cut edges. This step helps the molding fit snugly and look polished. Clean off dust before moving to the next step.
Assembling The Molding
Assembling the molding is an important step in creating a beautiful bookshelf. It brings all the cut pieces together. Careful assembly ensures the molding fits well and looks professional. Follow each step with attention to detail for the best result.
Dry Fitting The Pieces
Start by placing the molding pieces without glue or nails. Check if the corners and edges align perfectly. Adjust any gaps or uneven parts. Dry fitting helps avoid mistakes before permanent assembly. Take your time to make sure everything fits smoothly.
Applying Adhesive
Use a strong wood adhesive on the edges of the molding pieces. Spread the glue evenly for a firm hold. Avoid using too much glue to prevent messes. Press the pieces together right after applying the adhesive. This step strengthens the bond between molding parts.
Nailing And Securing
Secure the molding with finishing nails for extra support. Nail through the molding into the wall studs or frame. Countersink the nails slightly below the surface. Fill the holes with wood filler for a clean finish. This step keeps the molding stable and long-lasting.
Finishing Touches
Finishing touches bring your bookshelf molding to life. These steps make the molding smooth, strong, and ready to show off. Careful finishing ensures your work looks clean and lasts for years. Let’s explore how to perfect your project with simple, effective techniques.
Filling Gaps And Holes
Small gaps or holes can appear after installation. Use wood filler to fill these spaces. Apply it with a putty knife and smooth the surface. Let it dry completely before sanding it down. Sanding makes the surface even and ready for paint. This step hides mistakes and creates a polished look.
Priming And Painting
Primer helps paint stick better to the molding. Apply a coat of primer with a brush or roller. Allow it to dry fully for best results. Choose paint that matches your room’s style. Use smooth, even strokes to avoid streaks. Two coats often give the best finish. Let each coat dry before adding the next.
Sealing For Durability
Sealing protects the molding from damage and dirt. Use a clear sealant suitable for wood. Apply a thin, even layer over the painted surface. This step adds shine and increases durability. Allow the sealant to dry completely. Sealed molding stays beautiful longer and resists wear.
Tips For Professional Results
Achieving a professional look for bookshelf molding requires careful attention to detail. Small mistakes can affect the final appearance and fit. Use simple strategies to improve your work quality and save time. These tips help create smooth, clean, and precise molding edges.
Working With Complex Designs
Complex molding shapes need patience and steady hands. Study the design closely before cutting. Use a coping saw for curved or detailed cuts. Practice on scrap wood to avoid errors on your main piece. Take your time to make neat joints and smooth edges.
Maintaining Consistent Measurements
Accurate measurements ensure the molding fits perfectly. Use a reliable tape measure and mark clearly. Double-check each measurement before cutting. Cut pieces in the same sequence to avoid confusion. Keep tools sharp to make clean, straight cuts every time.
Troubleshooting Common Issues
Gaps between molding pieces are common but easy to fix. Use wood filler or caulk to fill small spaces. Sand rough edges to improve joint appearance. Check for warped wood before installation. Replace any damaged pieces to keep the shelf looking neat.

Credit: www.youtube.com
Frequently Asked Questions
What Tools Are Needed For Bookshelf Molding Installation?
You need a miter saw, measuring tape, nail gun, wood glue, and a level. These tools ensure precise cuts and secure molding attachment.
How Do You Measure For Bookshelf Molding?
Measure the length of each shelf edge carefully. Add extra length for miter cuts and ensure an accurate fit.
What Type Of Wood Is Best For Bookshelf Molding?
Pine, oak, and poplar are popular choices. They are easy to work with and provide a smooth finish.
Can I Paint Bookshelf Molding After Installation?
Yes, painting after installation gives a clean look. Use primer first, then apply your desired paint color.
Conclusion
Making bookshelf molding adds style to any room quickly. Use the right tools and measure carefully. Cut the molding pieces to fit perfectly. Attach them firmly to the bookshelf edges. Paint or stain for a finished look. This simple project boosts your home’s charm.
Try it step by step at your own pace. Enjoy the new, neat appearance of your shelves. A small effort brings big changes to your space. Give your bookshelves a fresh, elegant touch today.

