Have you ever looked at a pile of scrap wood and wondered if you could turn it into something useful? Imagine building your own sturdy bookshelf without spending a fortune or needing fancy tools.
This guide will show you exactly how to transform leftover wood into a beautiful, practical piece for your home. By the end, you’ll have the confidence and know-how to create a bookshelf that fits your space perfectly. Ready to get started?
Let’s dive in.
Choosing Scrap Wood
Choosing the right scrap wood is the first step in building a sturdy bookshelf. The wood must be strong and safe to use. It should fit the size and style you want. Careful selection helps avoid problems later in the project.
Types Of Wood To Use
Softwoods like pine and cedar are easy to cut. They work well for light shelves. Hardwoods such as oak and maple last longer. They hold more weight and look nicer. Choose wood that matches your bookshelf’s purpose.
Checking Wood Quality
Look for wood without cracks or rot. Avoid pieces with too many knots. Knots can make wood weak. Check for nails or screws left inside. Sand rough surfaces to prevent splinters. Good quality wood ensures a safe shelf.
Sourcing Free Scrap Wood
Many places offer scrap wood for free. Check construction sites and furniture stores. Ask friends or neighbors if they have leftover wood. Reuse old pallets or crates carefully. Free wood saves money and helps the environment.
Tools And Materials Needed
Building a bookshelf from scrap wood is a rewarding project. The right tools and materials make the job easier and the results better. Knowing what you need helps you prepare well and work safely. This section lists all the tools and supplies you need to build your bookshelf.
Essential Tools List
- Measuring tape to get accurate dimensions
- Pencil to mark cutting lines
- Hand saw or circular saw for cutting wood
- Hammer for nailing pieces together
- Screwdriver or drill with bits for screws
- Level to keep shelves straight
- Clamps to hold wood in place while working
- Sandpaper or electric sander to smooth surfaces
Additional Supplies
- Wood screws for strong joints
- Wood glue for extra hold
- Wood filler to cover holes or cracks
- Paint or wood stain for finishing touches
- Brush or cloth to apply paint or stain
- Scrap wood pieces, cleaned and ready to use
Safety Gear
- Safety glasses to protect your eyes
- Dust mask to avoid breathing sawdust
- Work gloves to protect your hands
- Ear protection if using loud power tools
Planning Your Bookshelf
Planning your bookshelf is the first step to create a strong and useful piece. It saves time and avoids mistakes. Good planning helps use scrap wood wisely. It makes the building process clear and smooth.
Measuring Space And Size
Measure the wall or spot for the bookshelf. Note height, width, and depth available. Think about how many books or items will fit. Allow space for breathing room around the shelf. Accurate measurements prevent fitting problems later.
Designing Shelf Layout
Decide how many shelves you want. Choose shelf height based on book sizes. Mix tall and short shelves for variety. Consider leaving space for decorations or plants. Balance looks and function for a neat design.
Sketching Your Blueprint
Draw your bookshelf on paper or use an app. Mark all dimensions and shelf positions clearly. Show wood pieces and joints needed for support. A clear blueprint guides cutting and assembly. It reduces errors and saves scrap wood.
Preparing The Wood
Preparing the wood is the first step in building a sturdy bookshelf from scrap wood. It ensures the wood is safe and ready to use. Proper preparation helps the wood last longer and look better. It also makes the building process easier and more precise. Follow these simple steps to get your wood ready.
Cleaning And Sanding
Start by cleaning the wood to remove dirt and dust. Use a damp cloth or brush for this job. Check for nails, screws, or staples and remove them carefully. Next, sand the wood to smooth rough surfaces and edges. Use medium-grit sandpaper first, then fine-grit for a smooth finish. Sanding helps the paint or stain stick better and prevents splinters.
Cutting To Size
Measure the wood pieces according to your bookshelf design. Mark the cutting lines clearly with a pencil. Use a saw to cut the wood along the lines. Take your time to make straight and clean cuts. Cut pieces accurately for a neat and stable bookshelf. Keep safety in mind and wear protective gear while cutting.
Treating And Priming
Check the wood for any signs of rot or insect damage. Treat the wood with a wood preservative to protect it from moisture and pests. Let the treatment dry completely before moving on. Apply a primer if you plan to paint the bookshelf. Primer helps the paint stick better and last longer. Allow the primer to dry fully before assembly or painting.
Assembling The Frame
Assembling the frame is a key step in building your bookshelf from scrap wood. This step creates the basic shape and strength of the shelf. Take your time to ensure each part fits well. A strong frame means a sturdy bookshelf that lasts long.
Building The Sides
Start by cutting the side pieces from your scrap wood. These will hold the shelves and support the weight of your books. Use two identical pieces for each side to keep the shelf balanced. Check that the edges are smooth and straight before moving on.
Adding Support Beams
Next, attach horizontal support beams between the sides. These beams hold the shelves in place. Measure carefully to space the beams evenly. Secure them tightly to avoid wobbling. Use wood glue and screws for a strong hold.
Securing Joints
Finally, secure all joints to make the frame sturdy. Use wood screws and corner brackets if possible. Drive screws straight to avoid splitting the wood. Double-check that all parts are aligned. Tight joints keep your bookshelf safe and solid.

Credit: www.youtube.com
Installing The Shelves
Installing the shelves is a key step in building a bookshelf from scrap wood. It gives the bookshelf its shape and function. This part requires careful measuring and strong attachment to hold books safely. Follow clear steps to place each shelf correctly and firmly.
Marking Shelf Positions
Start by measuring the inside height of the bookshelf frame. Decide how many shelves you want and space them evenly. Use a pencil to mark the shelf heights on both sides of the frame. Double-check the marks to make sure they are level and even. Use a level tool to keep lines straight across the frame.
Attaching Shelves
Cut your scrap wood pieces to fit the shelf widths. Place each shelf on the marked lines inside the frame. Use wood screws or nails to fix the shelves securely. Drill pilot holes first to avoid splitting the wood. Attach shelves firmly to the side supports. Check each shelf to confirm it sits flush and flat.
Ensuring Stability
Check if the shelves feel solid by pressing gently. Add corner braces under each shelf for extra support. Tighten all screws and nails again for safety. Make sure the bookshelf does not wobble or shake. Adding glue before screwing can improve strength. A steady shelf keeps your books safe and the structure strong.
Finishing Touches
Finishing touches make your bookshelf look complete and neat. These steps protect the wood and give your project a polished look. They also help the shelf last longer. Focus on smoothing, coloring, and small details to enhance your bookshelf.
Sanding Edges
Start by sanding all edges and surfaces with fine-grit sandpaper. Sanding removes rough spots and splinters. It makes the wood smooth to touch and safe to use. Take your time to get even, clean edges. Wipe off dust with a dry cloth after sanding.
Painting Or Staining
Choose paint or stain to match your room’s style. Paint adds color and hides imperfections. Stain shows the wood grain and gives a natural look. Apply thin, even coats for best results. Let each coat dry before adding another. This step protects wood from moisture and wear.
Adding Decorative Elements
Decorate with simple details like knobs or trim. Attach small metal brackets for style and strength. Use stencils or stickers for patterns on the wood. These touches make your bookshelf unique and personal. Keep decorations subtle to maintain a clean look.
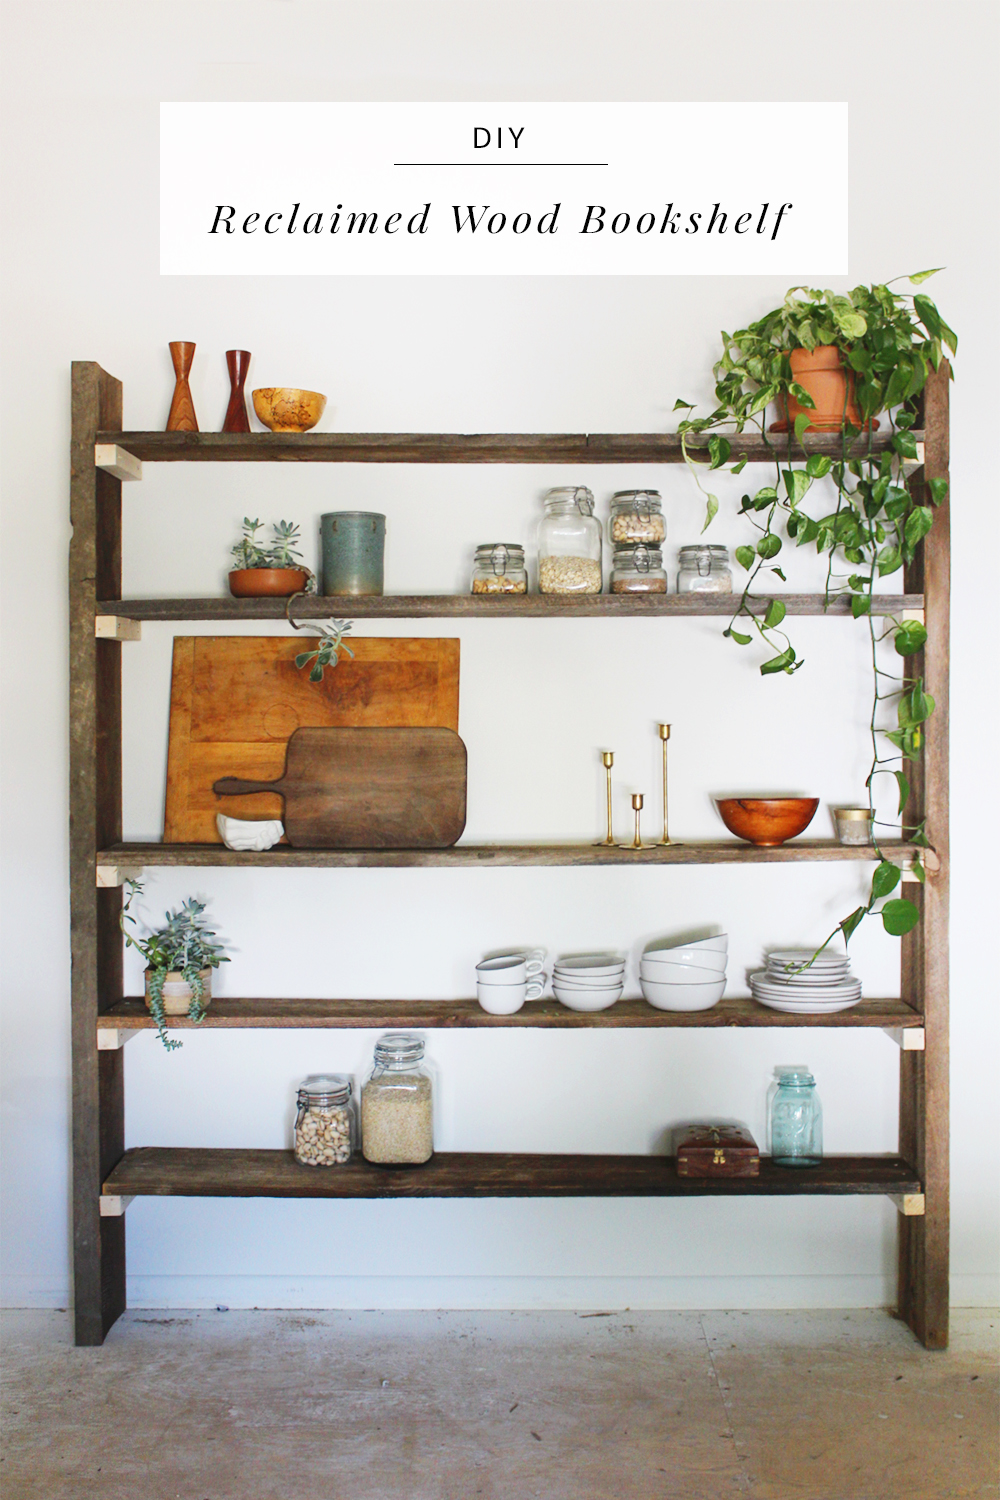
Credit: homemadebycarmona.com
Tips For Maintenance
Maintaining your bookshelf made from scrap wood keeps it strong and looking good. Simple care steps help your bookshelf last many years. Follow these easy tips to keep it neat and safe from damage.
Cleaning Your Bookshelf
Dust your bookshelf often with a soft cloth. Use a dry or slightly damp cloth to remove dirt. Avoid harsh cleaners that can harm the wood. Clean spills quickly to stop stains. A gentle wipe keeps the wood fresh and bright.
Repairing Wear And Tear
Check your bookshelf for loose screws or nails. Tighten or replace them to keep shelves stable. Sand rough or splintered spots lightly with fine sandpaper. Use wood glue for small cracks or splits. Fix damage early to prevent bigger problems.
Preventing Wood Damage
Keep your bookshelf away from direct sunlight to avoid fading. Avoid placing it near heaters or damp areas. Use coasters or mats under heavy items to stop dents. Apply a wood sealant every year for extra protection. These steps help your bookshelf stay strong and beautiful.
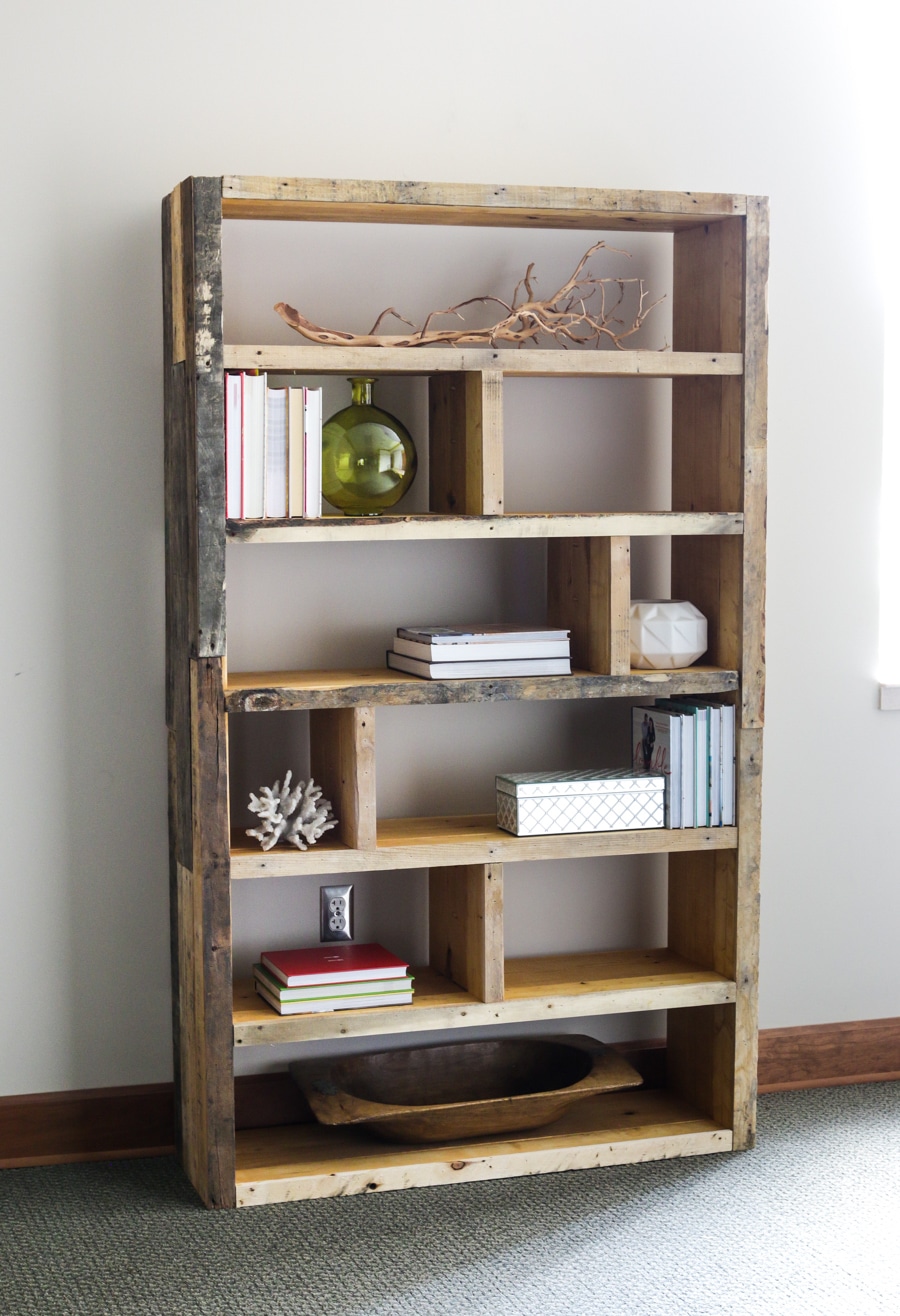
Credit: jenwoodhouse.com
Frequently Asked Questions
What Tools Are Needed To Build A Bookshelf From Scrap Wood?
You need basic tools like a saw, drill, measuring tape, screws, and sandpaper. These tools help cut, assemble, and smooth the wood. Having clamps and a level also improves precision and stability during construction.
How Do I Choose The Best Scrap Wood For Shelving?
Select scrap wood that is sturdy, dry, and free from rot or pests. Avoid wood with cracks or warping. Hardwood scraps work best for durability and aesthetics in bookshelves.
What Are Simple Steps To Build A Bookshelf From Scrap Wood?
Measure your space, cut wood to size, sand edges, and assemble with screws. Start with the frame, add shelves, and finish with paint or sealant. This process ensures a strong, customized bookshelf.
How Can I Make My Scrap Wood Bookshelf Look Professional?
Use sandpaper to smooth surfaces, apply wood filler to holes, and paint or stain for a finished look. Proper alignment and clean joins also enhance the professional appearance.
Conclusion
Building a bookshelf from scrap wood saves money and helps the environment. You only need basic tools and some patience. Each step is simple and rewarding. This project fits well in any home. Plus, you get a unique piece made by you.
Try it soon and enjoy your new bookshelf. It’s a great way to reuse wood and add charm. Start small, take your time, and have fun creating. Your space will look better, and you’ll feel proud.