Imagine having a bookshelf that looks like your books are magically floating on your wall. It’s not only a cool way to save space but also a stylish addition to any room.
If you’ve ever wanted to create something unique for your home, making a floating bookshelf is easier than you think. In this guide, you’ll learn simple steps to build your own floating bookshelf that will impress your friends and keep your favorite books within easy reach.
Ready to transform your space and showcase your books in a whole new way? Let’s get started!
Materials And Tools Needed
Gathering the right materials and tools is the first step to build a floating bookshelf. Using quality wood and proper tools makes the project easier. This section lists what you need to get started.
Choosing The Right Wood
Pick wood that is strong and looks good. Pine and oak are popular choices for shelves. Pine is cheaper and easier to work with. Oak is harder and lasts longer. Choose wood thick enough to hold your books safely.
Essential Tools For The Project
You will need a drill to make holes and attach brackets. A level helps keep your shelf straight. A saw cuts the wood to size. Sandpaper smooths rough edges. A tape measure ensures exact dimensions. A pencil marks cutting and drilling spots.
Optional Finishing Supplies
Use wood stain to change the color of your shelf. Clear varnish protects the wood and gives a shiny look. Brushes or rags apply stain and varnish. Wood filler fixes any small holes or cracks. These supplies improve the shelf’s appearance and durability.
Credit: southhousedesigns.com
Planning Your Bookshelf
Planning your floating bookshelf is the first step to a great result. Careful thought saves time and effort later. Think about the space, design, and mounting. These details make your shelf both useful and beautiful.
Measuring Space And Shelf Size
Start by measuring the wall space where the shelf will go. Use a tape measure for accuracy. Note the width, height, and depth. Consider nearby furniture and wall decorations. Choose a shelf size that fits well and looks balanced. Avoid shelves that are too big or too small.
Designing For Style And Function
Decide how you want your shelf to look. Pick a style that matches your room. Simple, modern, or rustic? Think about what you will put on the shelf. Books, plants, or decor items? Make sure the shelf can hold the weight. Balance style with practical use.
Selecting Mounting Hardware
Choose the right mounting hardware for safety and strength. Floating shelves need strong brackets or hidden supports. Check the wall type: drywall, brick, or wood. Use anchors or screws that fit your wall. Good hardware keeps the shelf steady and secure.
Cutting And Preparing The Wood
Cutting and preparing the wood is the first step in making a floating bookshelf. This step shapes the wood into the right size and form. Careful work here helps the shelf look clean and fit well on your wall. Precision makes installation easier and the shelf stronger.
Marking And Measuring Cuts
Start by measuring the wood pieces carefully. Use a tape measure for accuracy. Mark the cut lines with a pencil. Double-check your marks before cutting. Measure twice, cut once is a good rule to follow. Clear marks help avoid mistakes.
Safe Cutting Techniques
Wear safety glasses and gloves before cutting. Use a saw that suits your wood type and size. Cut slowly and steadily along the marked lines. Keep your hands away from the blade. A clamp can hold the wood steady while cutting. Safety prevents accidents and keeps your work neat.
Sanding And Smoothing Edges
After cutting, sand the edges to smooth rough spots. Use medium-grit sandpaper first, then fine-grit for a soft finish. Sand with the grain of the wood. Smooth edges prevent splinters and improve the shelf’s look. Clean the dust off before moving to the next step.
Assembling The Shelf
Assembling the floating bookshelf brings your project to life. This step combines all parts into a sturdy unit. Follow clear instructions for strong, safe shelves.
Joining Wood Pieces
Start by aligning the wood pieces carefully. Use wood glue on edges for better hold. Clamp the pieces together to dry for at least 30 minutes. After drying, reinforce joints with screws or nails. Make sure screws go in straight to avoid splitting.
Securing Brackets Or Supports
Choose strong brackets that match your shelf size. Mark bracket positions on the wall accurately. Drill holes for anchors if needed to hold weight. Attach brackets firmly to the wall using screws. Finally, place the shelf on brackets and check for level. Tighten all screws to secure the shelf in place.
Installing The Floating Bookshelf
Installing the floating bookshelf is an important step. It ensures your shelf stays strong and looks great. Careful installation helps avoid damage to your wall and shelf. Follow these steps for a secure and neat setup.
Locating Wall Studs
Find the wall studs to hold the shelf weight. Use a stud finder tool for best results. Move the tool slowly across the wall surface. Mark the stud edges with a pencil. Studs usually lie 16 inches apart. Mounting into studs gives the shelf firm support.
Mounting The Shelf Securely
Use screws that fit the mounting bracket. Drill pilot holes into the stud marks. Attach the bracket tightly to the wall. Check for any wobbling or loose parts. The bracket must sit flush against the wall. This stops the shelf from falling.
Leveling And Final Adjustments
Place the shelf on the mounted bracket. Use a spirit level to check its balance. Adjust screws or brackets to make it even. Wipe off pencil marks from the wall. Test the shelf with a light weight first. Secure your floating bookshelf perfectly for daily use.

Credit: www.instructables.com
Finishing Touches
Finishing touches make your floating bookshelf look complete and polished. These final steps protect the wood and enhance its beauty. Choose the right finish to match your room’s style and your personal taste.
Painting Or Staining Options
Painting gives your shelf a solid color and a modern look. Choose colors that match your walls or furniture. Use a primer first for better paint grip. Light coats work best. Let each coat dry fully before adding the next.
Staining shows the natural wood grain and adds warmth. Pick a stain color that fits your decor. Apply the stain evenly with a brush or cloth. Wipe off extra stain to avoid blotches. Stains come in many shades from light to dark.
Adding Protective Coatings
Protective coatings keep your shelf safe from scratches and spills. Clear varnish or polyurethane works well. Use a brush to apply thin, even layers. Let each layer dry before the next. This creates a strong, durable surface.
Wax or oil finishes give a soft, natural look. They need regular reapplication to keep the wood healthy. Choose a finish based on how much use your shelf will get. Protective coatings increase the shelf’s lifespan and beauty.
Tips For Stylish Storage
Stylish storage helps make your floating bookshelf both useful and beautiful. It keeps your space neat and shows off your personality. A well-organized shelf looks inviting and makes finding books easier. Follow these tips to create a shelf that fits your style and needs.
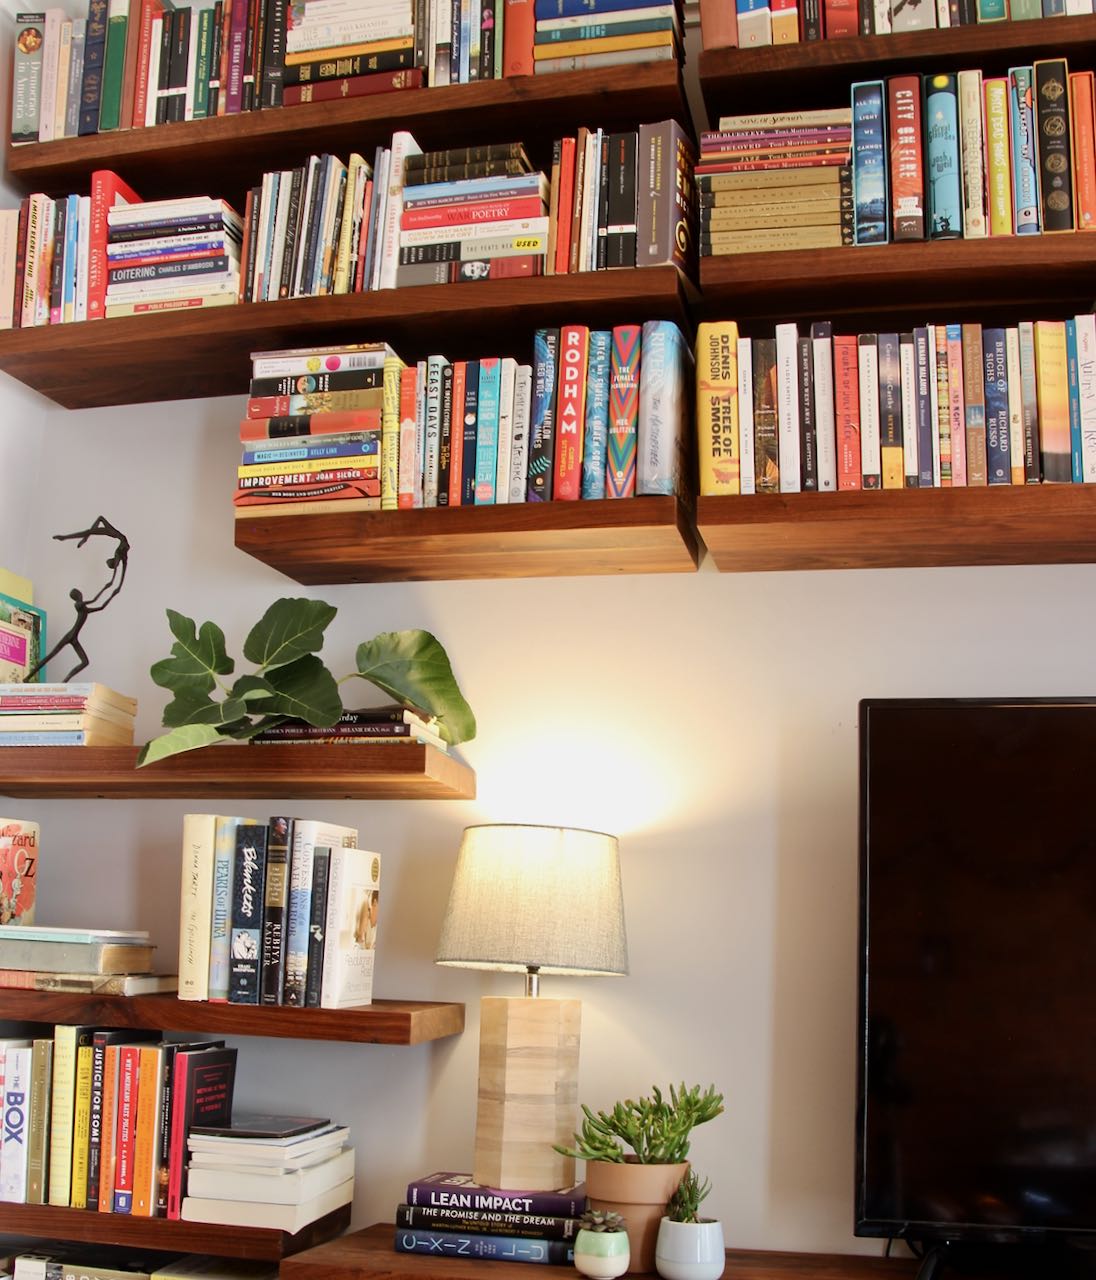
Organizing Books And Decor
Arrange books by size or color for a clean look. Mix vertical and horizontal stacks to add interest. Use small plants or art pieces to break up the books. Keep decor simple to avoid clutter. Leave some empty space for a light feel.
Maintaining Shelf Stability
Check the wall type before installing your shelf. Use strong anchors and screws for heavy books. Avoid overloading the shelf with too many items. Balance weight evenly across the shelf. Regularly inspect the shelf for any signs of wear or looseness.

Credit: www.uglyducklinghouse.com
Frequently Asked Questions
What Materials Do I Need To Make A Floating Bookshelf?
You need wood boards, wall anchors, screws, brackets, a drill, level, and measuring tape. Choose quality wood for durability and a smooth finish.
How Do I Install A Floating Bookshelf Securely?
Locate wall studs for strong support. Use a level to align brackets. Drill pilot holes and use proper anchors for drywall.
Can I Customize The Size Of My Floating Bookshelf?
Yes, you can cut the wood boards to any desired length and depth. Customize to fit your wall space and style.
How Much Weight Can A Floating Bookshelf Hold?
Weight capacity depends on wood type and wall anchors used. Proper installation can support up to 30-50 pounds safely.
Conclusion
Making a floating bookshelf is simple and fun. You only need a few tools and materials. Follow each step with care for best results. This shelf saves space and looks neat on any wall. You can paint or decorate it to match your style.
Try building one to add charm to your room. Enjoy your new, stylish floating bookshelf!
